Overview
Not a fan of our out-of-the-box experience? Want to add something to your page that Blackthorn doesn't offer? We support injecting custom CSS into Events, Event Settings, and Event Groups.
CSS injection is supported on 3 levels: Event Settings, Event, and Event Groups and is applied additively (multiple CSS files are loaded simultaneously).
Before adding a CSS file, it is important to understand how CSS code is applied at the different levels.
If the Event Group has a CSS file in the Custom CSS Url field AND the Event Settings field contains a related Event Settings record with a different CSS file in the Event Settings Custom CSS Url field, then the CSS file in the related Event Settings Custom CSS Url field will be applied.
If the Event Settings Custom CSS Url field is blank but the Event Group Custom CSS Url field contains a CSS file that includes Event-specific styling, the Event Organizer will see the changes to all Events in the Event Group.
For example, if the file in the Event Group’s Custom CSS Url field includes code that will change the color of the Share button, the color will be updated for all Events in the Event Group.
Note: Using the “!important” tag in a CSS file will overwrite all other CSS files or styling rules for that specific feature on the element.
Store Custom CSS Files
Hosting custom CSS files in static resources is not supported.
We recommend hosting your custom CSS files in Salesforce as a Salesforce File.
Complete the steps below to store a file in Salesforce.
- Create a .css file and save it to your desktop.
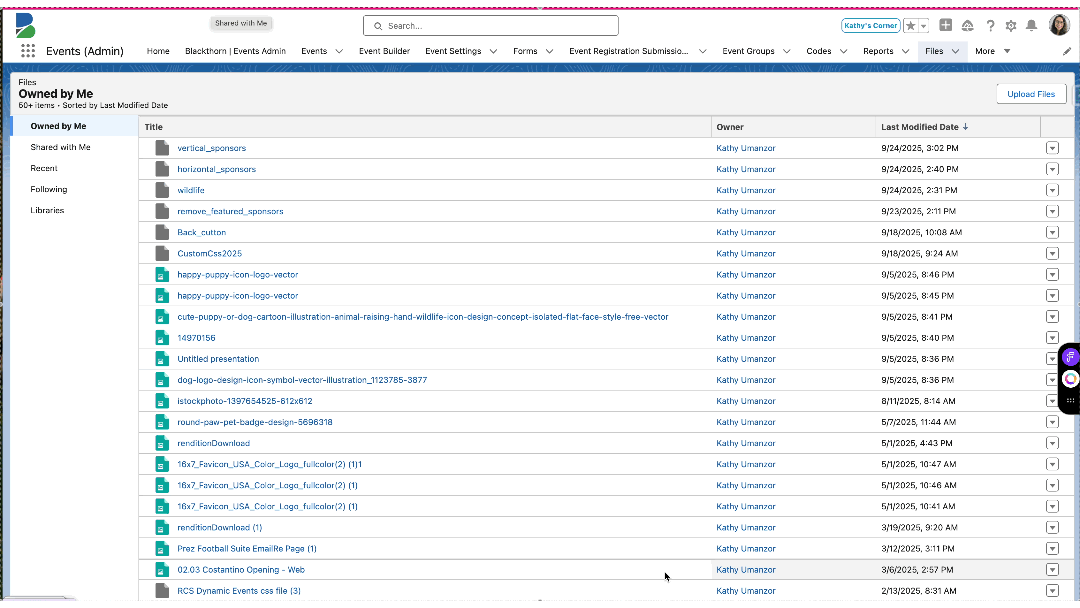
- Navigate to Files in Salesforce.
- Click Upload Files to upload the .css file to Files.
Copy CSS Files
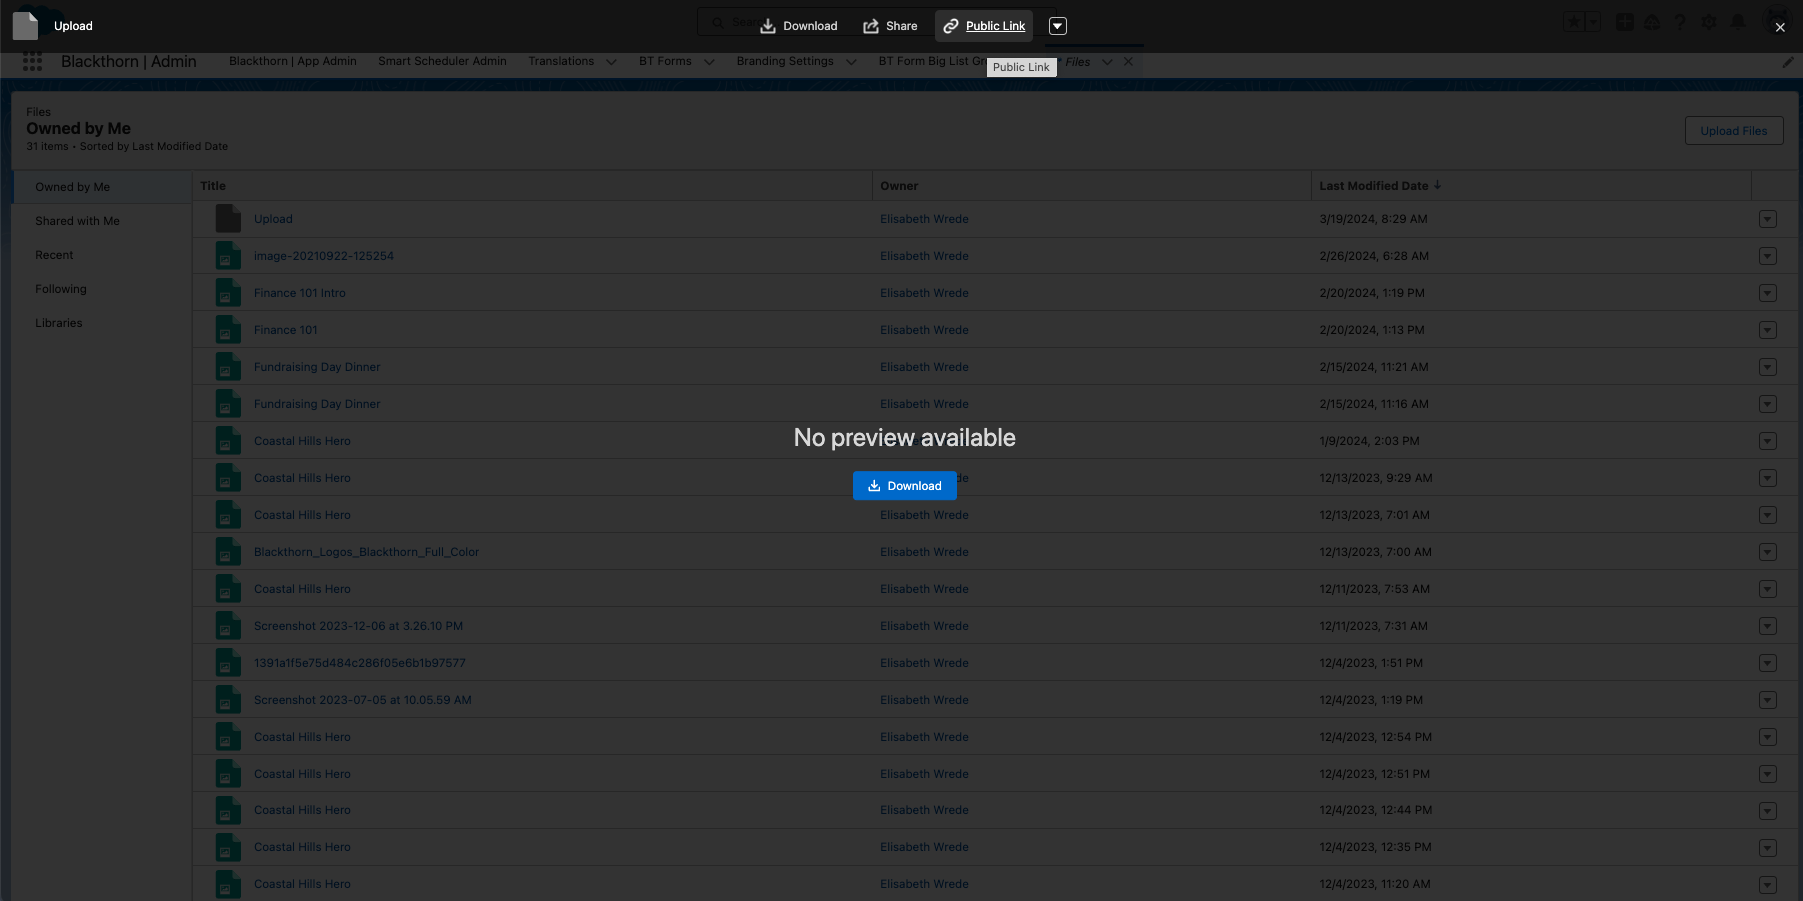
- Select the newly created .css file in Salesforce and click Public Link at the top of the page.
- Make sure the Expiration date and Password are toggled “Off” and click Create Link.
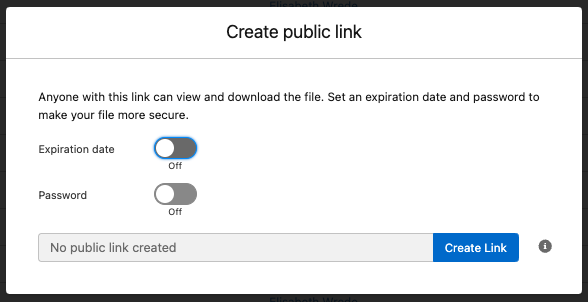
- Click Copy Link to copy the generated link.
- Open the URL in a new browser and click Download.
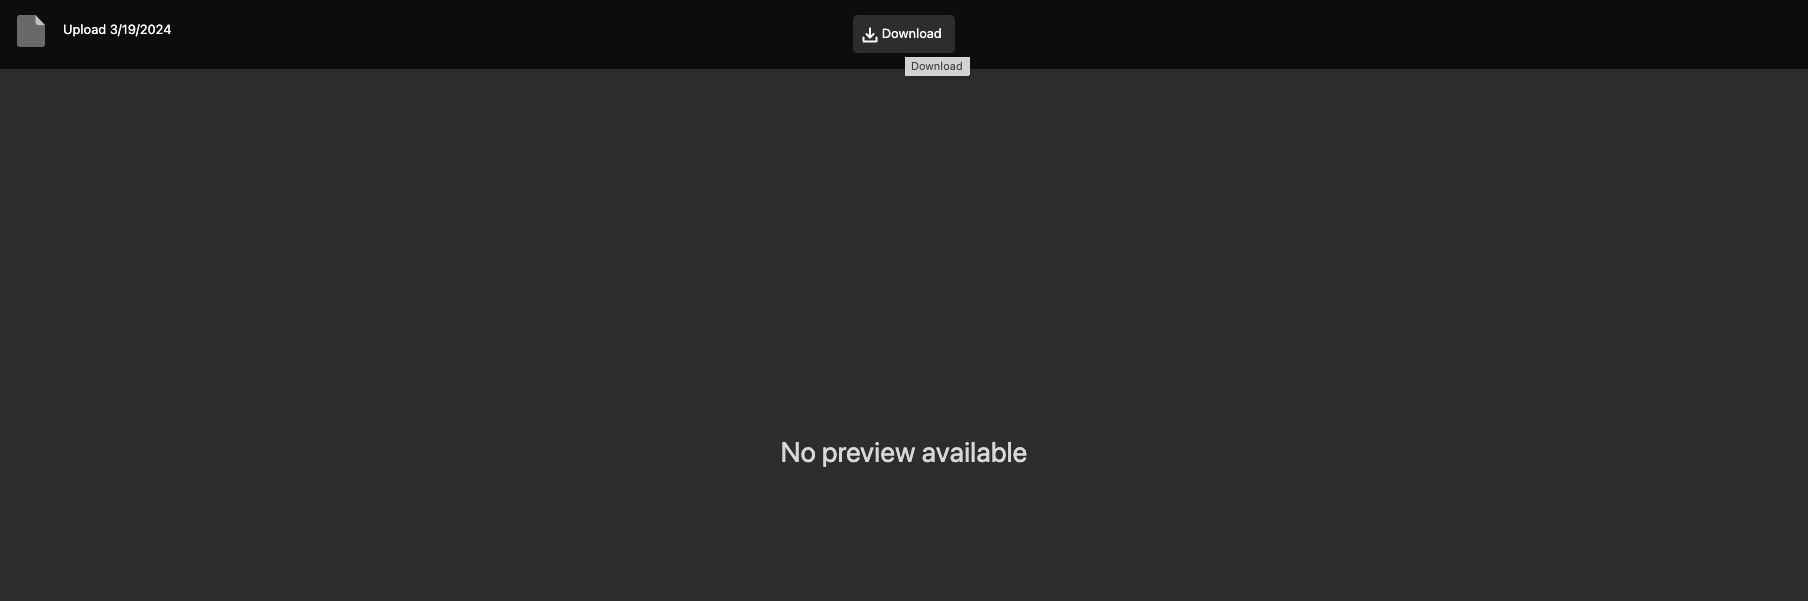
- Navigate to all downloads and find the .css file.
- Copy the URL (downloaded file). You may need to right-click the file and click Copy Link Address.
Add a CSS File
- Open the Event, Event Settings, or Event Group record where you want to add the CSS. The Custom CSS Url field is located on all three.
- Click the Pencil icon next to the Custom CSS Url field.
- Paste the file URL in the Custom CSS Url field.
- Click Save.
- Go to the related Event record.
- Click Update.
The new Custom CSS will now be visible.
Note: Custom CSS must be correctly served as a public file with a MIME type of 'text/css' for it to load correctly.
Desktop vs. Mobile
Some elements are not shared between desktop and mobile displays. Therefore, they need different code in the CSS.
For example, the CSS class used to hide the registration button on a mobile device is different from the CSS class used on a desktop computer.
- The
.get-tickets-buttonclass works for devices wider than 600px. - The
.mobile-registration-action-container.ng-star-insertedclass works for phone and tablet devices smaller than 600px.
Sample code snippet:
.get-tickets-button, .mobile-registration-action-container.ng-star-inserted {
    display: none;
}
Both code snippets serve the same purpose and hide all Get Tickets or Register buttons on mobile, tablet, and desktop devices.
Target and Modify CSS
Check out this video to learn how to target classes and modify CSS.
Examples
Example 1: Remove the Date and Time
By default, the Event overview page would look similar to this:
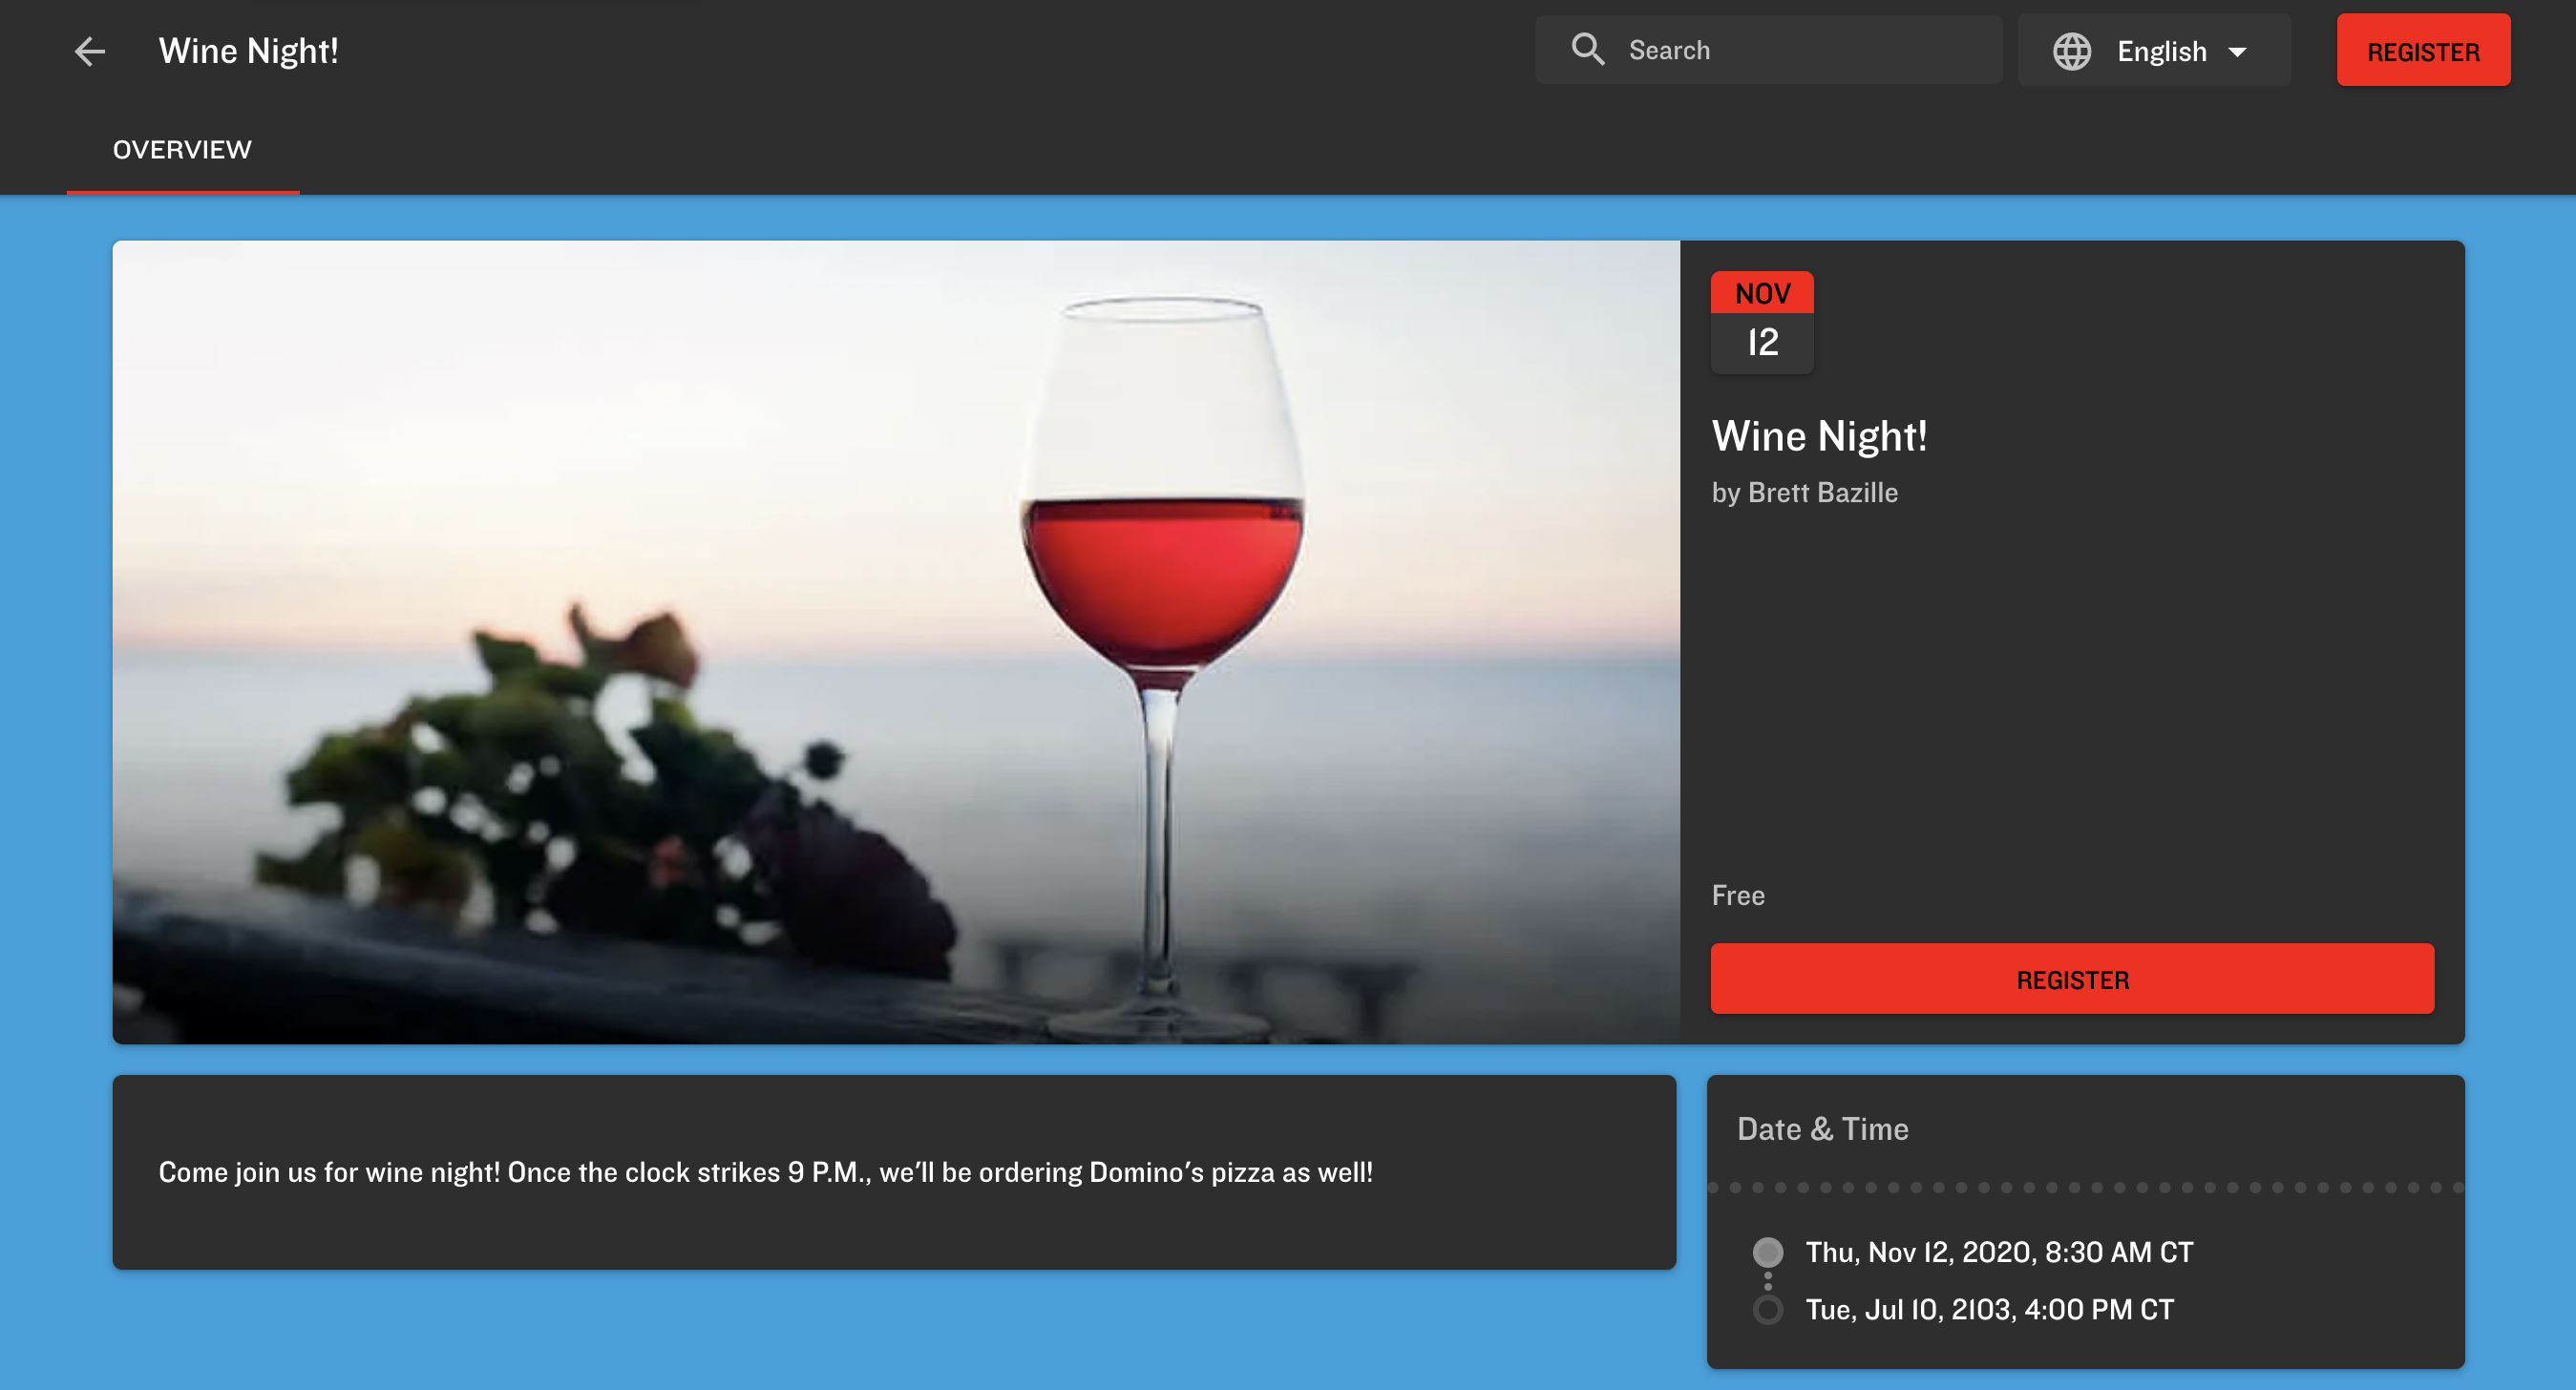
By adding the following CSS, it will hide the "Date & Time" section, as well as the calendar date above the Event title.
.welcome.ng-star-inserted {
    display: hidden;
}
  .start-dates {
    display:none !important;
  }
  #date-and-time {
    display:none !important;
  }

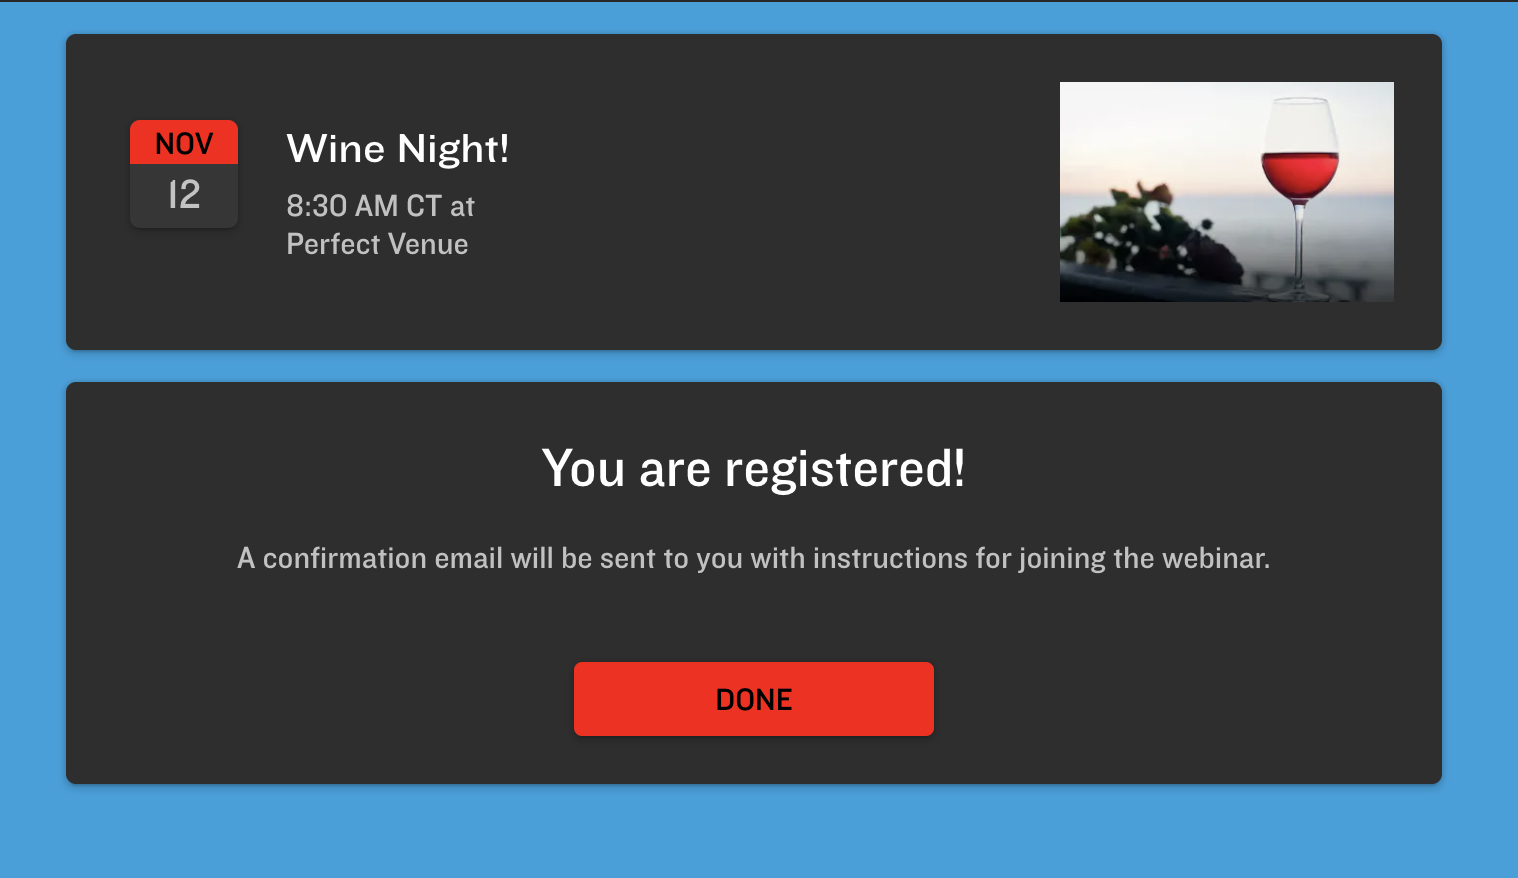
Example 2: Change the Greeting
After registering for an Event, an Attendee would be greeted with this message by default:
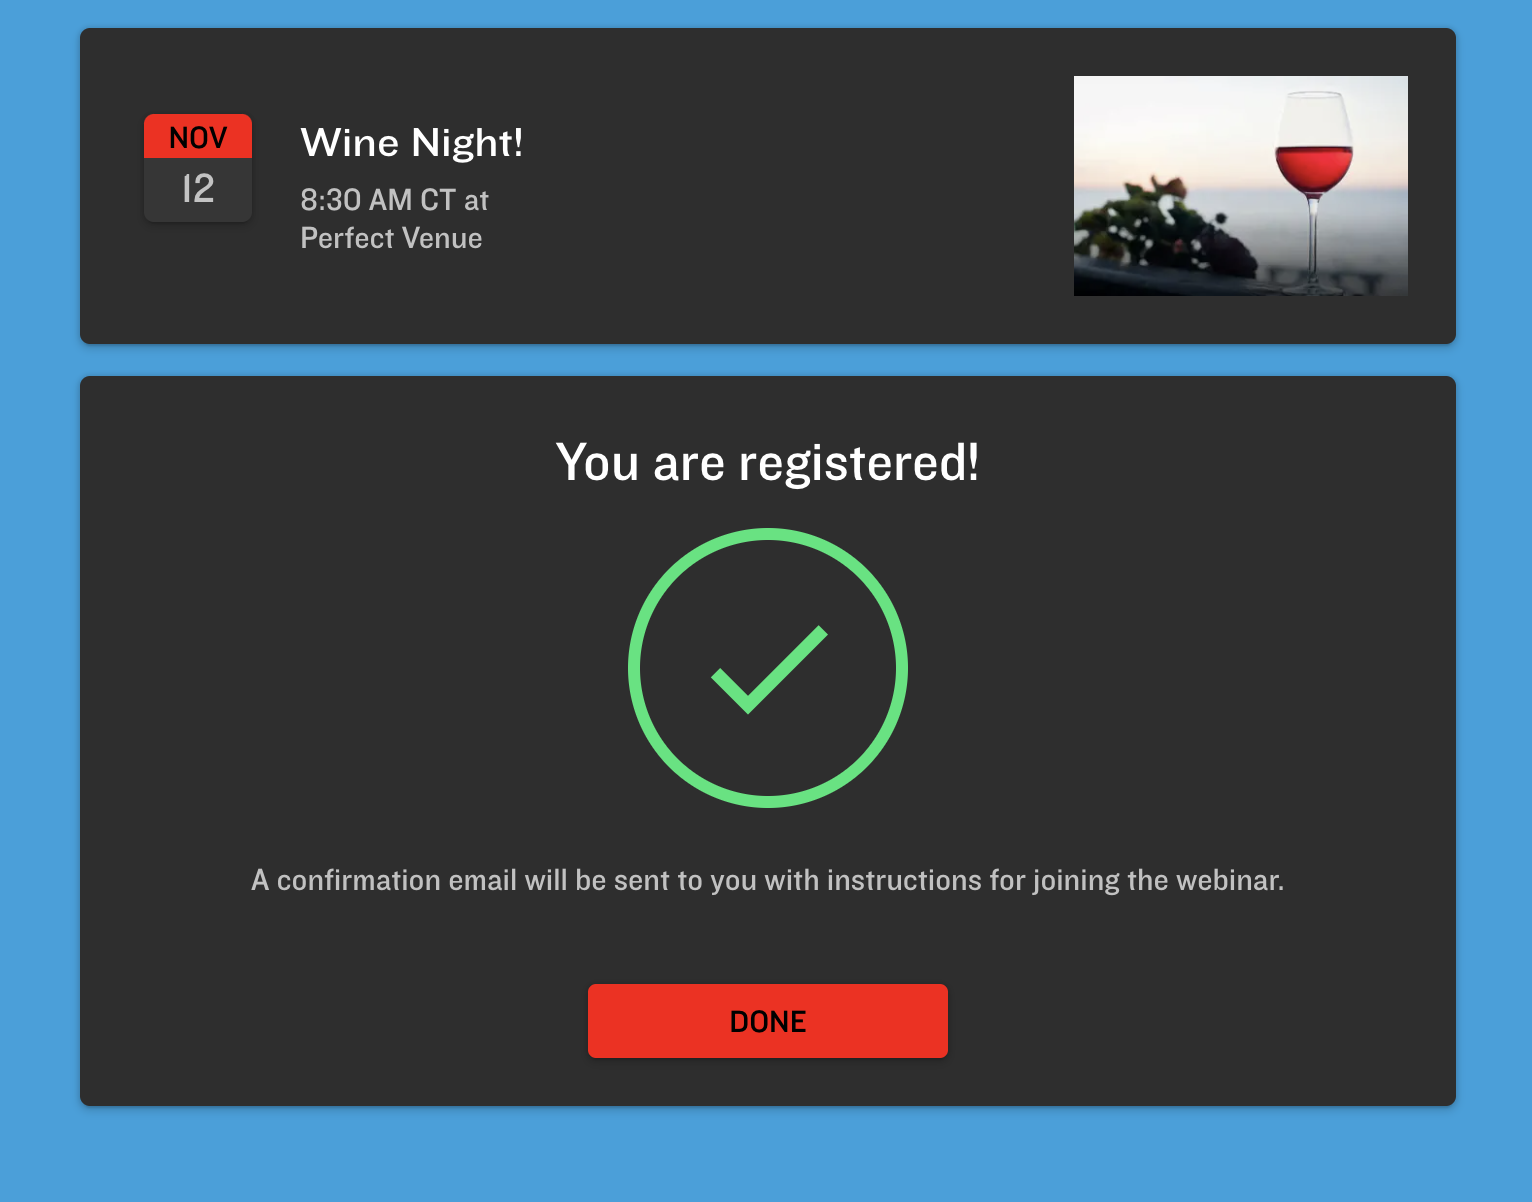
By adding the following CSS, it will hide the green checkmark.
.check {
  display:none !important;
}
Example 3: Add a Custom Font
The example below imports the Gilroy font and applies it to the body of the document. This results in the Event webpage using the Gilroy font.
@import url('https://fonts.cdnfonts.com/css/svn-gilroy');
@import url('https://fonts.cdnfonts.com/css/gilroy-bold');

body {
    /*font-family: 'SVN-Gilroy', sans-serif;
    font-family: 'Gilroy-Regular', sans-serif;
    font-family: 'Gilroy-Heavy', sans-serif;
    font-family: 'Gilroy-Light', sans-serif;
    font-family: 'Gilroy-Medium', sans-serif;*/
    font-family: 'Gilroy-Bold', sans-serif;
}