Before Events can be used, you must complete the multi-step configuration process. Use the Configuration tab to set up Events for first-time users. The additional tabs give you an easy way to deploy and make automatic updates.
Before configuring the Events app or activating Scheduled Jobs, we recommend logging in as an Integration User. An Integration User is a dedicated full Salesforce license that has a custom Permission Set and is used for any 3rd party integrations. This can help reduce issues related to configuration, authorization, and individual employee user access.
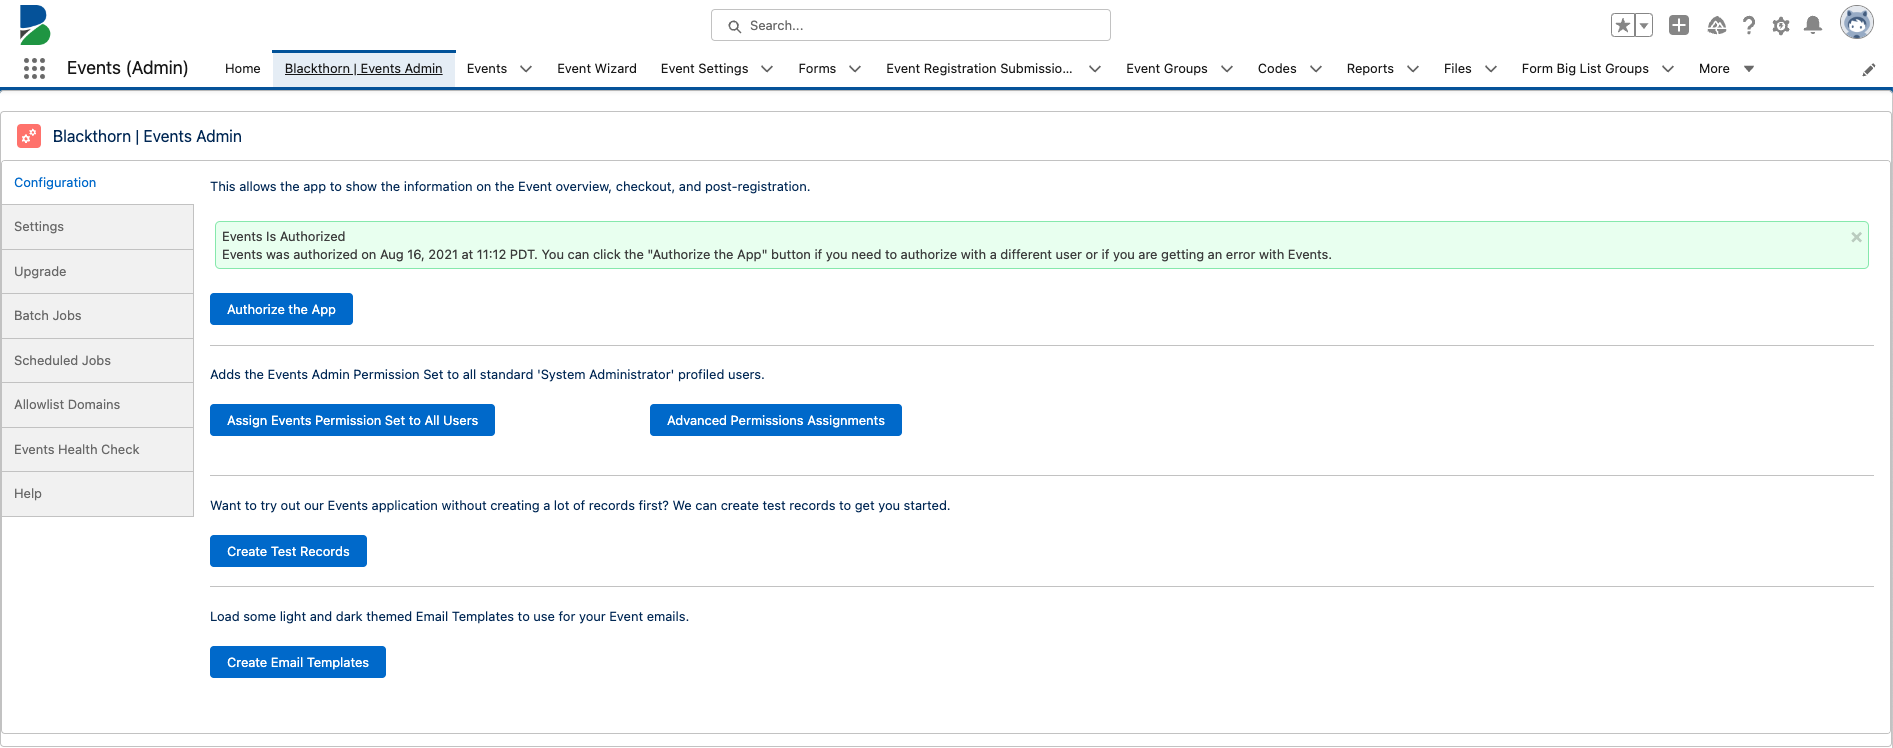
Authorize the App
If you used the Blackthorn Candy Shop to install Events, you do not need to authorize Events. The app was already authorized for you.
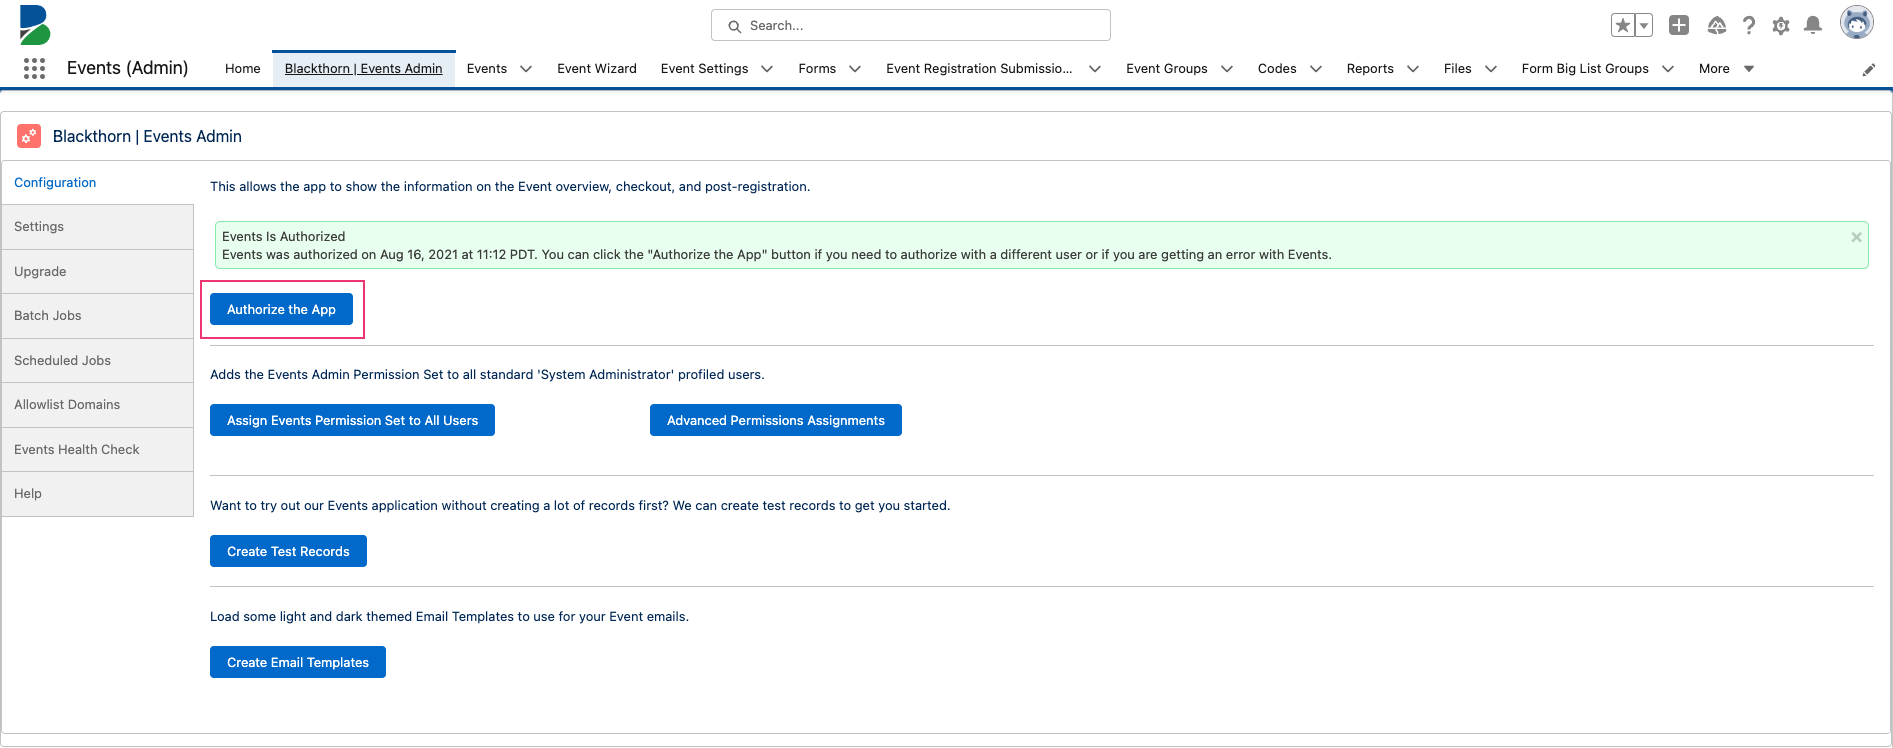
System Admin Profile
Only users with the System Admin profile will see the Authorize the App button. They must also have an Events and Payments license with the following permission sets.
Blackthorn | Events (Admin)
Blackthorn | Payments (Admin)
We recommend using the Authorize the App button to reauthorize the app if any of the following scenarios occur.
If the initial authorized user has new permission sets or a new user has taken over their role. (This can be avoided by using an Integration User.)
If there is an authentication error after clicking the Event Page URL link, you will need to reauthorize the app.
Non-System Admin Profiles
If a user with a non-system admin profile needs to authorize or reauthorize the app, they will need an Events and Payments license with the following.
Blackthorn | Events (Admin) permission set
Blackthorn | Payments (Admin) permission set
API enabled
Customize Application system permissions
Sharing Setting set to “Public Read/Write” for all Events’ objects.
“View All” access to the Account, Contact, and Product objects and “Read” access to all the fields on these objects
They can then use one of these direct authorization links.
Assign Events Permission Sets to All Users
When a user installs Blackthorn Events via the Candy Shop, we automatically assign the Blackthorn Events (Admin) and Blackthorn Payments (Admin) permission sets to that user.
Access to Events is managed by permission sets. After installation, permission sets must be assigned to designated users to ensure they have the required level of access.
Click Assign Events Permission Sets to All Users to add the Blackthorn | Events (Admin) permission set to all standard "System Administrator" profiled users.
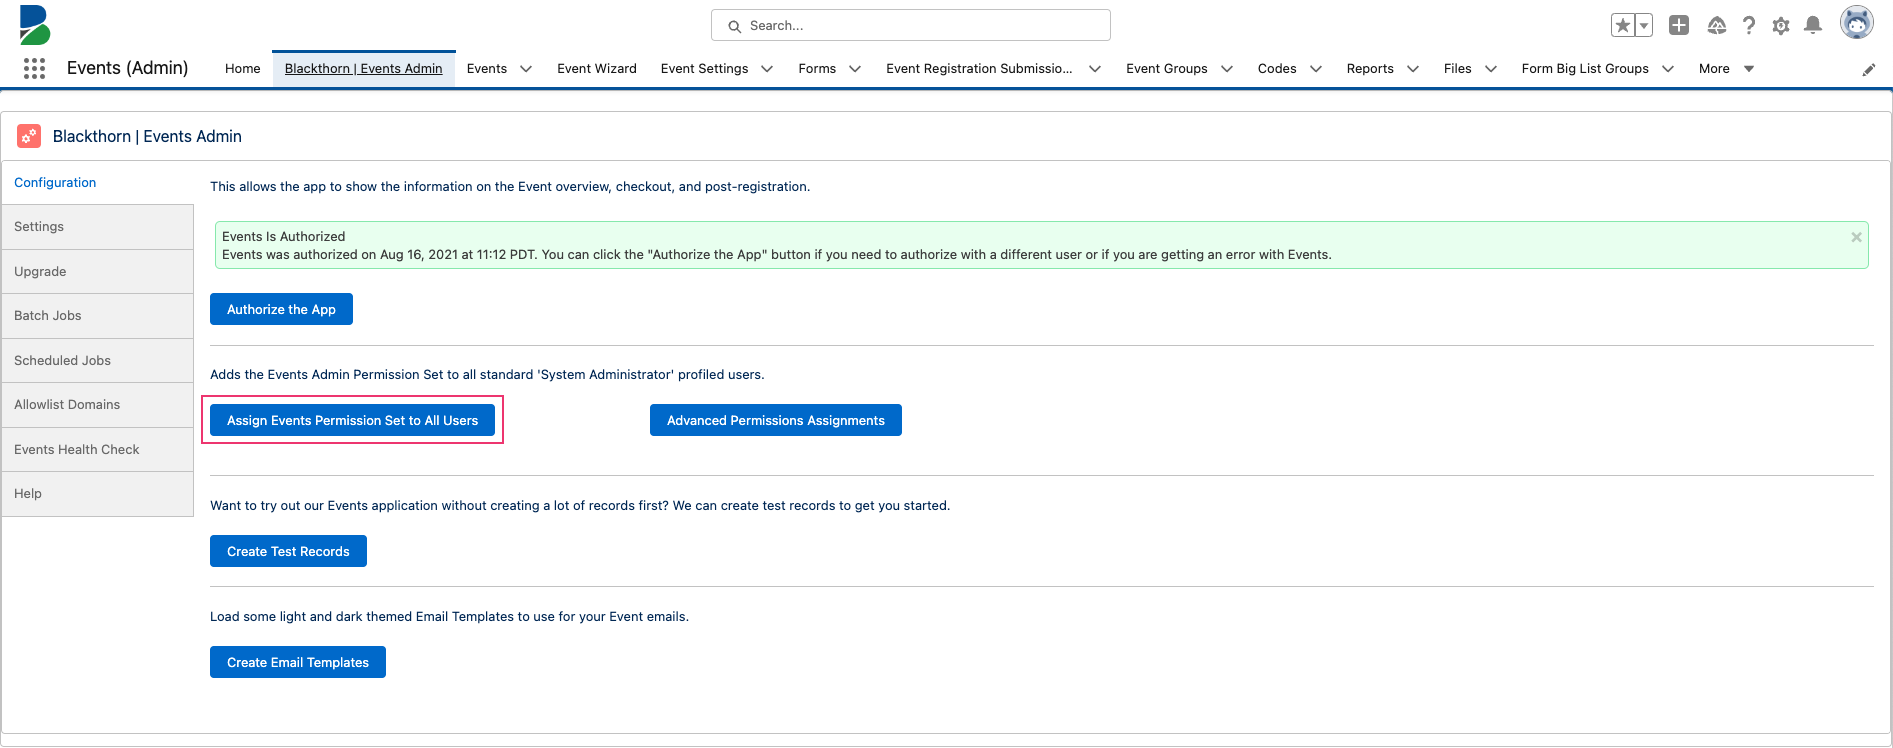
If you use custom permission sets, you must modify them after each new Events release to ensure that users with those custom permission sets continue to have the appropriate access.
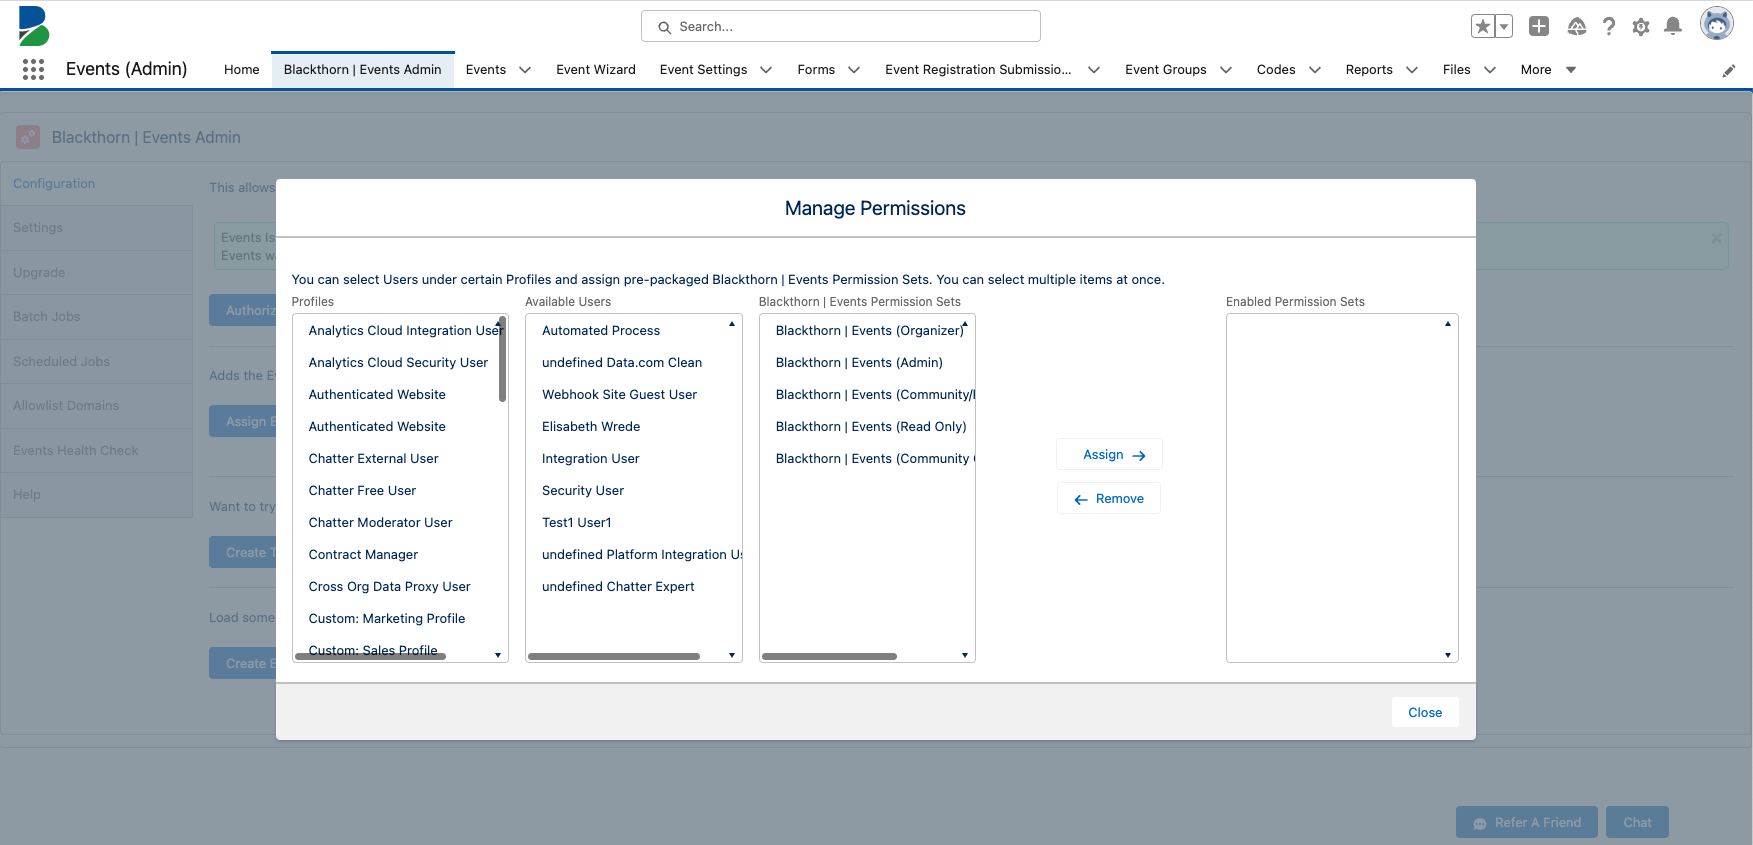
Advanced Permission Assignments
Out of the box, Blackthorn provides a set of pre-configured permission sets that can be assigned to users.
- Click the Advanced Permissions Assignments button to open a window where you can assign and remove permission sets based on profiles and users.
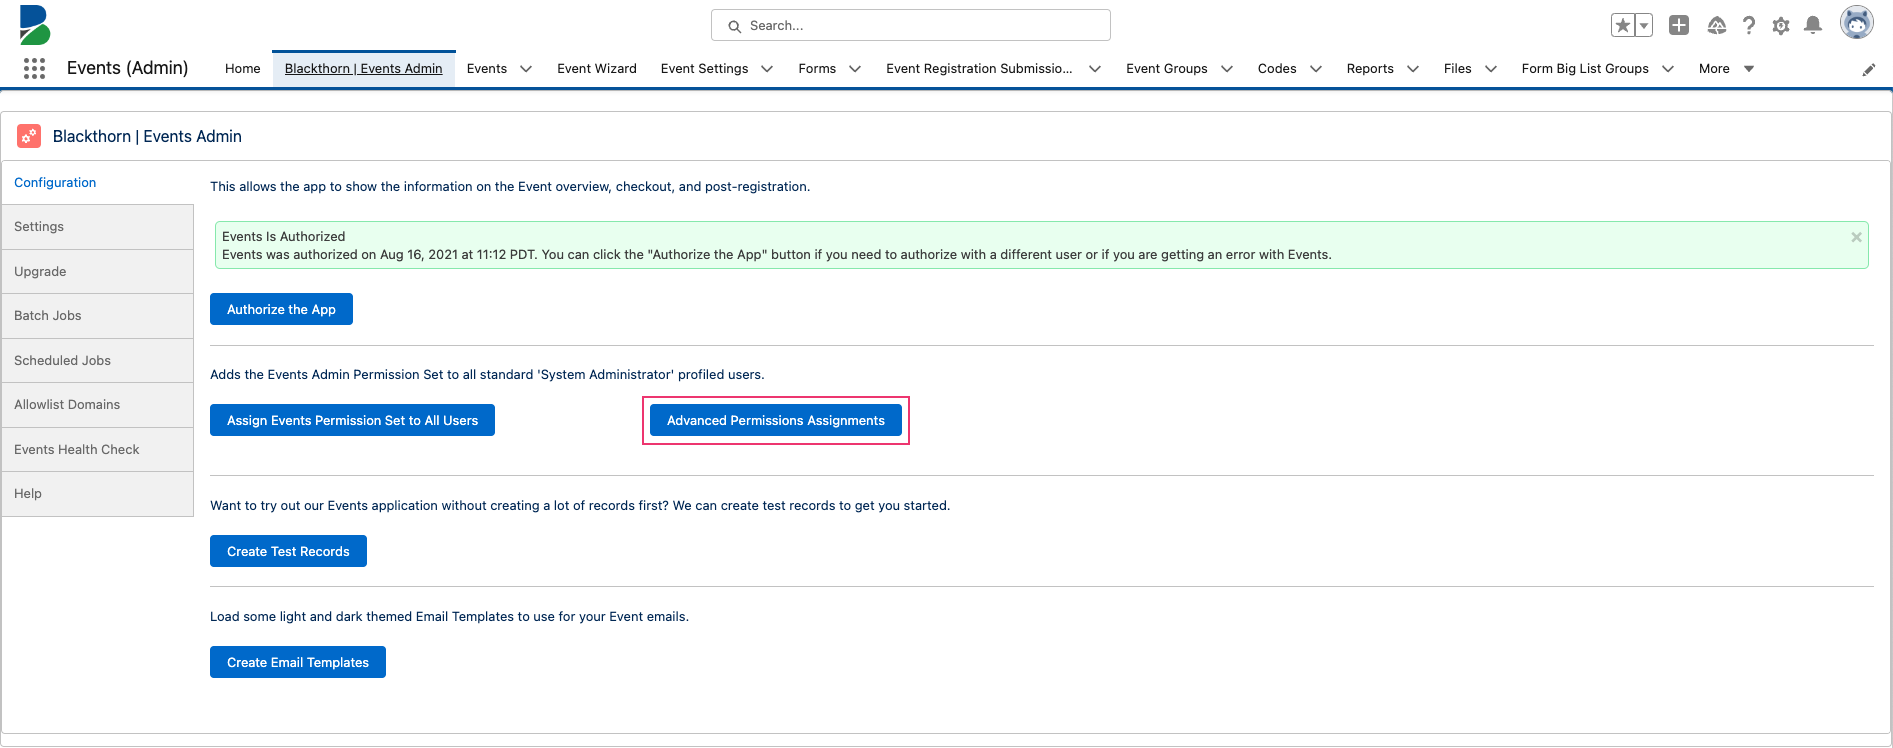
- Assign or remove permission sets to profiles or individual users.
Create Test Records
Test Event records are automatically created after installing the Events app for the first time. When you update the app, new test records will not be installed.
If you do need to create test records, click the Create Test Records button. You will then find seven sample Event records to use for testing.
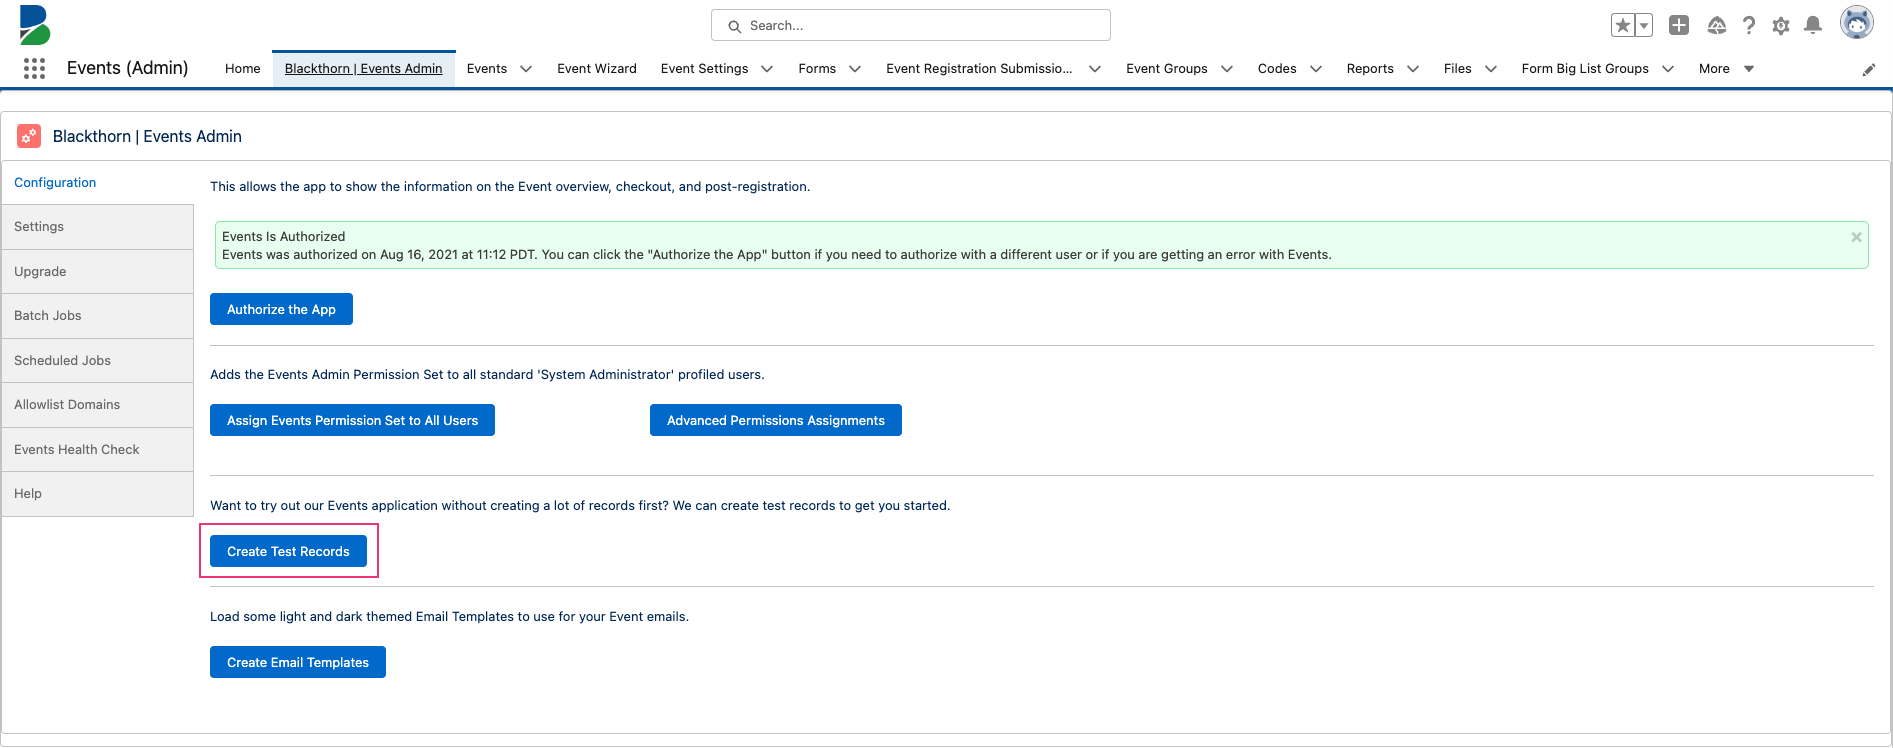
The following Events will be added to your Salesforce org.

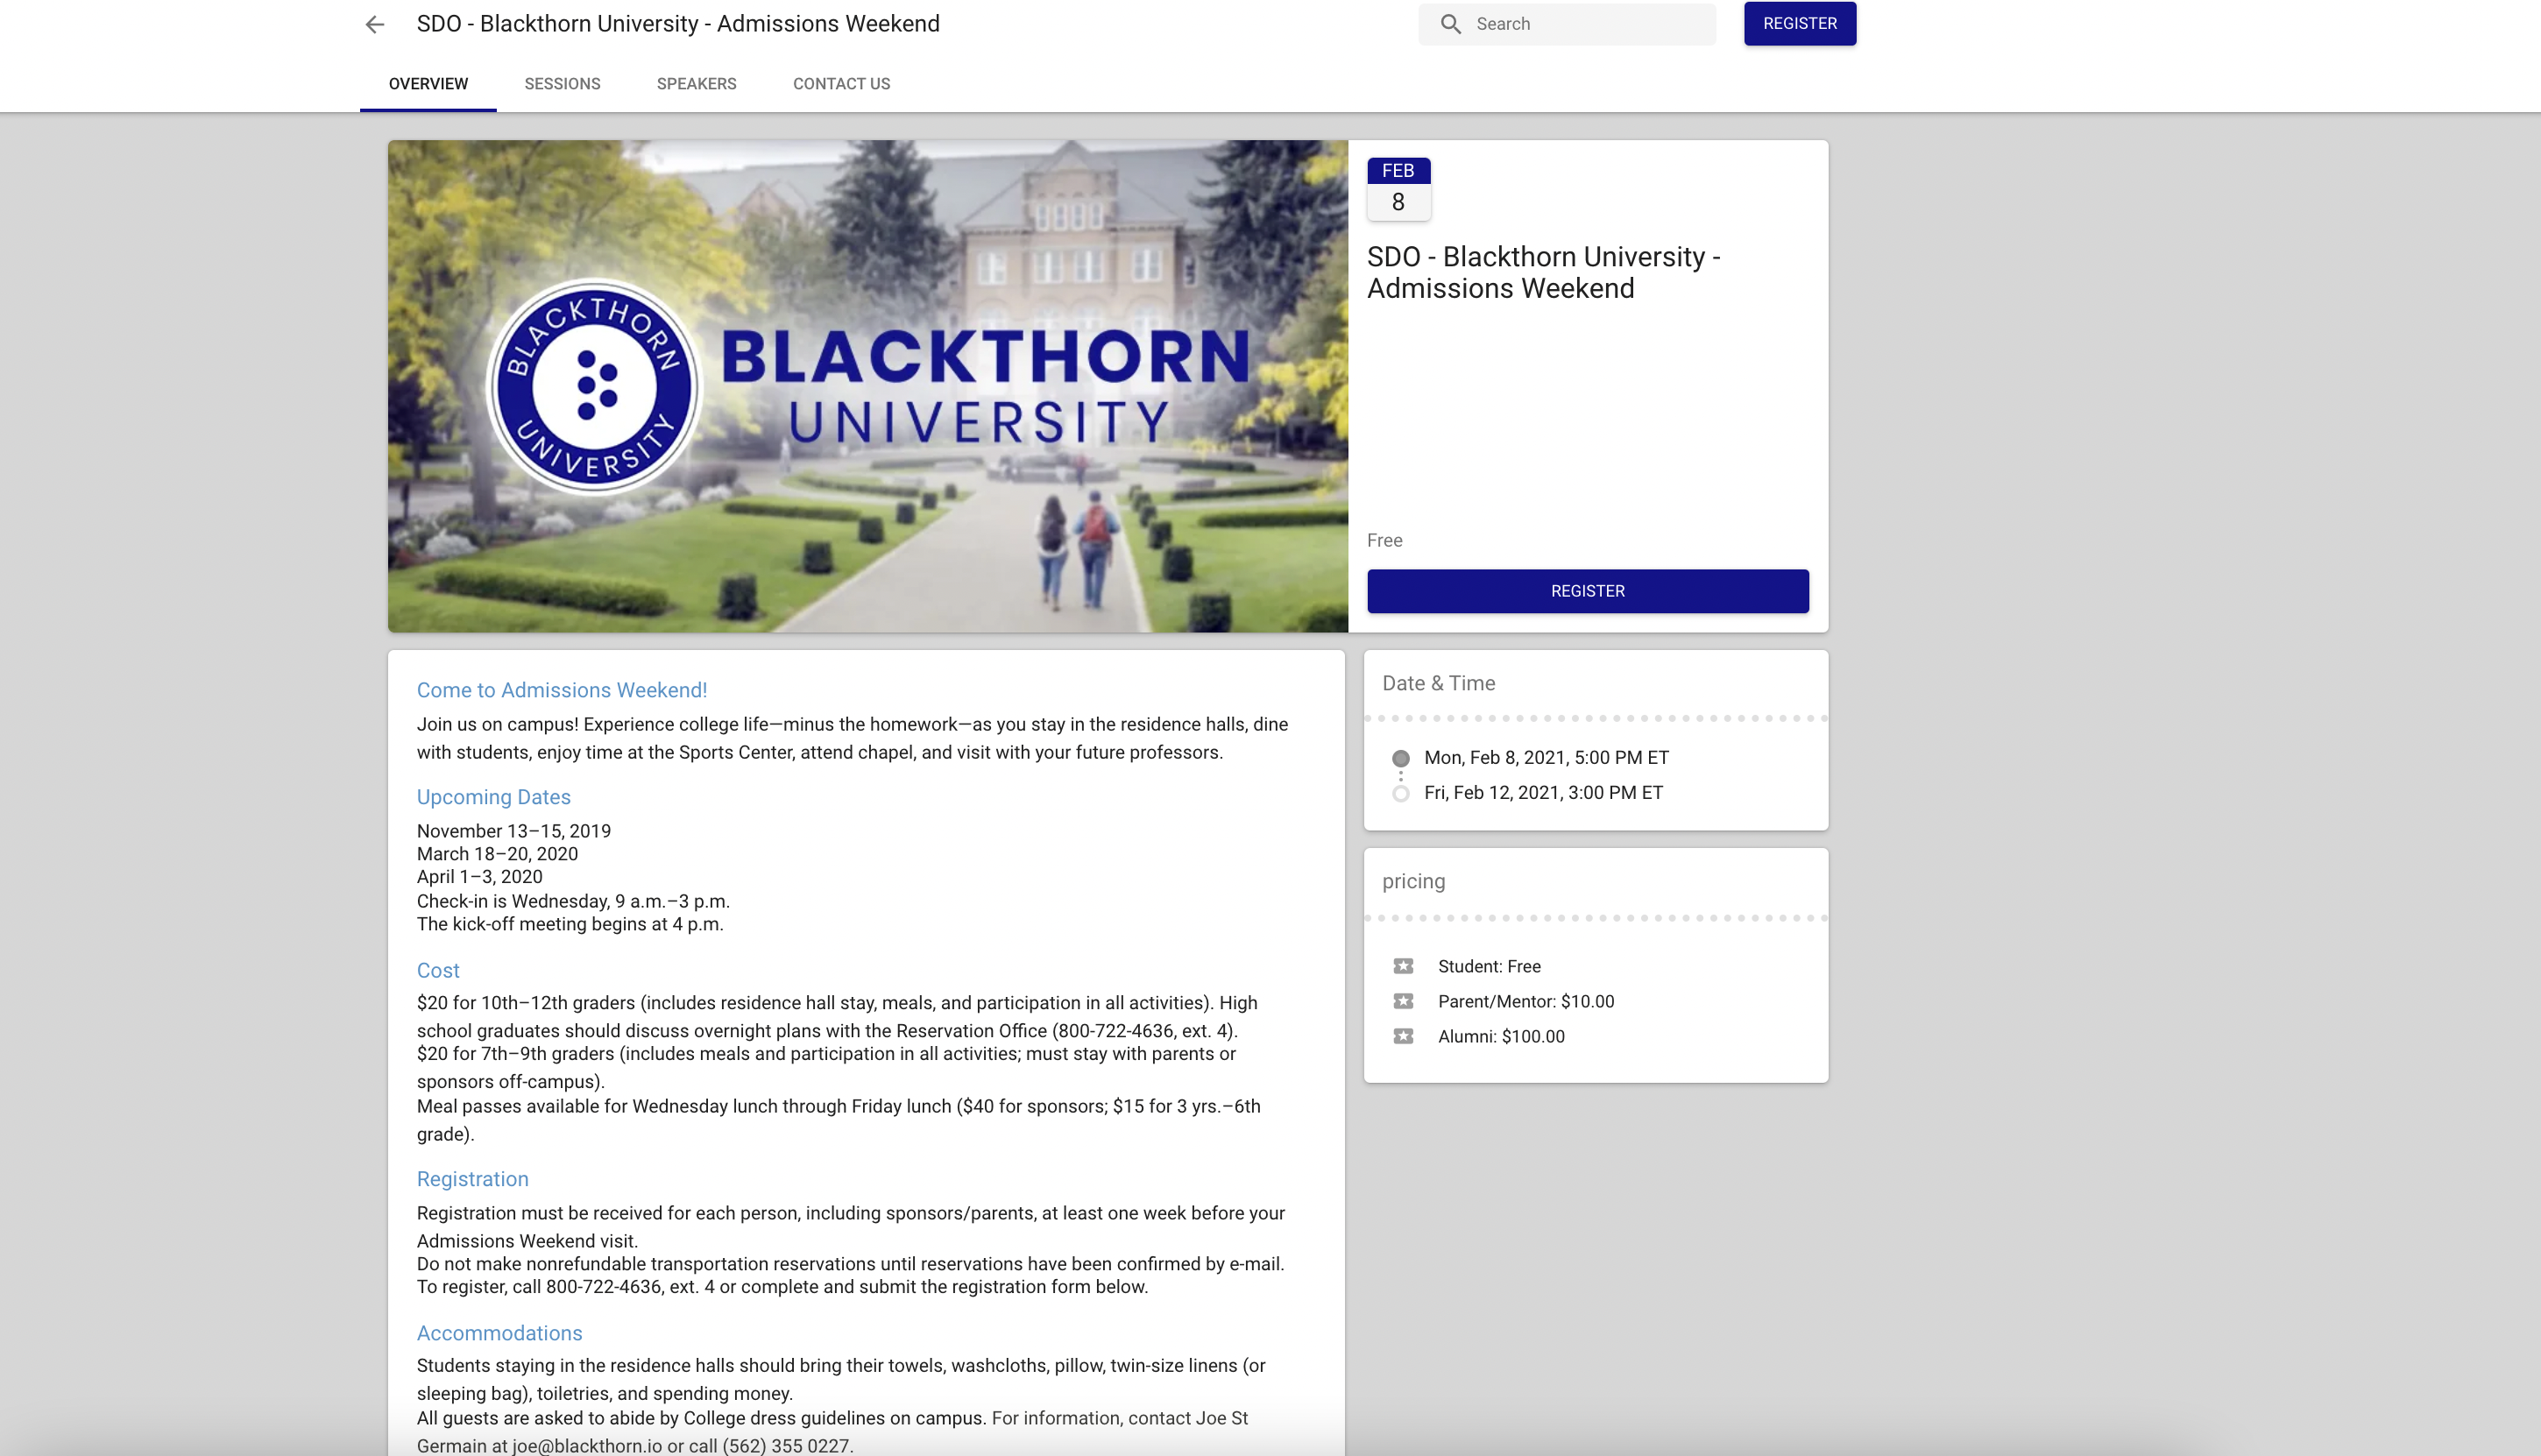
Here is an example of the Admission Weekend sample Event. Click here to view the Event.
Create Email Templates
The Email Template Builder is a user-friendly tool that creates great-looking email templates for your Event. Use the Email Template Builder and the Email Configuration component to add custom email templates for the following scenarios.
- confirmation emails
- waitlist emails
- waitlist pending emails
*Note: If you are using the Email Configuration component to set up emails on a per Event basis, you must disable the corresponding workflow rule. If you don't, Attendees will receive both emails.
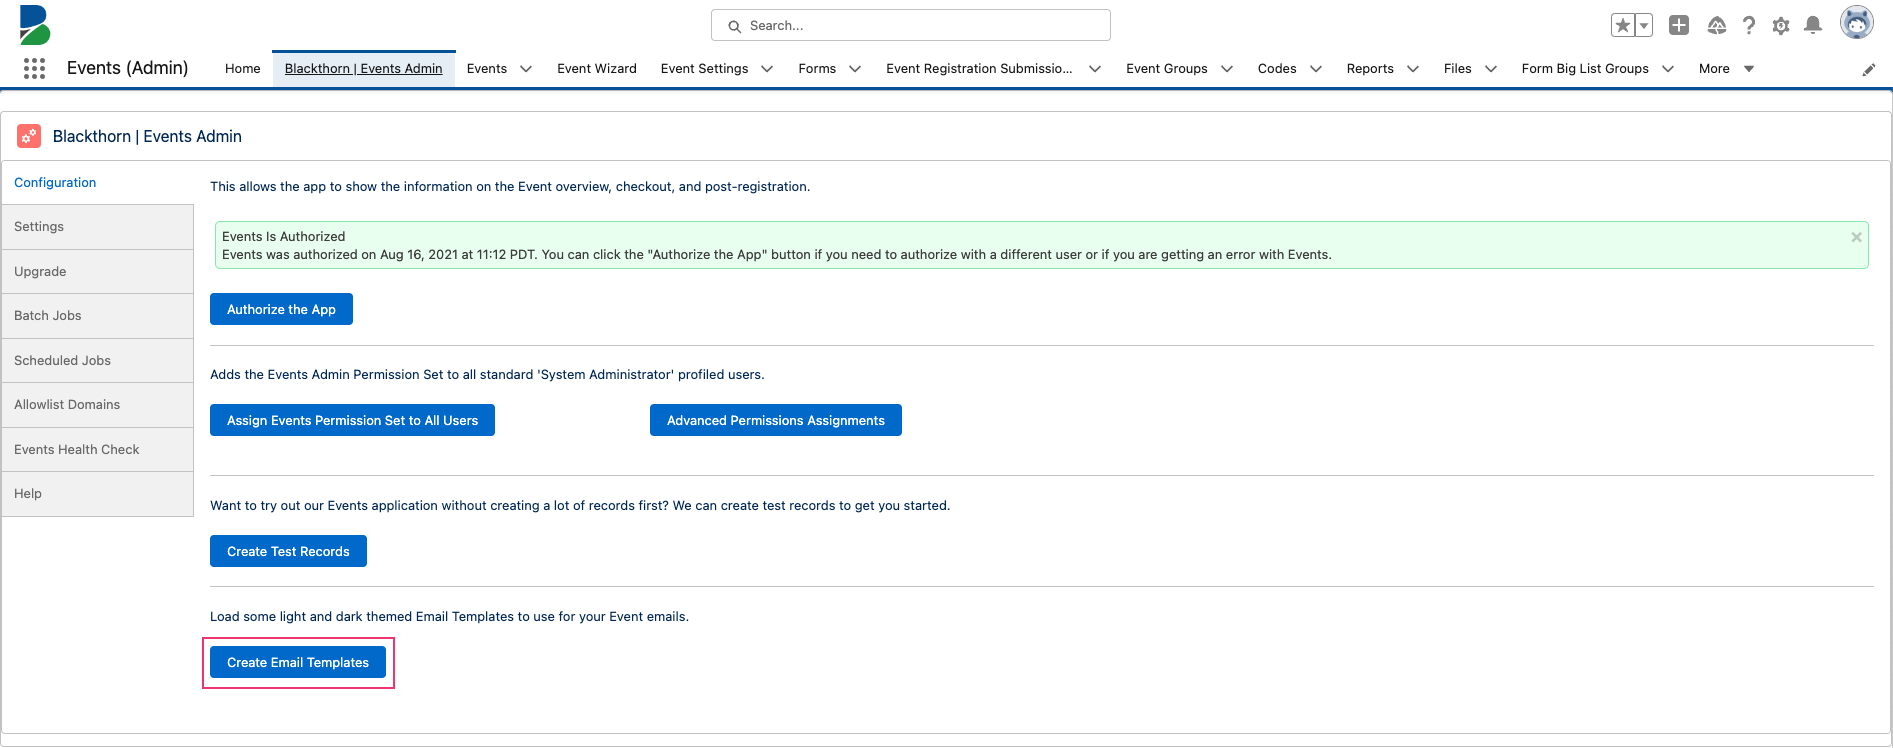
Click Create Email Templates to create our out-of-the-box email templates.
For more information about using email templates, click here.