Event Codes and QR Codes
The Blackthorn Event Navigator app provides two flexible Event access options: scan a QR code or manually enter an Event Code.
Event Codes
The Event Code is a system-generated code set at the organization level and is stored in the Event record’s Event Code field. It can be shared with Attendees to allow them to access the Event in the Navigator app.
The Event Code eliminates the need for complex URLs or lengthy setup processes. You must manually add the Event Code field to your Event page layout, as package upgrades cannot automatically modify existing page layouts. Once added, the field will display your unique 4-character code. The permissions for the Event Code field are View Only for all users.
Being able to manually enter a code is particularly useful when an Attendee receives an Event Code through text, email, or verbal communication, or when visual QR codes are impractical. The interface includes helpful error messaging if an invalid or unrecognized code is entered, ensuring a smooth connection experience.
QR Codes
QR codes are no longer generated using the Event deep link format. They now use the 4-digit event code from the Event record’s Event Code field. After a Navigator app user clicks Scan Event QR Code on the Welcome screen and scans their QR code, the app uses the Event Code to direct users to the sign-in flow (OTP/Magic Link) associated with the Event.
Attendee Fields
Event Organizers can use the Event Settings Allow Edits to Attendee Fields field to control whether Attendees can change their personal information in the Blackthorn Event Navigator app.
Mobile Device ID
When an Attendee opens the Navigator app, the Mobile Device ID field on the Attendee object automatically stores the Attendee’s mobile device ID. Event Organizers can then use the Mobile Device ID to perform the following tasks.
Push Notifications
Blackthorn Base Version Prerequisite
To store or display push notification messages in the Navigator app’s Notification Center, the related Salesforce org must have Blackthorn Base Version 1.61 installed. Events users don’t need to upgrade Blackthorn Base unless they use the Navigator app for their Events.
Users with the Blackthorn | Events (Organizer) permission set can send push notifications via the Smart Scheduler to Attendees’ mobile devices via the Navigator app, alerting them to time-sensitive information such as a venue location change.
NOTE: Only users with the Blackthorn | Events (Admin) permission set can edit the Mobile Device ID field.
Event- and Session-specific Push Notifications
In addition to general push notifications, Event Organizers can send an Event- or Session-specific link to Attendees, as well as a Session-specific link to a Session Speaker, via push notifications.
The following fields contain the URLs that can be included in push notifications.
Event: Event Navigator App Deeplink (conference360__Event_Navigator_App_Deeplink__c)
Session: Session Navigator App Deeplink (conference360__Session_Navigator_App_Deeplink__c)
Session Speaker: Speaker Navigator App Link (conference360__Speaker_Navigator_App_Link__c)
When creating a push notification, add the URL from the fields above to the message body.
At the Event, the app’s notification center allows users to view and manage their push notification messages and history. Attendees can access the notification center by clicking the notification or Bell icon in the top-left corner of the screen.
When an Attendee clicks a message, one of the following will happen:
The app takes the Attendee to the Agenda page and marks the message as read. Clicking the Mark All as Read button sets all messages to read.
When a user taps a notification message that includes a SessionId, they will be redirected to the corresponding Session Detail page.
If the notification message includes a SpeakerId, the Attendee is directed to the corresponding Speaker Detail page.
If a valid ID is not included in the notification message, the app will open the Notification page.
Send a Push Notification
Before beginning the process, register for the Event, log in to the Navigator app on your phone, and retriece the Mobile Device ID from your Attendee record.
Go to the Event record.
Click the Communication tab.
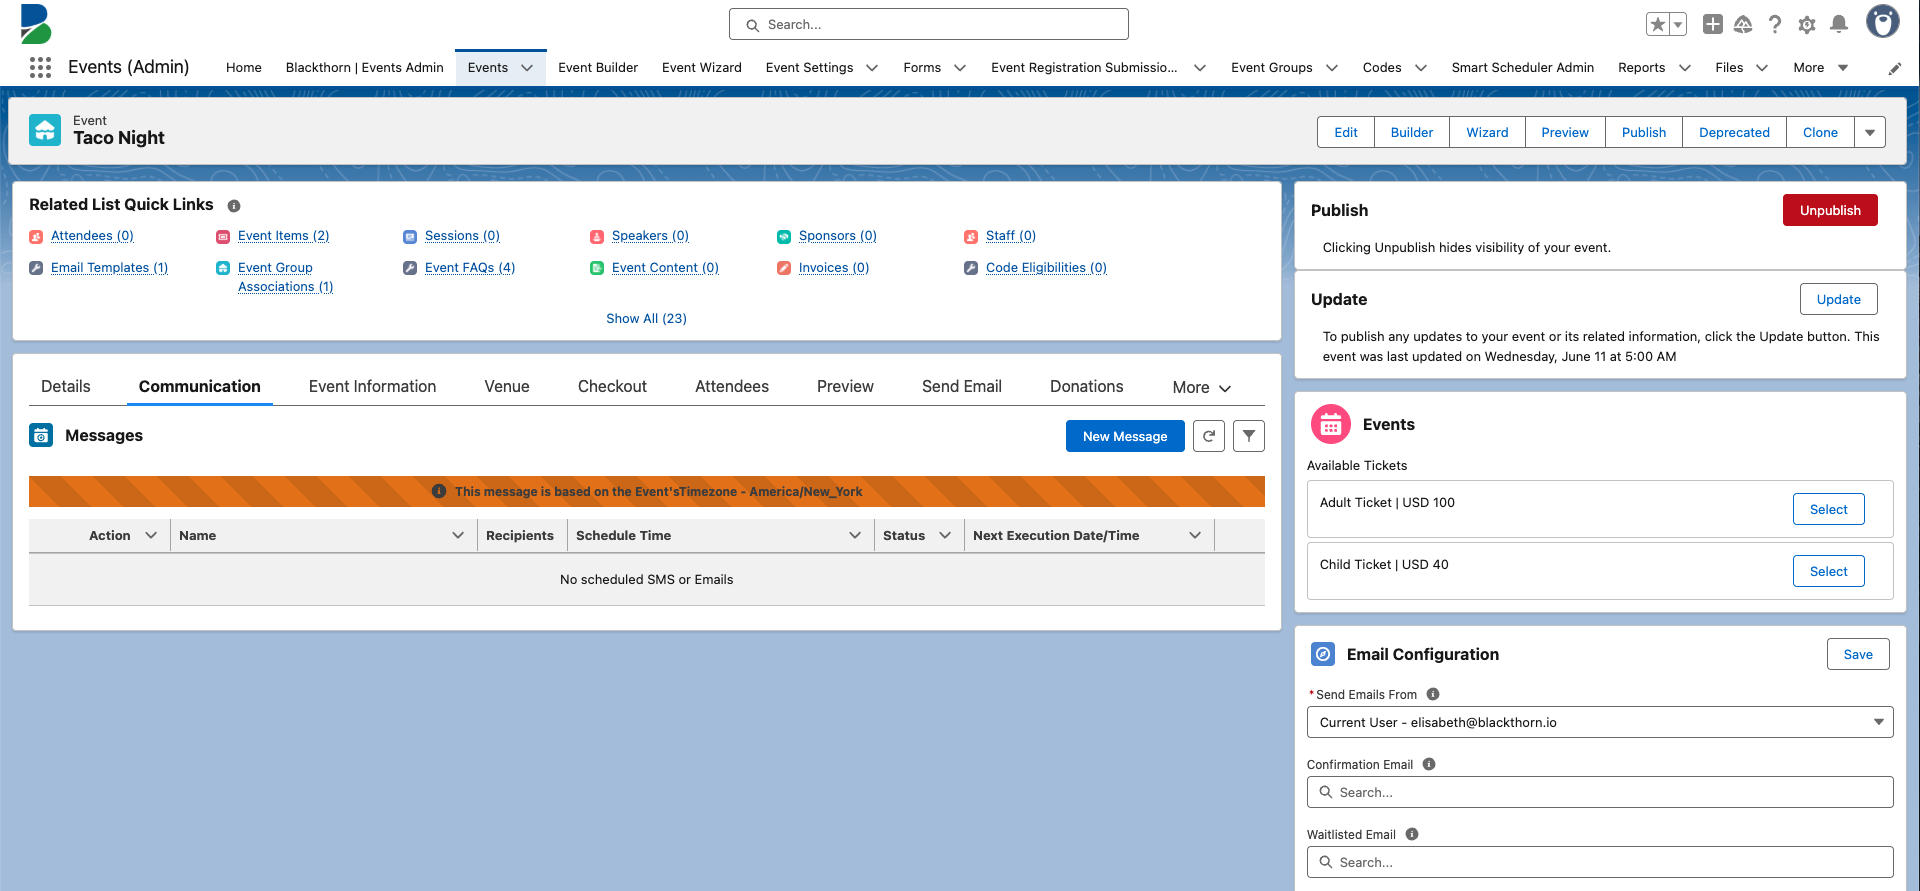
Click New Message.
Recipient Section
Select “a Push Notification.”
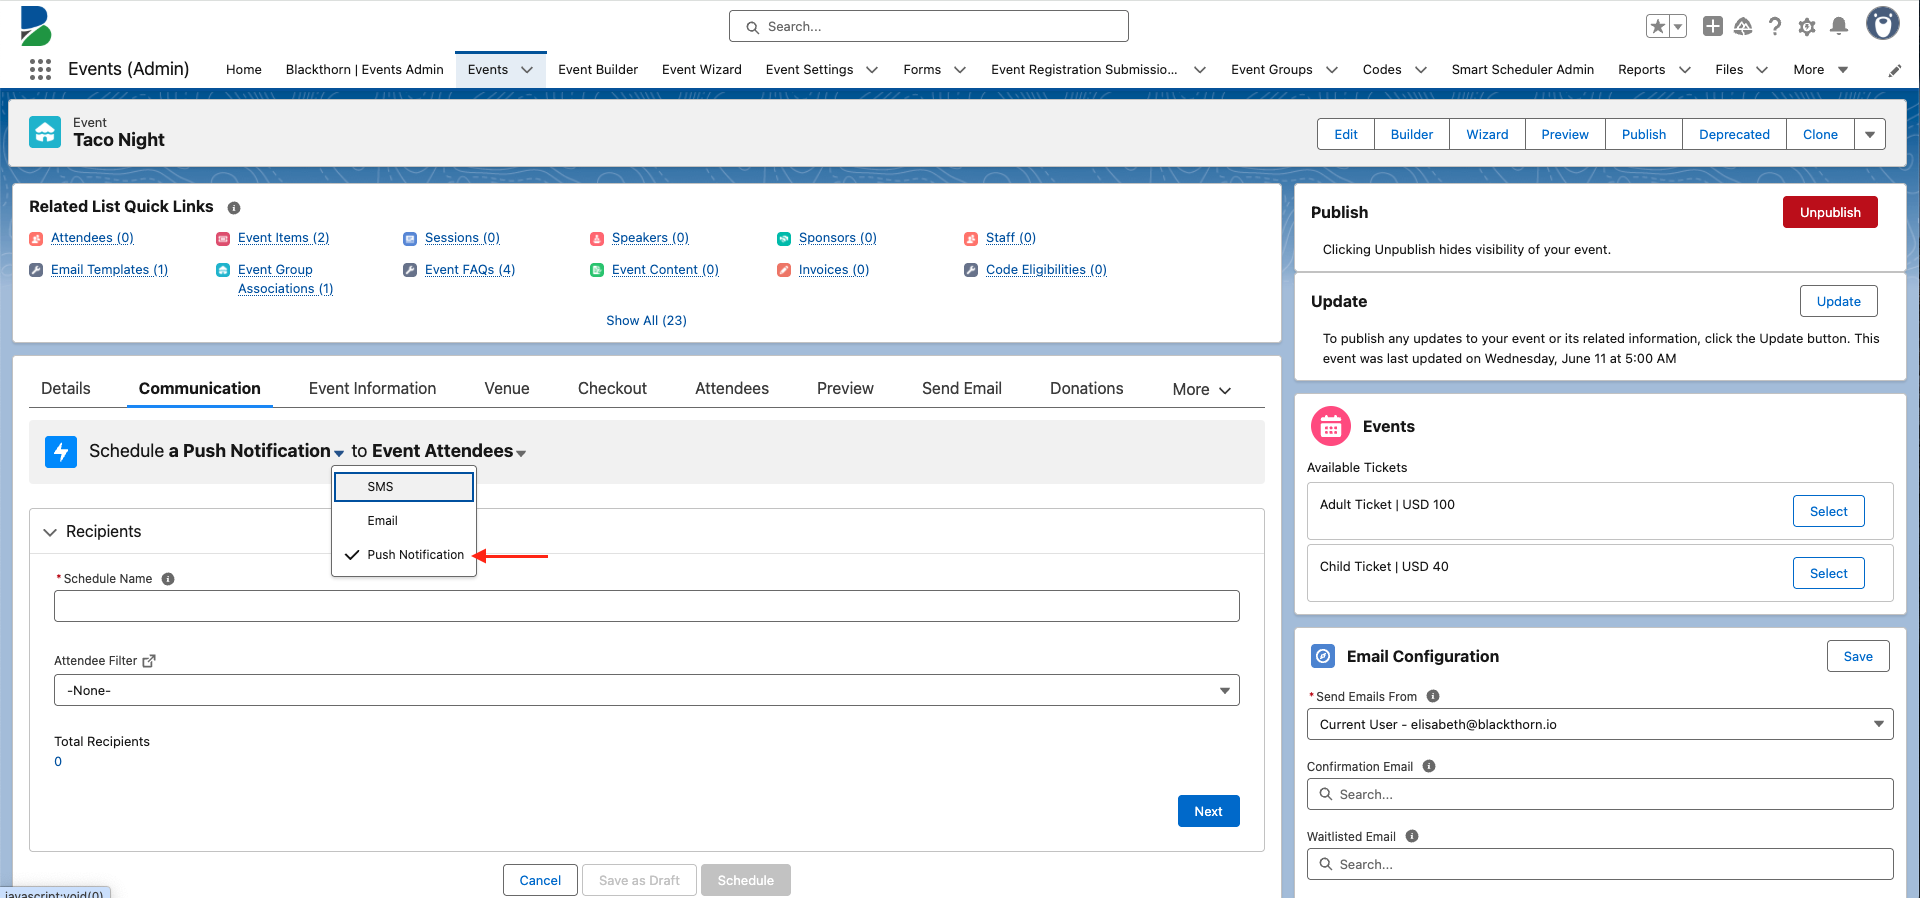
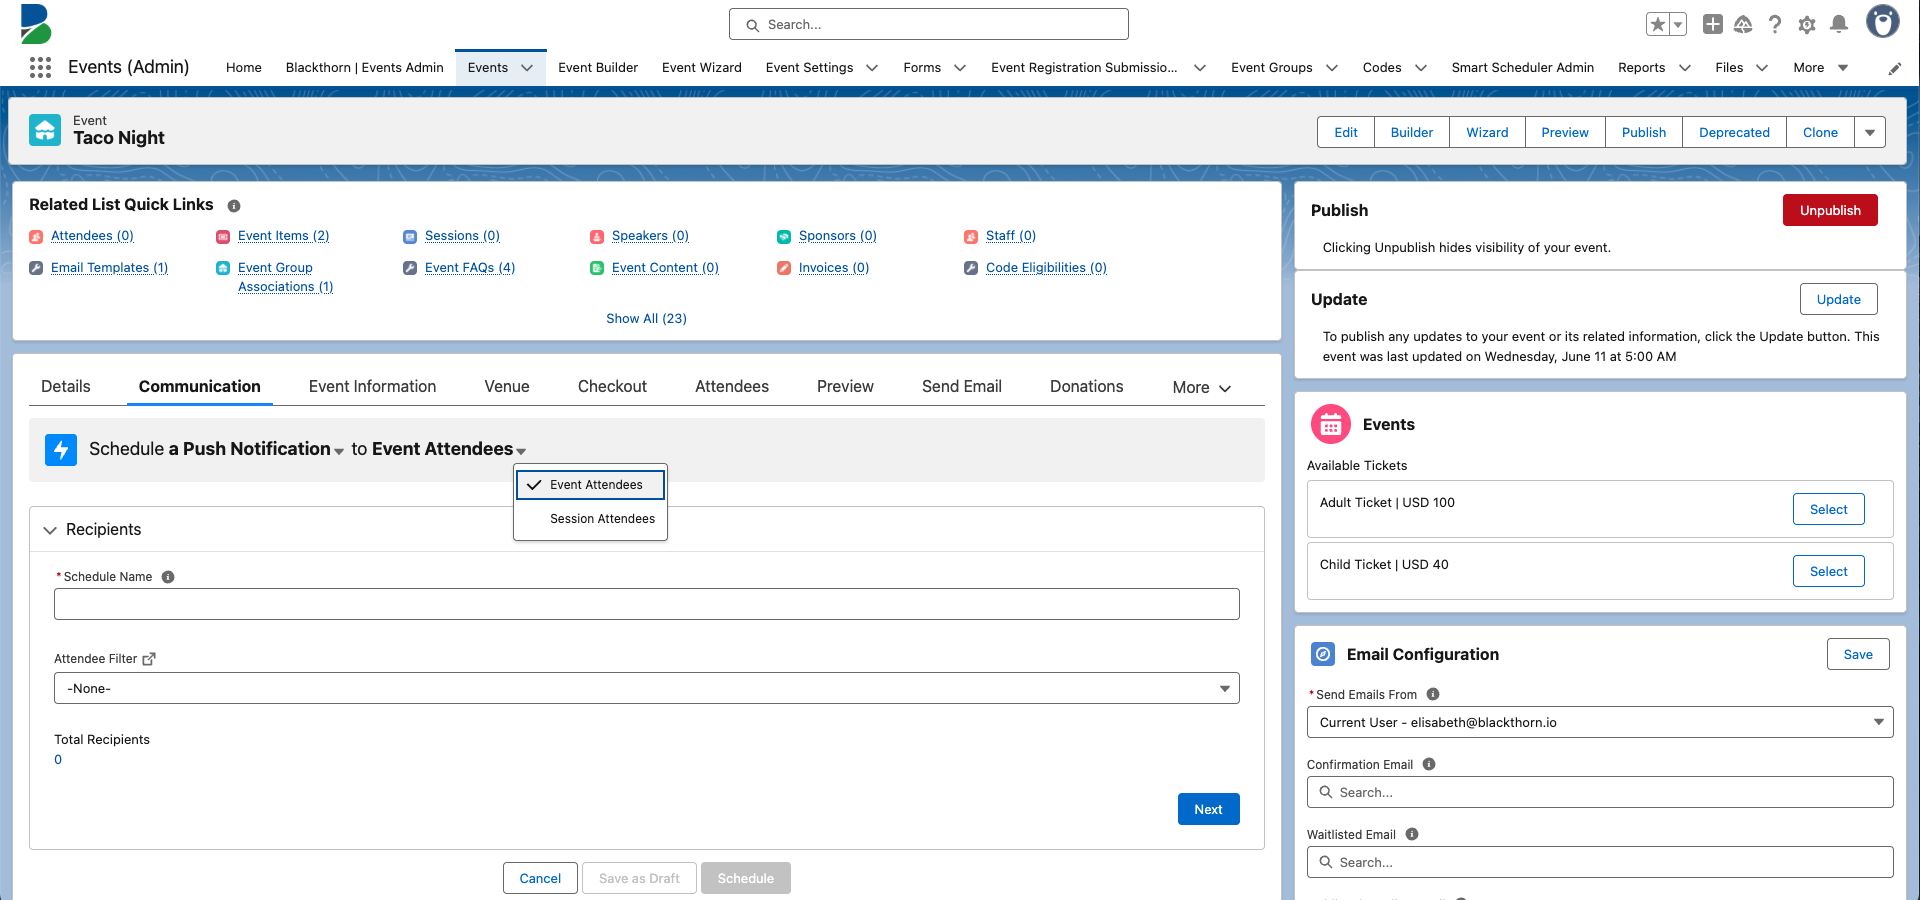
Select either “Event Attendees” or “Session Attendees.”
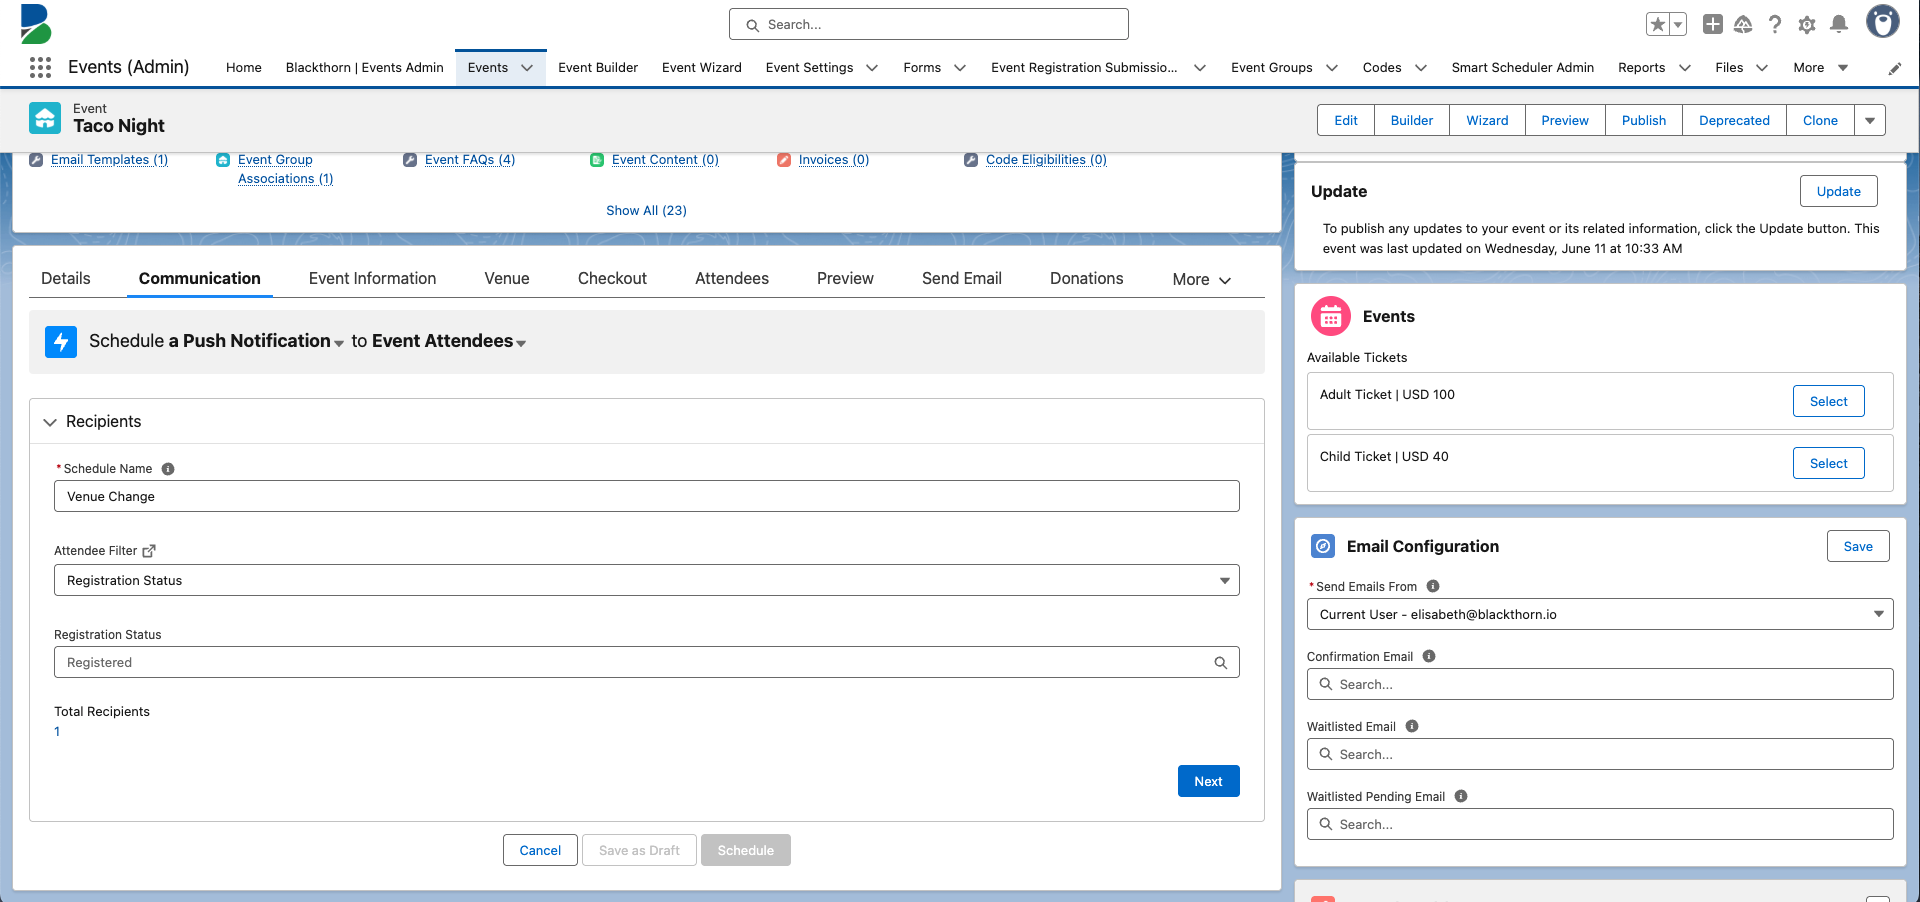
Enter a Schedule Name.
Choose an Attendee Filter.
If you set Attendee Filter = “Attendance Status”, select the relevant options in the Attendance Status field.
If you set Attendee Filter = “Registration Status”, select the relevant options in the Registration Status field.
There must be at least one recipient listed in Total Recipients. If a zero is listed under Total Recipients, check that you have the correct status selected and review the Attendees that should have the chosen status.
If you hover over the Total Recipients, you will see the list of Attendees who will receive the message. The push notification sender will be maintained from the API, and the receiver (Attendee) will be the Mobile Device ID, which is stored in the Attendee record page. It isn’t available on the Communication tab.
Click Next.
Schedule Section
Choose one of the three options below to schedule your push notification.
Send the push notification at a specific date and time. Choose the specific date and time in the Select a Date / Time field.
Send the push notification X Minutes/Hours/Days After/Before the selected trigger.
Enter the number.
Choose “Days”, “Hours”, or “Minutes”.
Select “Before” or “After”.
Choose “Event Start Date/Time”, Event End Date/Time”, “Event Attendee Registration Date”, or “Event Attendee Created Date”.
Select Now to send the push notification two minutes after it is scheduled.

Click Next.
Redirect To
Select where you want the app to redirect the Attendee to when they open the push notification.
Session: The app will direct Attendees to the Session page.
Speaker: The app will direct Attendees to the Speaker page.
Event: The app will direct Attendees to the Event page.
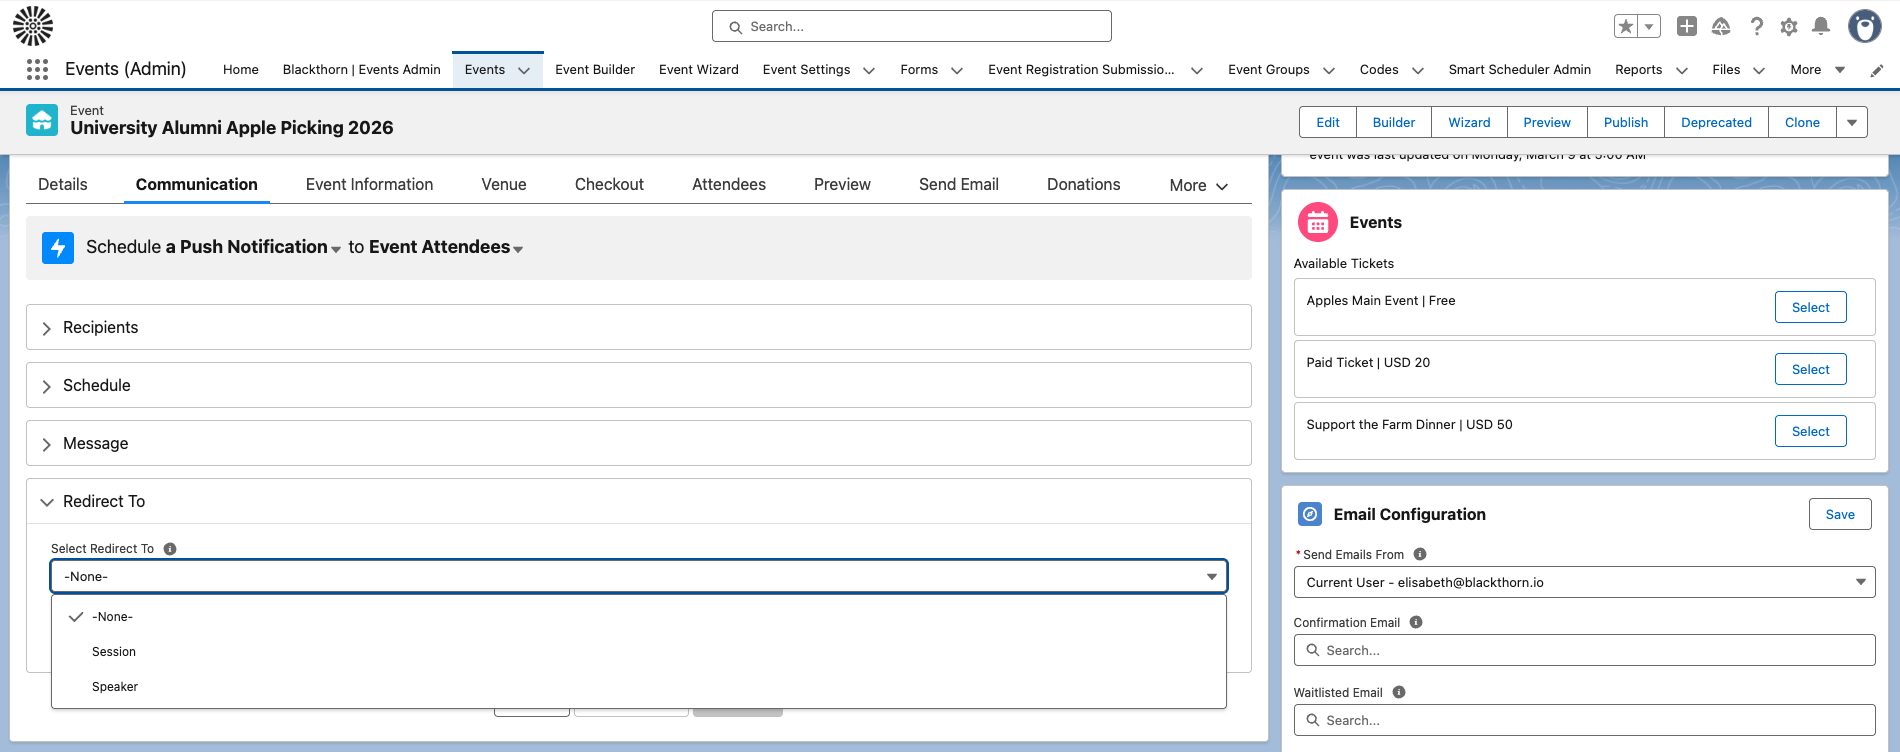
Click Next.
Message Section
Enter a message in the Body field. If you are including a URL with Event- or Session-specific information, add it here.

Click Next.
Send Test Section
Sending a test push notification is optional.
Complete the following fields.
Test Mobile Device Id(s) - Enter the Mobile Device ID stored in your Attendee record.
Test Record - Select your Attendee record.
Click Send Test.
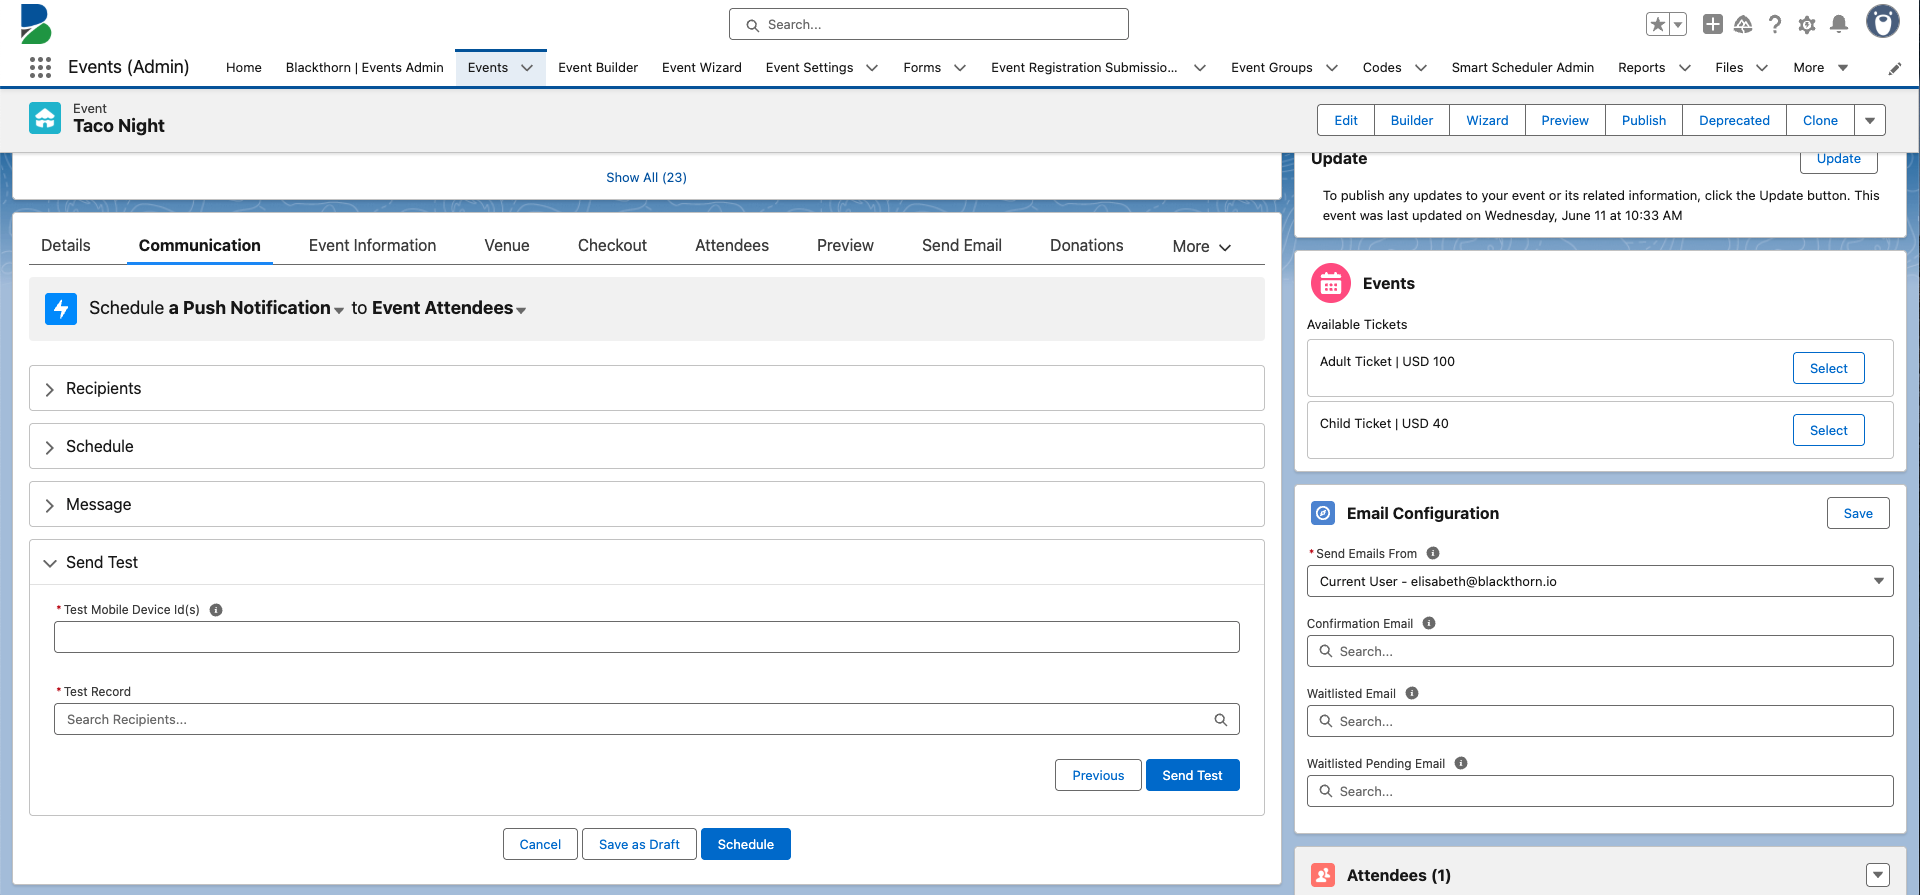
When you are ready to send the push notification, click Schedule. You will see the scheduled push notification in the Communication tab.
You can also edit a push notification that is in draft Status from the Event record or from the Global Scheduler by clicking the Edit button next to the notification.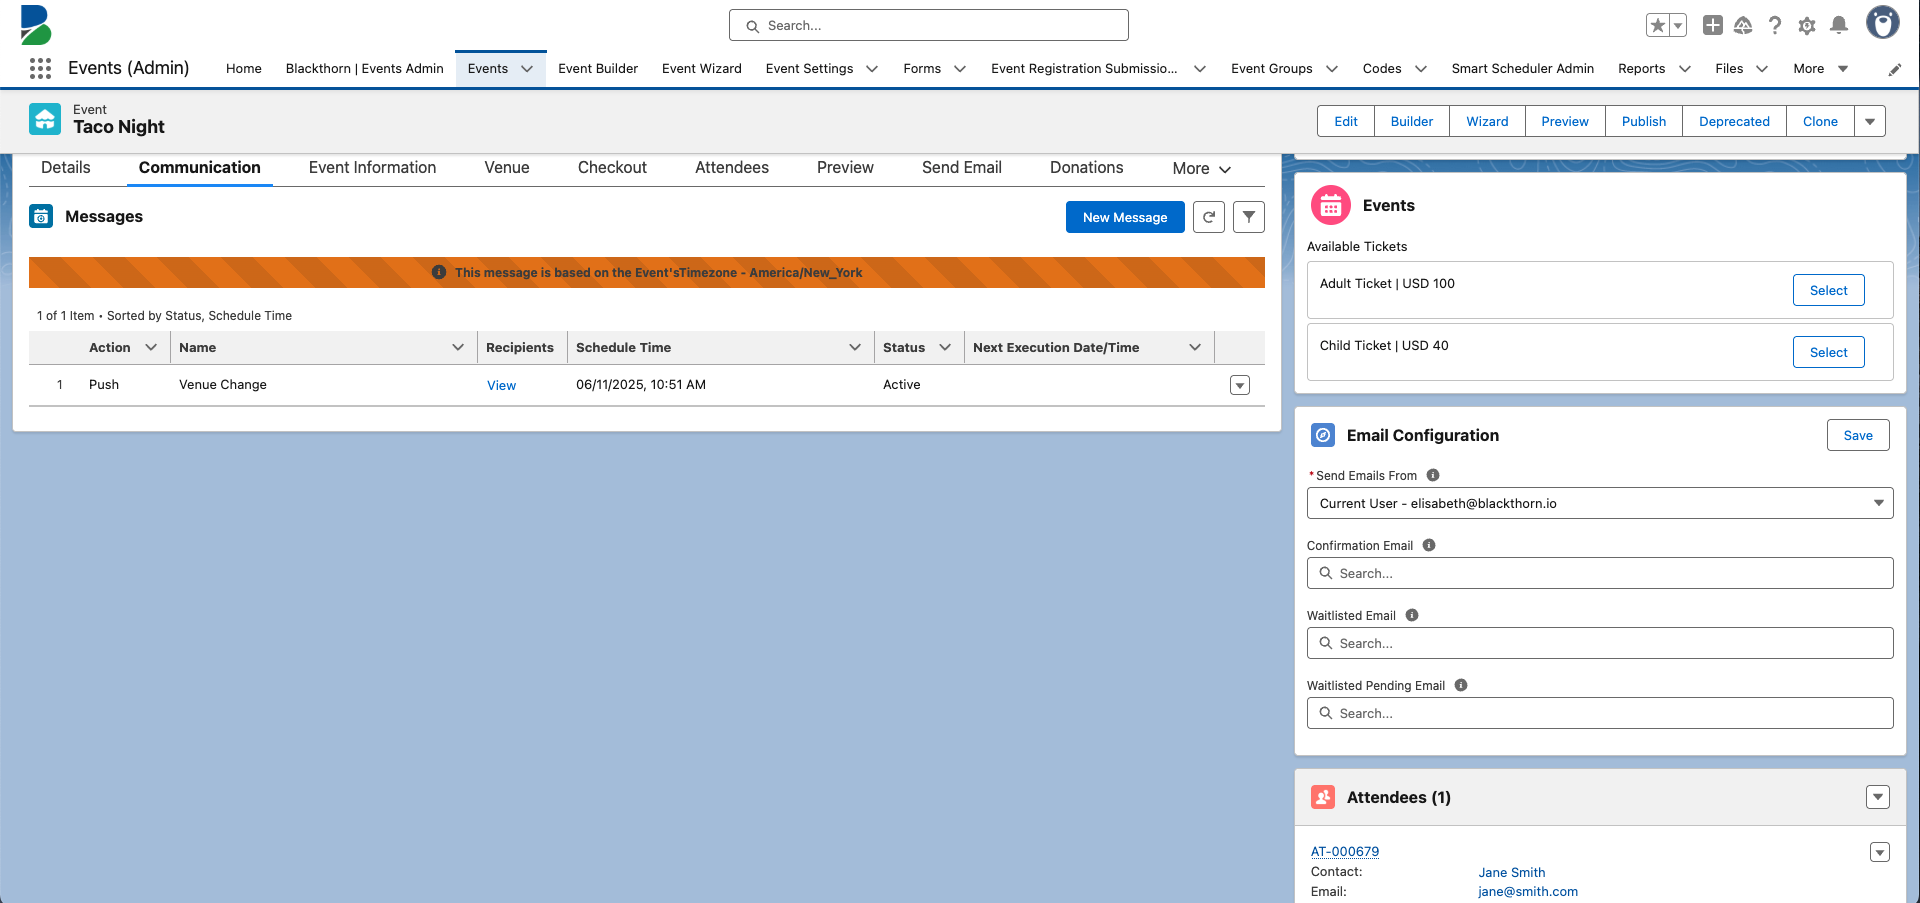
Confirm Attendee Login
Event Organizers can confirm if an Attendee has logged into the app by checking the Attendee’s Mobile Device ID field. If the Attendee has logged in, their mobile device ID will populate the field.
Usage Data
Event Organizers can pull reports that include the number of Attendee records with the Mobile Device ID field populated.
Event Registration Submission Record
When an Attendee registers for a Session from the Navigator app, a new Event Registration Submission (ERS) record will be created. The data saved will include the ERS record’s new Payload Source field with one of the following values: “Event Checkout,” “Session Checkout,” or “Mobile Check-In.”
Clearing the Cache
The app will clear the cache related to the Navigator app in the following scenarios.
The Attendee switches between organizations.
The Attendee signs out passively or uses the app infrequently.
The Attendee clicks Sign Out to sign out of the app.
Using Track Records
Use Track records to divide Sessions into categories and help Attendees filter their Agenda based on individual Tracks. Track records work the same in the Navigator app as they do on Event webpages.
You can also pre-assign Attendees to Tracks, limiting the Sessions they can register for.
Click here for steps to create Tracks and assign them to Sessions and Attendees.
WiFi
If an Attendee opens and starts using the app or “loads the data” before their device goes offline, the data will be readable in the app. Attendees will receive a notification that their device is offline.