Event Organizers must complete a few extra steps to prep the Event record and Blackthorn Event Navigator app.
Enable the Navigator app on the Event record by setting the Event Enable Navigator Attendee Mobile App field to “True” (checked).
Configure the navigation features on the Event Settings record, including hiding or relabeling navigation items.
Upload PDFs of maps, Event documentation, and Session documentation to the Event Content record.
Event Record
Add the Blackthorn Event Navigator App to an Event
Enabling or checking the Enable Navigator Attendee Mobile App field allows Attendees to use the Navigator app during an Event.
Disabling the Event Navigator App
Unchecking the Enable Navigator Attendee Mobile App field will automatically delete the Navigator app link from Attendee records. Please proceed with caution.
Event Code
The Navigator app provides two flexible Event access options: scan a QR code or manually enter an Event Code. The Event Code is a system-generated code set at the organization level and is stored in the Event record’s Event Code field. It can be shared with Attendees to allow them to access the Event in the Navigator app.
You must manually add the Event Code field to your Event page layout, as package upgrades cannot automatically modify existing page layouts. Once added, the field will display your unique 4-character code. The permissions for the Event Code field are View Only for all users.
Contact Us Email
Configure the Event’s Contact Us Email field to render the Contact Us page in the app.
Open the Event record.
Click the Pencil icon next to the Contact Us Email field.
Enter the email address of the person who will receive the emails.
Click Save.
Banner Image
Event Organizers can configure separate banner images for the Navigator app and the Event’s webpage.
The Navigator app uses the Event’s Thumbnail and Mobile Image URL (conference360__Thumbnail_and_Mobile_Image_URL__c) field.
If the Thumbnail and Mobile Image URL field is not defined, the app will use the Event’s Image URL field.
Add the Push Notifications Component
Blackthorn Base Version Prerequisite
To store or display push notification messages in the Navigator app’s Notification Center, the related Salesforce org must have Blackthorn Base Version 1.61 installed. Events users don’t need to upgrade Blackthorn Base unless they use the Navigator app for their Events.
If you already added the BT Event Scheduler component (Smart Scheduler) to the Event record under the Communication tab, you do not need to add it again.
Open an Event record.
Click the Gear icon.
Click Edit Page.
Click the Tabs section of the page layout.
Click Add Tab.

Click the new tab. It should be located at the bottom of the list of tabs.
Click the Tab Label field and select "Custom."
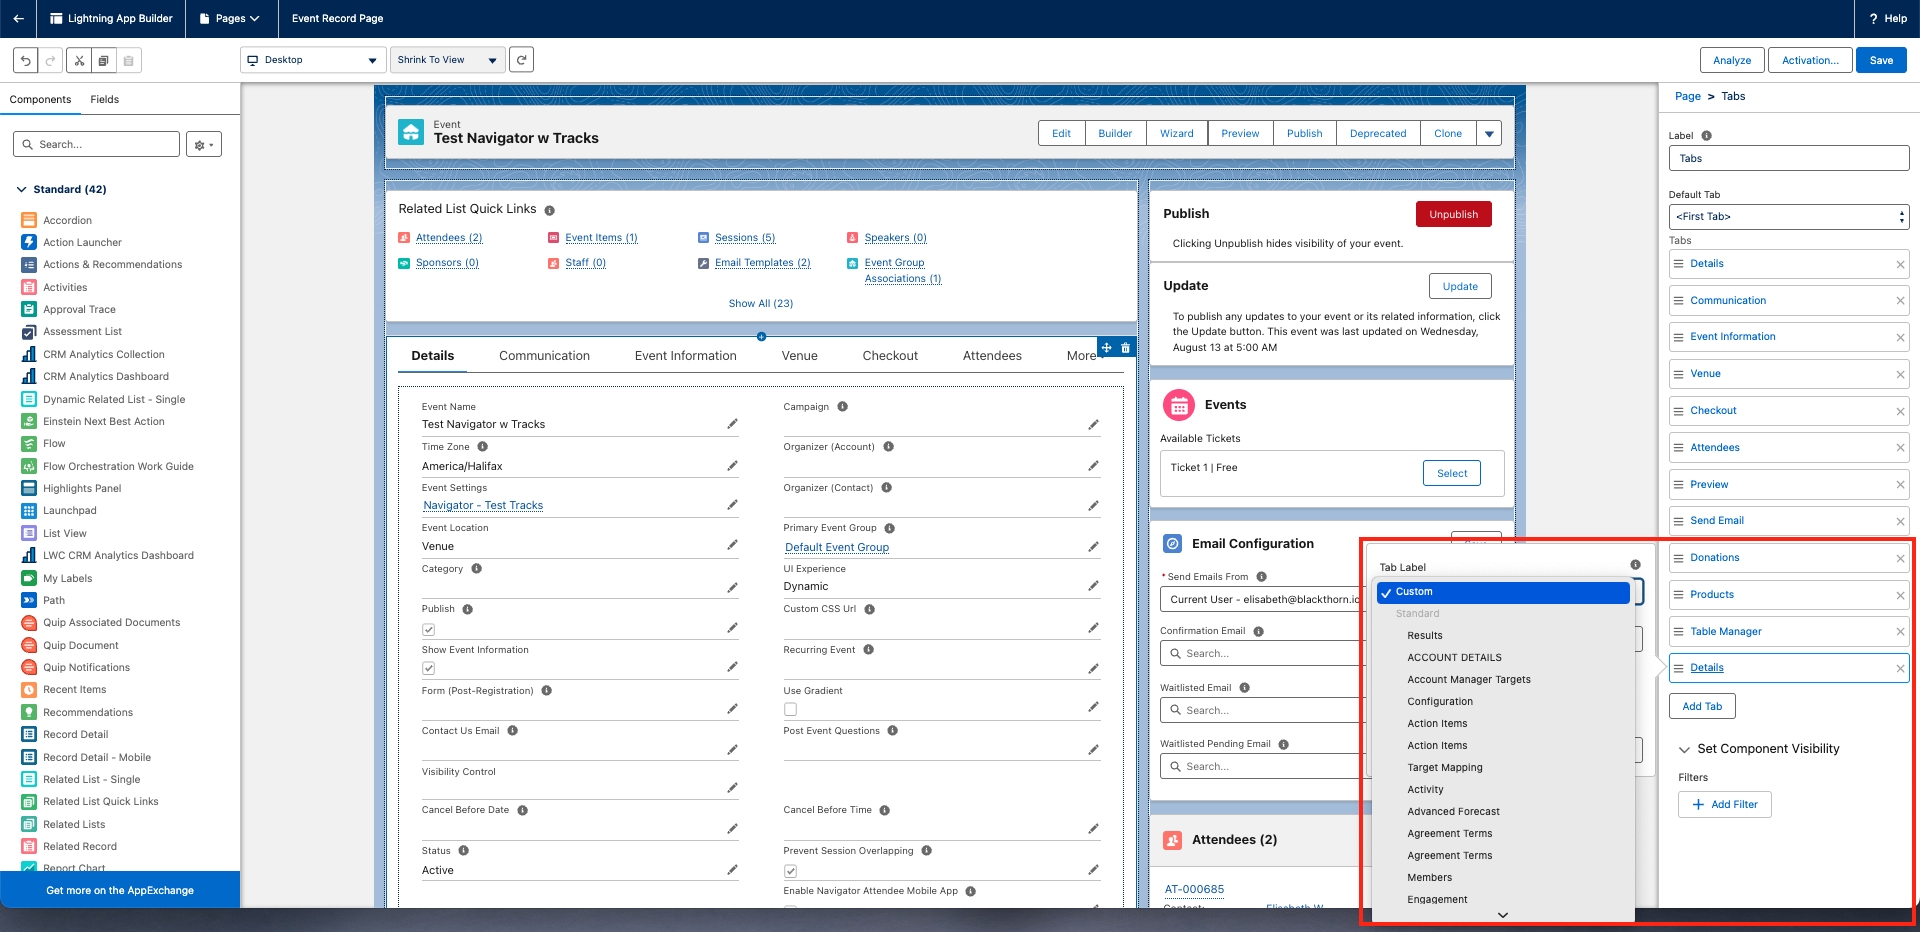
Enter "Push Notifications" in the Custom Label field.
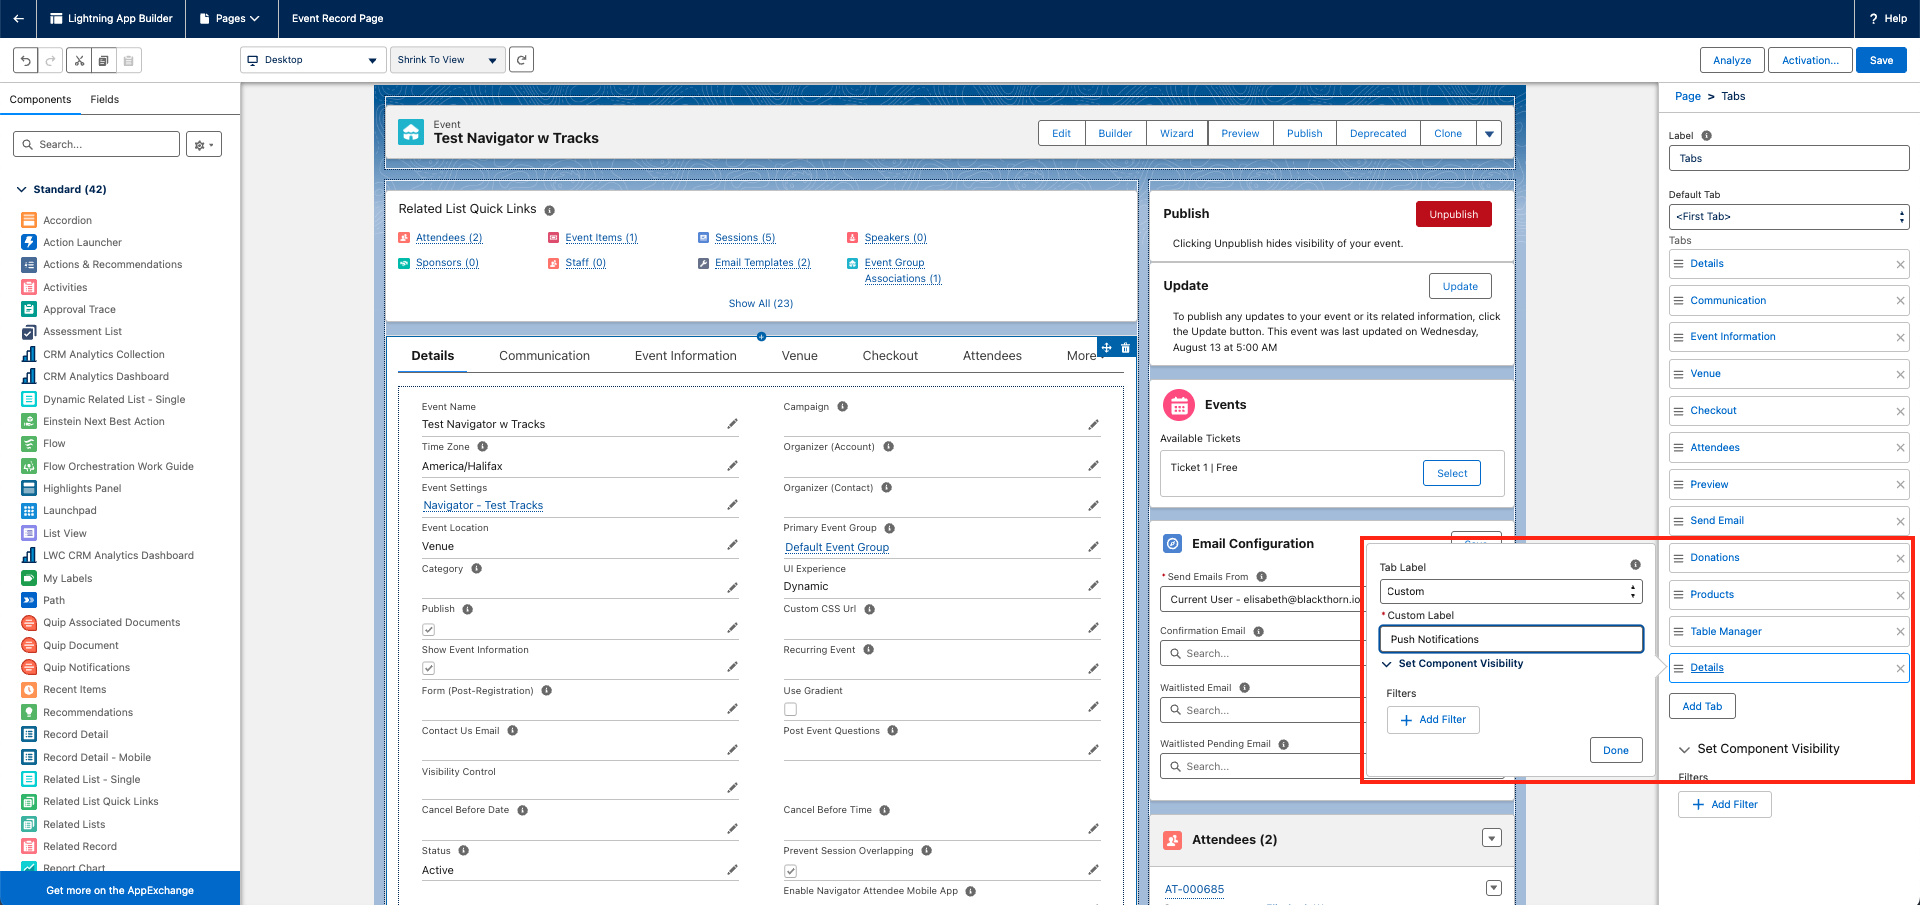
Click Done.
In the Tabs section on the page layout, tap the Push Notifications tab.
In the Components column on the left side of the screen, enter "BT Event Scheduler."
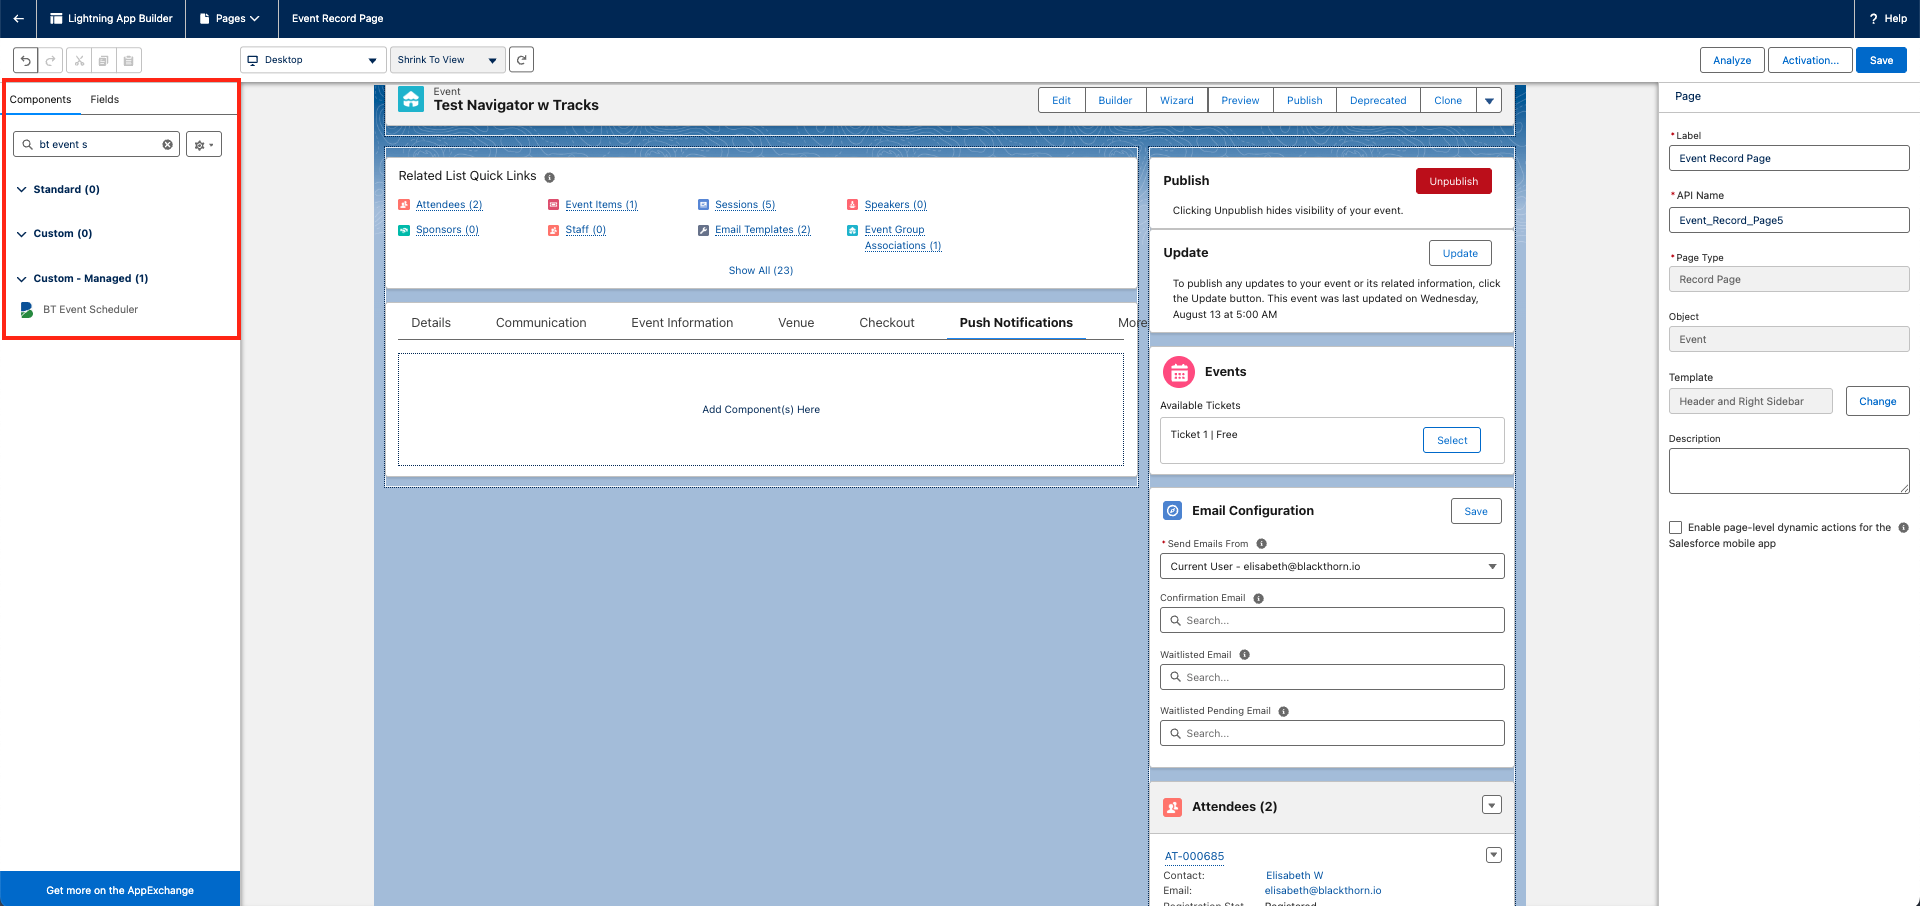
Drag and drop the BT Event Scheduler component onto the Push Notifications tab.
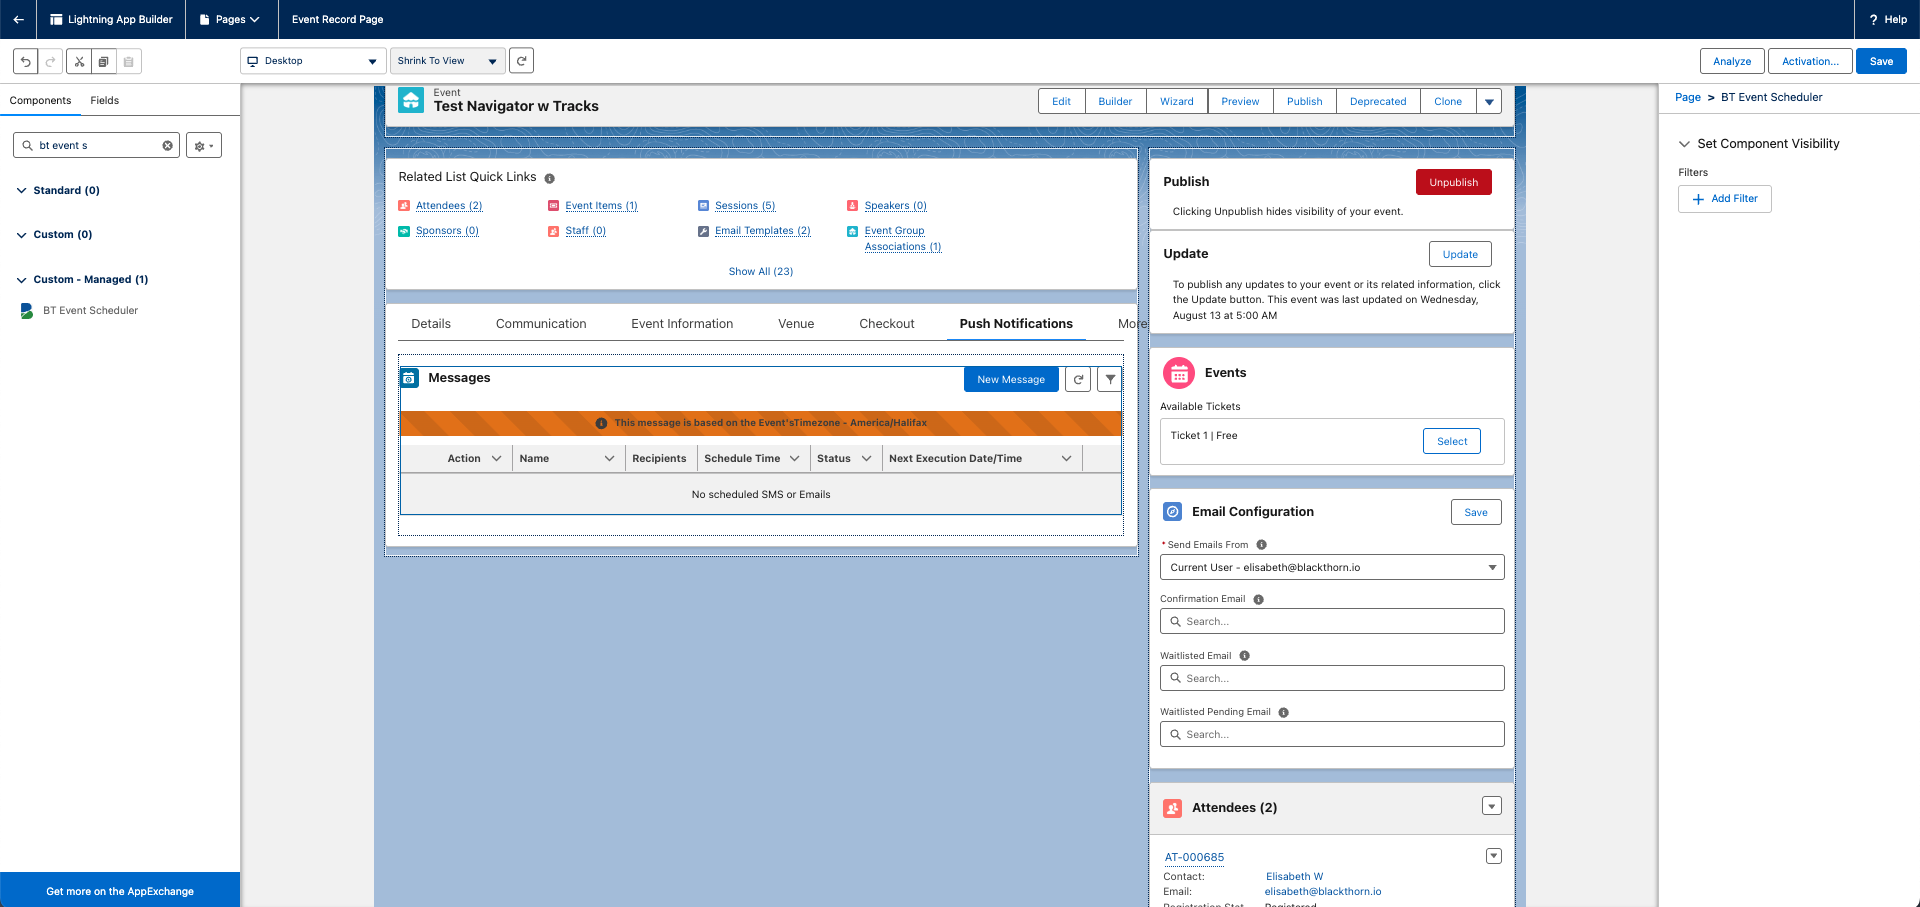
Click Save.
Event Settings Record
Configure the Event Navigator App
Depending on your Event, you may not need all of the features and navigation options in the Navigator app. The Event Settings record has five fields in the new Attendee Mobile App section that can either show or hide corresponding sections in the app.
Show Agenda - Shows or hides the Agenda tab in the navigation bar.
Show Attendees - Shows or hides the Attendees tab in the navigation bar.
Show Map - Shows or hides the Info tab’s Get Directions (Google Map) button.
Show Ticket - Shows or hides the Ticket tab in the navigation bar.
Show Profile - Shows or hides an individual Attendee’s profile screen.
Branding Elements
If an Event includes branding elements, those branding elements will also be visible in the Navigator app. Branding elements include the following:
Event Settings
Background Color (#)
Primary Color (#)
Card Color Theme
Font
Event
Thumbnail and Mobile Image URL (backup image - Image URL)
Speaker
Image URL
Session
Image URL
Data Dictionary
Event Organizers with the Blackthorn | Events (Organizer) permission set can also use the Data Dictionary to rename the following section titles: Agenda, Attendees, Map, Ticket, Profile, Info, and Contact Us.
Use the Keys in the table below when creating the Data Dictionary Entry. Once the Data Dictionary Group is complete, add it to the Event Settings Data Dictionary Group field.
Section Title | Key |
|---|---|
Agenda | LBL_PASSPORT_SECTION_AGENDA |
Attendees | LBL_PASSPORT_SECTION_ATTENDEES |
Map | LBL_PASSPORT_SECTION_MAP |
Ticket | LBL_PASSPORT_SECTION_TICKET |
Profile | LBL_PASSPORT_SECTION_PROFILE |
Info | LBL_PASSPORT_SECTION_OVERVIEW |
Contact Us | LBL_PASSPORT_SECTION_CONTACT_US |
Click here for more information about creating a Data Dictionary Group and Data Dictionary Entries.
Event Content Record
To use an Event Content record to display a map on the Info tab, configure the following fields.
Type = “PDF”
Category = “Map”
Display in Navigator Attendee Mobile App = “True” (checked)
Show as ‘Venue Map’ on Navigator App = “True” (checked)
The Event Content record will now be identified as venue-map related and displayed in the “Venue Map” section in the “Info” tab.
If multiple Event Content records have Category = “Map,” Attendees can access them by clicking the View Venue Maps button.
Please note: All PDF documents live at the Event level and cannot be tied to a specific Session.
Custom Content Records
Custom Content records enable Event Organizers to add fully branded Custom Content tabs that enhance the Attendee experience by offering videos, images, and key event information in rich text.
The following types of content can be included:
Event logistics information (schedules, maps, contact info)
Sponsor visibility and branded content
Supplemental Event materials (videos, images, rich text content)
Custom resources and reference materials for Attendees
Event Organizers can also select custom icons from the Ionicons library to make the tabs easy to recognize and determine which tabs will be in the main navigation or grouped in the "More" menu for easy access.
Permission Sets
The Custom Content (conference360__Custom_Event_Tab__c) object includes the Display Location, Icon, and Sort Order fields, which allow Event Organizers to determine where and how the Custom Content will be displayed in the Navigator app.
To read and edit the Display Location, Icon, and Sort Order fields, a user must have one of the following Blackthorn | Events permission sets.
Blackthorn | Events (Admin)
Blackthorn | Events (Organizer)
Blackthorn | Events (Community/Platform User)
Users with Blackthorn | Events (Lite User) or Blackthorn | Events (Read Only) permission set can only read these fields.
Prerequisites
The Event Navigator app must be enabled for your organization.
Event Organizers must create and set up Custom Content records in Salesforce; not the Event Wizard or Event Builder.
Attendees’ mobile devices must be online to access the Custom Content.
Embedded Media
When an [embed] tag is used to embed media in a Custom Content record, Salesforce will validate that the embed tag source URL is allowlisted. If the source is not part of the allowlist, the content will not be displayed.
Example: When an Event Admin embeds an iframe in Custom Content, they will get an error if the [embed] tag includes a non-allowlisted origin.
Custom Content Visibility
Summary
The value in the Event Settings Custom Tabs field takes precedent over the value in the Custom Content Display Location field.
To ensure the Custom Content is visible in the Navigator app, it is important to understand how the Display Location field interacts with the Event’s Event Settings record.
The Event Settings record includes the Custom Tabs field, which shows or hides Custom Content tab(s) at the top of the Event webpage.
Custom Content will only be visible in the Navigator app if the Event Settings Custom Tabs field = “Always” and Custom Content Display Location = “Navigator” or “Both.”
If Custom Tabs = “Hide,” then the Custom Content will not be visible in the Navigator app or the Event’s webpage, regardless of the value in the Display Location field.
Set Up
Follow these instructions to create Custom Content.
Open the Custom Content record.
Select a value for the Display Location field.
Select “Webapp” to show on the Event’s webpage only.
Select “Navigator” to show in the Navigator app only.
Select “Both” to show on webpages and in the Navigator app.
Select an icon from ionicons.
In the Icon field, enter the text name for the icon. For example, enter “basketball-outline” to use the outline of a basketball.
Enter a value in the Sort Order field. Custom Content with Sort Order = “1” will be visible in the navigation bar at the bottom of the screen. The remaining records, can be found by clicking the “More” tab.
Click Save.
Recommendations
Performance is optimized for up to 3-4 tabs per Event.
Use Custom Content that is relevant to the majority of Attendees. The visibility of Custom Content cannot be changed on a per-Attendee basis.
Attendee Records
Event Organizers can include an automatically generated Attendee-specific Navigator invite and login link (deeplink) in Attendee communications. While the Navigator link is sent to Attendees like the AttendeeLink, each link has a different purpose.
AttendeeLink: a unique link that welcomes Attendees, invites them to register for an Event, and allows them to modify their free Session status.
Event Navigator Link: a unique link that invites Attendees to download the Blackthorn Event Navigator app for use during a multi-session Event.
The following must occur before the personal invitation link can be created and stored on an Attendee’s record in the Personal Navigator App Link field.
The Event record’s Enable Navigator Attendee Mobile App field is checked.
The Attendee’s Registration Status is set to “Registered” or “Invited.”
The Attendee’s Email field contains a valid email address. If the Email field is blank, the Personal Navigator App Link field will also be blank.
If the app is enabled after an Attendee registers for the Event, the Navigator login link will be generated and saved in the Attendee record’s Personal Navigator App Link field. If the app isn’t enabled for the Event, links will not be created for the Event’s Attendees.
When a Navigator login link is generated, it will include the 18-character Org ID format (full Salesforce Org ID). A URL in the following pattern will then be available in the Attendee record’s Personal Navigator App Link field: “https://app.navigator.blackthorn.io/?email=XXXXX&orgId=YYYY”
You can also include the URL as a clickable link in an Email Template or other Attendee communications.