Tabs
Agenda Tab
IMPORTANT: If an Attendee wants to register for or cancel an existing registration for a paid Session, they must contact the Event’s organizer.
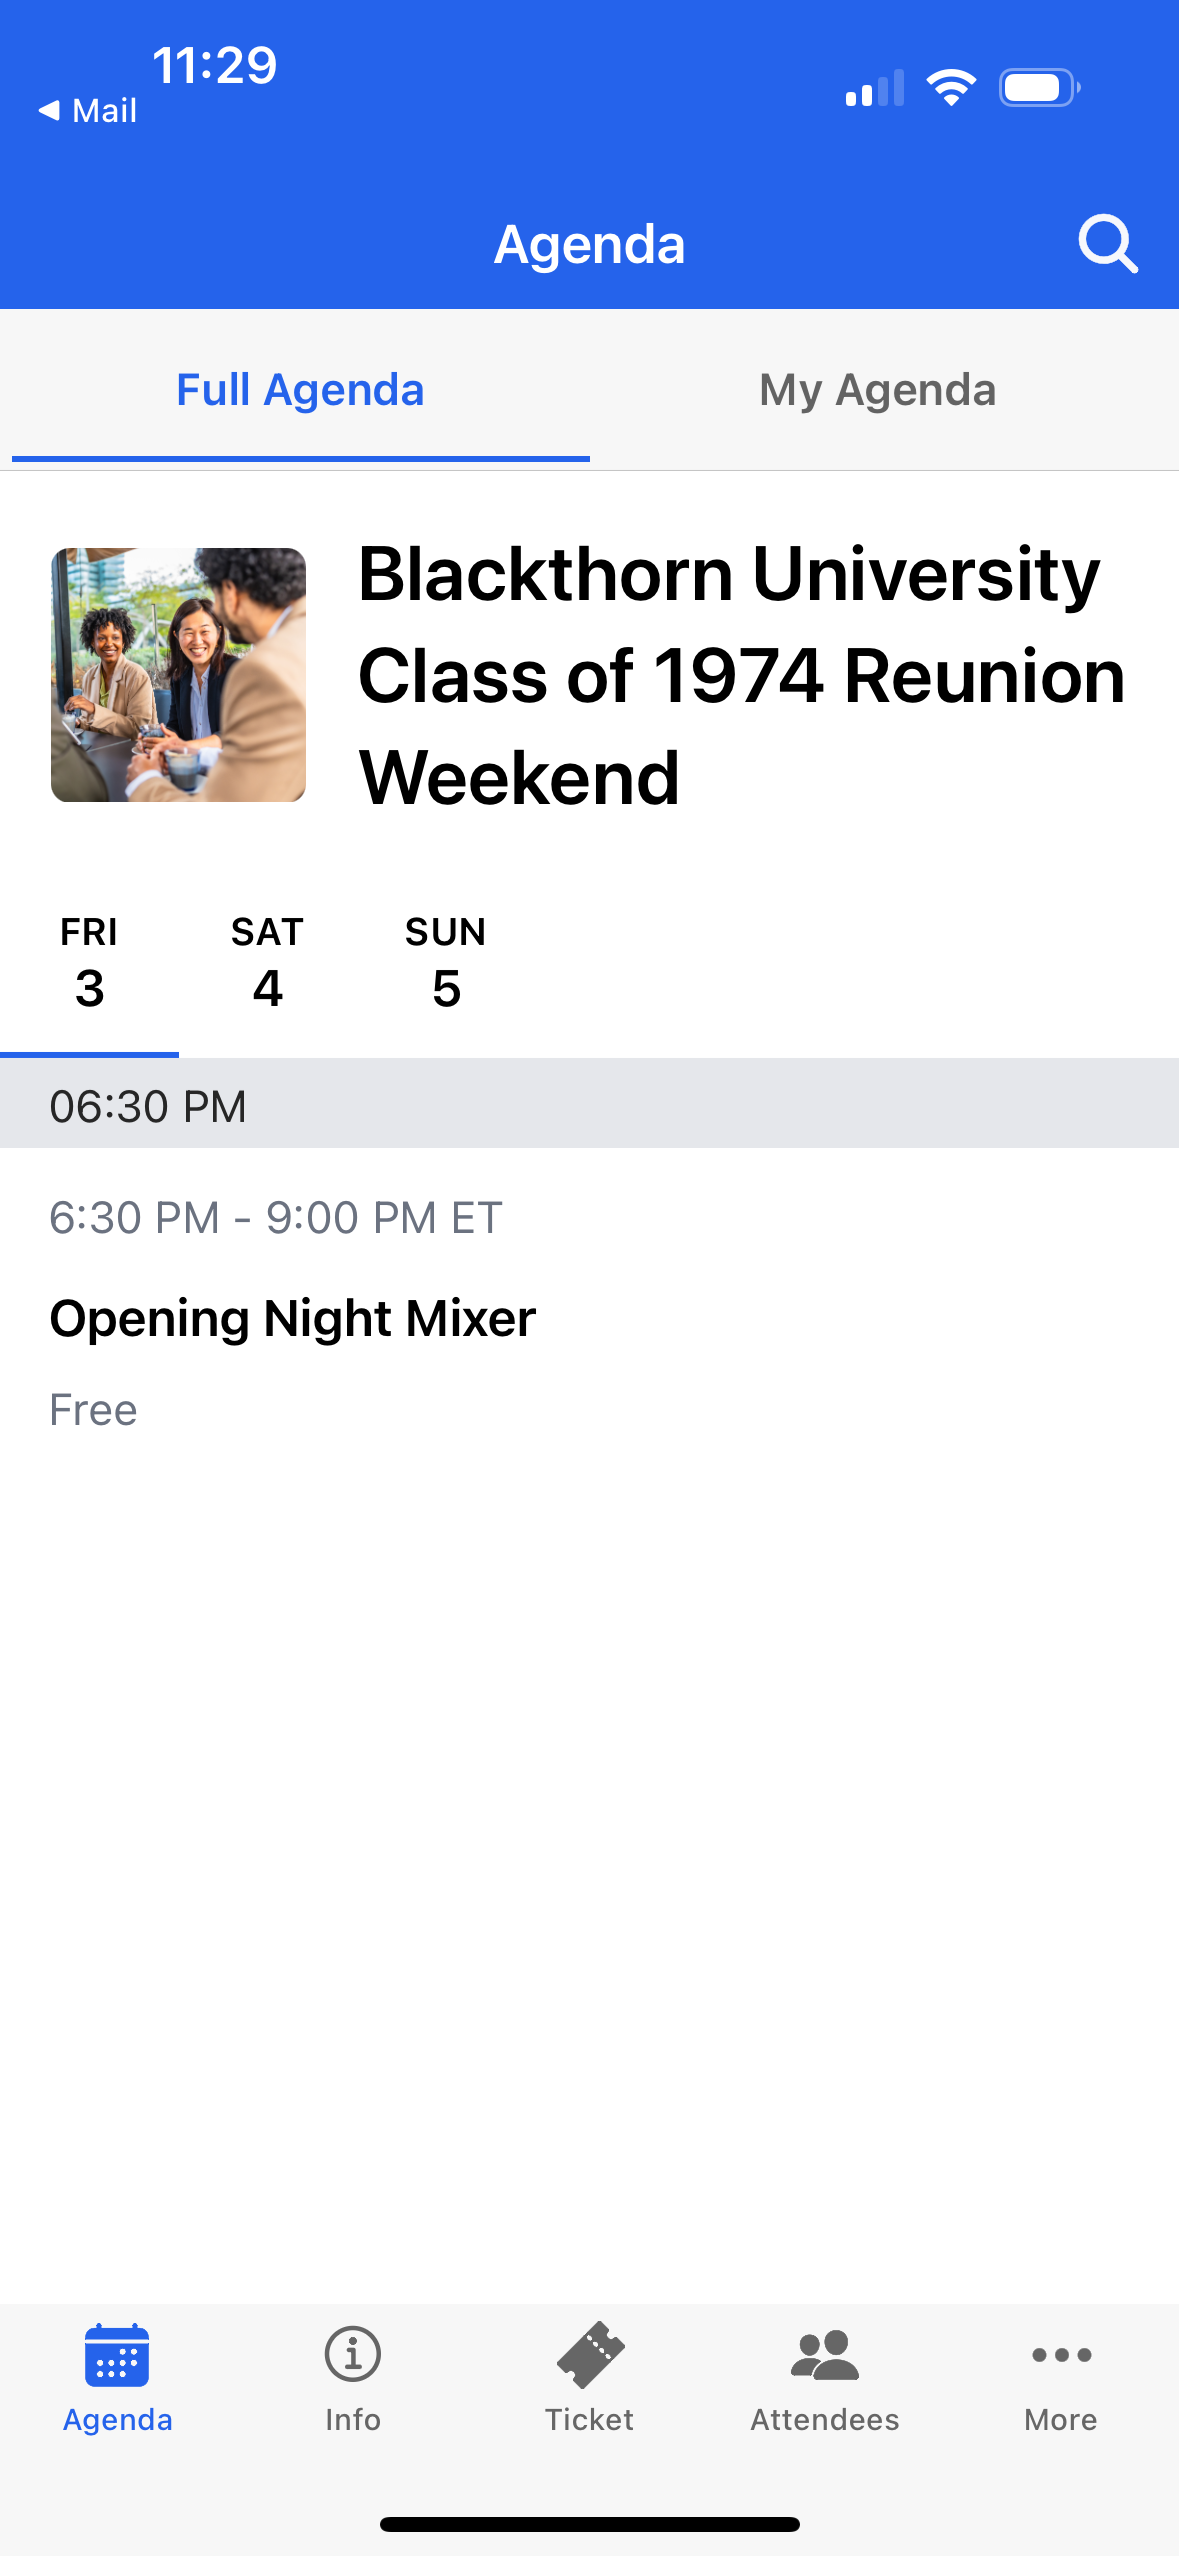
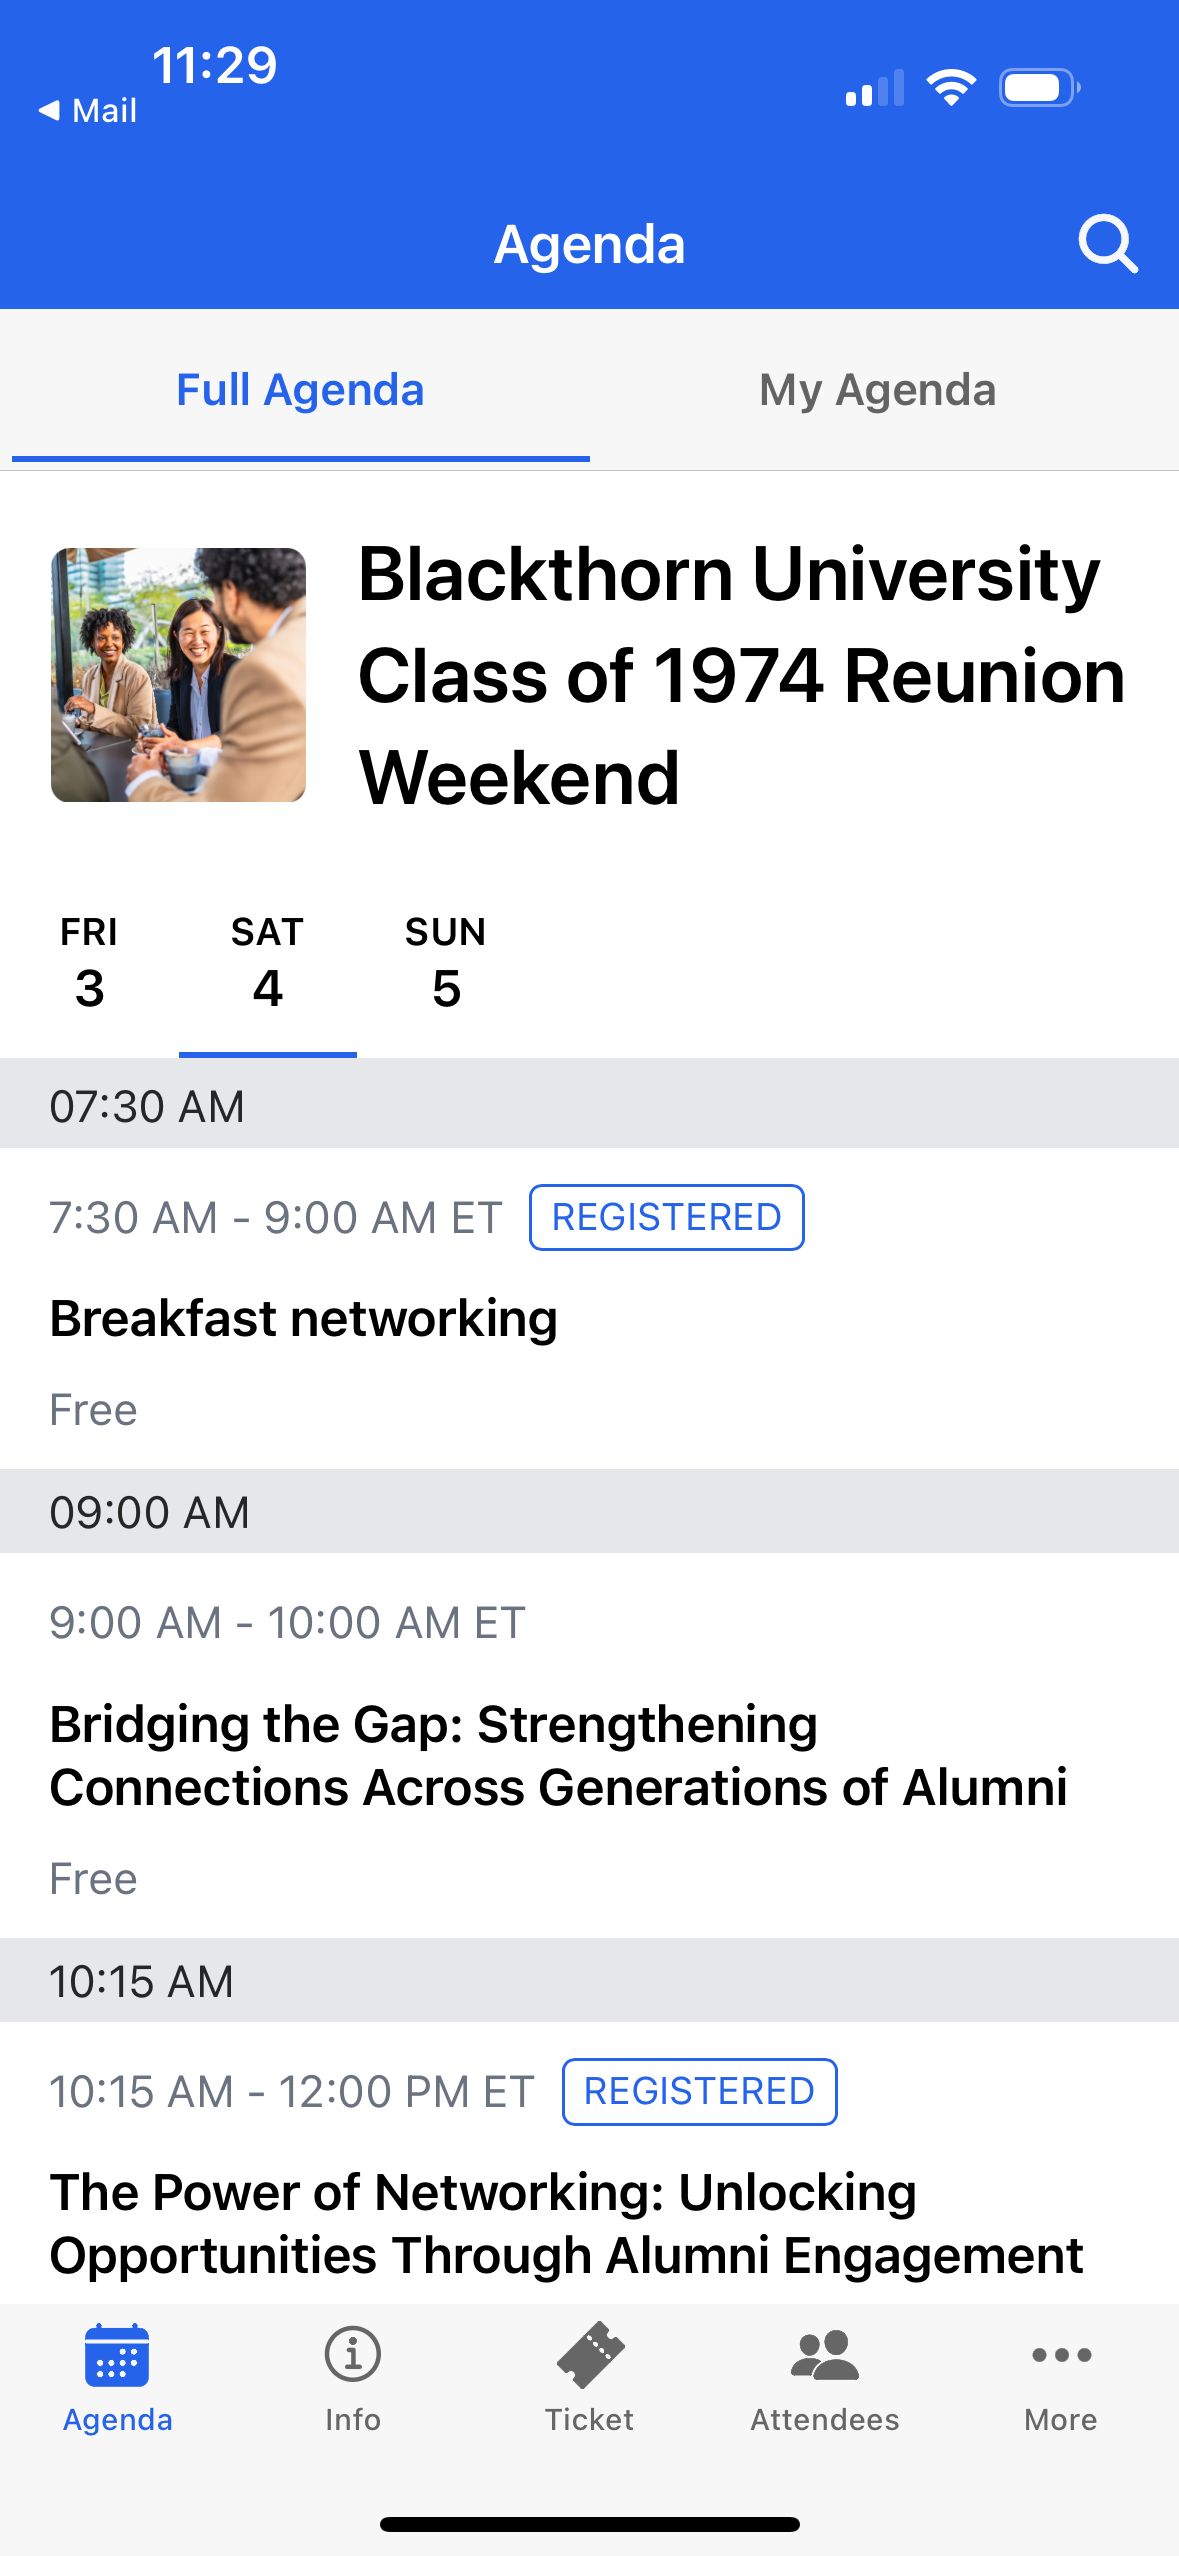
Full Agenda Tab
Attendees can view all of the Event’s Sessions, which are sorted by date and Start Time.
Attendees will see the word “REGISTERED” next to the Session(s) they registered for.
Attendees can register for or cancel registrations for free Sessions.
Day 1
Day 2
Day 3

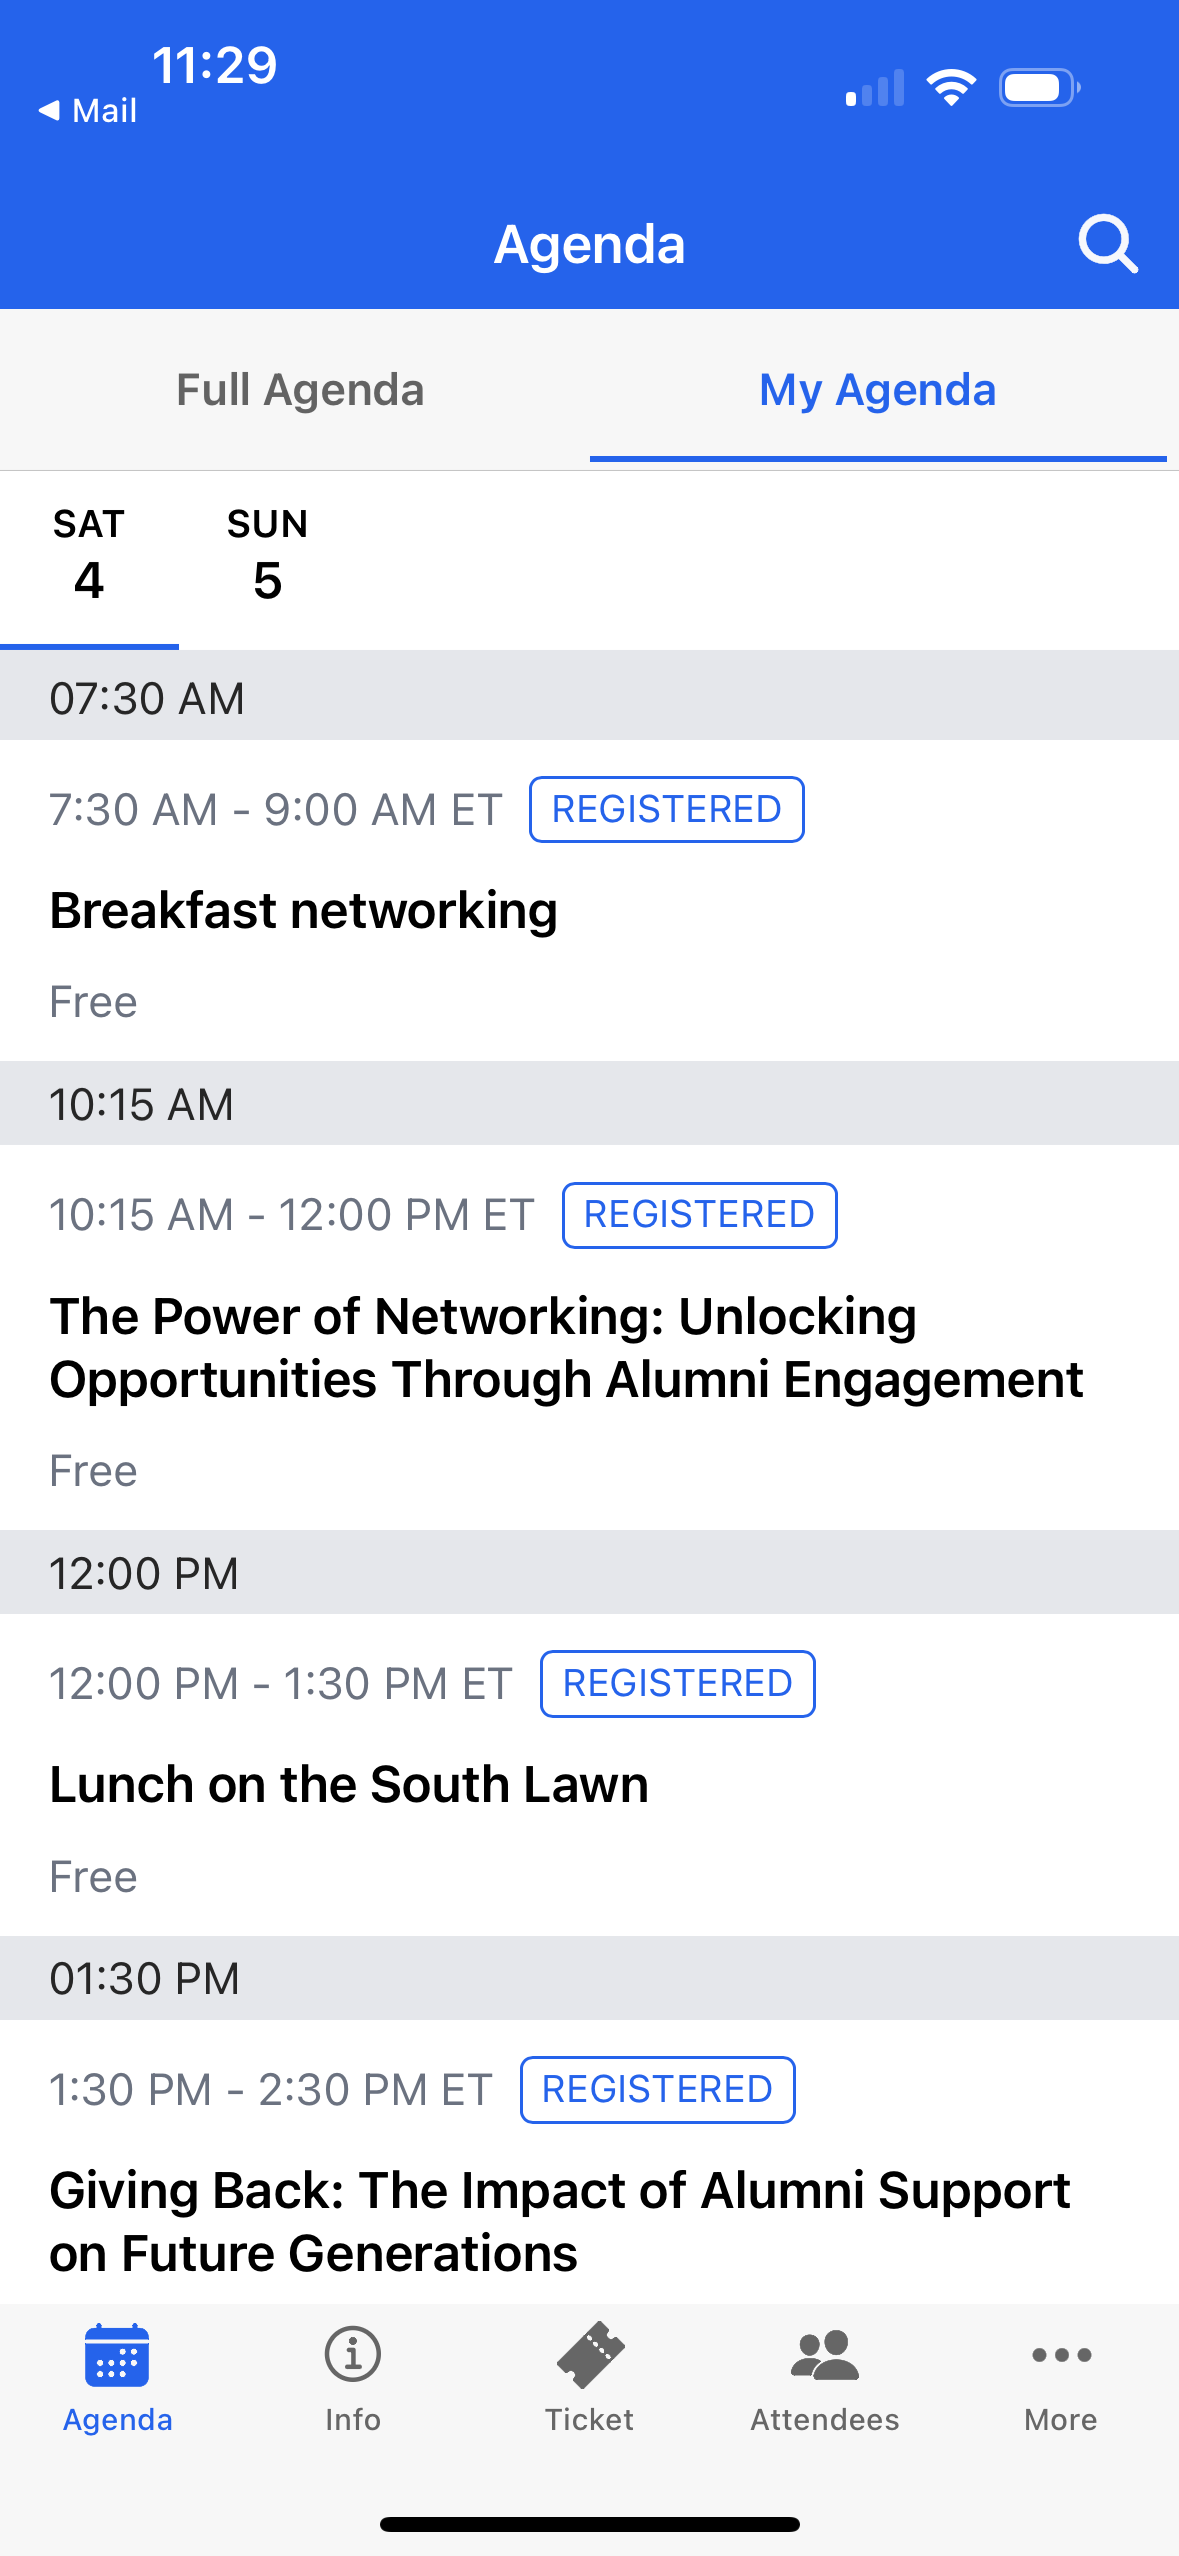
My Agenda Tab
Lists the Sessions an Attendee has registered for, grouped by Session Start Date and Start Time.
Attendees can cancel their registrations for free Sessions.
Info Tab
Attendees will see details about the Event, including the date, times, location, description, and banner image.
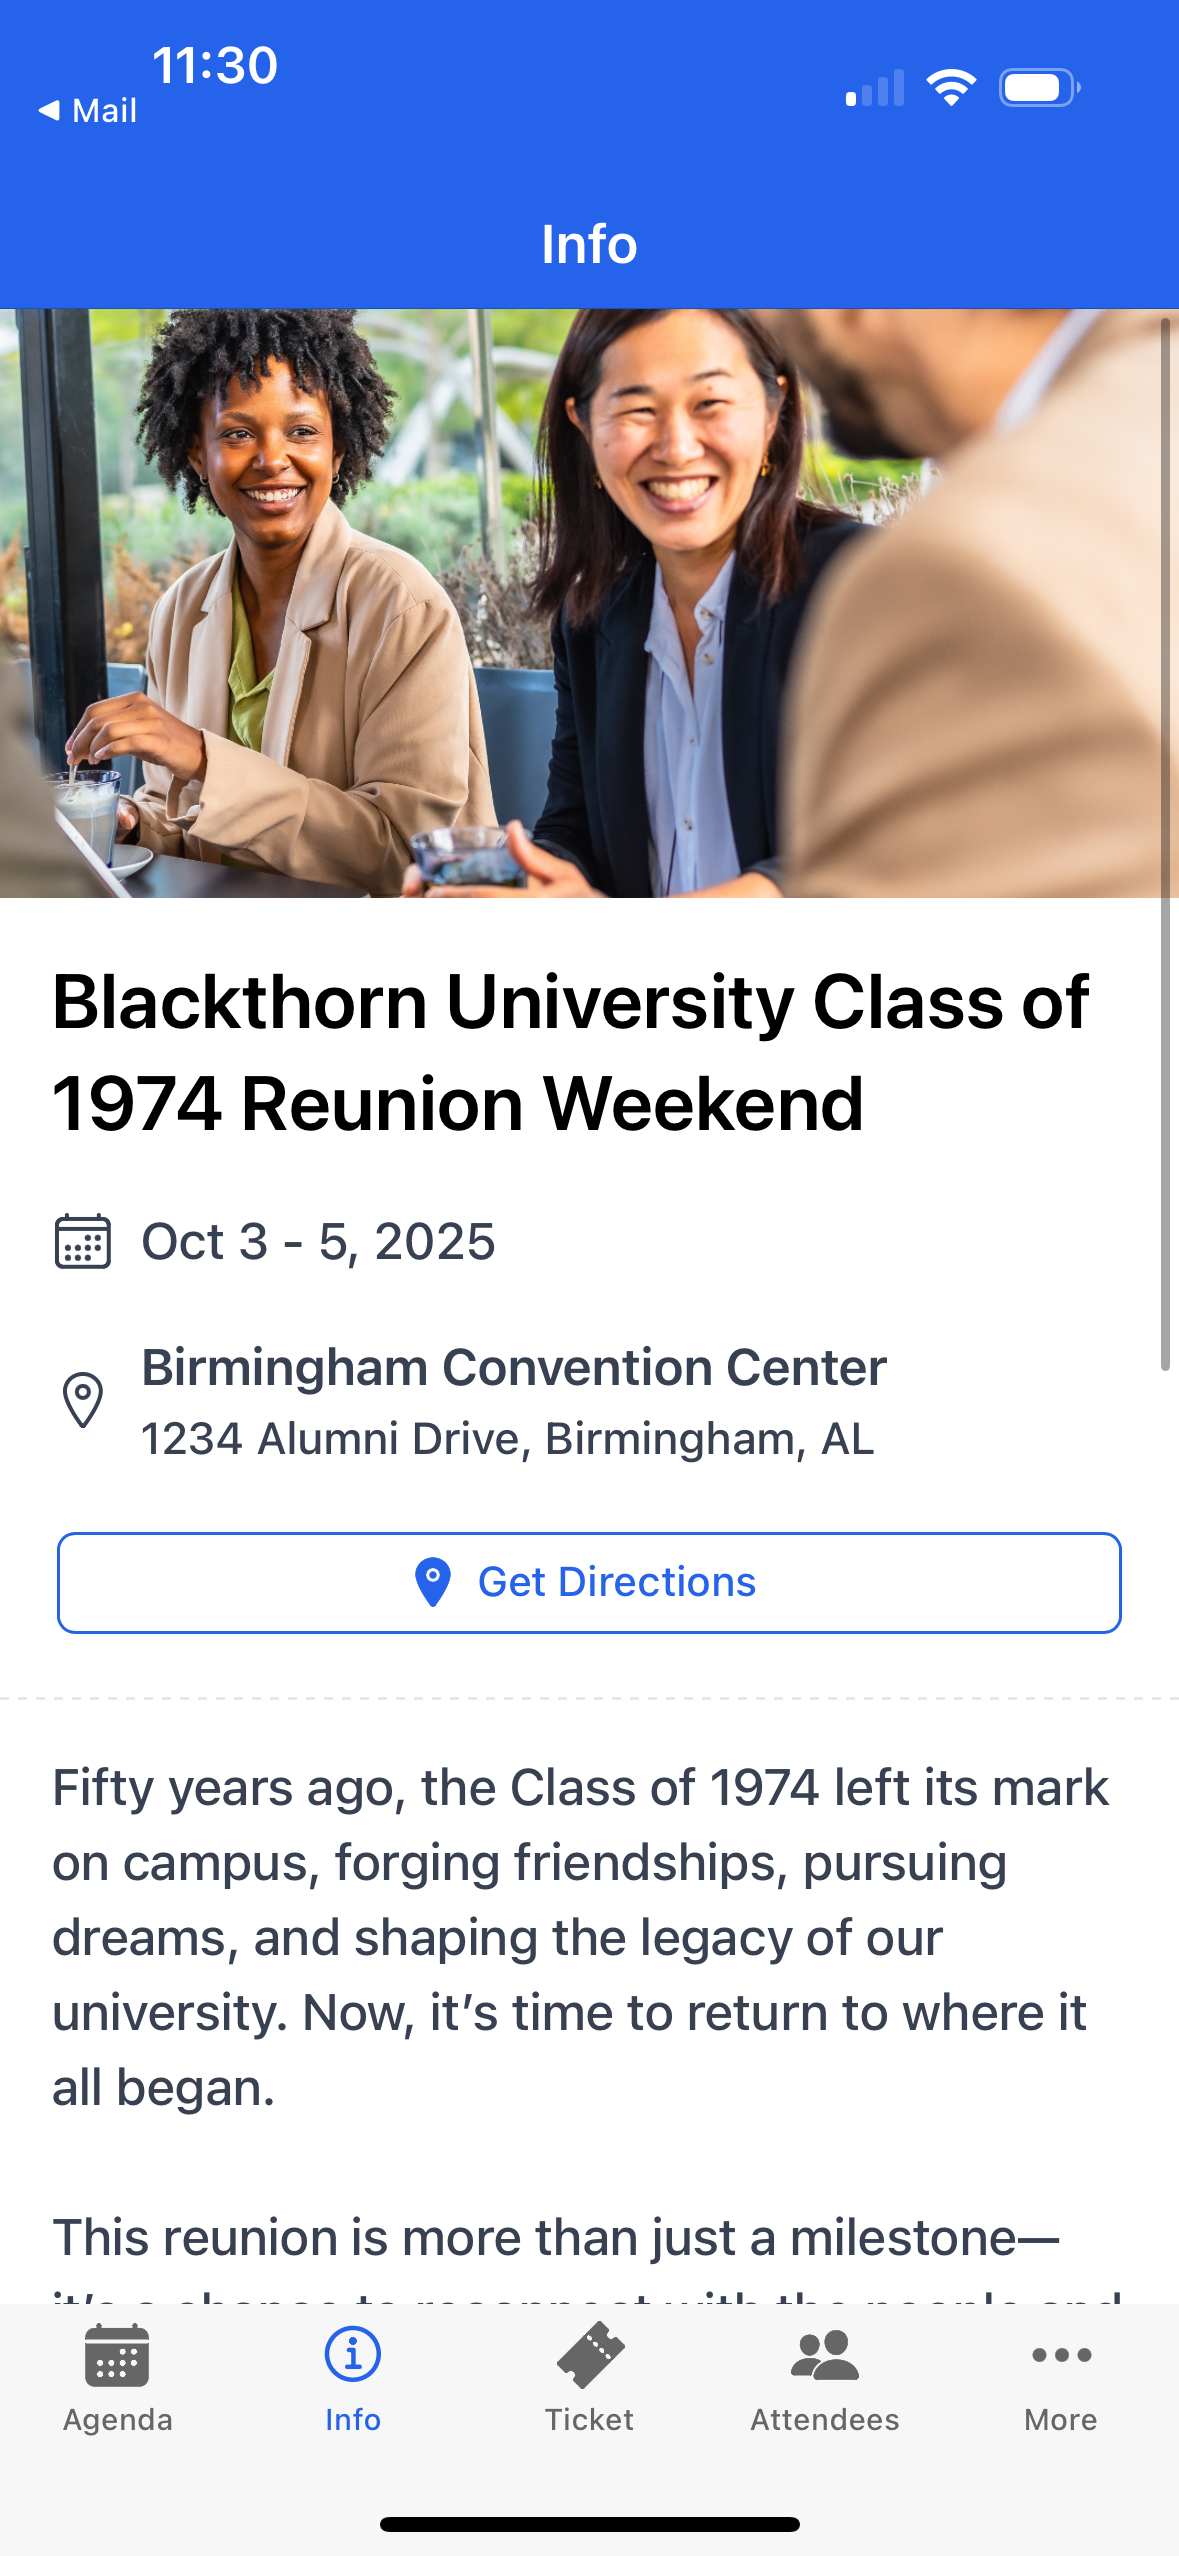
Directions/Venue
The direction and venue map options will be displayed when configured in the Event Content record.
Share Event Access
Attendees can share a QR code with other Attendees to help them gain access to the Navigator app.
When an Attendee clicks the Share button in the top-right corner of the Info tab, the app generates a QR code that links to the Event’s organization ID. Scanning the QR code automatically directs new Attendees to the correct organization and Event via their app’s sign-in screen or to the relevant app store to download the Navigator app.
Ticket (QR Code)
Attendees can use the QR code to check in for their Event or Session(s).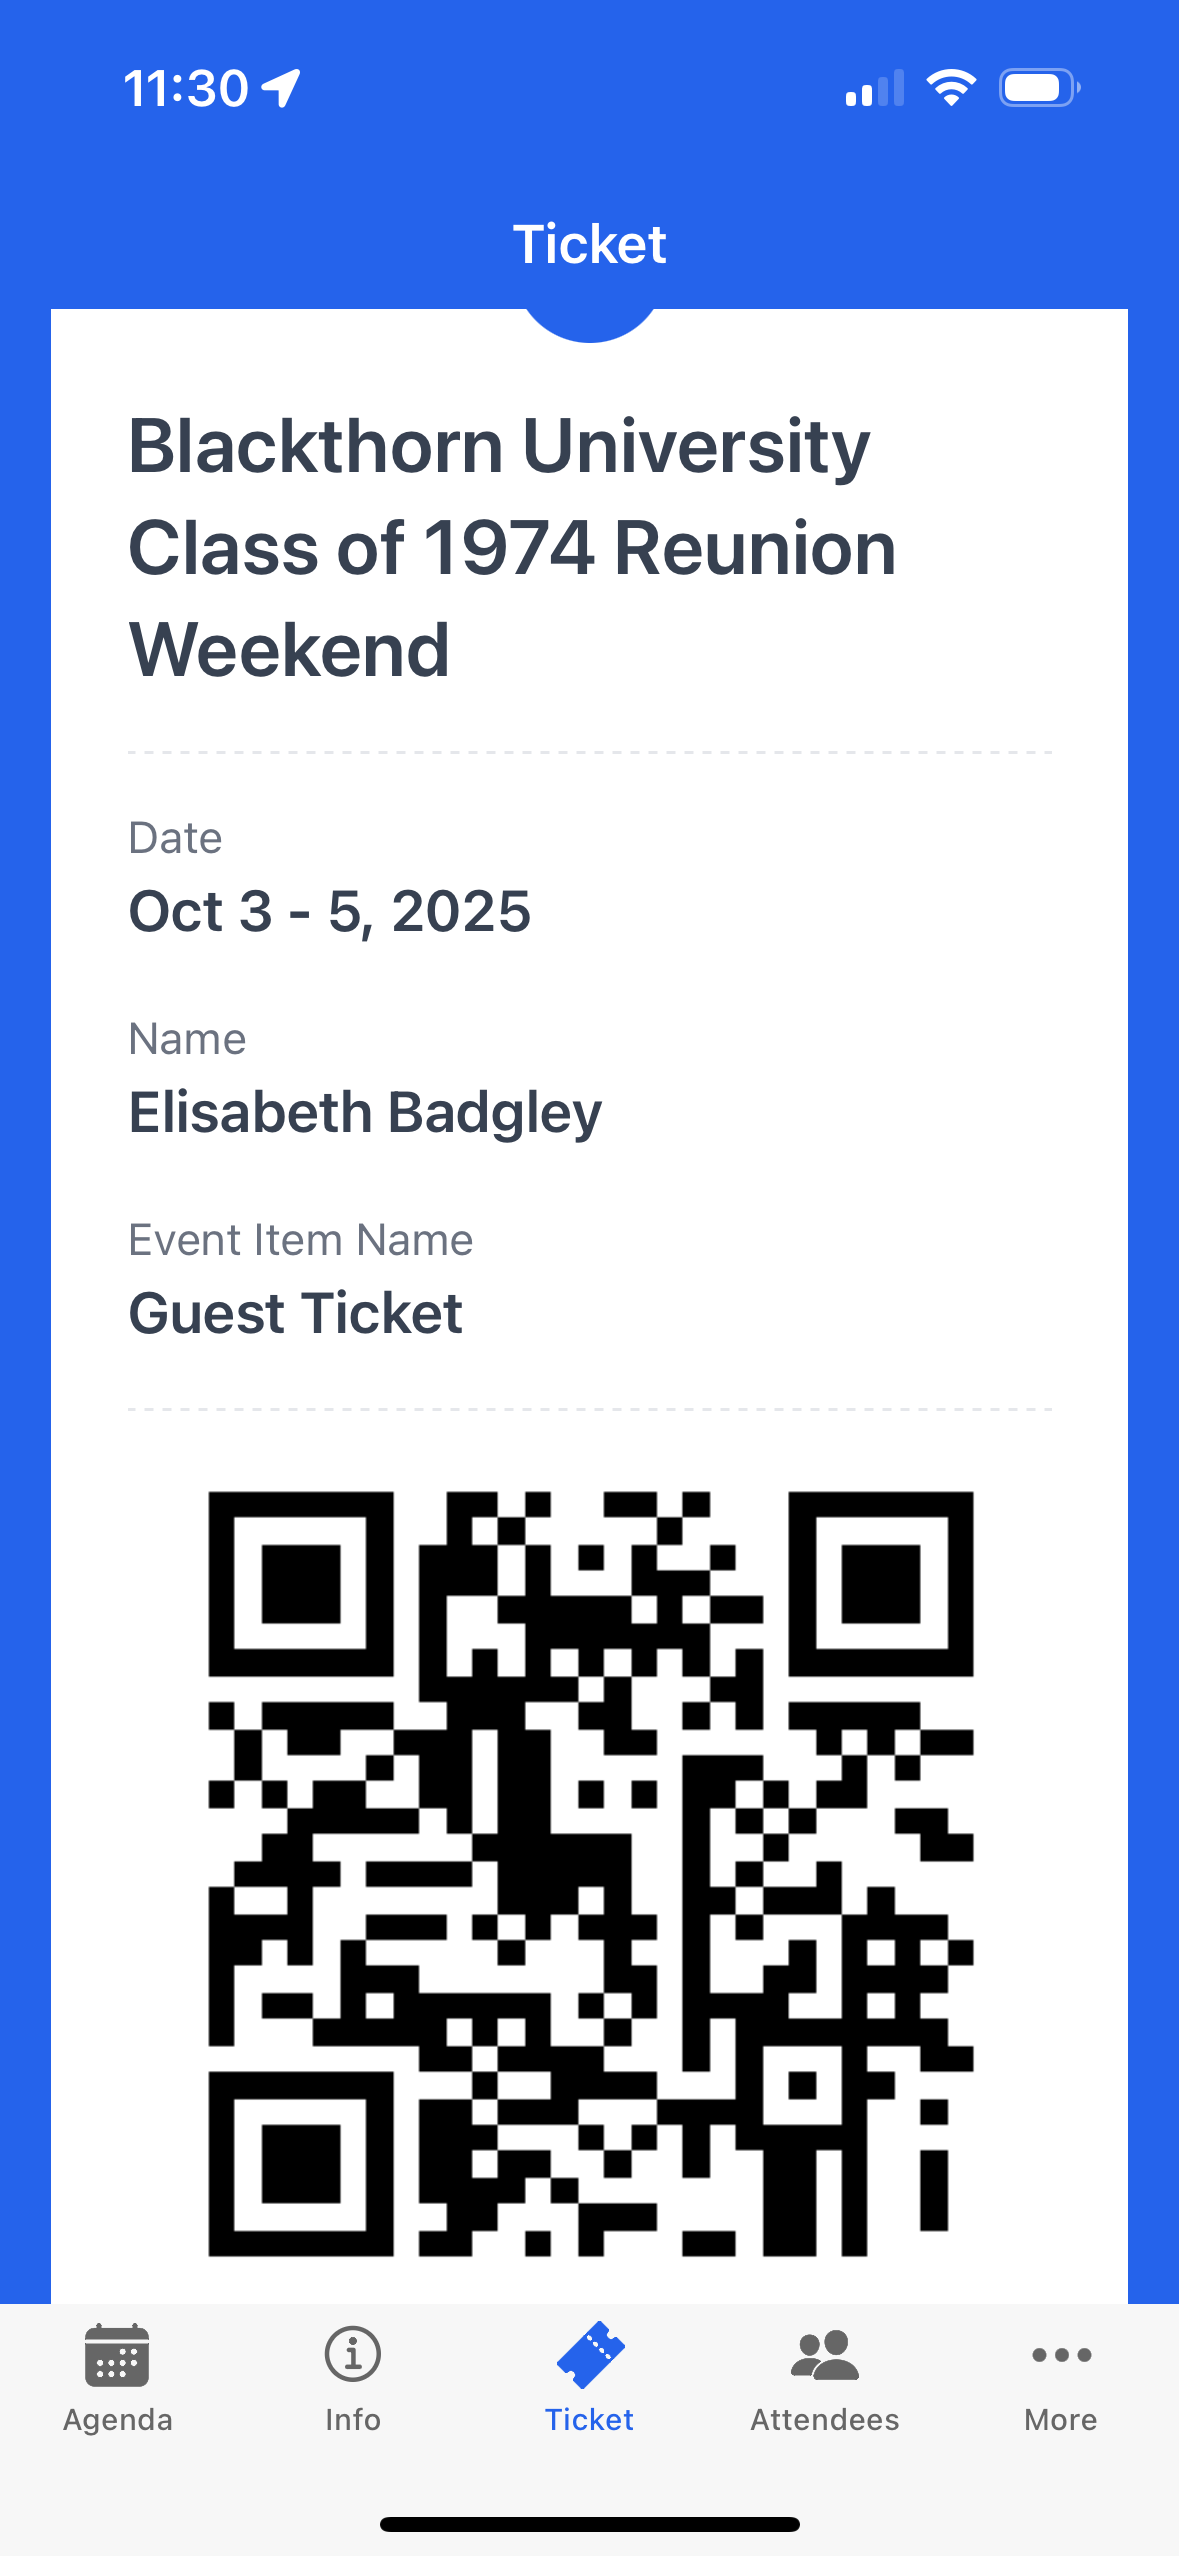
Attendees (Attendee List)
The Attendees tab includes an alphabetical list of Attendees who registered for the Event.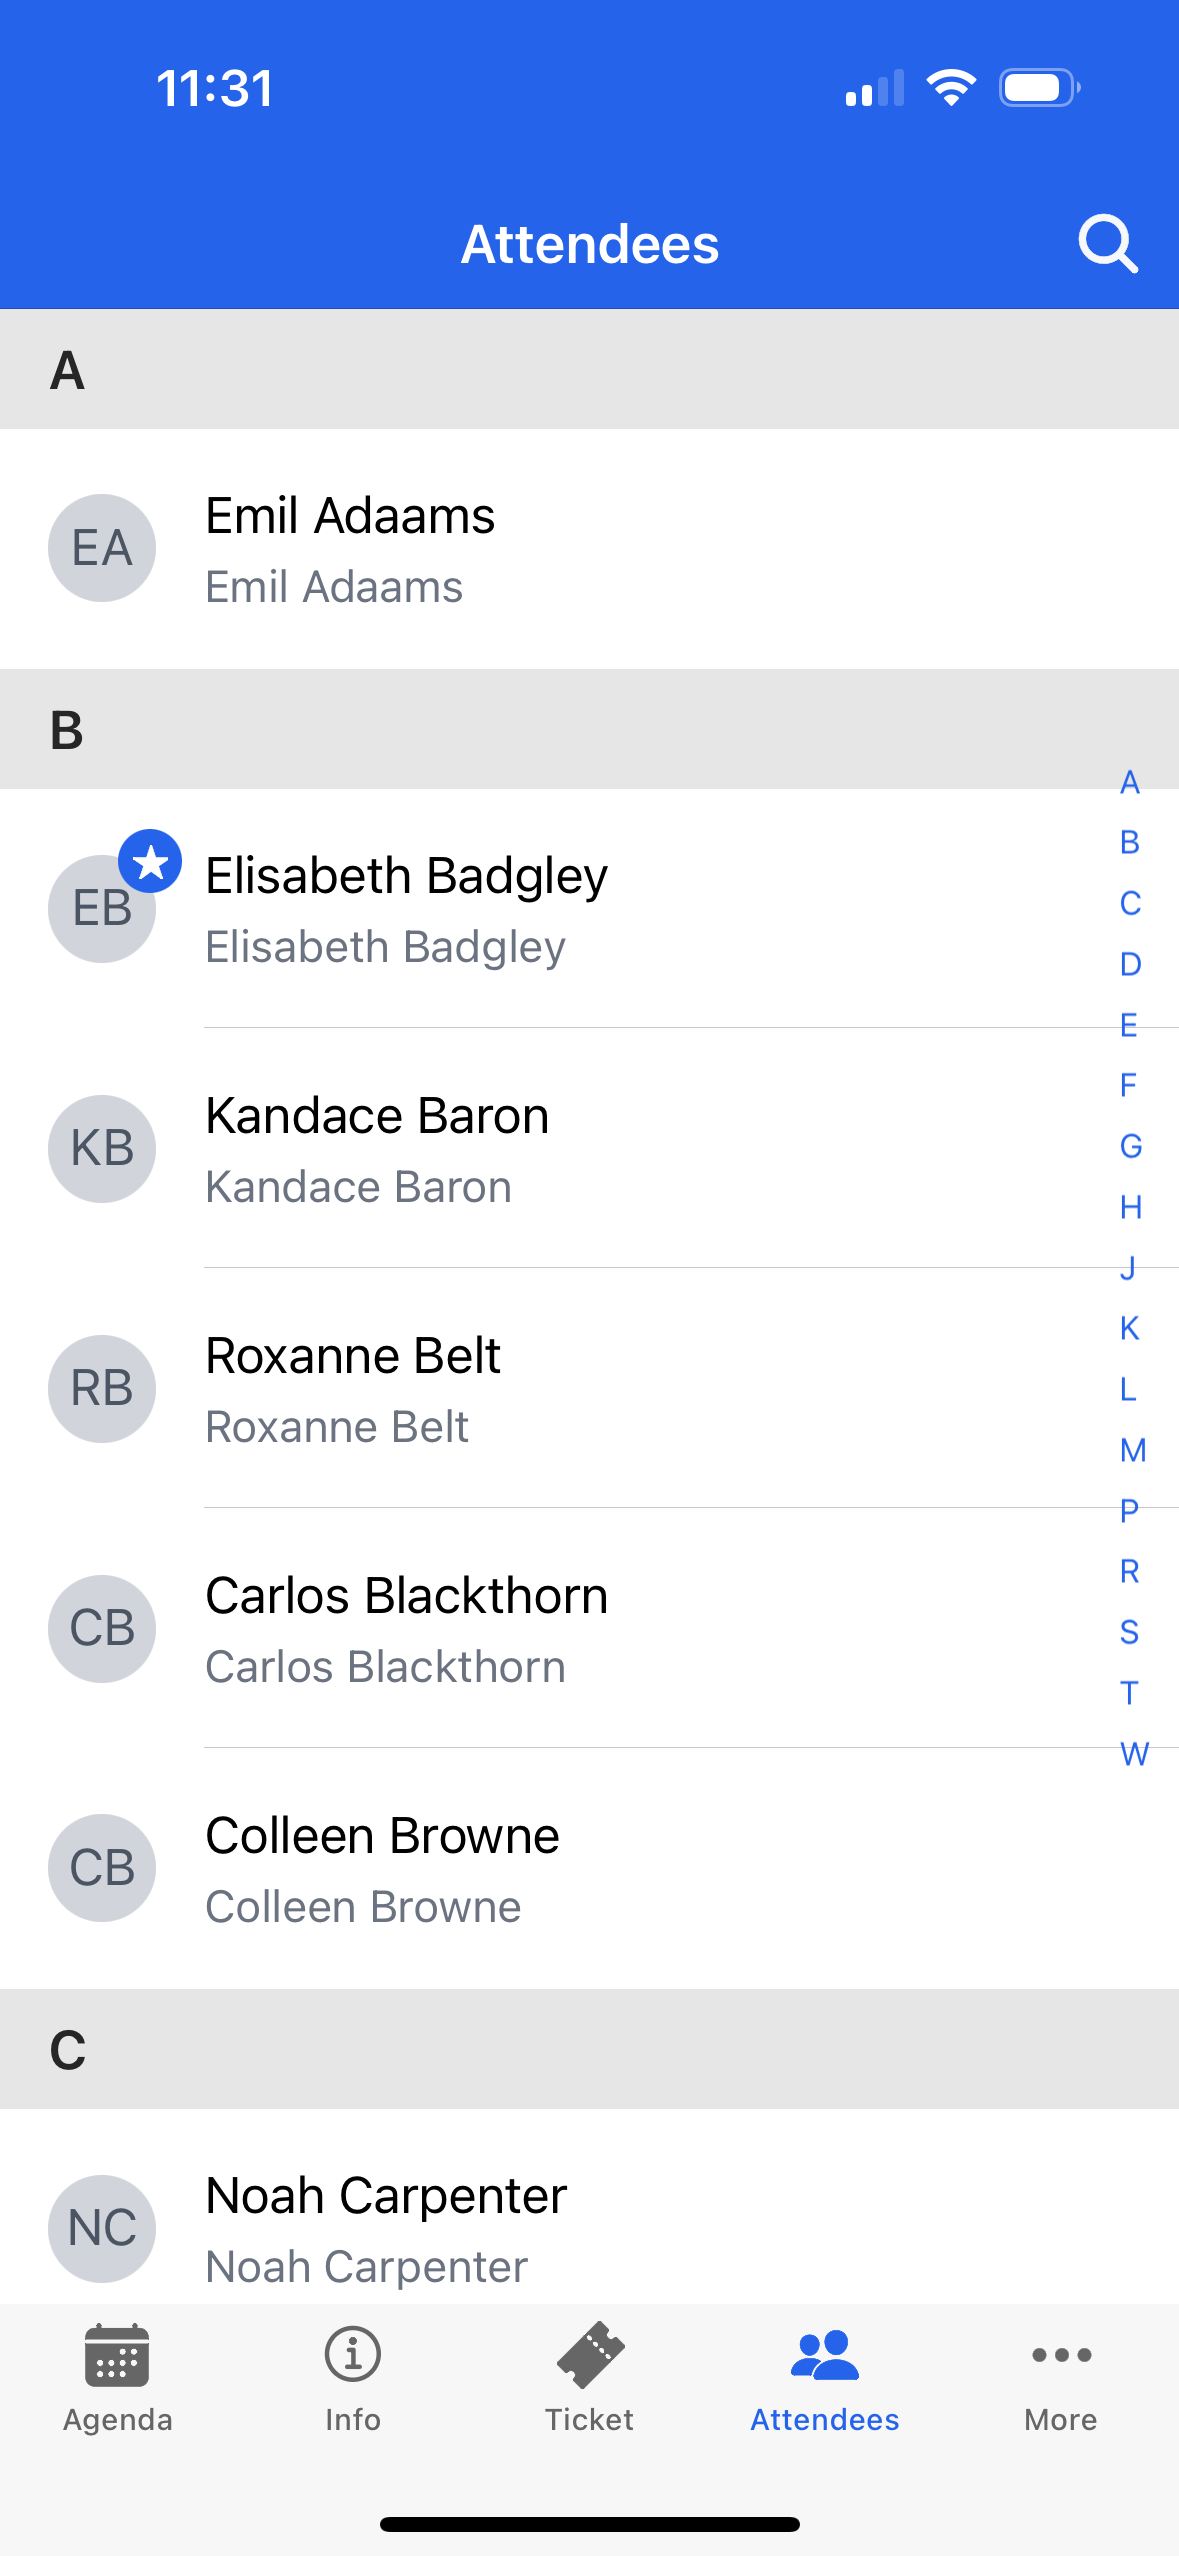
Attendees can use the search feature to search for other Attendees at the Event.
NOTE: Attendees who have hidden their Attendee profile will not be visible.
More Menu (Additional Configurations)
Users can access the system and organization-related action menu items.
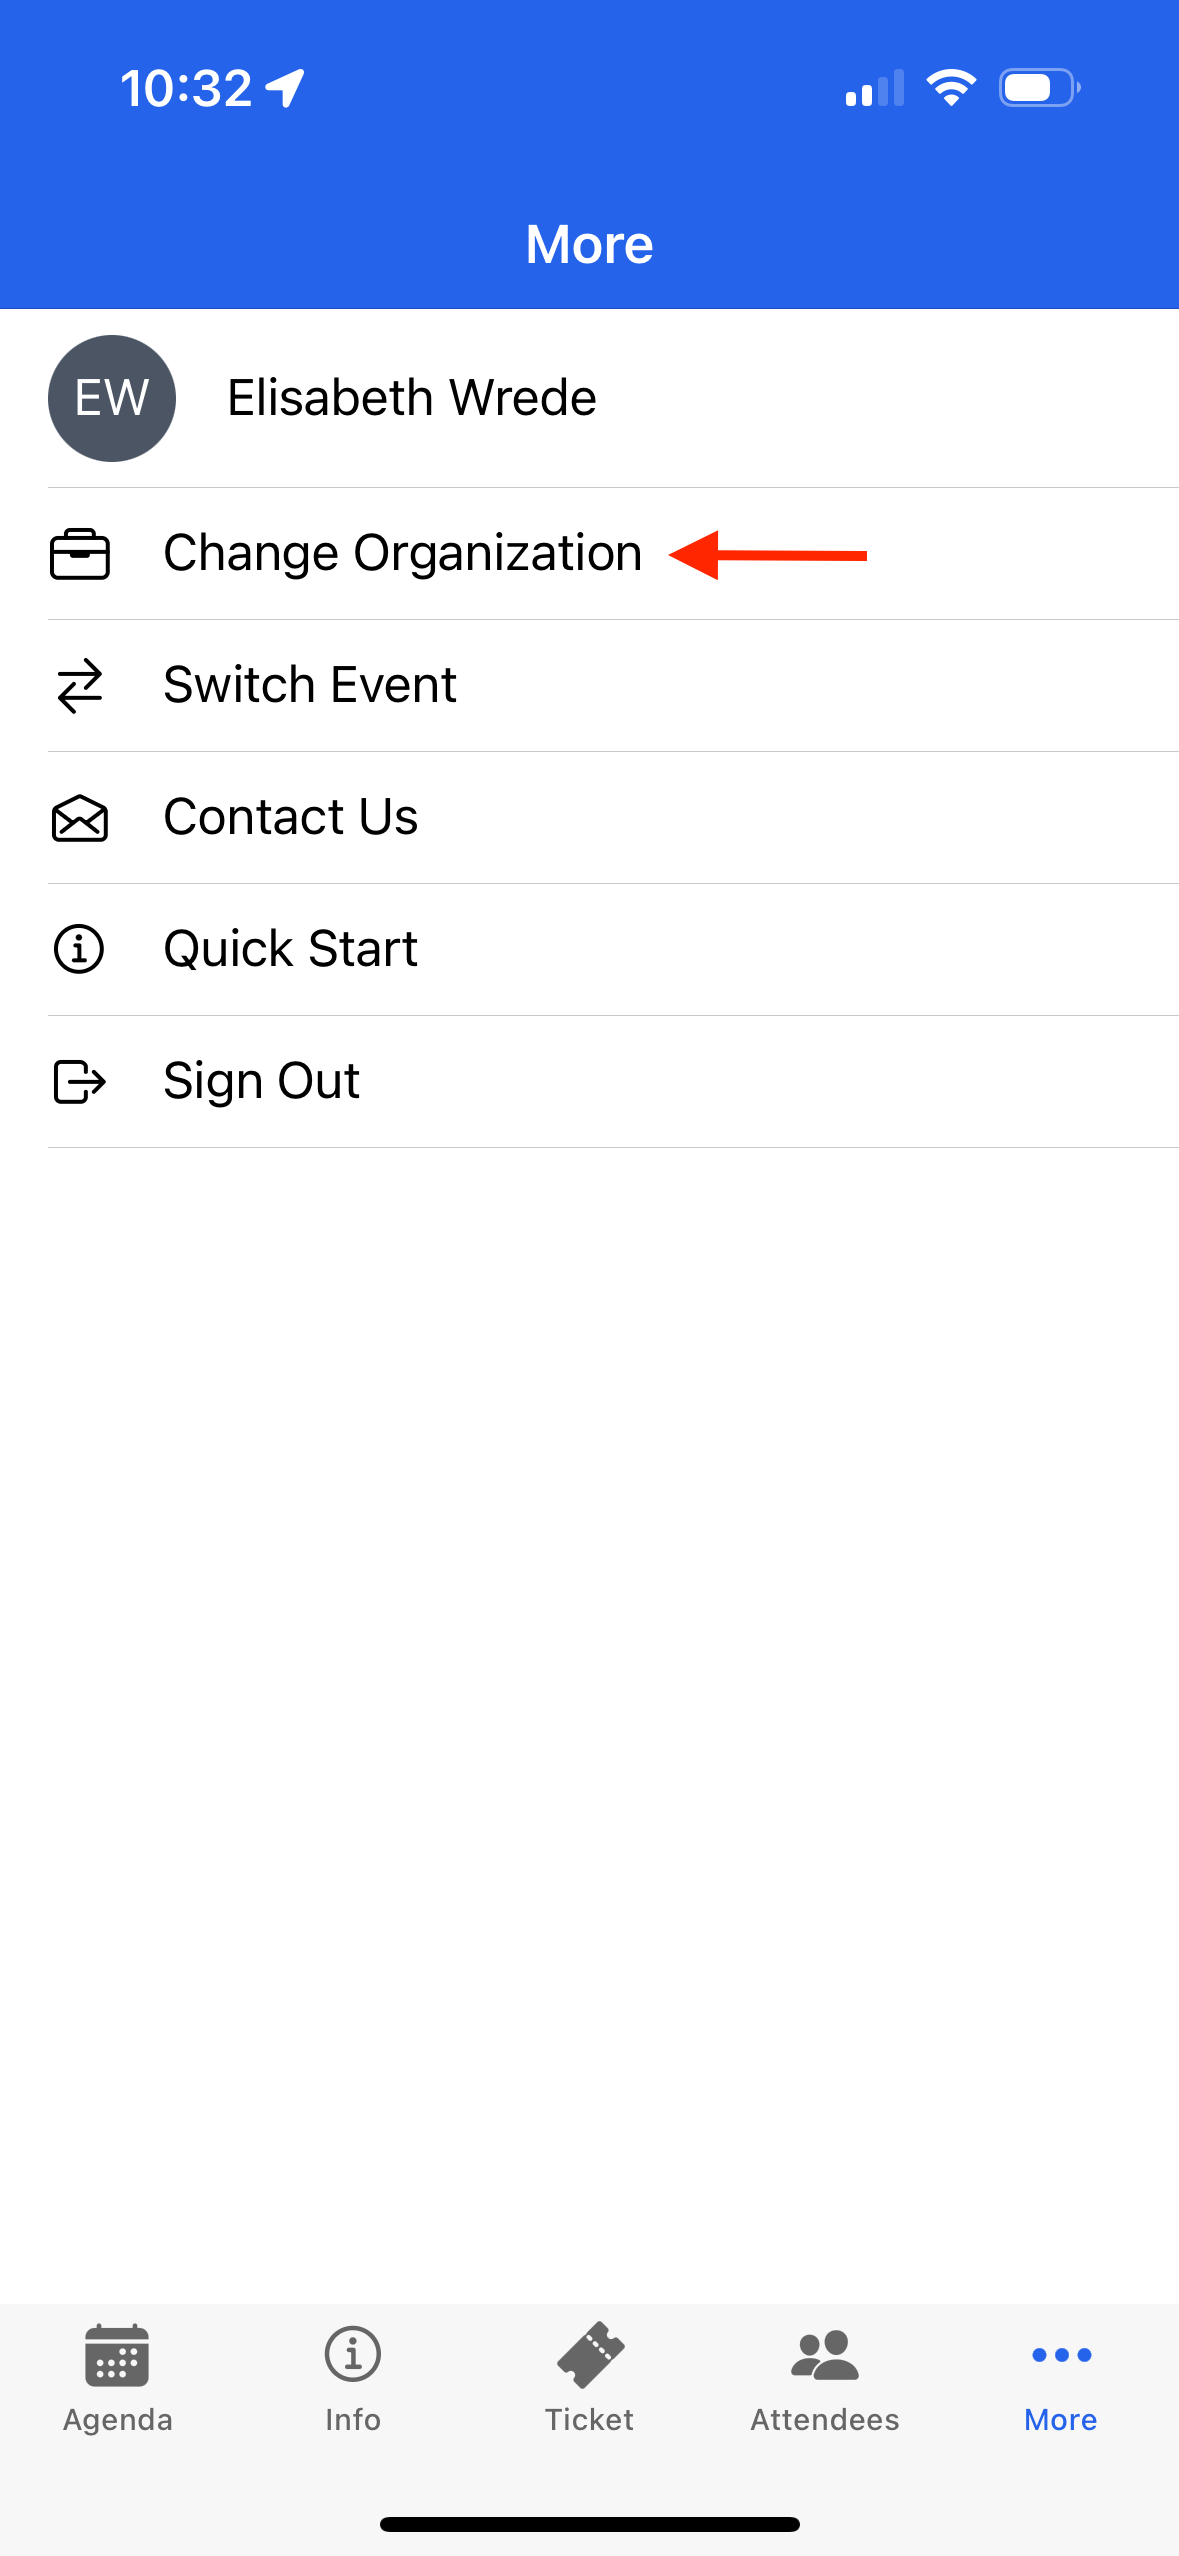
Change Organizations
An organization is a group, university, etc., that is hosting the Event. Blackthorn Event Navigator app users can click the “More” menu tab, click Change Organization, and select a new organization (if there are multiple organizations available).
For example, an Attendee may have an undergraduate degree from University A and a master’s from University B. If both schools use Blackthorn and have an Event with Enable Navigator Attendee Mobile App enabled, the Attendee can switch between the schools to view each school’s events.
Switch Events
If Attendees register for multiple Events, they can move between Events by clicking the “More” menu tab, clicking Switch Events, and selecting another Event.

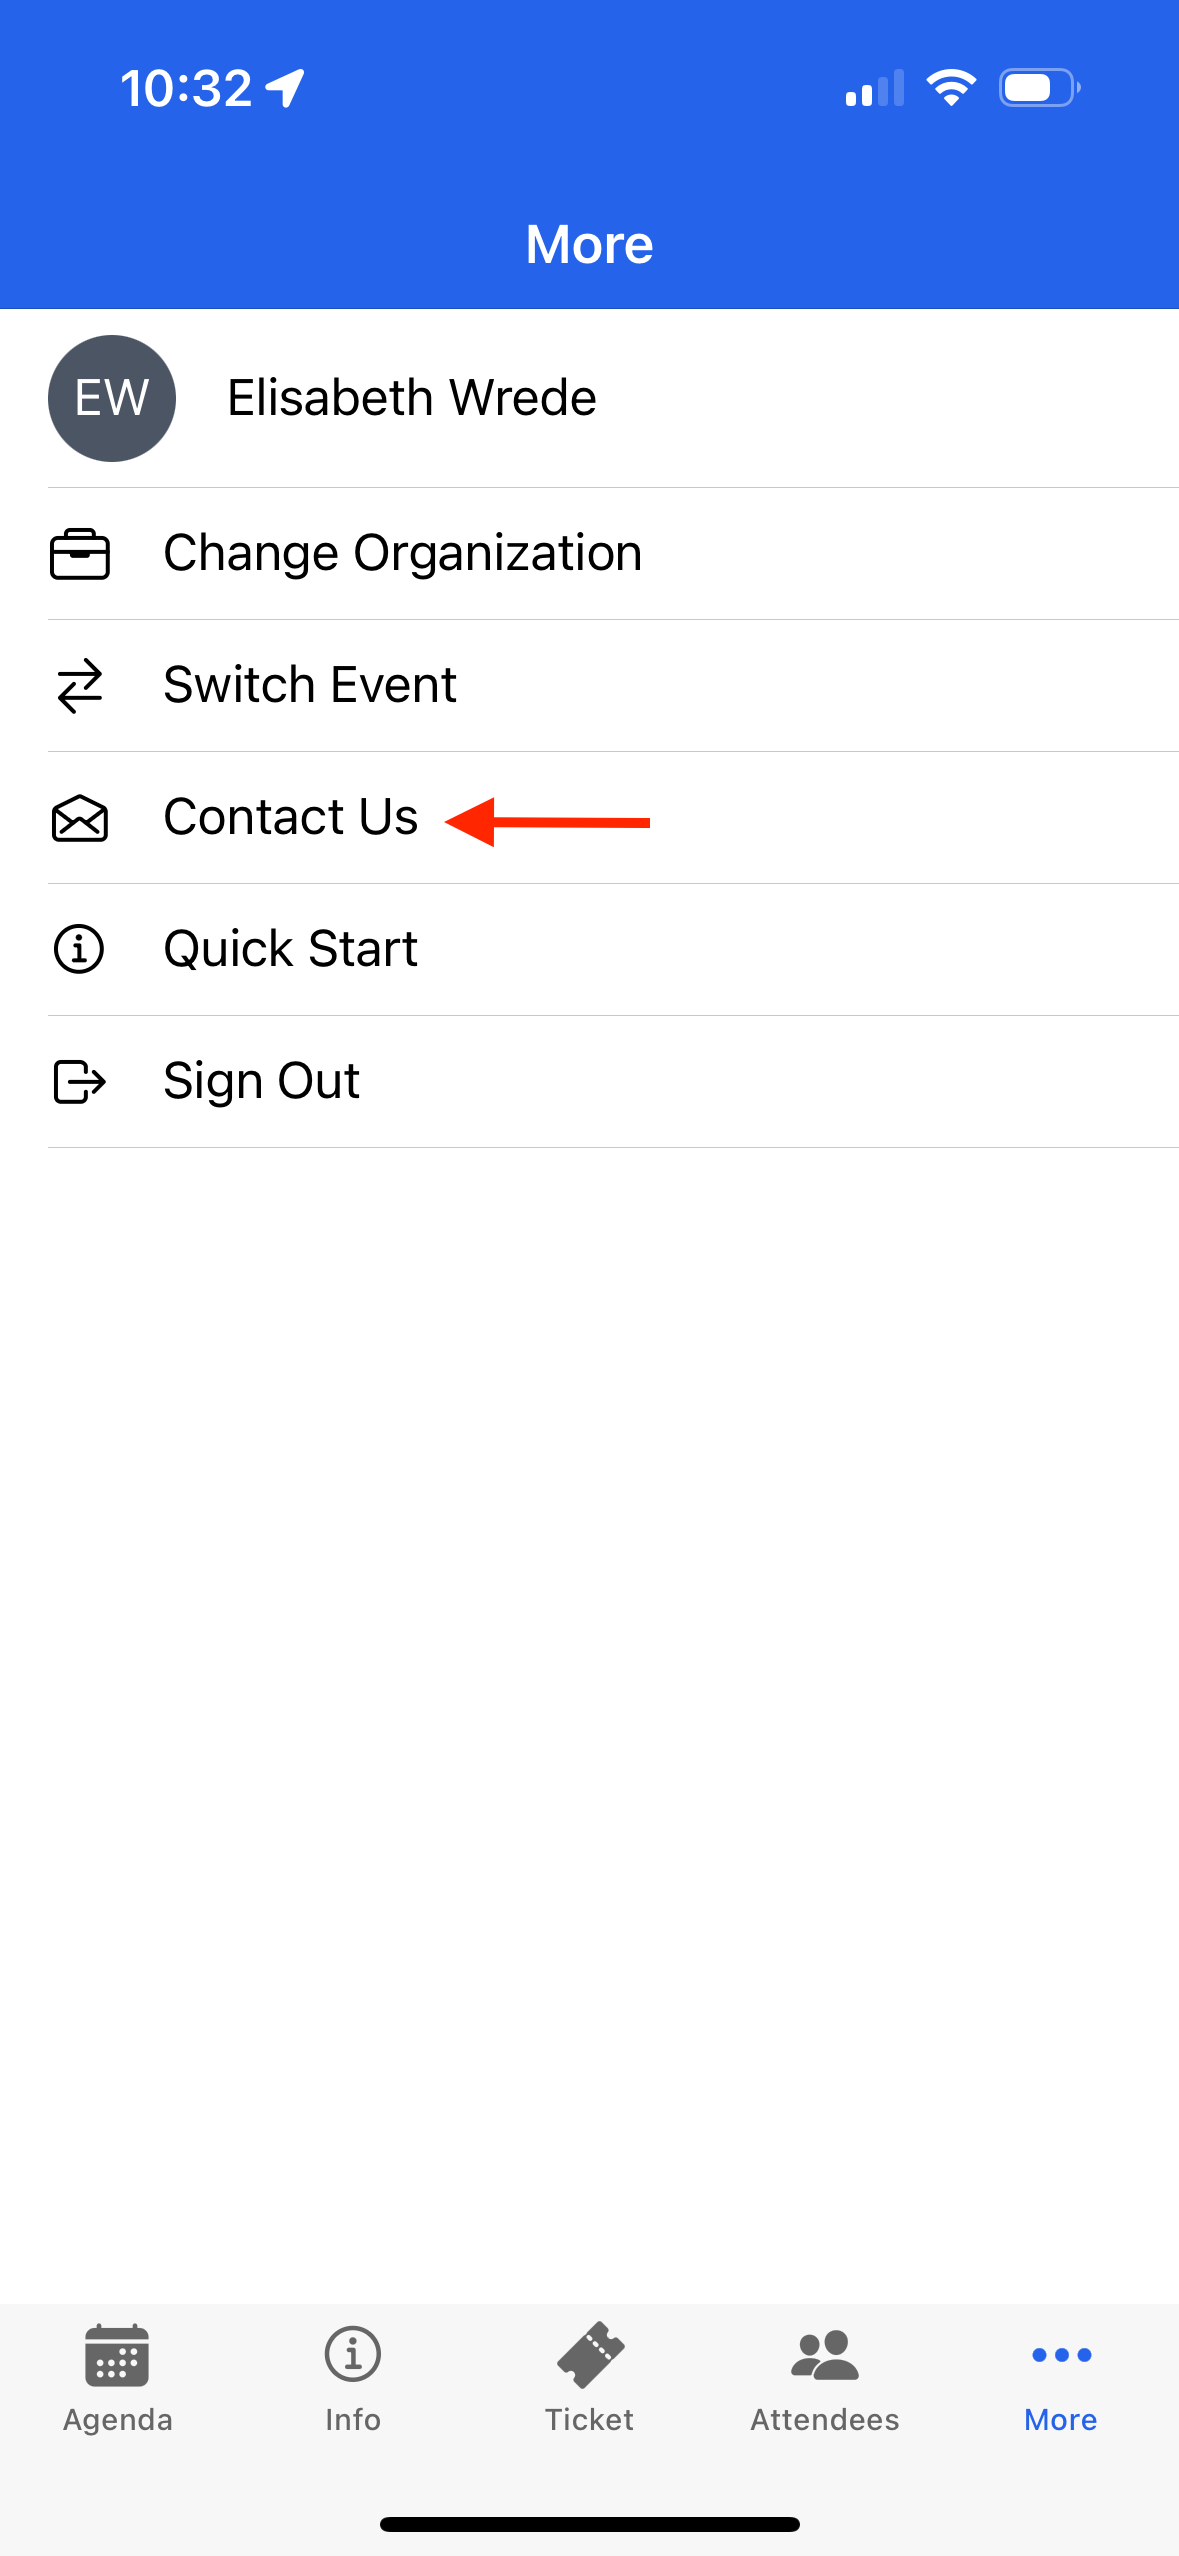
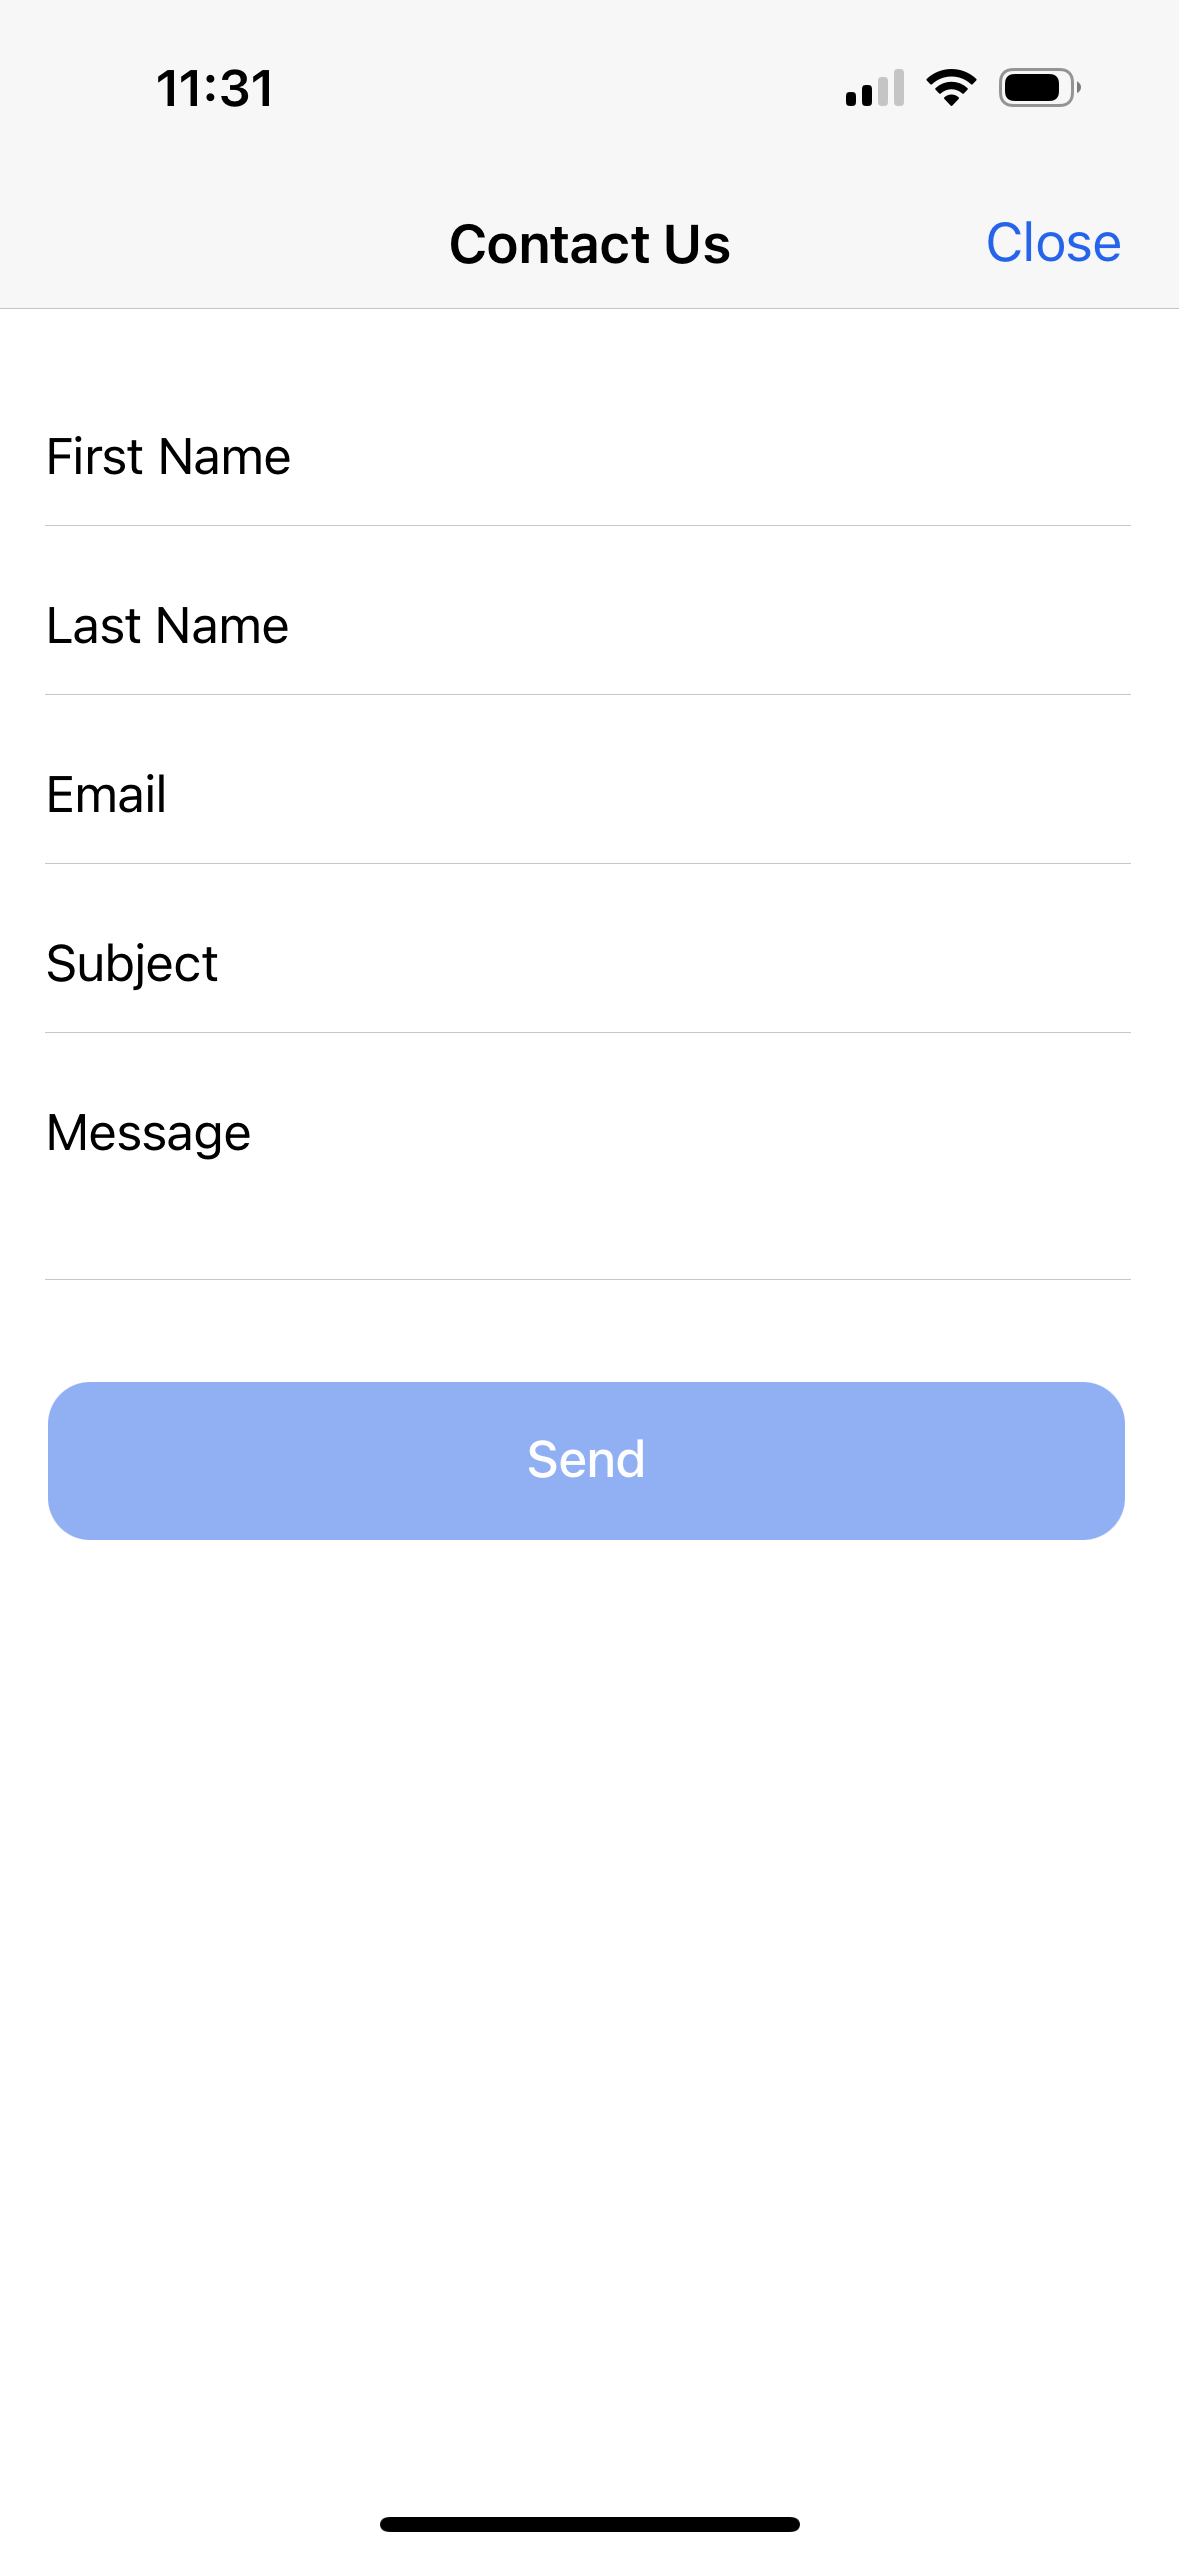
Contact Us
Clicking Contact Us opens a new screen with the contact form where the Attendee fills in the fields. The contact form is then sent to the contact email (Contact Us Email) entered on the Event record.
Contact Us Form
Attendees can contact the Event Organizer by entering the following information in the Contact Us form and clicking Send.
First Name
Last Name
Email
Subject
Message
Blackthorn created the Navigator app; however, Attendees who need assistance must use the app’s Contact Us feature to contact the Event Organizer. Blackthorn cannot assist individual Event Attendees.
If the Contact Us form does not work, Attendees should contact the Event Organizer from the Event webpage’s Contact Us form or by directly contacting the organization hosting the Event.
If the Event Organizer needs additional information, they should open a case with Blackthorn Support.
Quick Start
Clicking Quick Start takes Attendees to the Quick Start guide, where they can learn how to use the app.

Speakers
Find your Event’s Speakers faster in the Navigator app with the new dedicated Speakers tab. Browse all Speakers in one place and tap any Speaker to view their details instantly.
Users can access the Speakers tab from the More Menu. The Speakers page lists all Speakers associated with the Event. Each Speaker’s page includes the Speaker’s name, company, title, bio, image, and social media links.
Custom Content
The amount of Custom Content added to an Event determines where Attendees access the information.
Attendees will access Custom Content with Sort Order = “1” from the navigation bar at the bottom of the screen.
Any additional Custom Content is accessed by clicking the “More” menu tab. The order in which an Attendee sees the information depends on the value in the related Custom Content’s Sort Order field.
NOTE: If a Custom Content record is marked as “Venue Map,” it will not be displayed on the Content menu tab. Instead, it will be shown by clicking the View Venue Maps button on the Info tab.
Pages
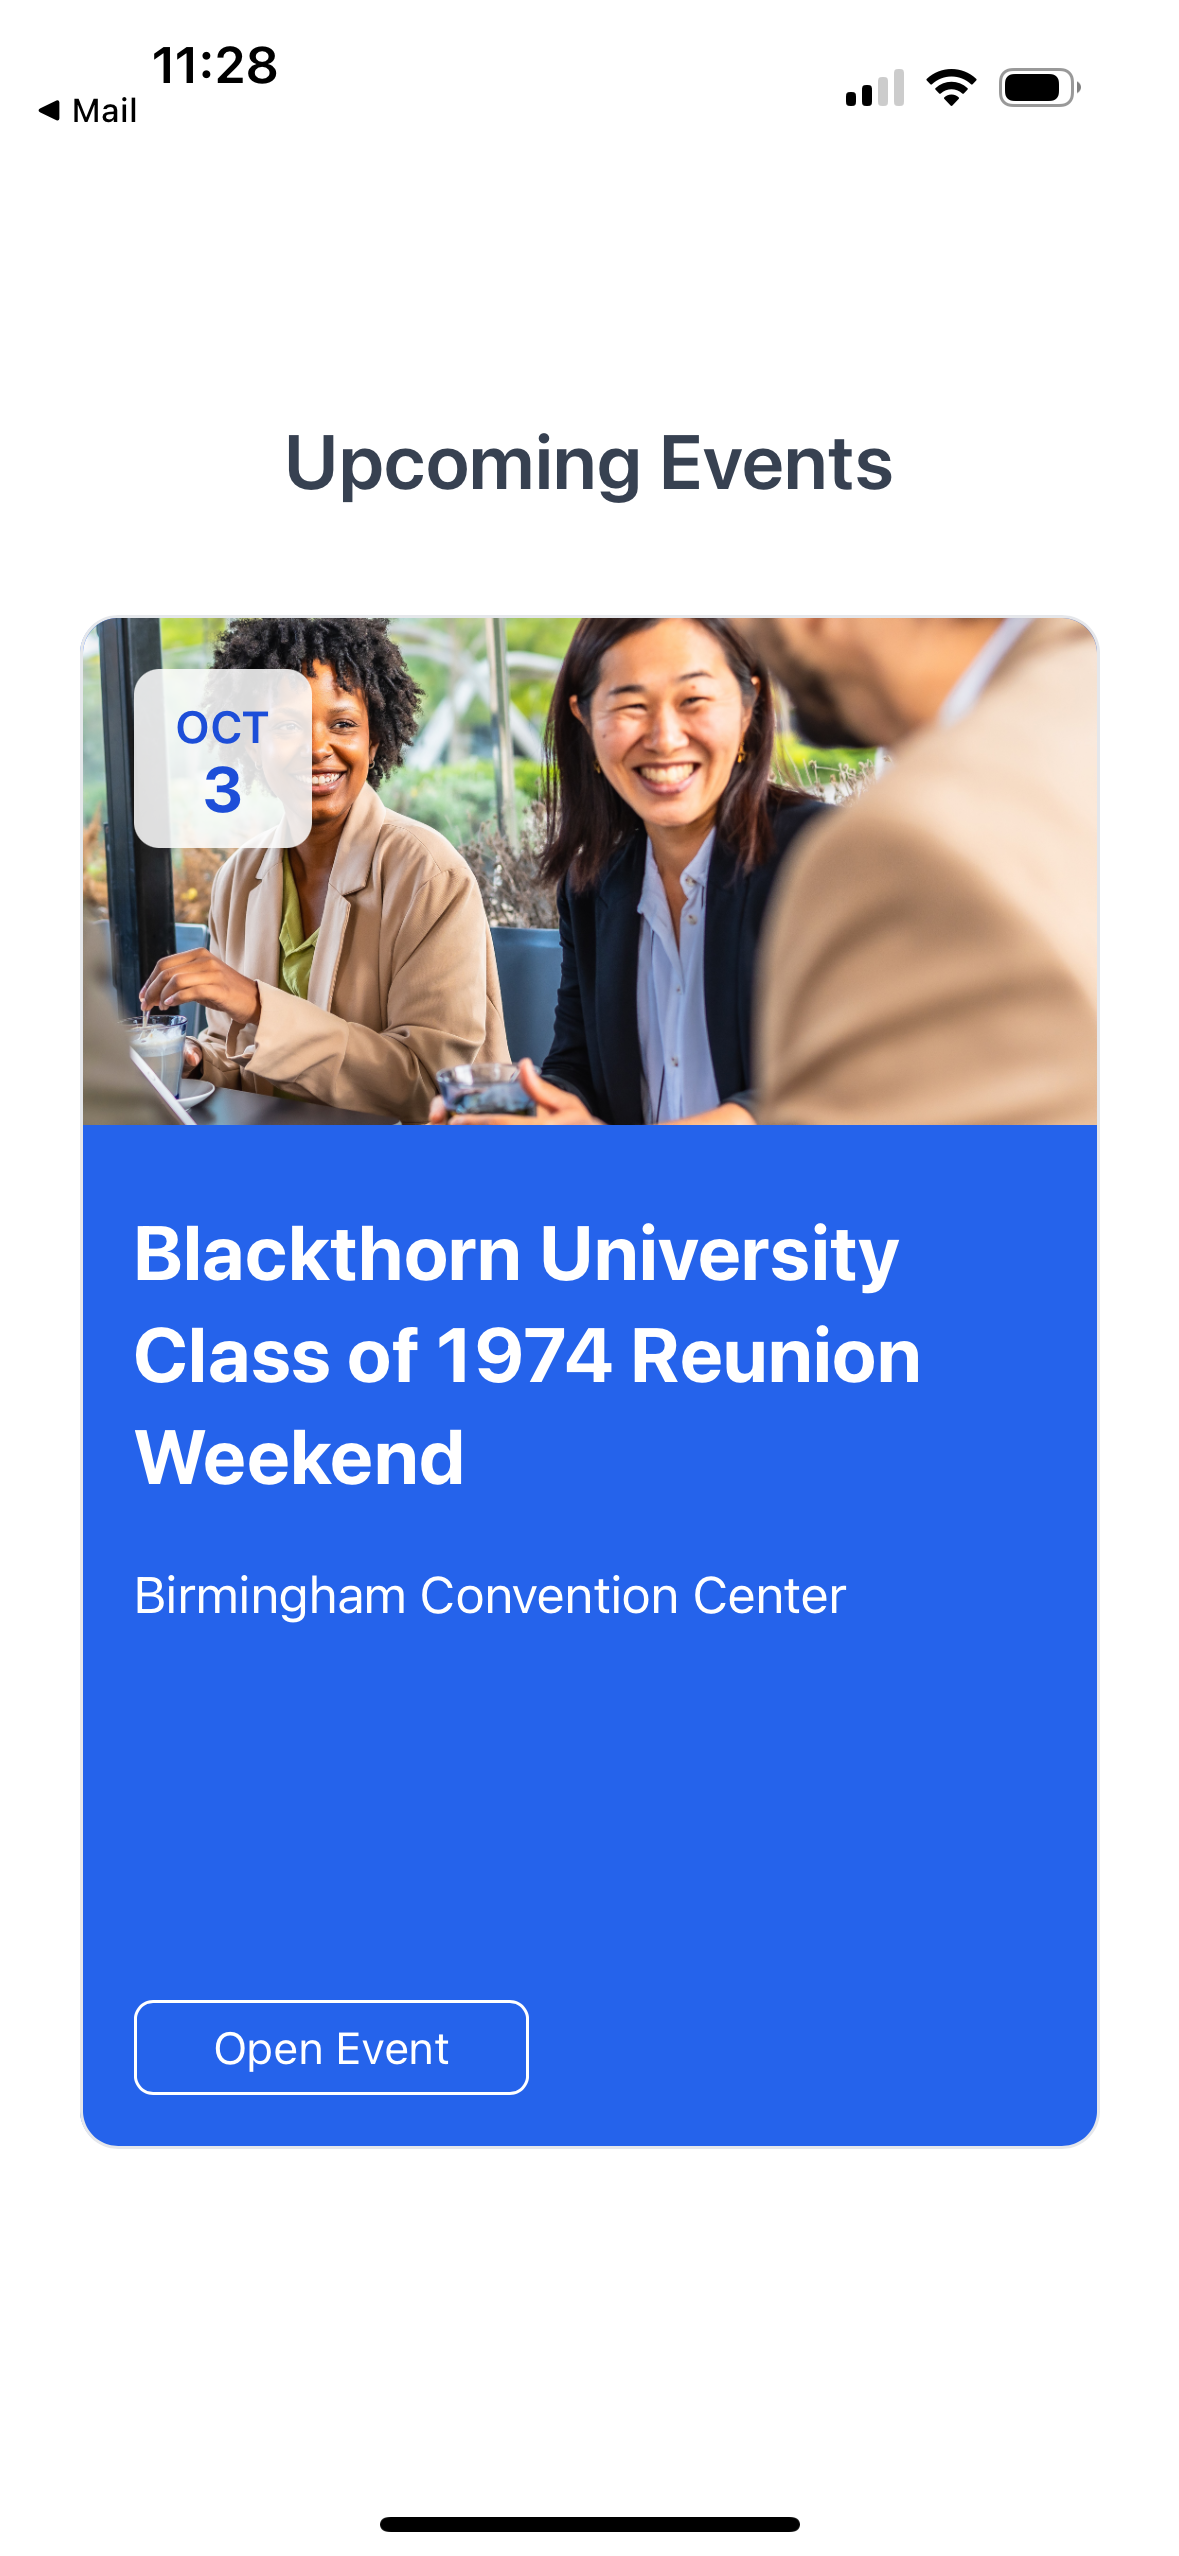
Upcoming Events
Attendees will see a list of Events they registered for.
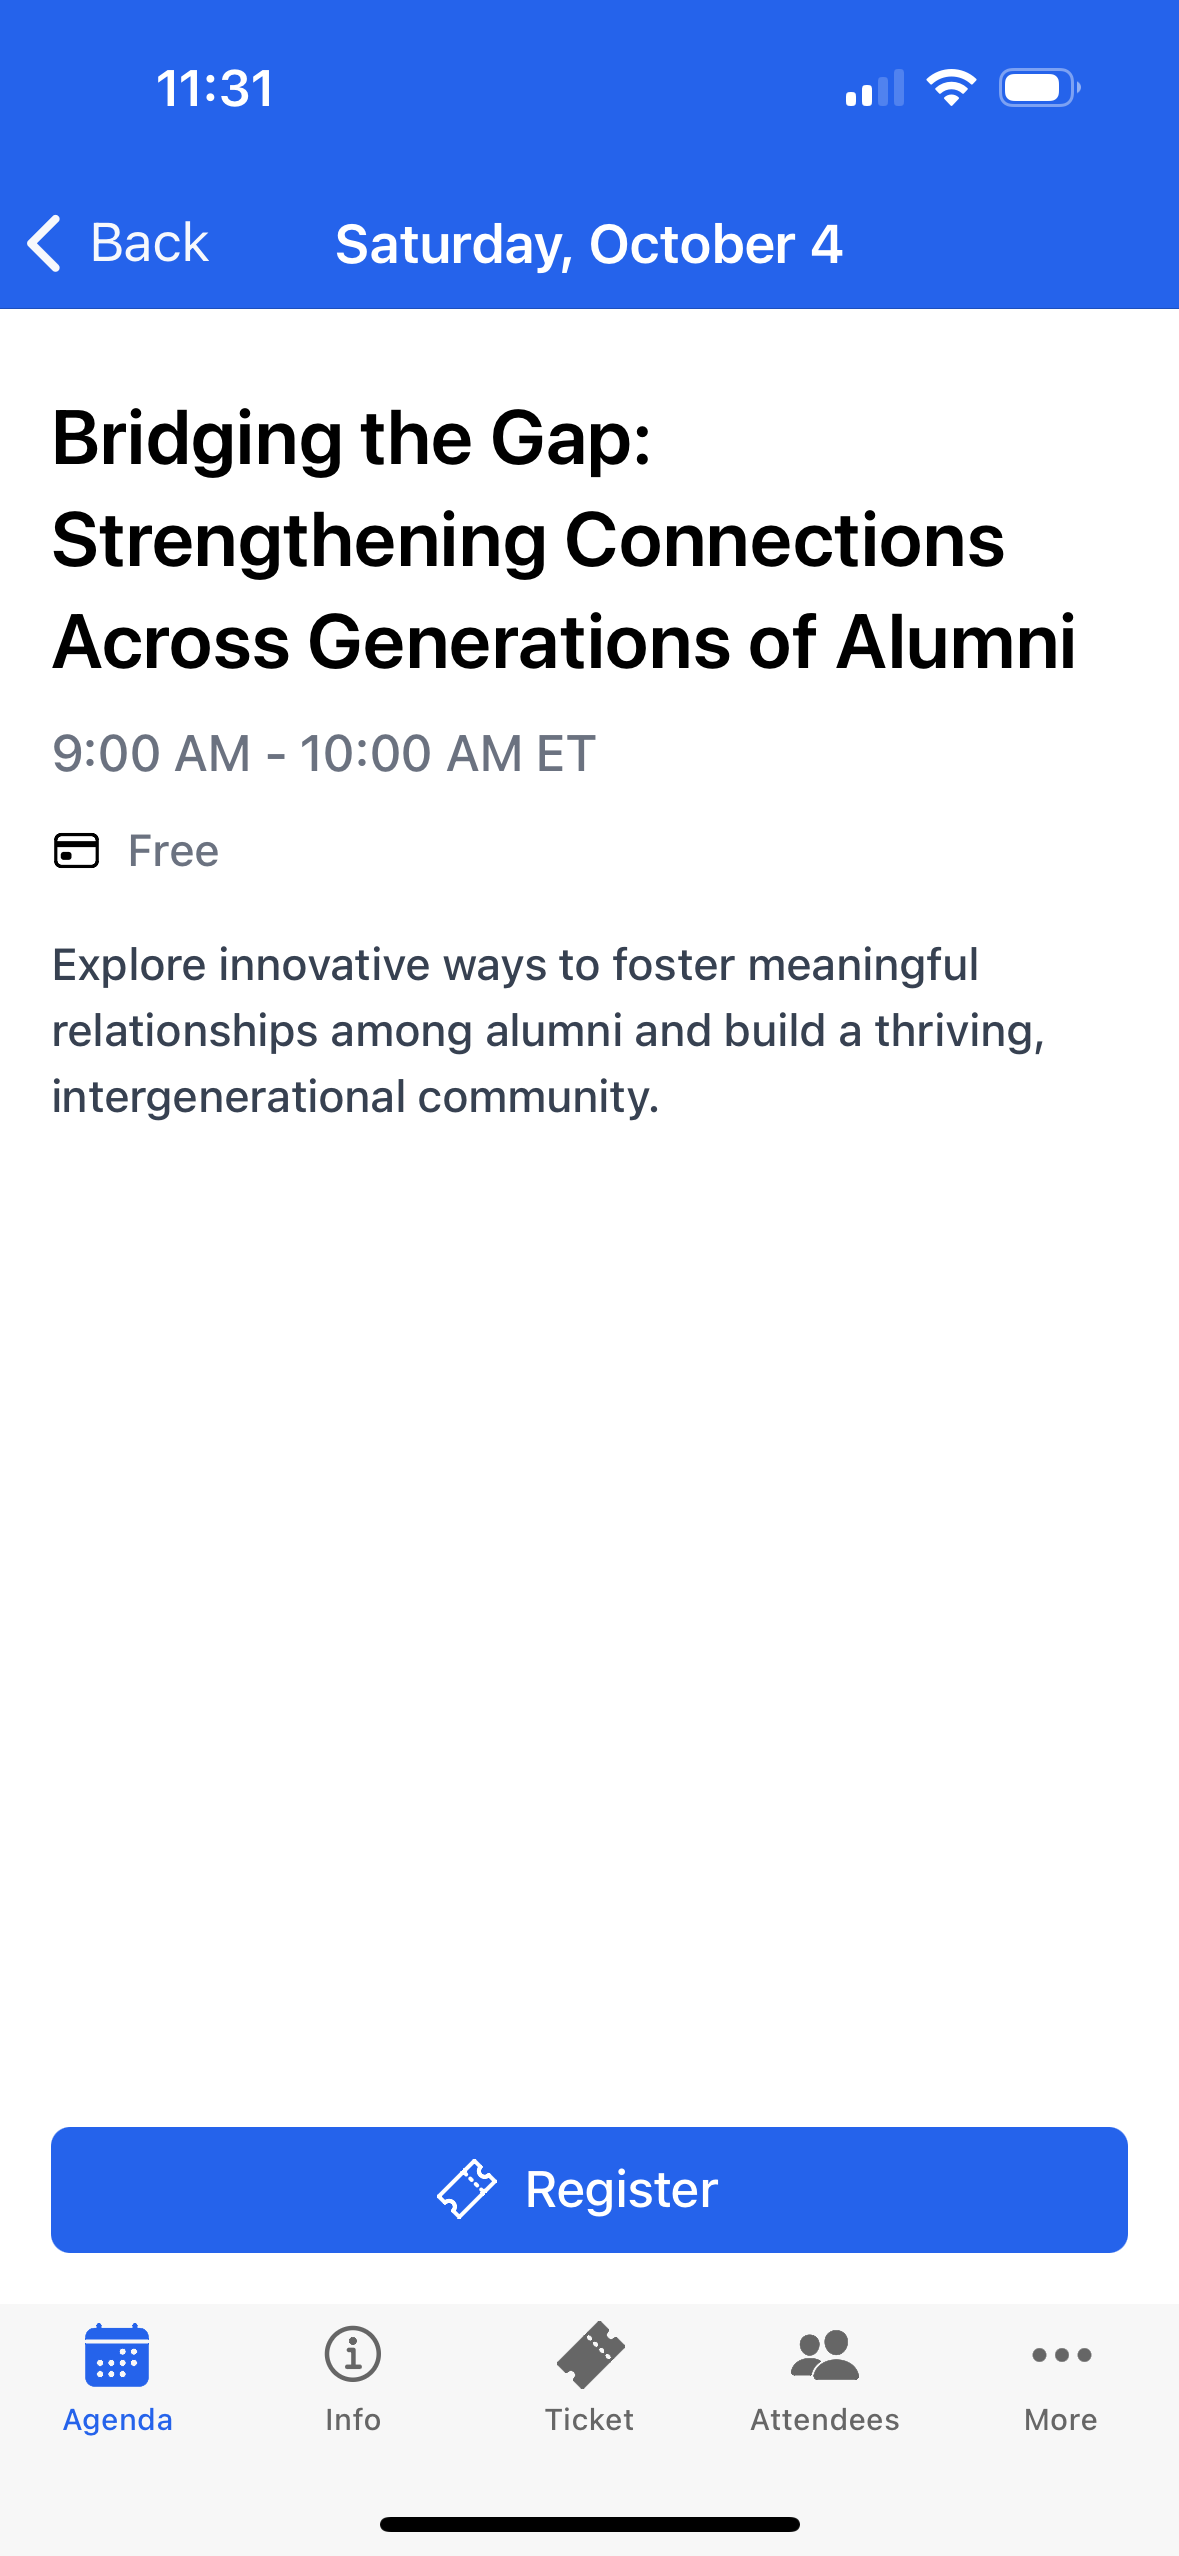
Session Details Page
This page lists all the details for a Session, including the Session title, description, date, time, availability, and a Register button for each free Session. To change the registration status for a paid Session, Attendees must contact the Event Organizer.
Attendees will see Session details such as the Session Name, Description, Start Date, Start Time, End Time, and whether the Session is free.
Register for Free Sessions
Go to the Full Agenda tab.
Find the Session you’d like to register for.
Swipe left on that Session.
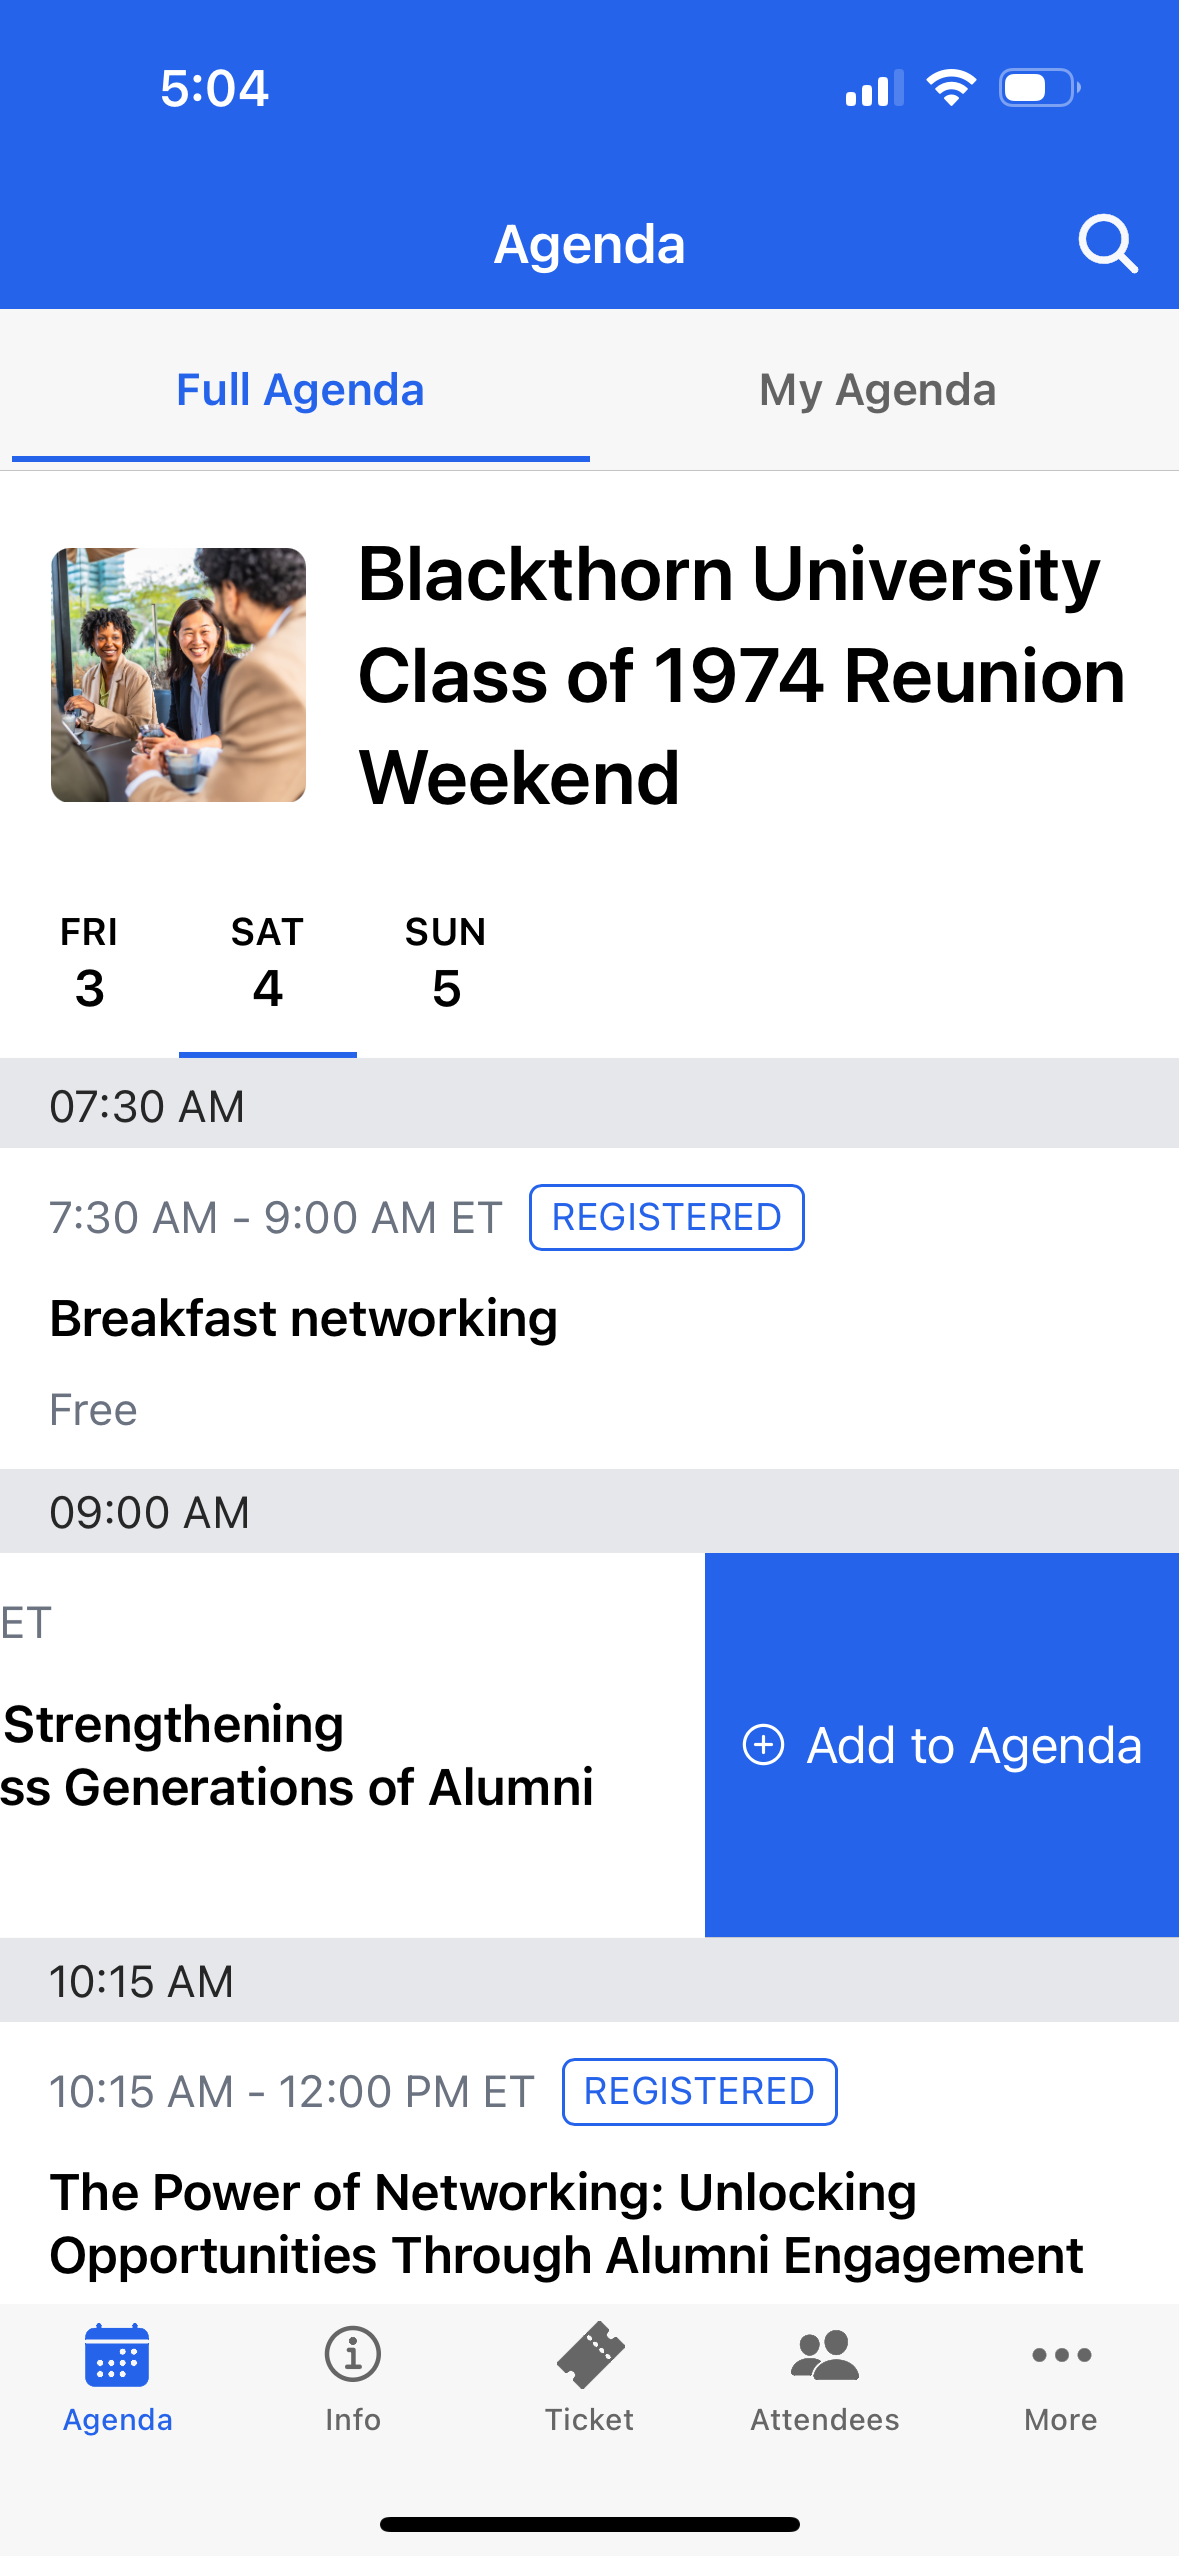
Click Add to Agenda.
Locked Sessions
The Navigator app supports locked Sessions. If the Session Attendee’s Lock Registration Status field is set to “Yes,” the related Attendee cannot unregister from a locked Session.
Overlapping Sessions
If the Event record’s Prevent Session Overlapping field is checked, the Navigator app will prevent Attendees from registering for a Session that overlaps with a Session they are already registered for.
Attendee List Page
Users will see a list of all registered Attendees, in alphabetical order, for an Event. Attendees can access the list to reference or review participants and search and filter the list of Attendees.
NOTE: An Attendee will only see other Attendees who haven’t hidden themselves from the Attendee List.
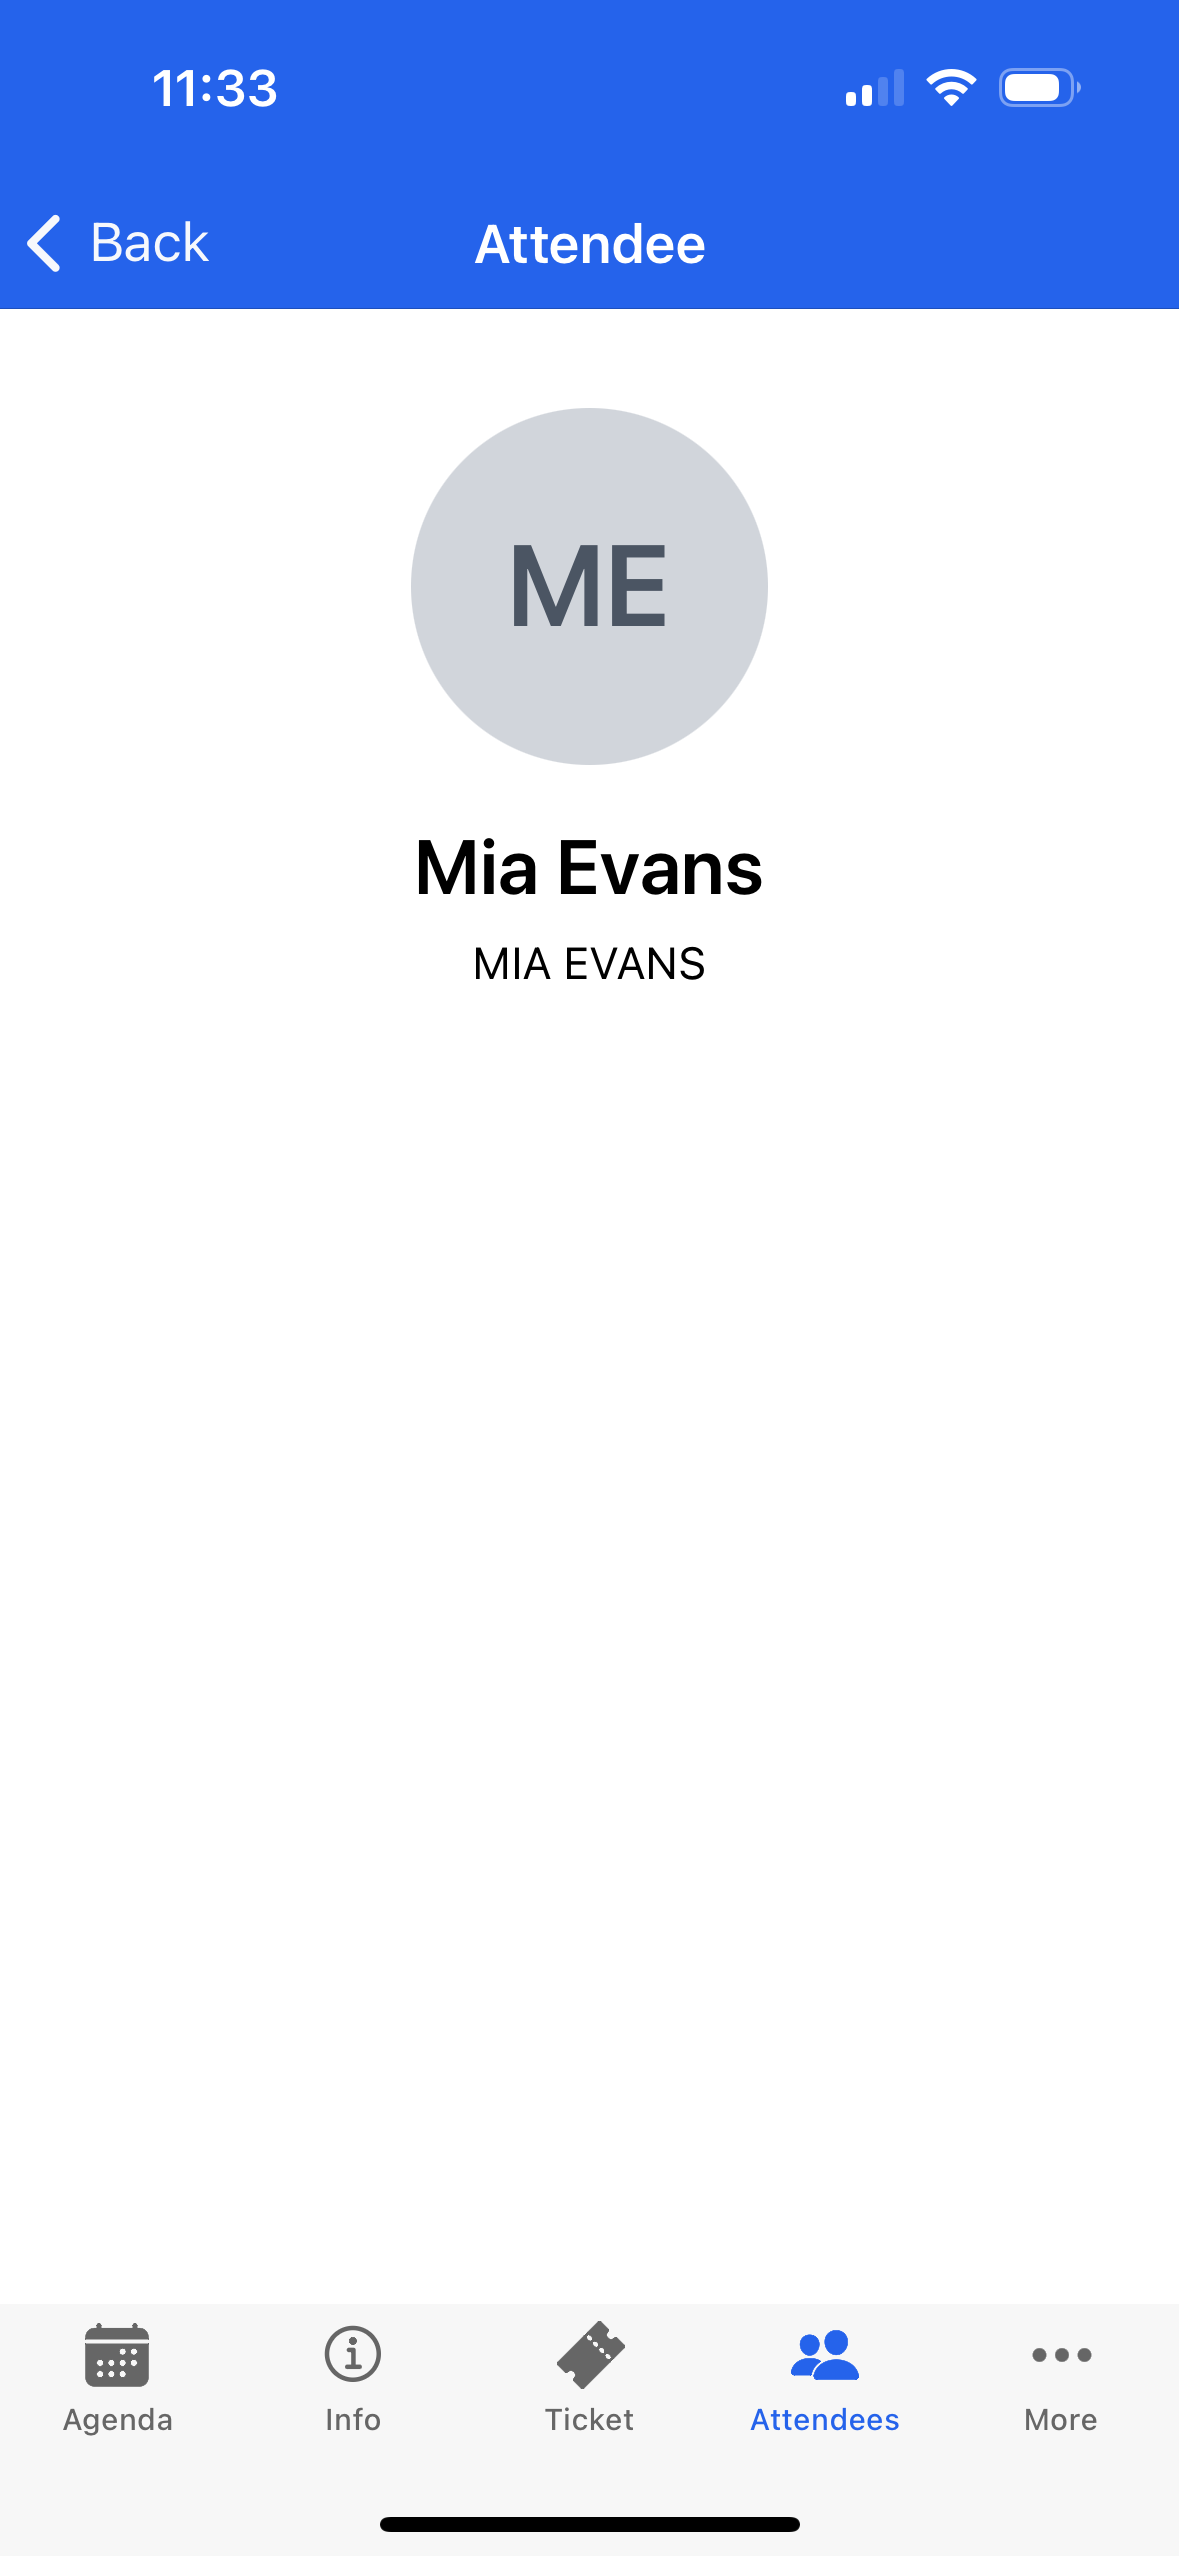
Attendee Details Page
The Attendee Details screen displays the following information.
Attendee Name (Attendee Full Name)
X/previously Twitter (X)
Facebook (Facebook)
LinkedIn (LinkedIn)
When an Attendee clicks another Attendee's name on the Attendee Listing page, they will see the other Attendee’s full name and social media (if provided).
In the navigation at the bottom of the screen, click Attendees.
Click an Attendee’s name.
Review the information on the Attendee’s detail page.
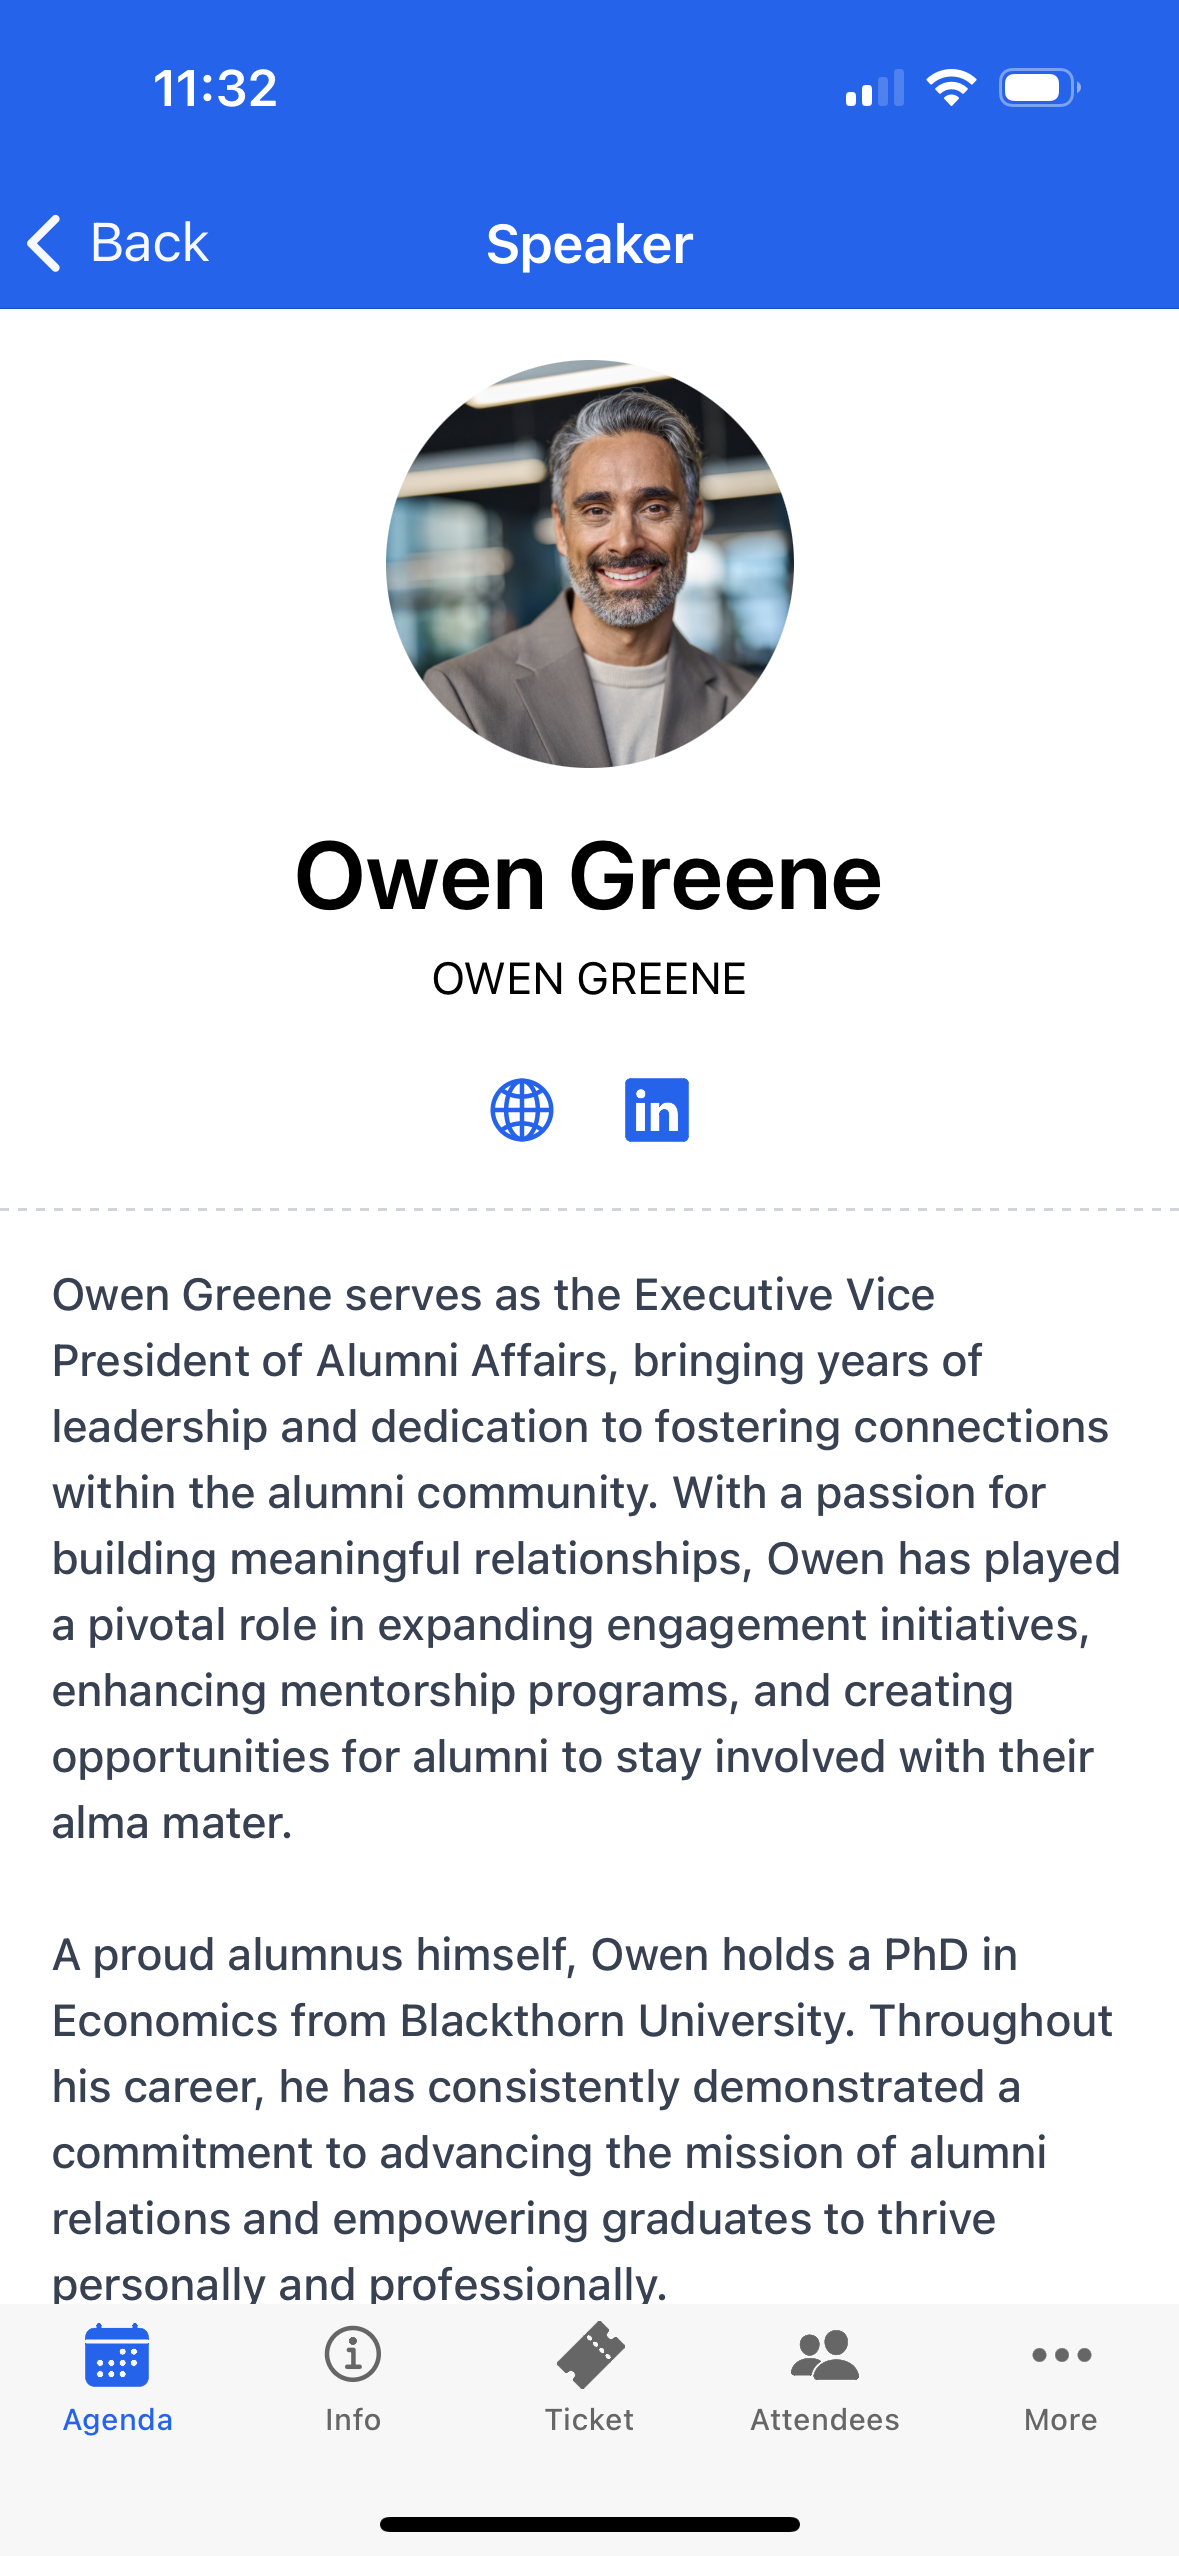
Speakers Details Page
Each Speaker has a page that contains information about their background.
Speaker’s name (Speaker Full Name)
Company (Company)
Job Title (Title)
Image/Avatar (Image URL)
Social Media
Twitter/X (Twitter)
LinkedIn (LinkedIn)
Instagram (Instagram)
Bio (Bio)
Notification Center
Navigator app users can review existing notifications or view notifications they might have missed.
The Navigator’s notification center allows users to view and manage their push notification messages and history. Attendees can access the notification center by clicking the notification or Bell icon in the top-left corner of the screen. If there are unread messages, a red dot will be located on the Bell icon.
The Bell icon is visible on the following screens:
Agenda
Info
Ticket
Attendees
More
Content
Custom Tab (if available)
Clicking the Bell icon displays all the available push notification messages. Unread messages have a blue dot next to them. Messages are listed in chronological order.
When an Attendee clicks a message, one of the following will happen:
The app takes the Attendee to the Agenda page and marks the message as read. (The blue dot disappears.) Clicking the Mark All as Read button sets all messages to read.
When a user taps a notification message that includes a SessionId, they will be redirected to the corresponding Session Detail page.
If the notification message includes a SpeakerId, the Attendee is directed to the corresponding Speaker Detail page.
If a valid ID is not included in the notification message, the app will open the Notification page.