Attendees may see different navigation options at the bottom of the screen. The out-of-the-box tabs are Agenda, Info (Event details), Ticket (QR Code), Attendees (Attendee List), and More (additional configuration options). Please note that Event Organizers can change the tabs’ names to match their Events better.
Important Functionality: App users can only view the app in Portrait orientation. Landscape orientation is not supported.
Upcoming Events
On the Upcoming Events page, you can see all the Events you registered for. If you are registered for multiple Events that are using the Blackthorn Event Navigator app, you can swipe between Events.
If you are associated with multiple orgs, you will see a “Switch Organization" link. Clicking the link will take you to the organization selection screen, where you can select a different org.
Click Open Event to open an Event.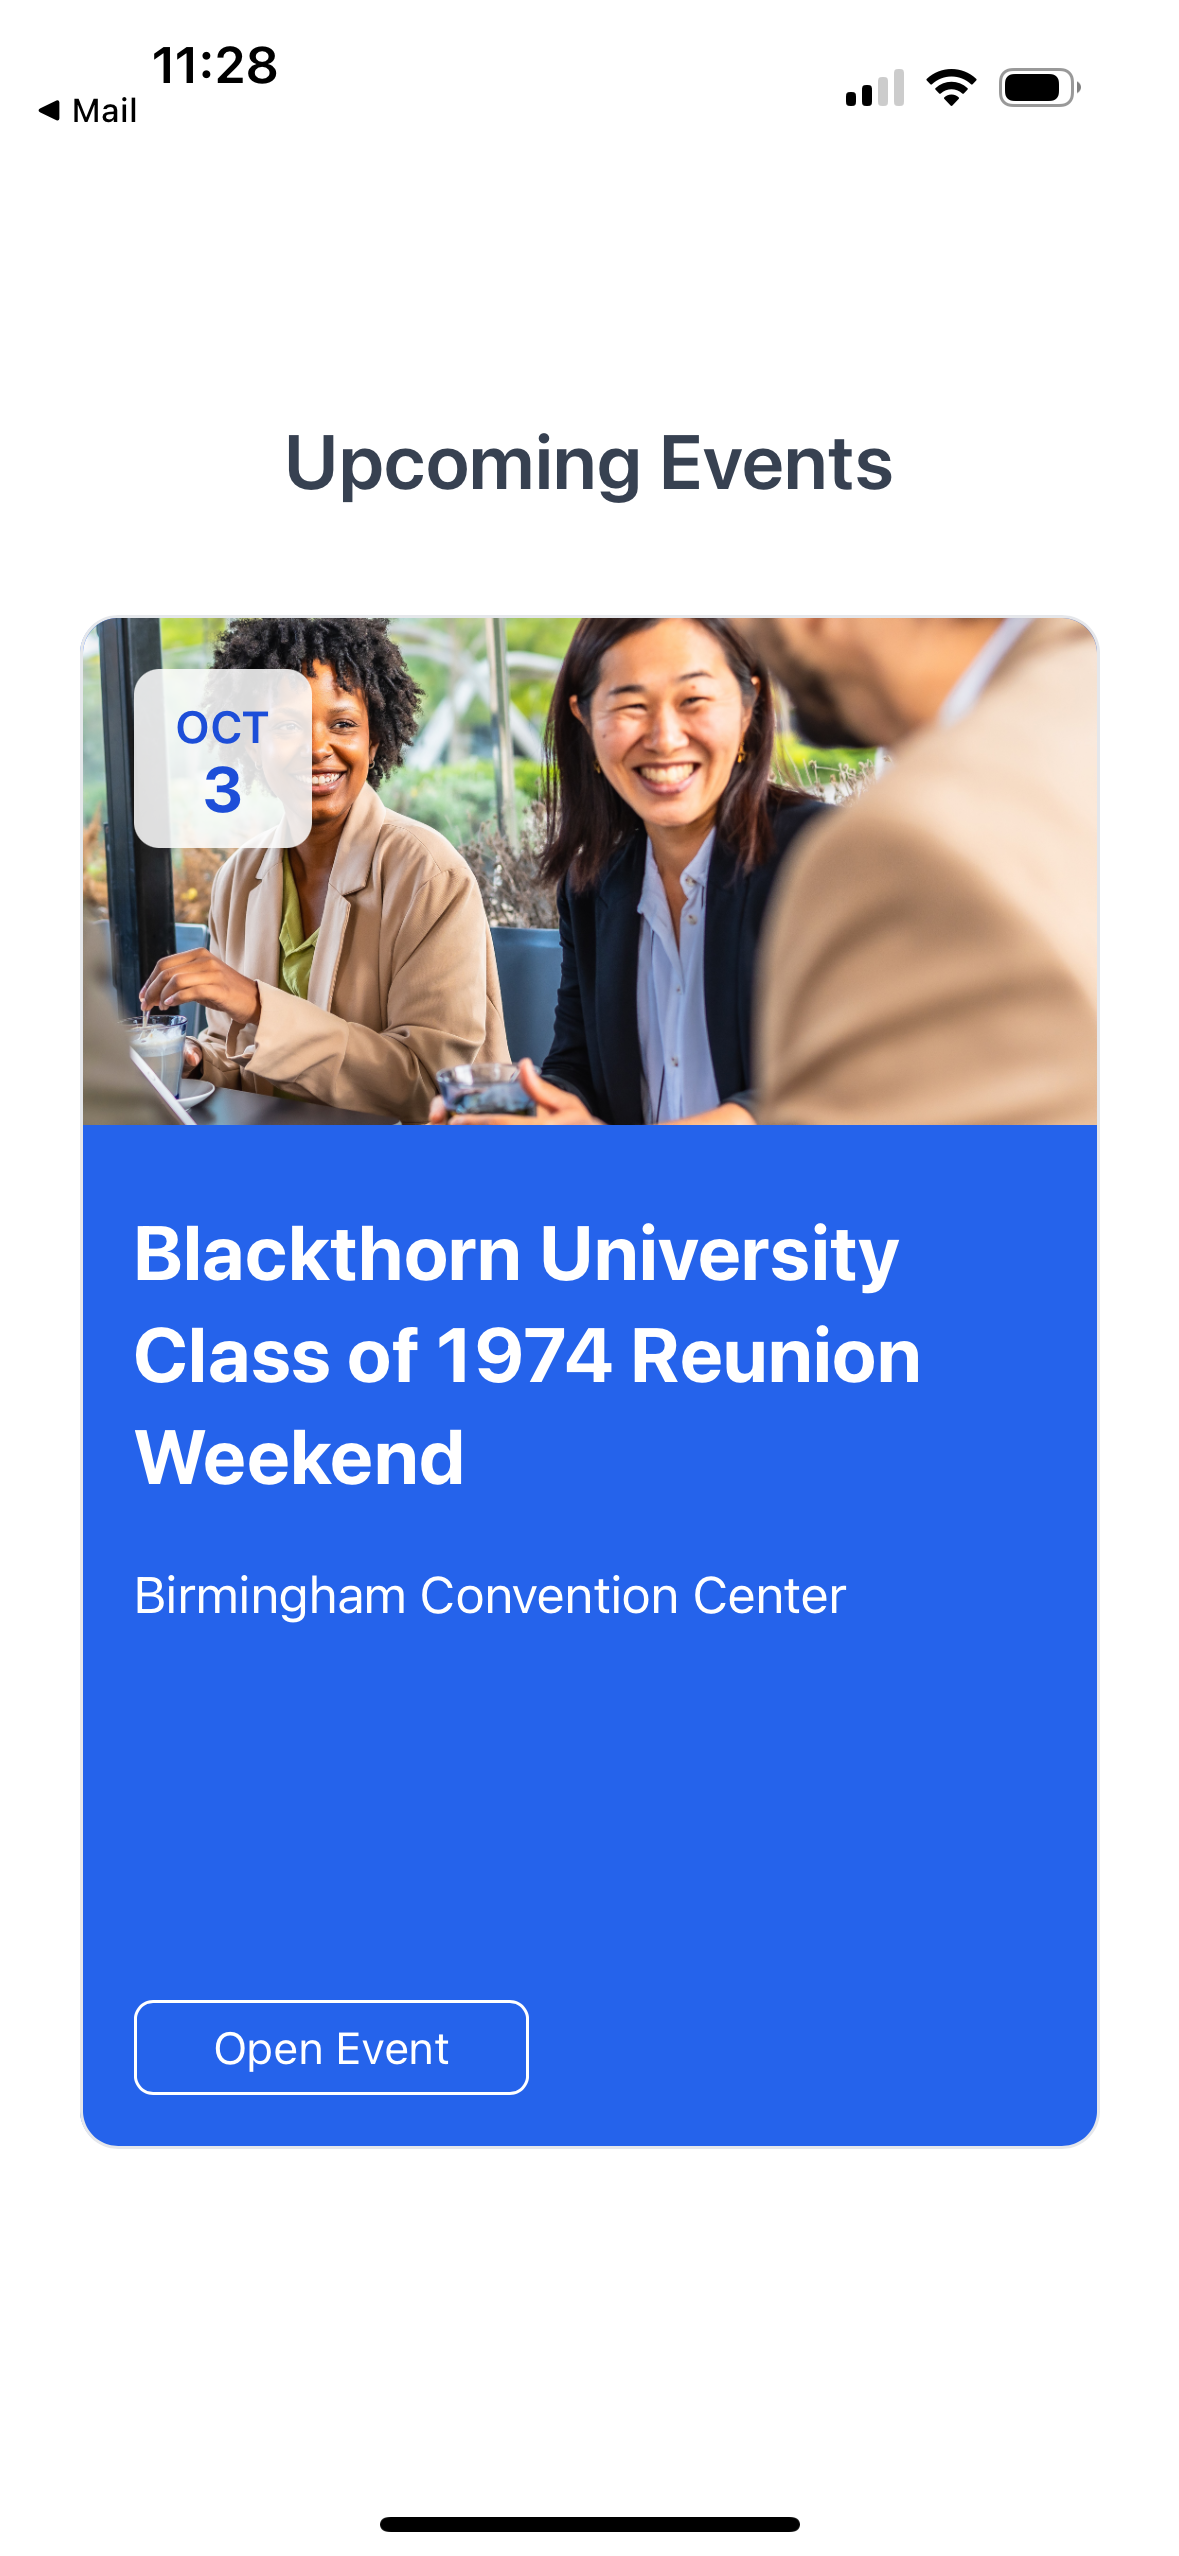
Agenda
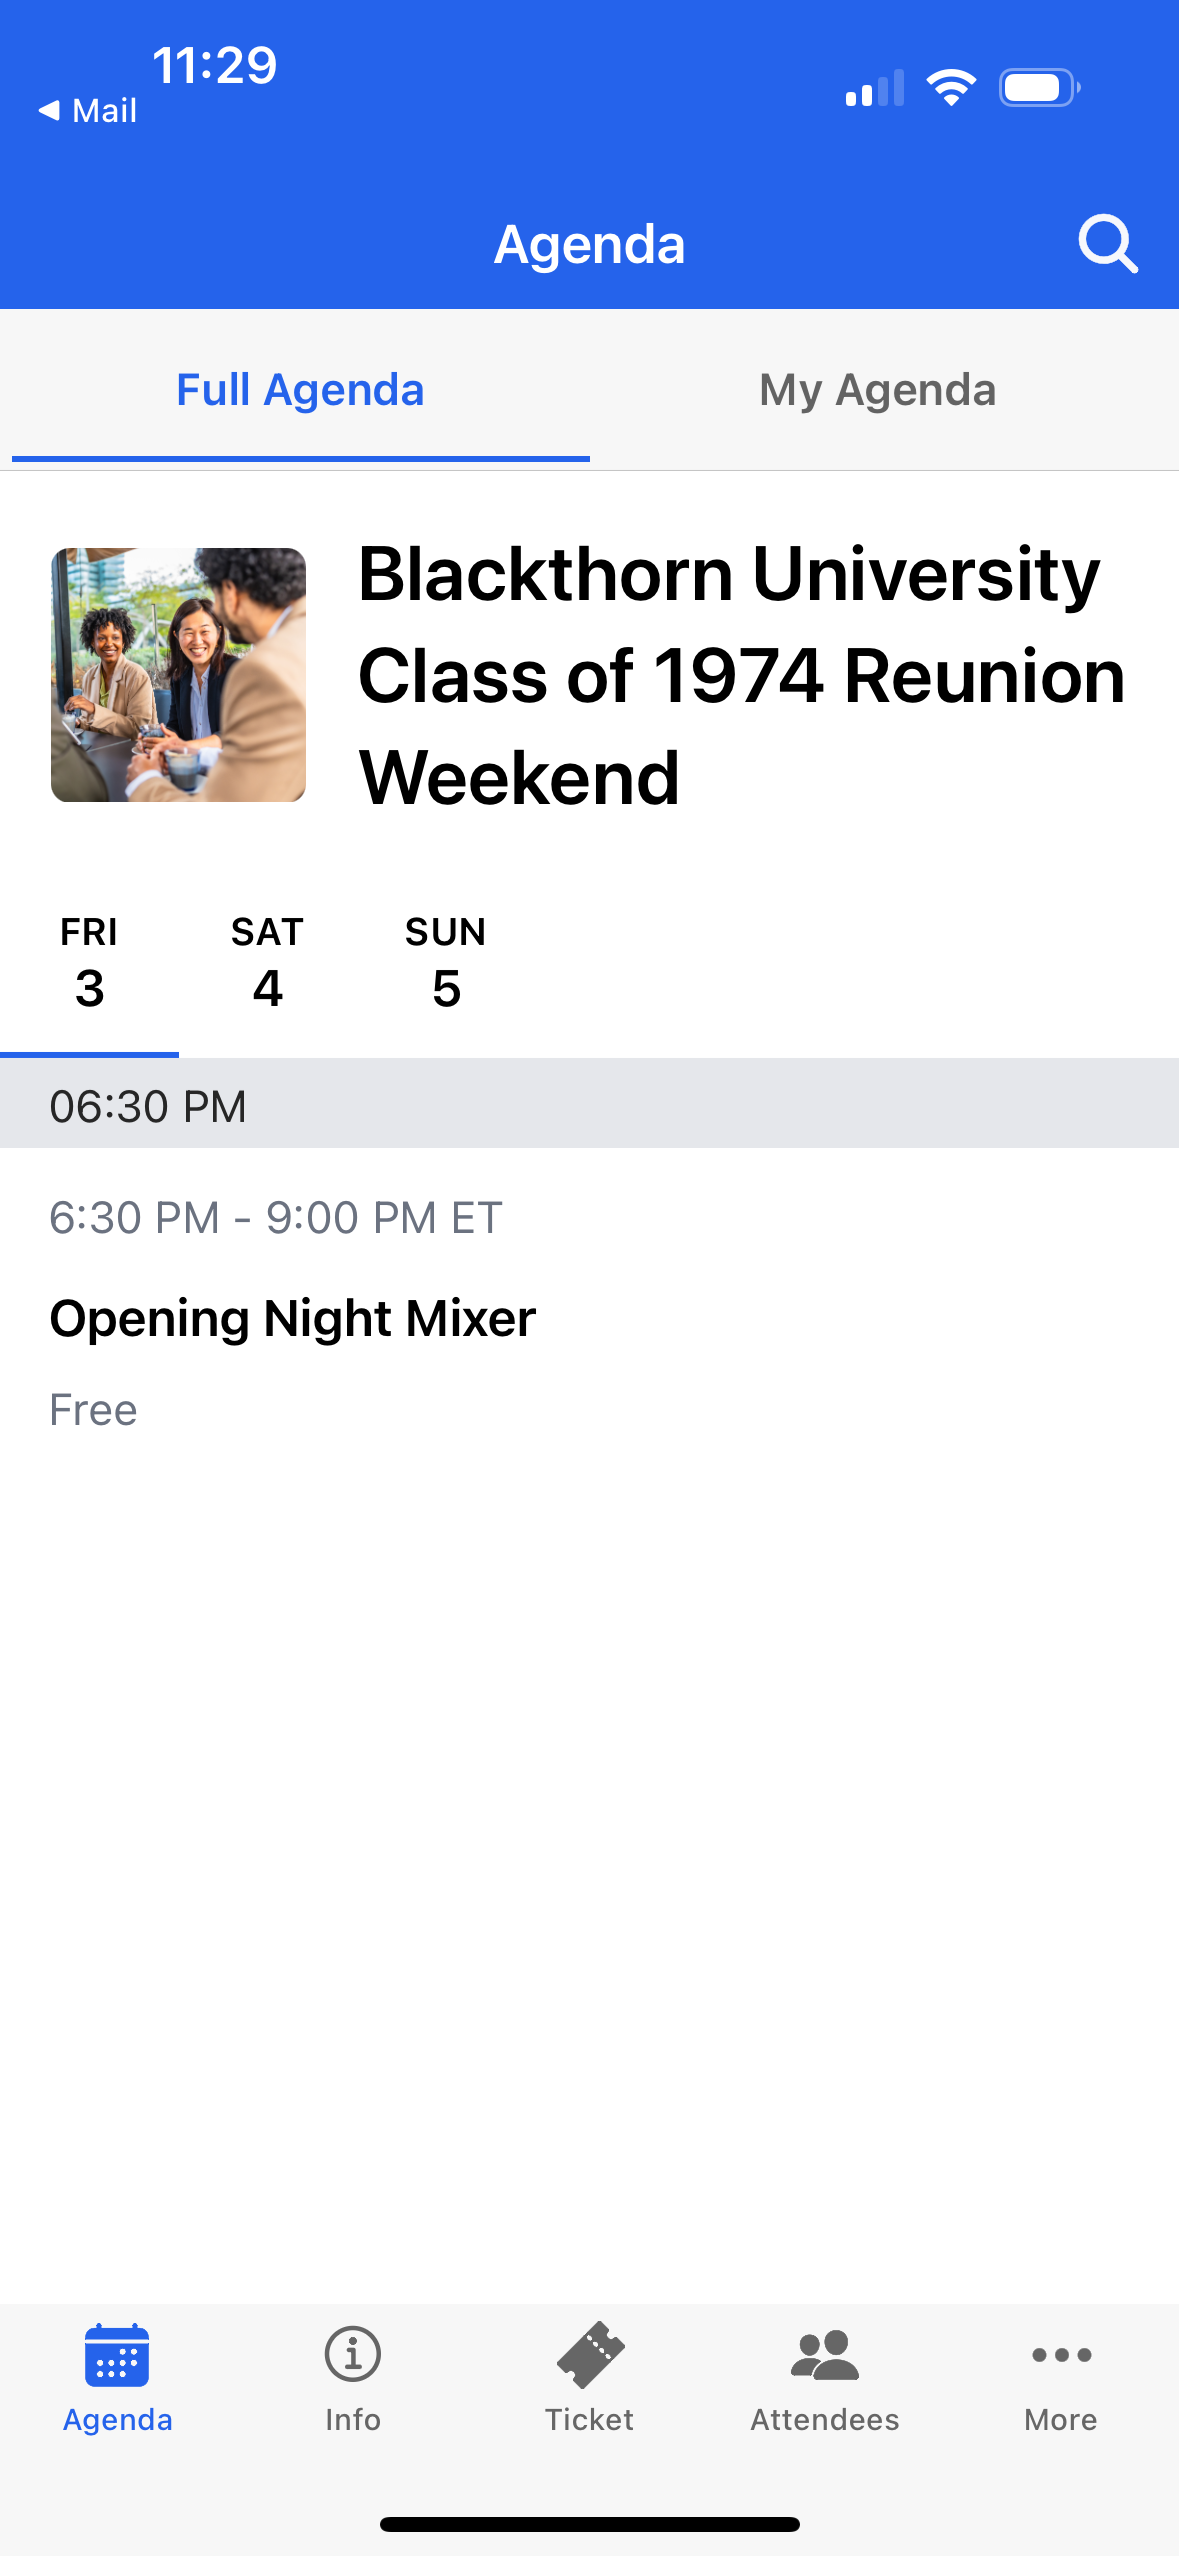
On the Agenda page, you will see two tabs at the top of the screen: Full Agenda and My Agenda. The Full Agenda tab includes all of the Sessions happening during the Event. My Agenda only consists of the Sessions you have registered for.
To refresh the screen, pull down on the screen.
Full Agenda
The Full Agenda page shows the name of the Event. If the Event happens over multiple days, you’ll see the days/dates of the Event; clicking the day/date shows all the Sessions, sorted by Start Time, on that day.
During a multi-day Event, the Full Agenda page will open on the current date if that day has Sessions, making it easier to see what’s happening.
You can also filter Sessions by Tracks by clicking the drop-down menu (upside-down triangle) next to the first day of the Event. Tracks separate Sessions by categories, making it easier to find a specific Session.
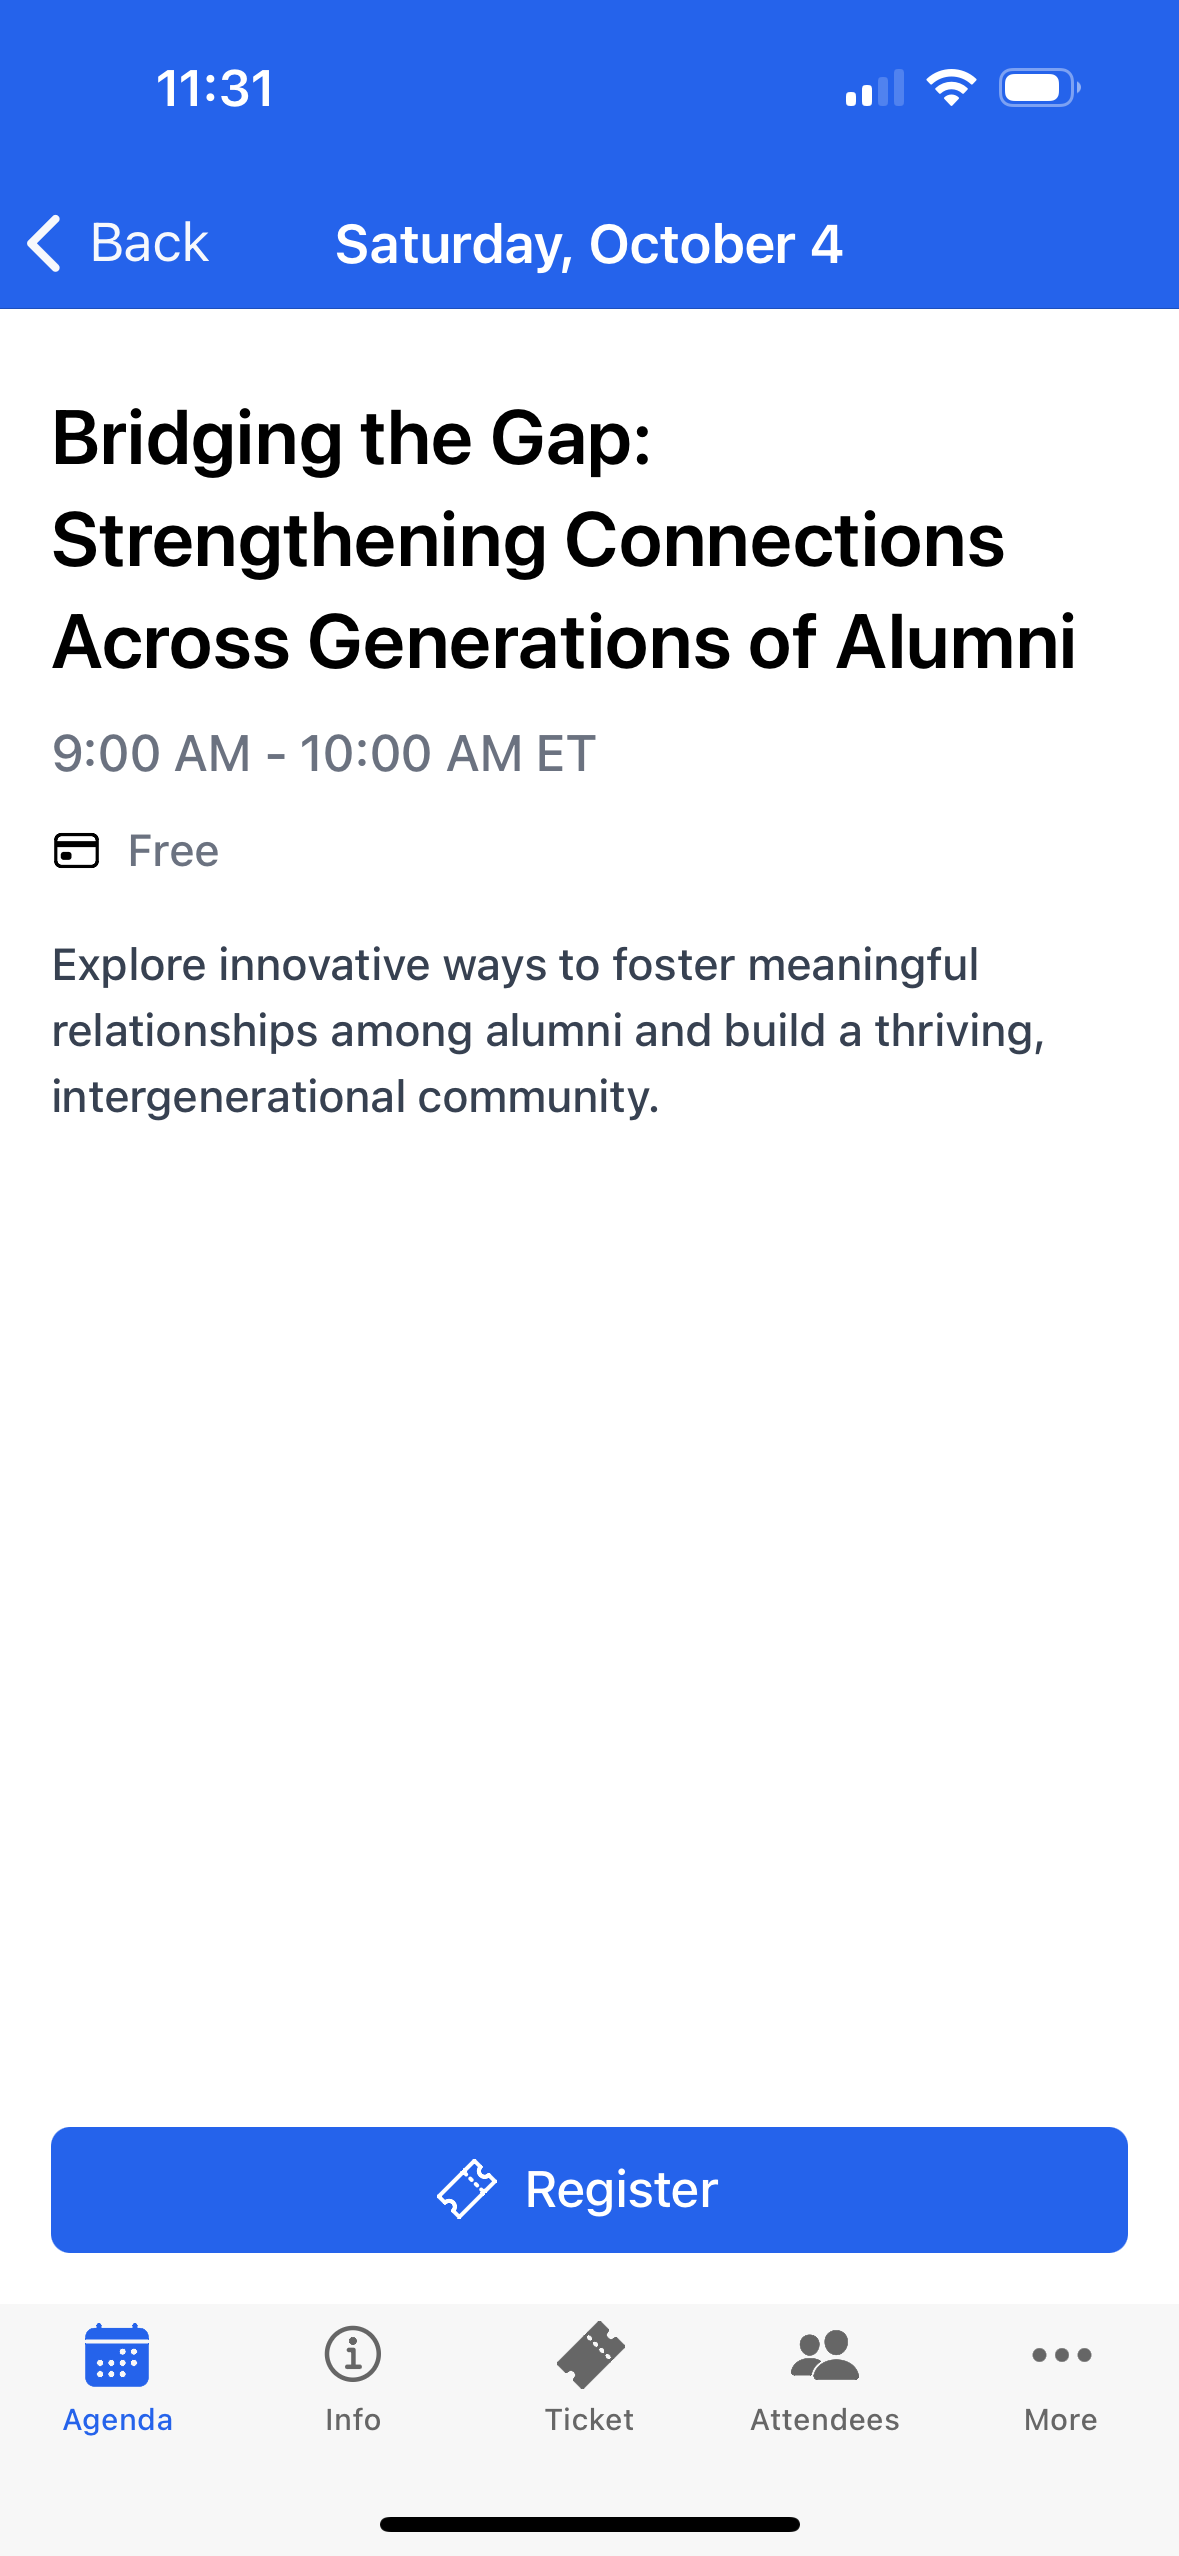
Click on a Session to open a new page with information, such as the Session’s name, description, start and end times, location, cost, and Speakers. (Clicking a Speaker opens a new page with the Speaker's image, name, and bio.)
Click here to learn how to register for a Session.
My Agenda
Click the My Agenda tab to see the Session(s) you registered for.
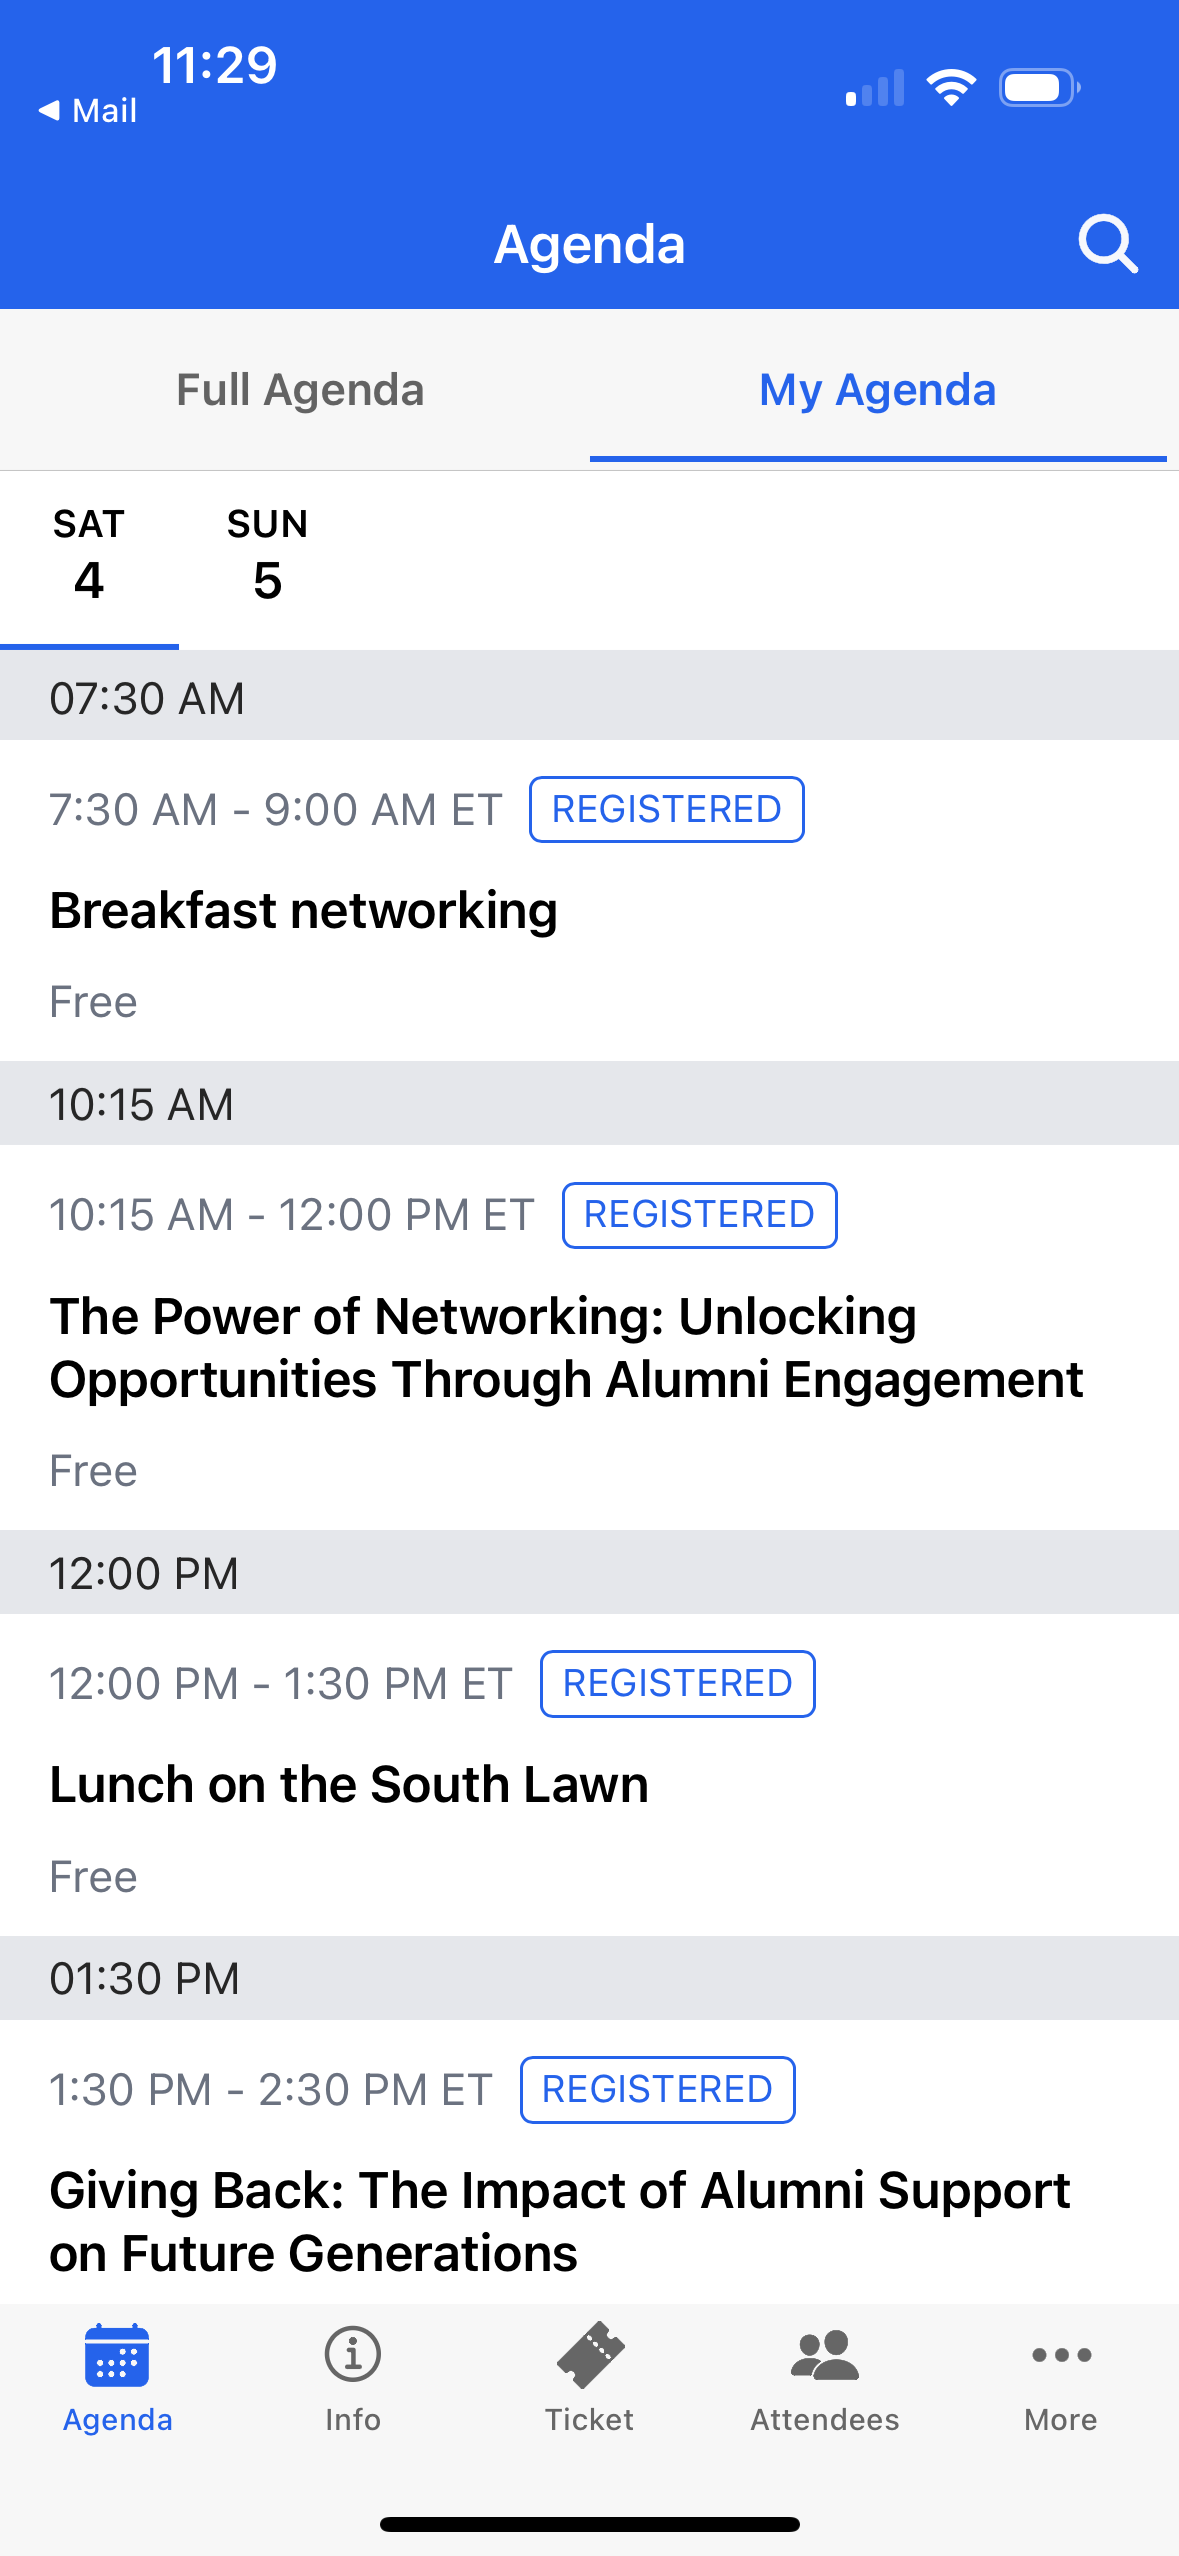
Click the Session to view its details (name, start and end dates, start and end times, and the description).
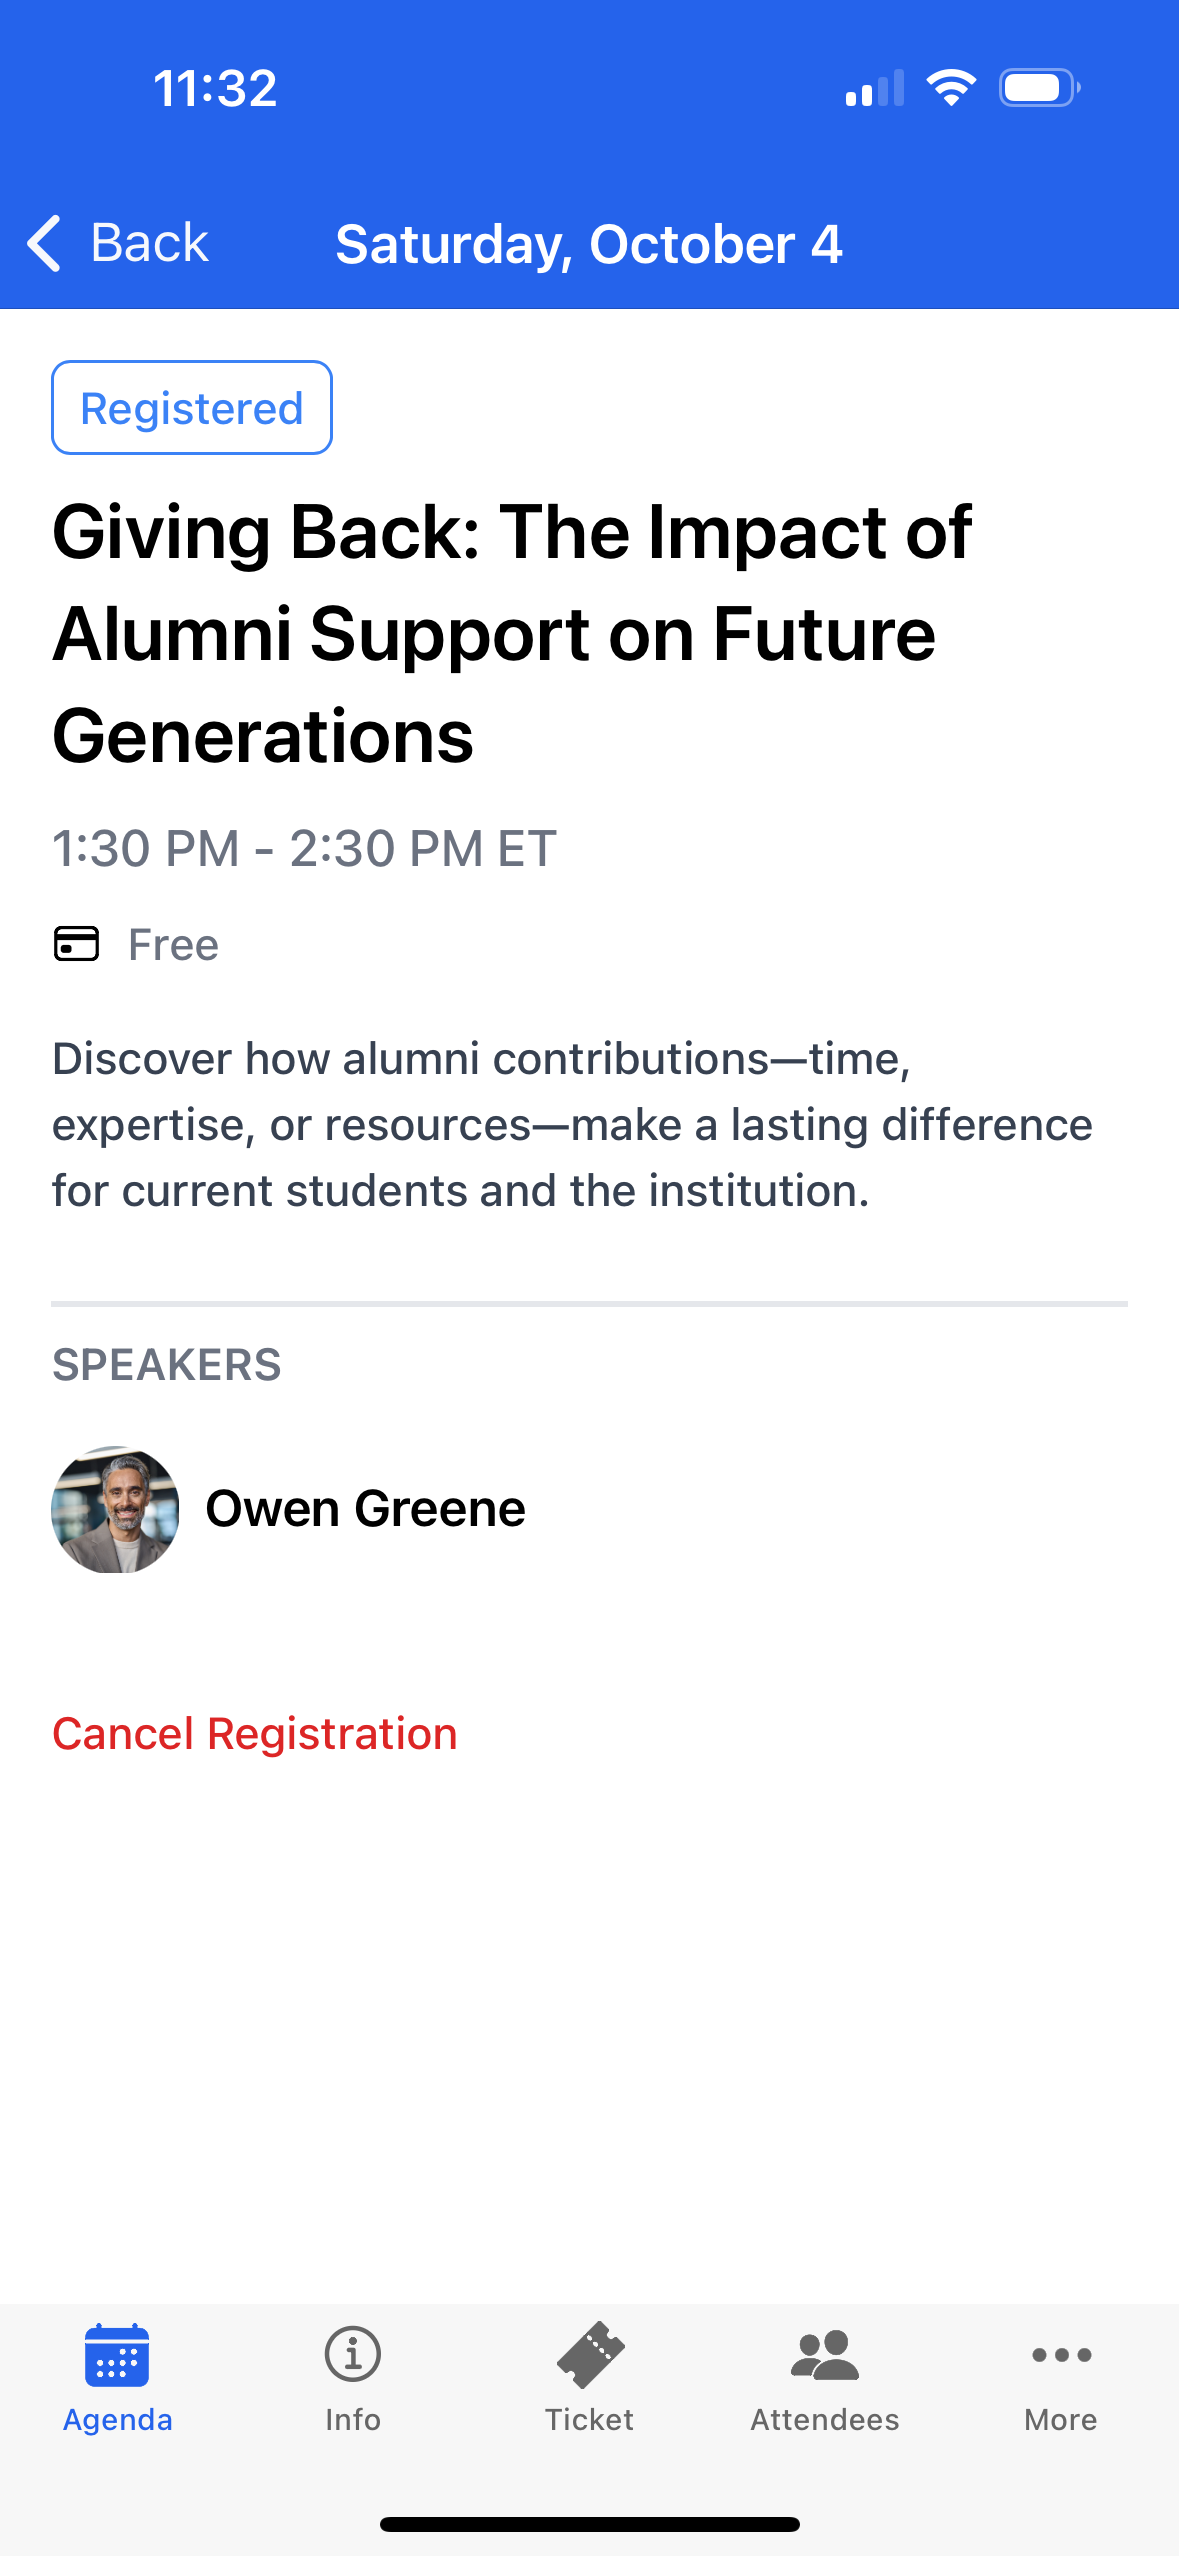
Click here to learn how to cancel your registration for a Session.
Info (Event Details)
The Info tab includes details about the Event, such as the dates, times, location, description, and directions.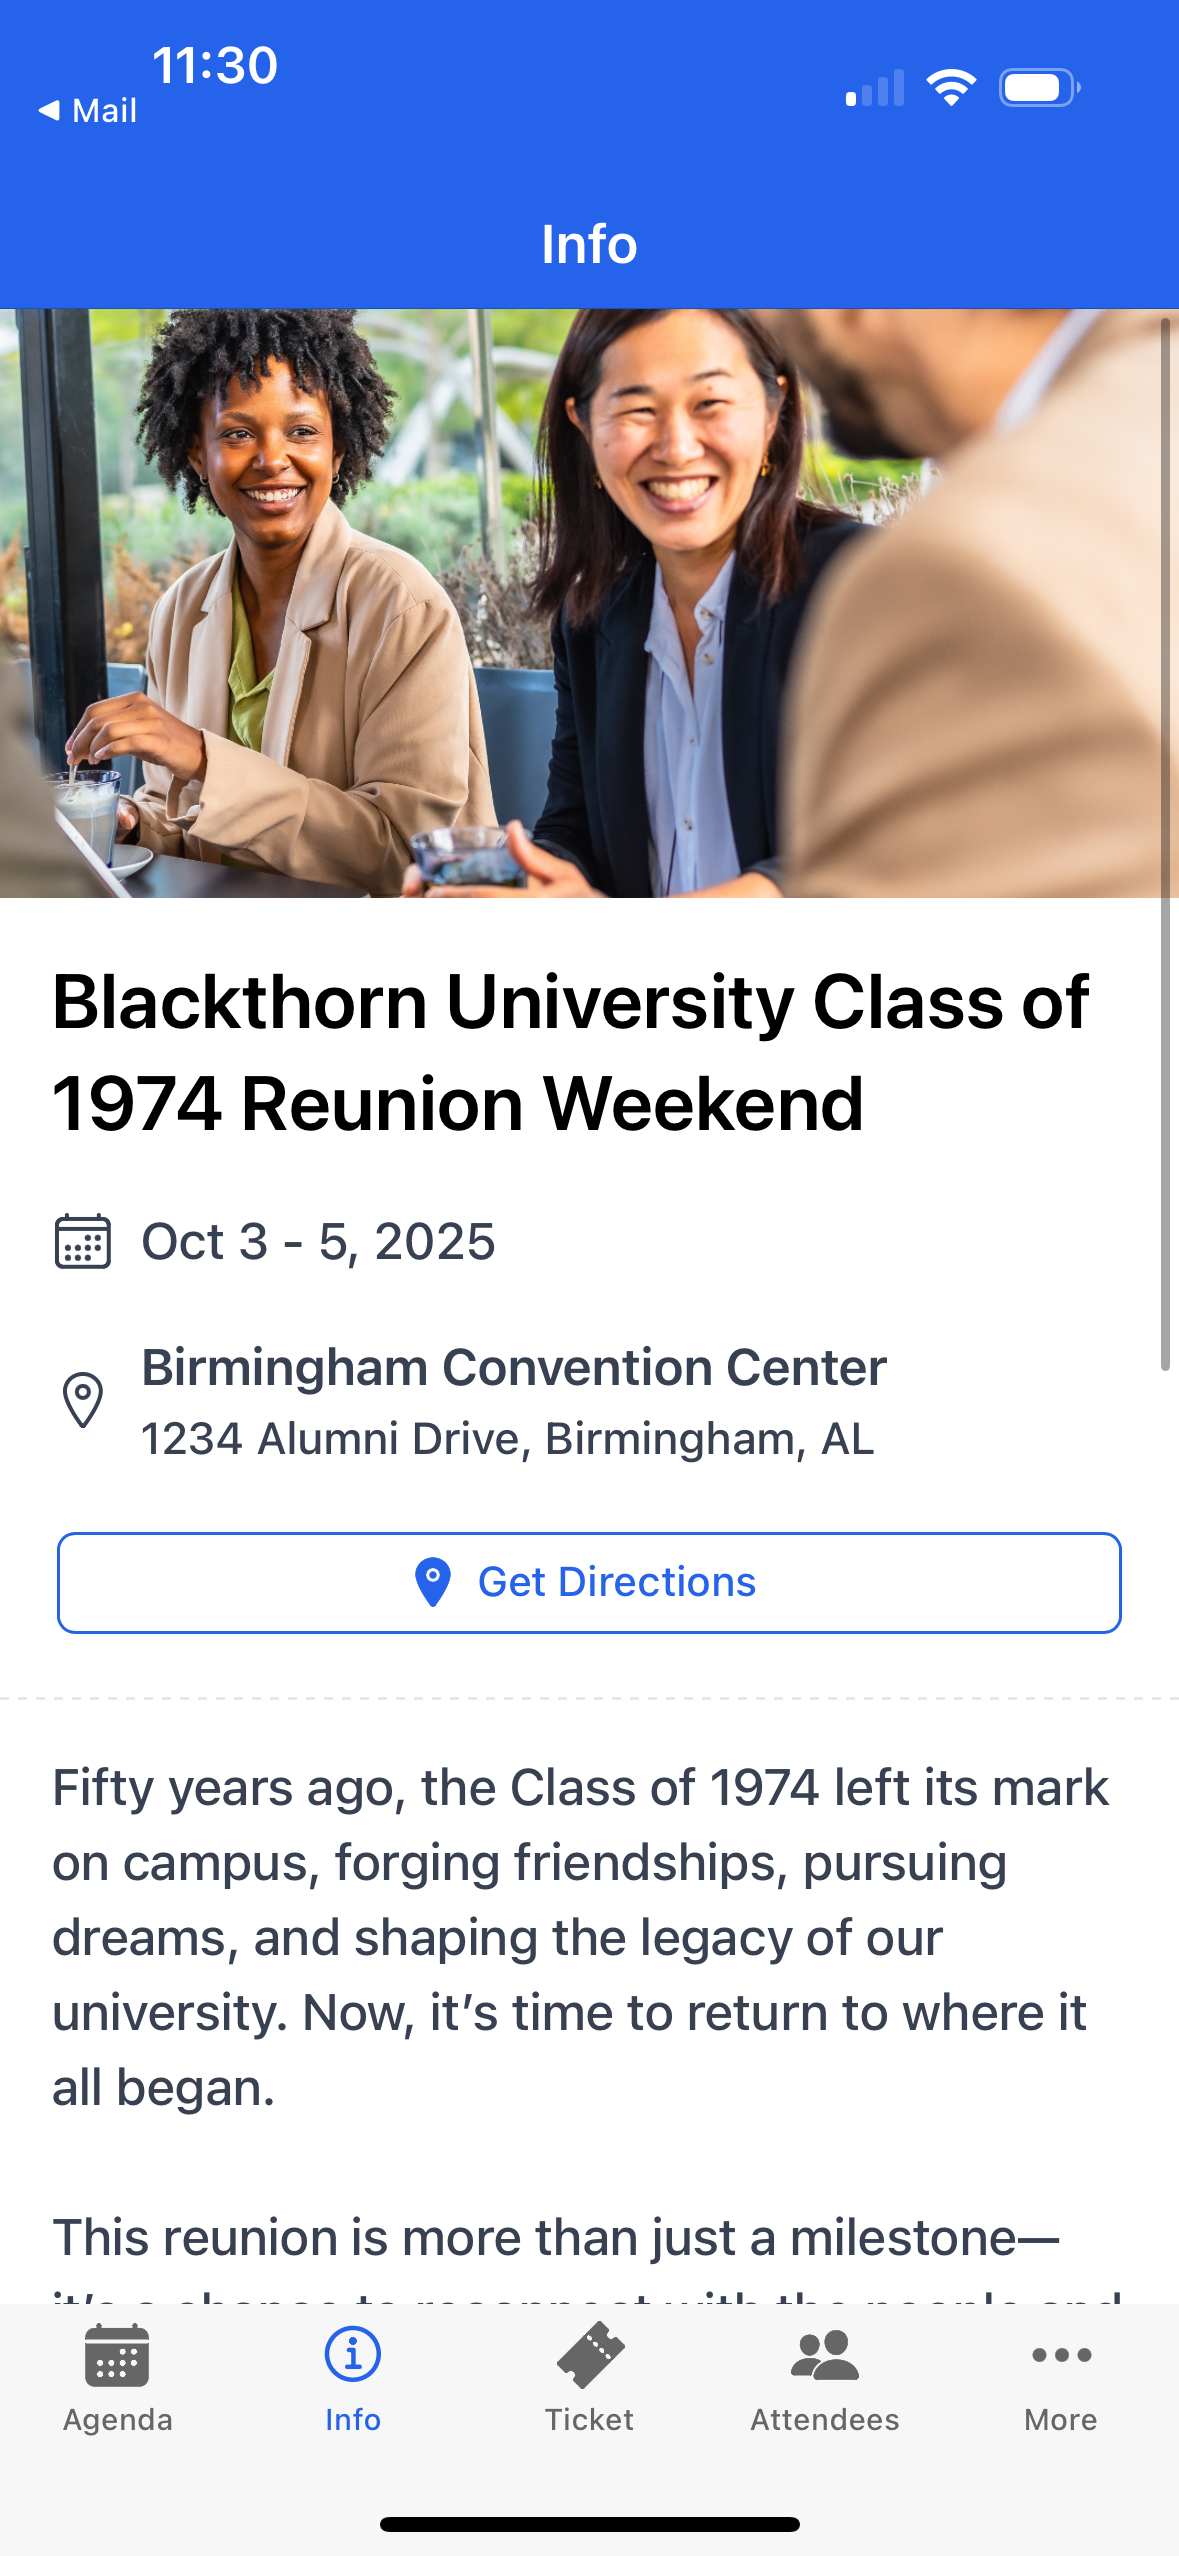
If the View Venue Maps button is visible, click it to view the related maps.
The Info tab is also where you’ll find the Share button, which lets you easily share Event access. Clicking the Share button in the top-right corner of the Info tab generates a QR code that links to the Event’s organization ID. Scanning the QR code automatically directs new Attendees to the correct organization and Event via their app’s sign-in screen or to the relevant app store to download the Navigator app.
Ticket (QR Code)
Use the QR code to check in for your Event or Session(s).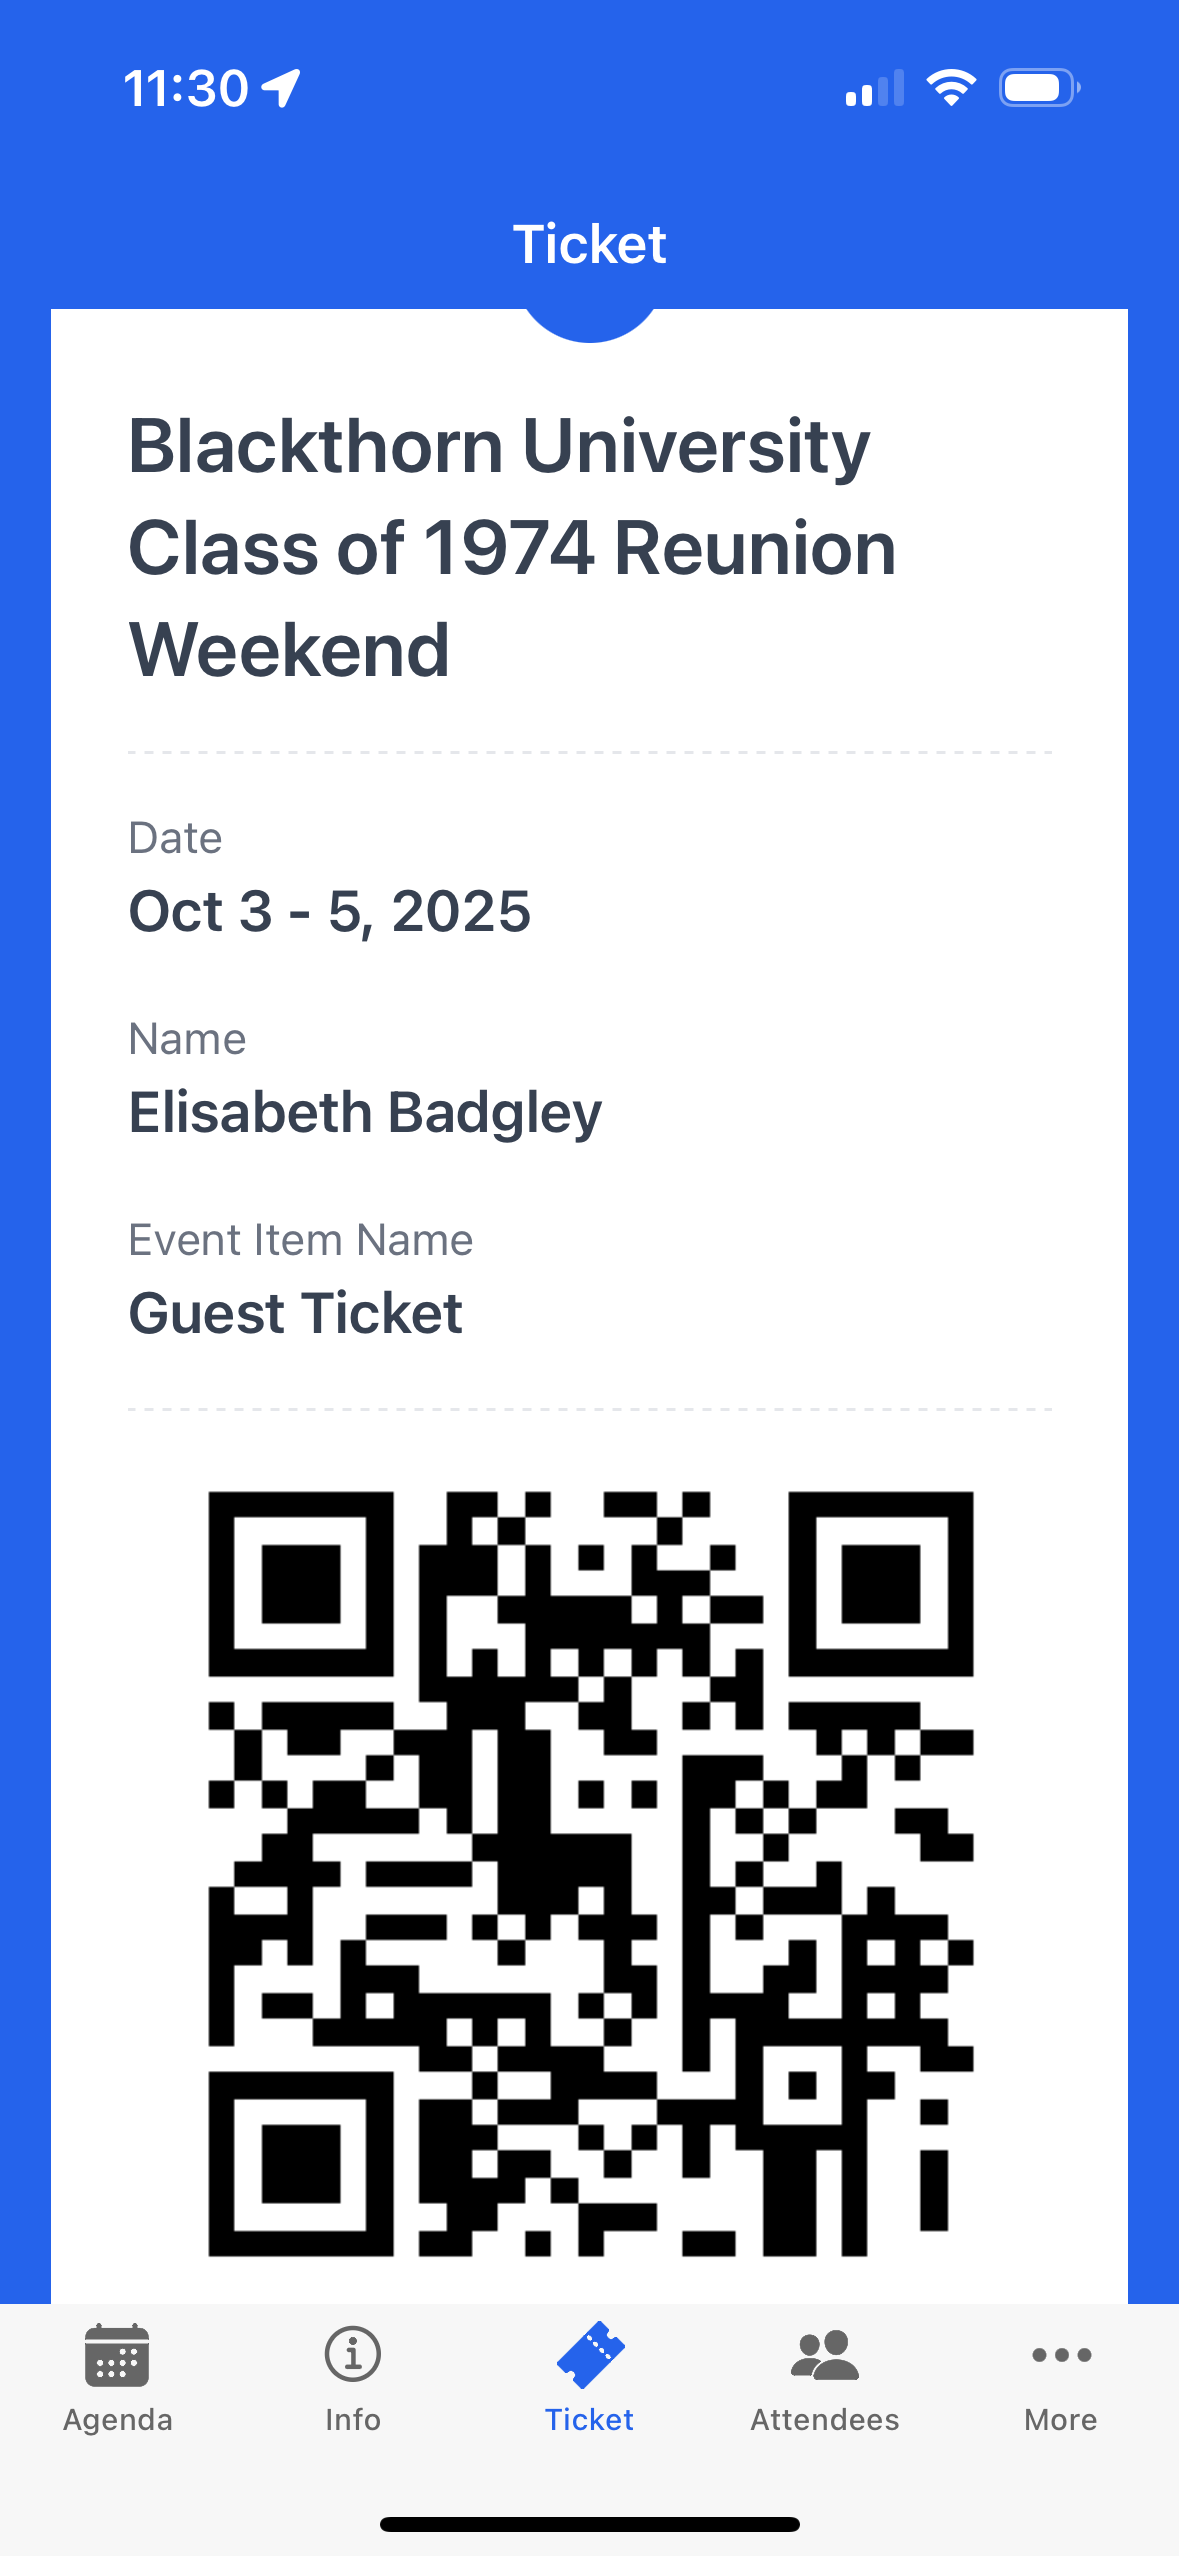
In-App Notification Center
Attendees can view and manage existing and missed notifications using the in-app notification center.
To access the notification center, click the notification or Bell icon in the top-left corner of the screen. If there are unread messages, a red dot will be next to the icon.
You will see the Bell icon on the following screens:
Agenda
Info
Ticket
Attendees
More
Content
Custom Tab (if available)
Clicking the Bell icon displays all the available push notification messages. Messages are listed in chronological order.
When you click a message, one of the following will happen:
The app takes you to the Agenda page and marks the message as read. Clicking the Mark All as Read button sets all messages to read.
The app takes you to a Session’s page if the Event Organizer included a SessionId when creating the message.
The app takes you to a Speaker’s page if the Event Organizer included a SpeakerId when creating the message
If a valid ID is not included in the notification message, the app will open the Notification page.
Attendees (Attendee List)
The Attendees tab includes an alphabetical list of Attendees who registered for the Event.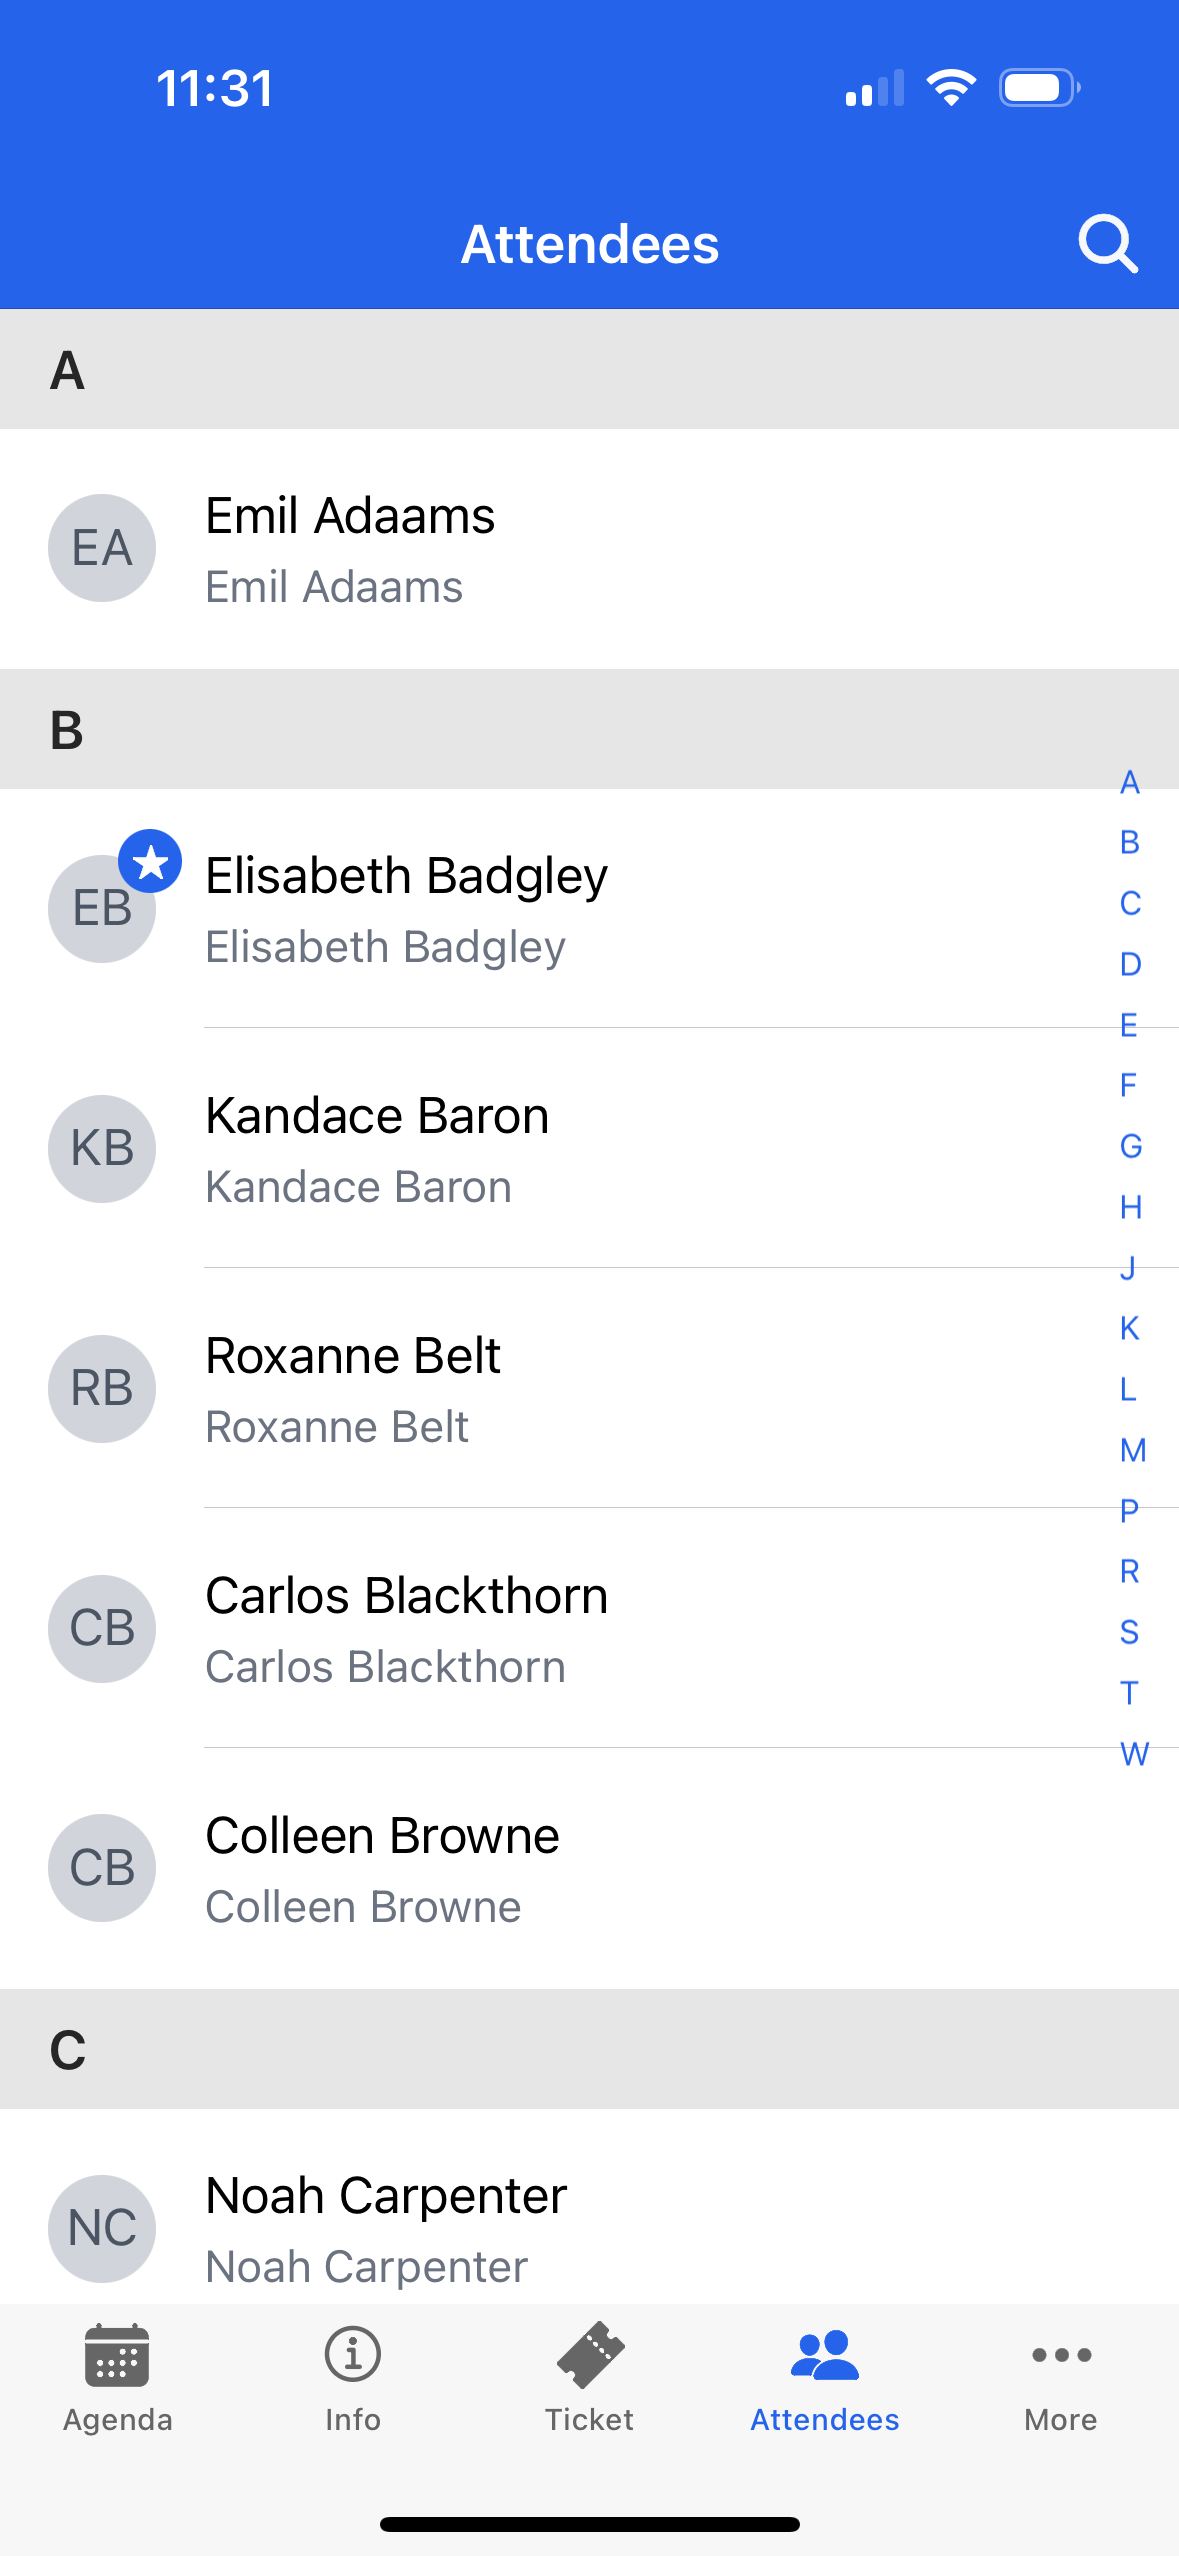
Click here to learn how to search for Attendees at your Event.
NOTE: Attendees who have hidden their Attendee profile will not be visible.
View Custom Content
What is Custom Content?
Event Organizers can add Custom Content or real-time Event information to the Navigator app to share information and enhance the Attendee experience. Custom Content can be any of the following:
Event logistics information (schedules, maps, contact info)
Sponsor visibility and branded content
Supplemental Event materials (videos, images, rich text content)
Custom resources and reference materials for Attendees
Attendees can access the first piece of Custom Content from the navigation bar at the bottom of the screen. Any additional information is accessed by clicking the “More” menu tab.
More Menu (Additional Configuration Options)
Update Your Attendee Profile
Click the “More” menu tab.
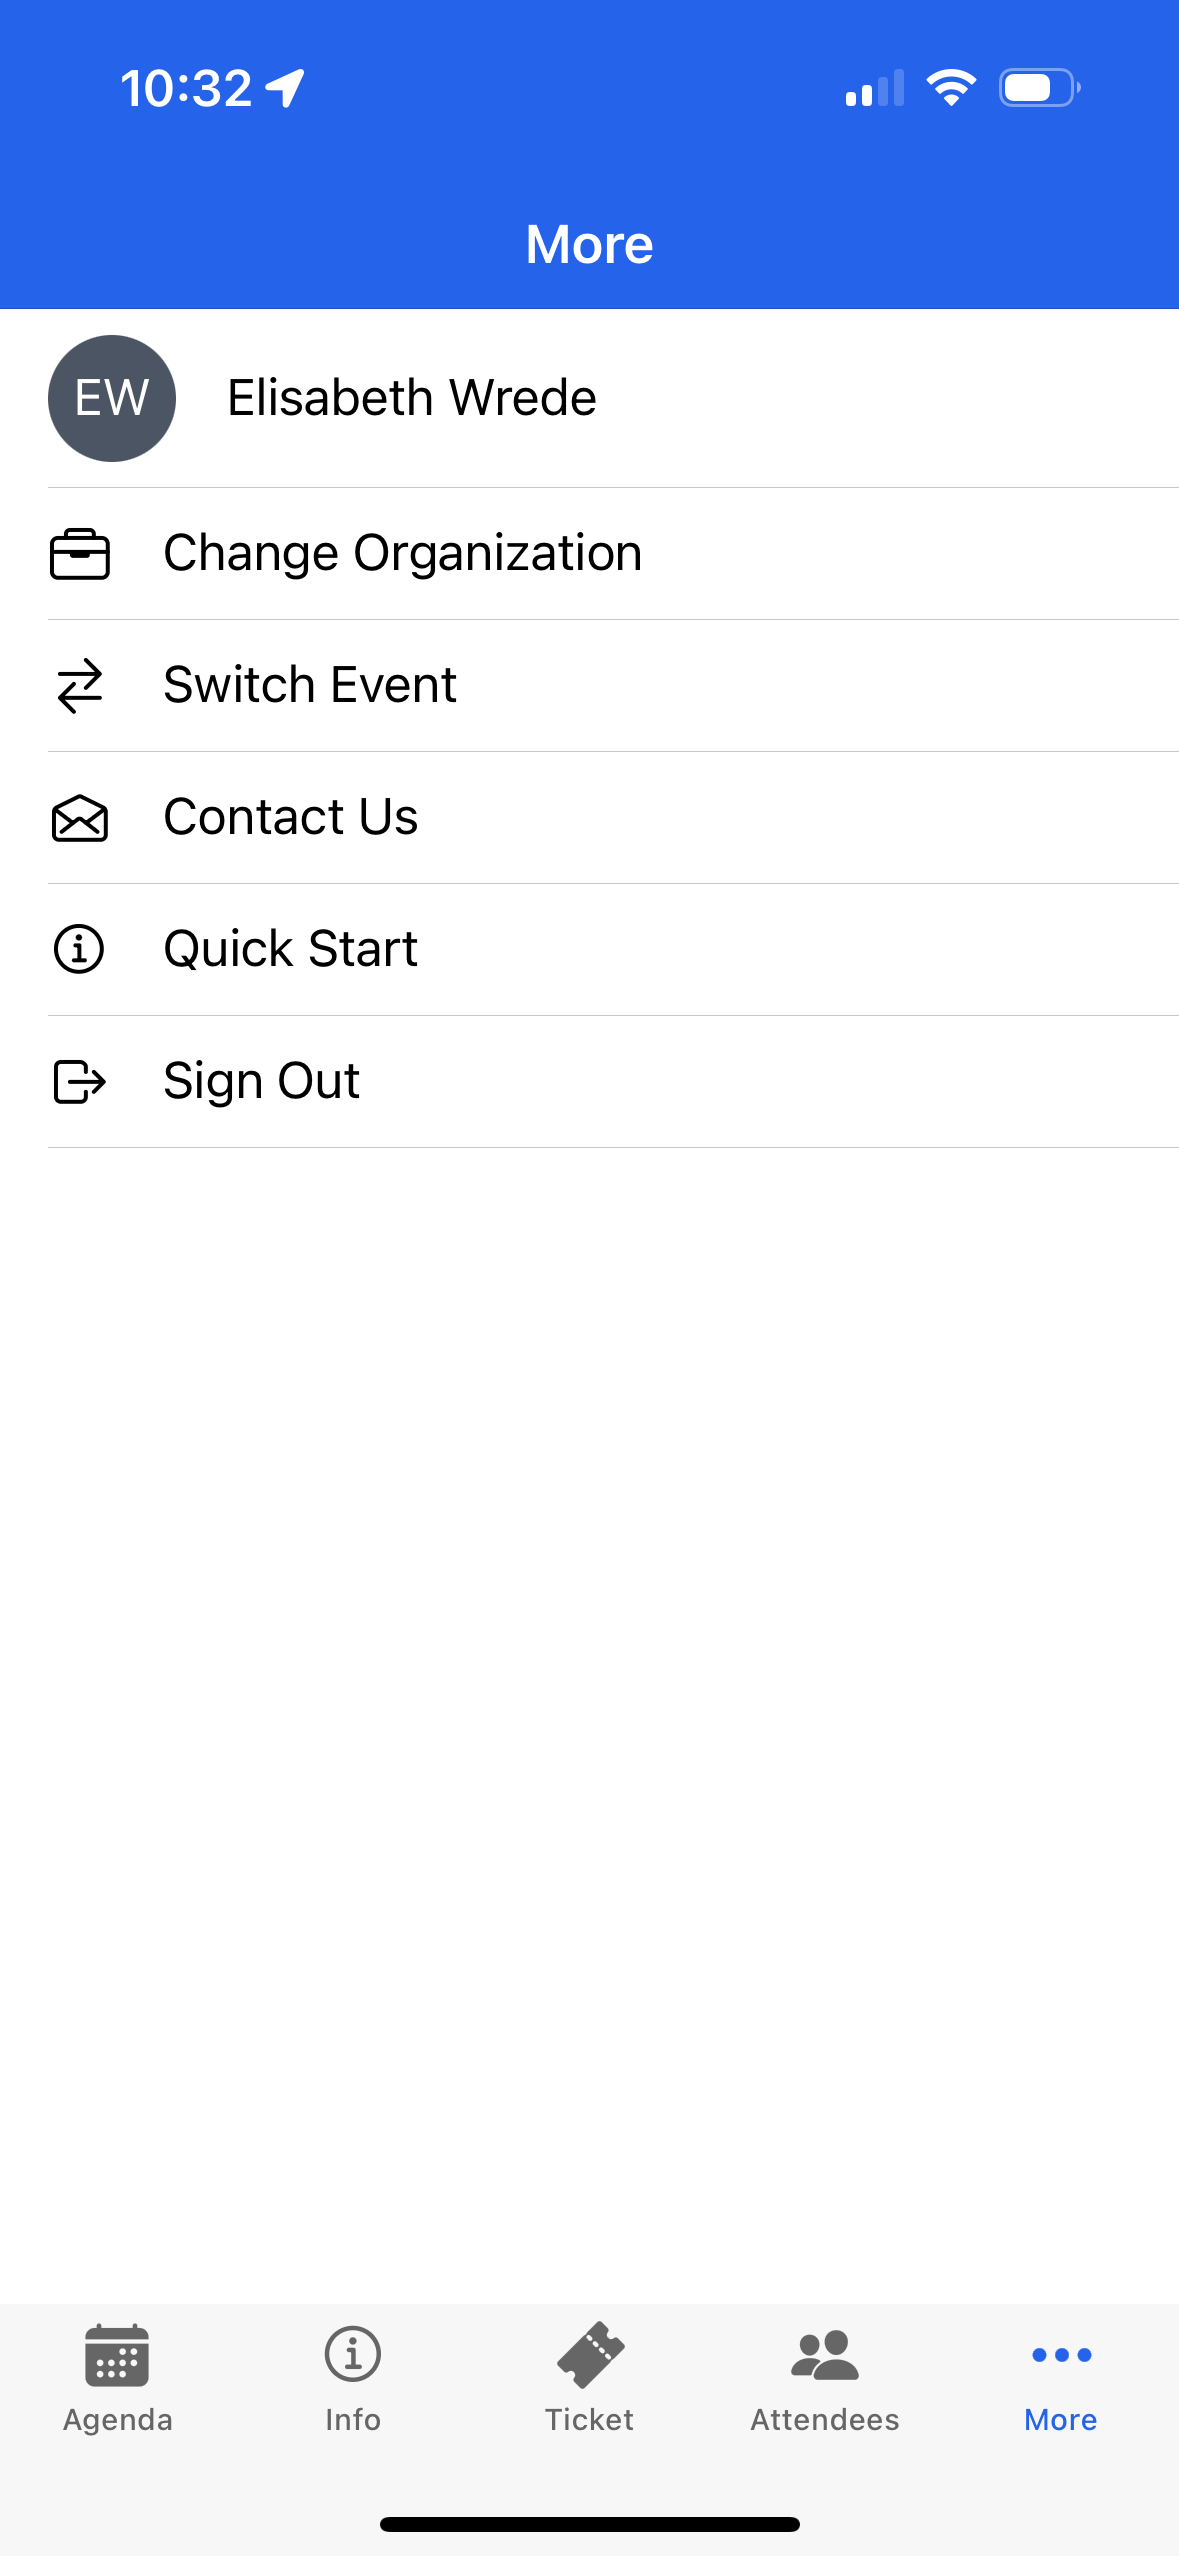
Click on your name.
Click the Edit button.
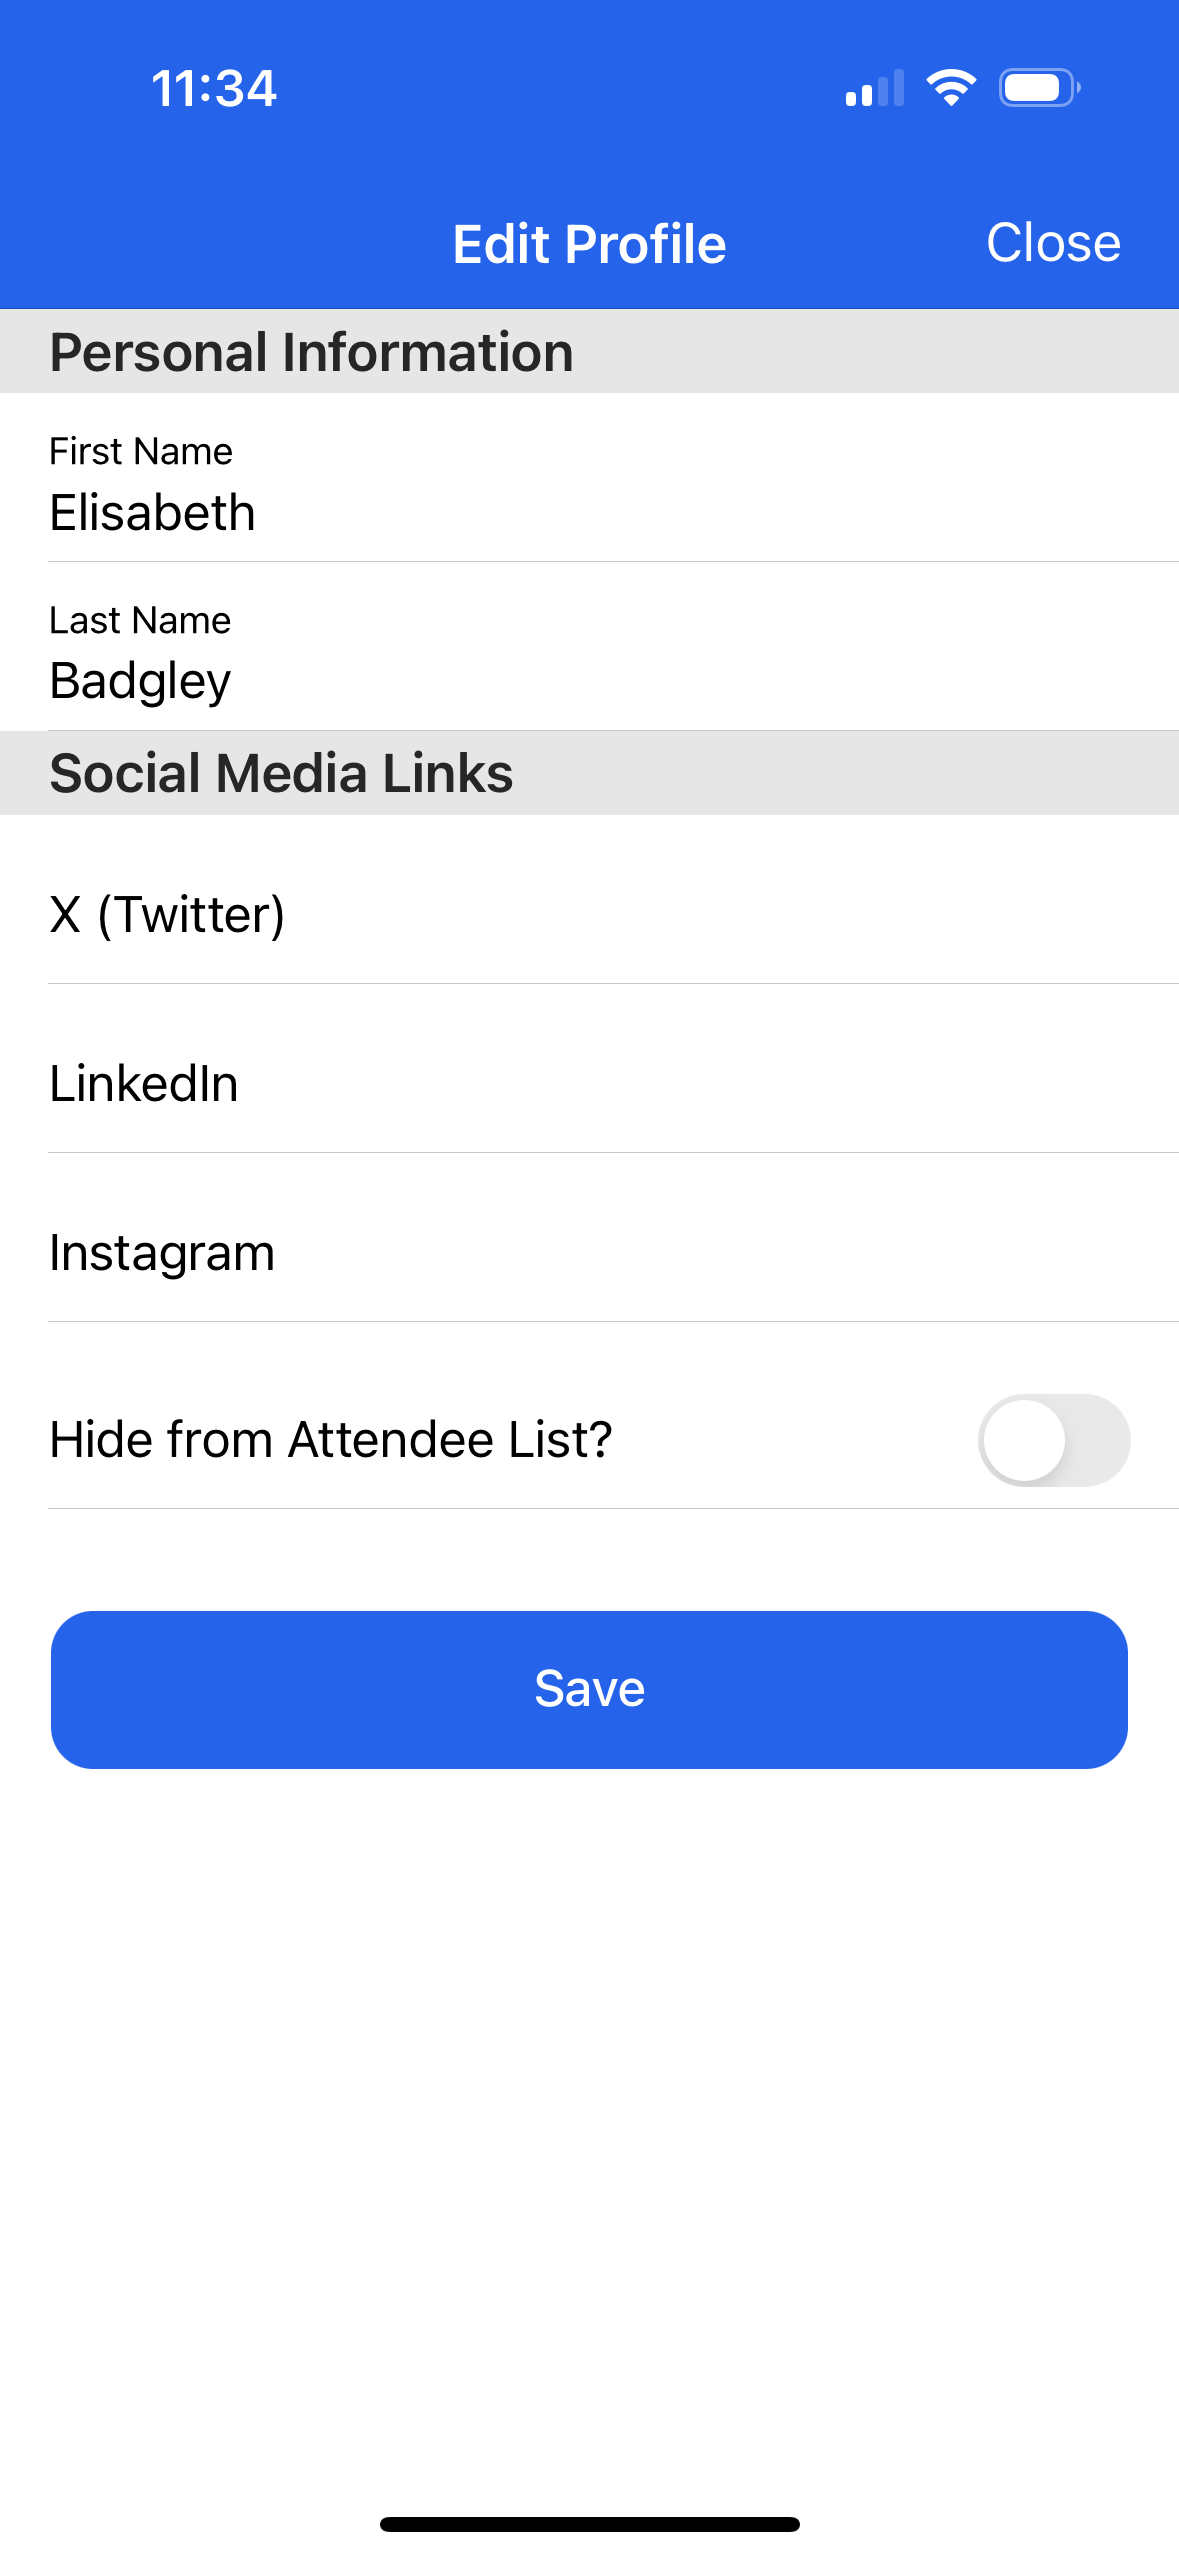
Update the following information. (You cannot change your first and last name.)
X (Twitter)
LinkedIn
Instagram
Click the “Hide from Attendee List?” toggle to remove your information from the Attendee List.
Click Save.
Change Organization
For example, University A and University B both use Blackthorn Events, and each has an upcoming Event with the Event record’s Enable Navigator Attendee Mobile App field enabled.
As an Attendee, I earned my undergraduate degree at University A and my graduate degree at University B. Each university represents an organization in the Navigator app, and I can switch between them to see information about the different Events.
Click the More tab.
Click Change Organization.
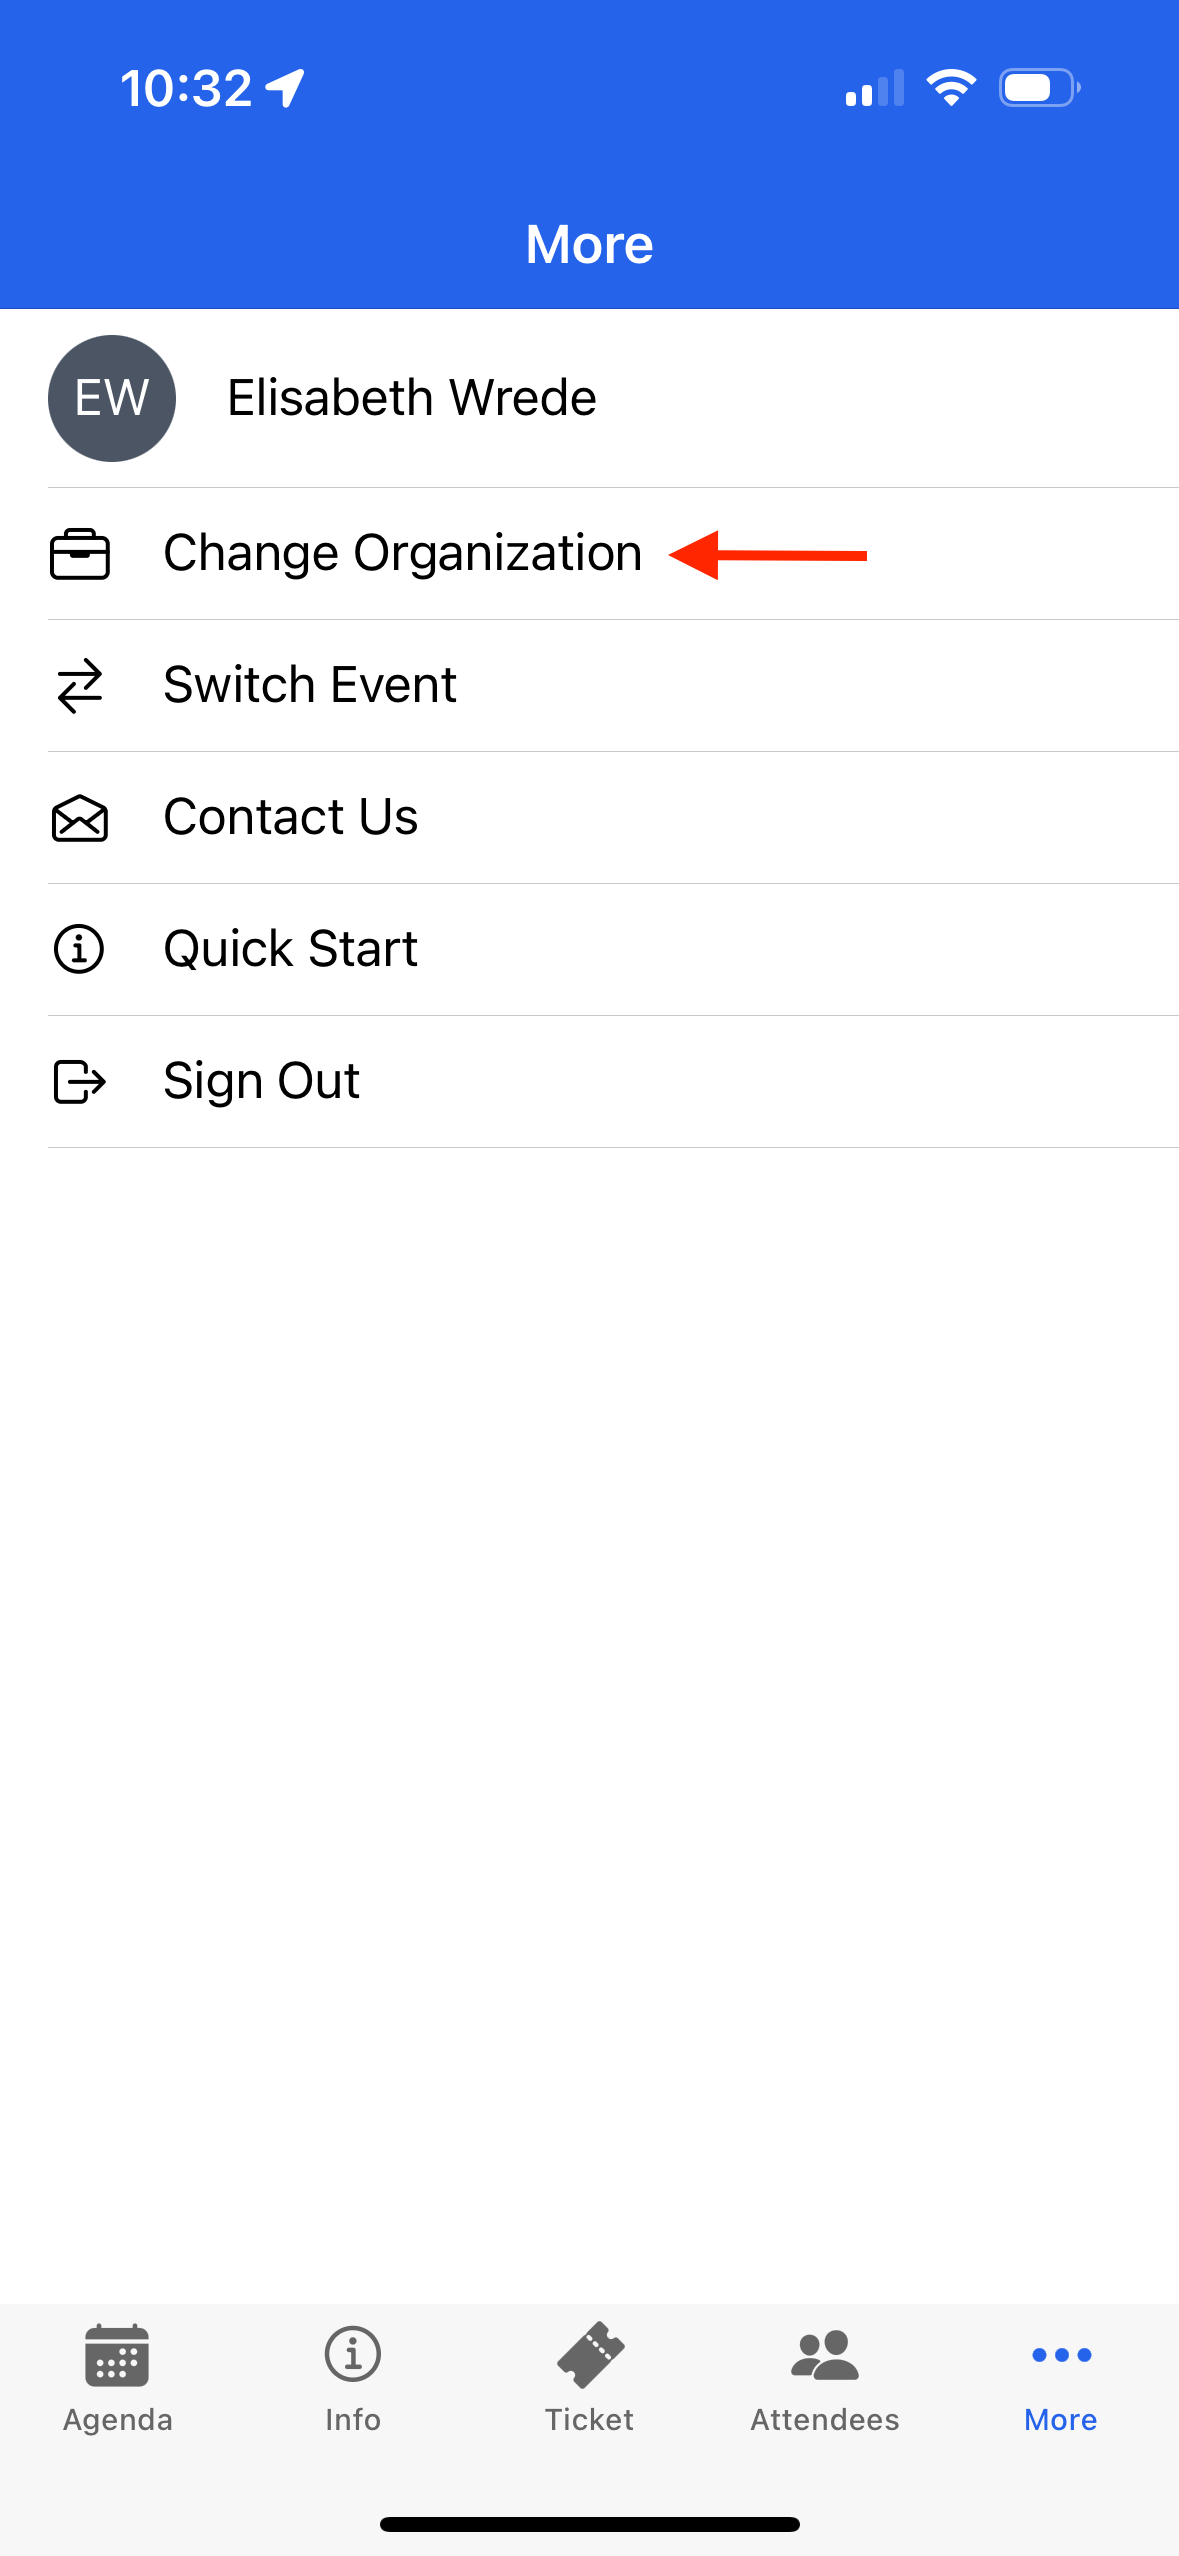
Select a new Organization.
On the Upcoming Events page, select an Event from the new Organization.
If you don’t see the organization on the Select Organization screen, click the link at the bottom. It will take you to a different page where you can enter their four-digit Event Code. Once you enter a valid code, the app automatically switches to the new organization.
Speakers
Find your Event’s Speakers faster in the Navigator app with the Speakers tab. Browse all Speakers in one place and tap any Speaker to view their details instantly.
Users can access the Speakers tab from the More Menu. The Speakers page lists all Speakers associated with the Event. Each Speaker’s page includes the Speaker’s name, company, title, bio, image, and social media links.
Switch Event
Complete the following step to return to the Upcoming Events page or select a new Event.
Click the More tab.
Click Switch Event.

You will be taken back to the Upcoming Events screen, where you can select another Event you registered for.
Contact Us
Blackthorn created the Navigator app; however, Attendees who need assistance must use the app’s Contact Us feature to contact the Event Organizer. Blackthorn cannot assist individual Event Attendees.
If the Contact Us form does not work, Attendees should reach out via the Event webpage’s Contact Us form or by directly contacting the organization hosting the Event.
Click the More tab.
Click Contact Us.
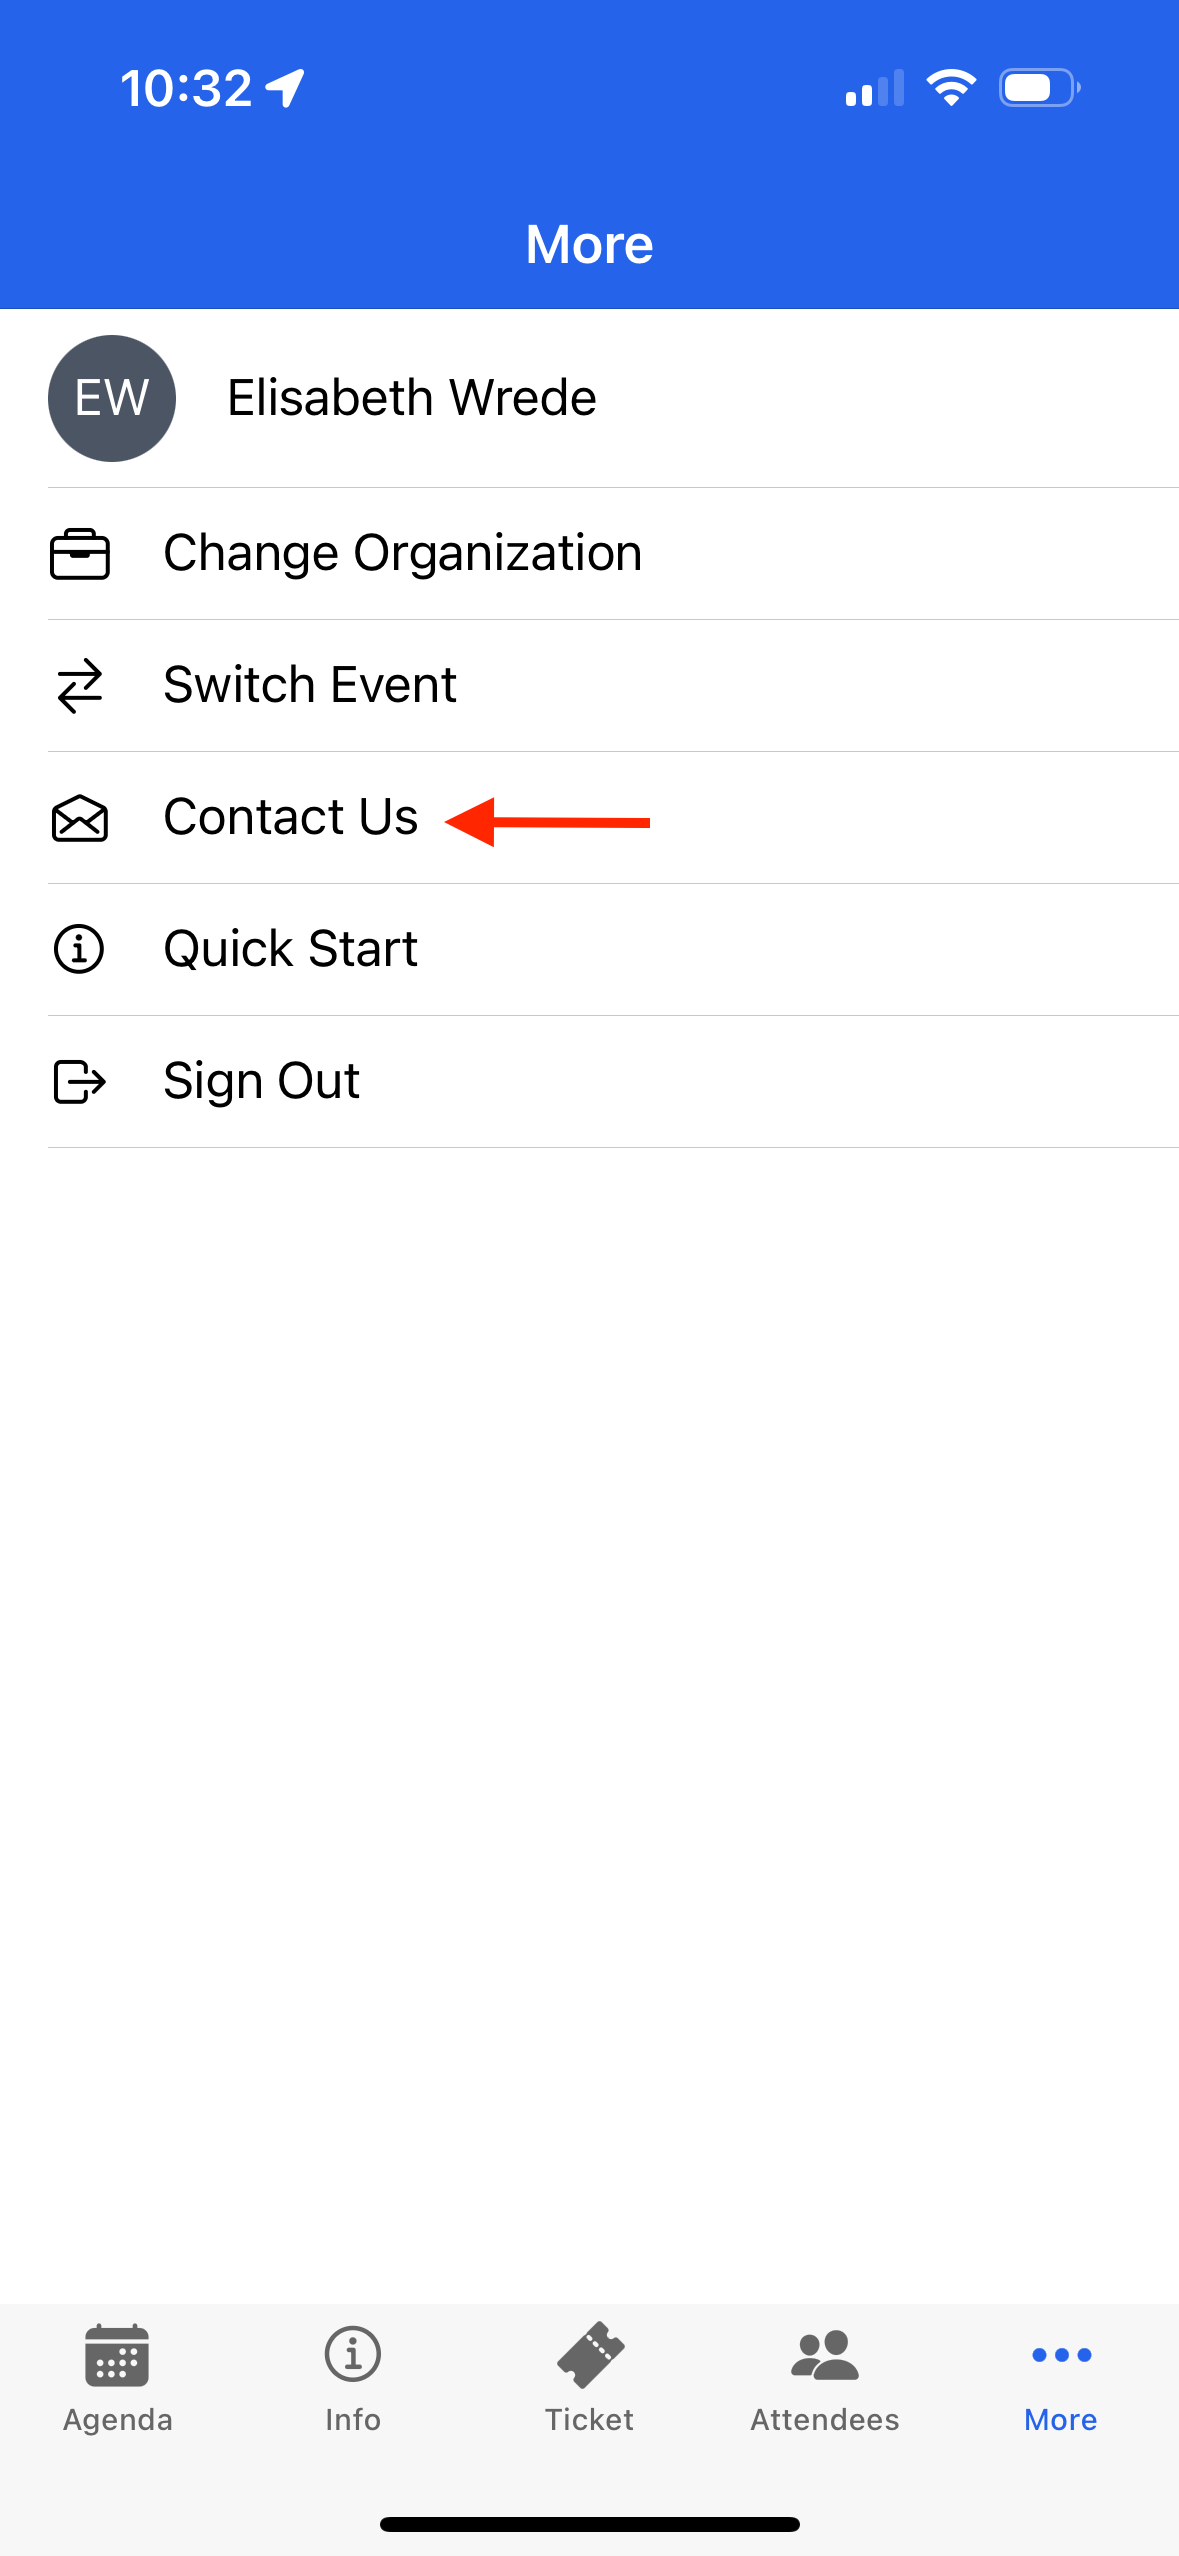
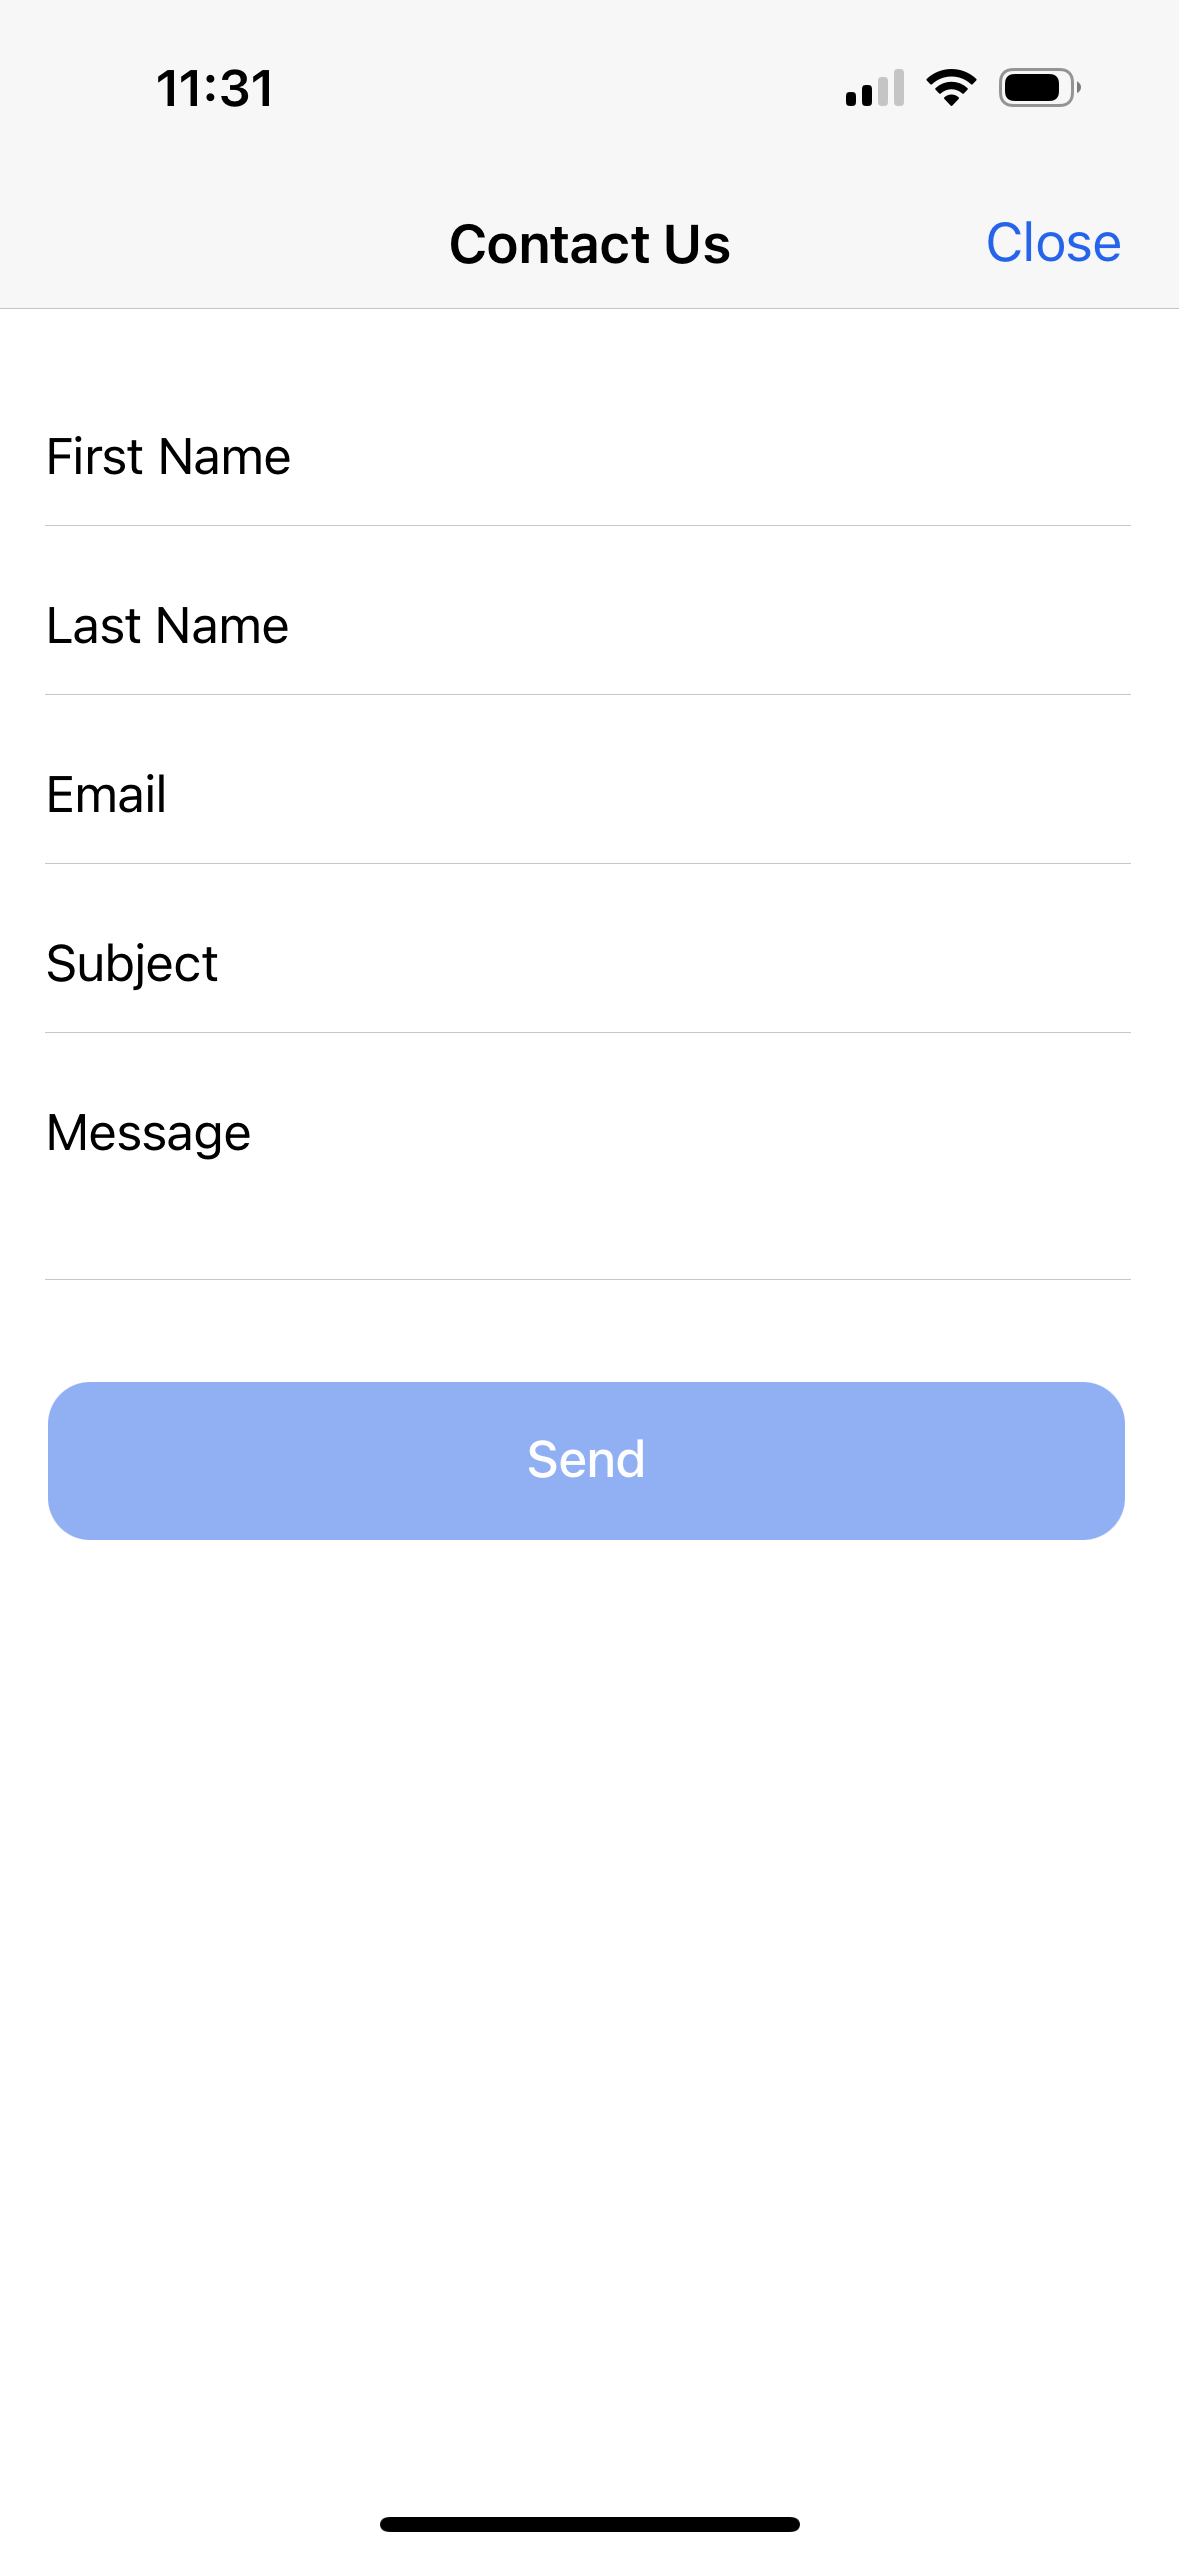
Enter information in the following fields.
First Name
Last Name
Email
Subject
Message
Click Send.
Blackthorn created the Navigator app; however, Attendees who need assistance must use the app’s Contact Us feature to contact the Event Organizer. Blackthorn cannot assist individual Event Attendees.
If the Contact Us form does not work, Attendees should contact the Event Organizer from the Event webpage’s Contact Us form or by directly contacting the organization hosting the Event.
If the Event Organizer needs additional information, they should open a case with Blackthorn Support.
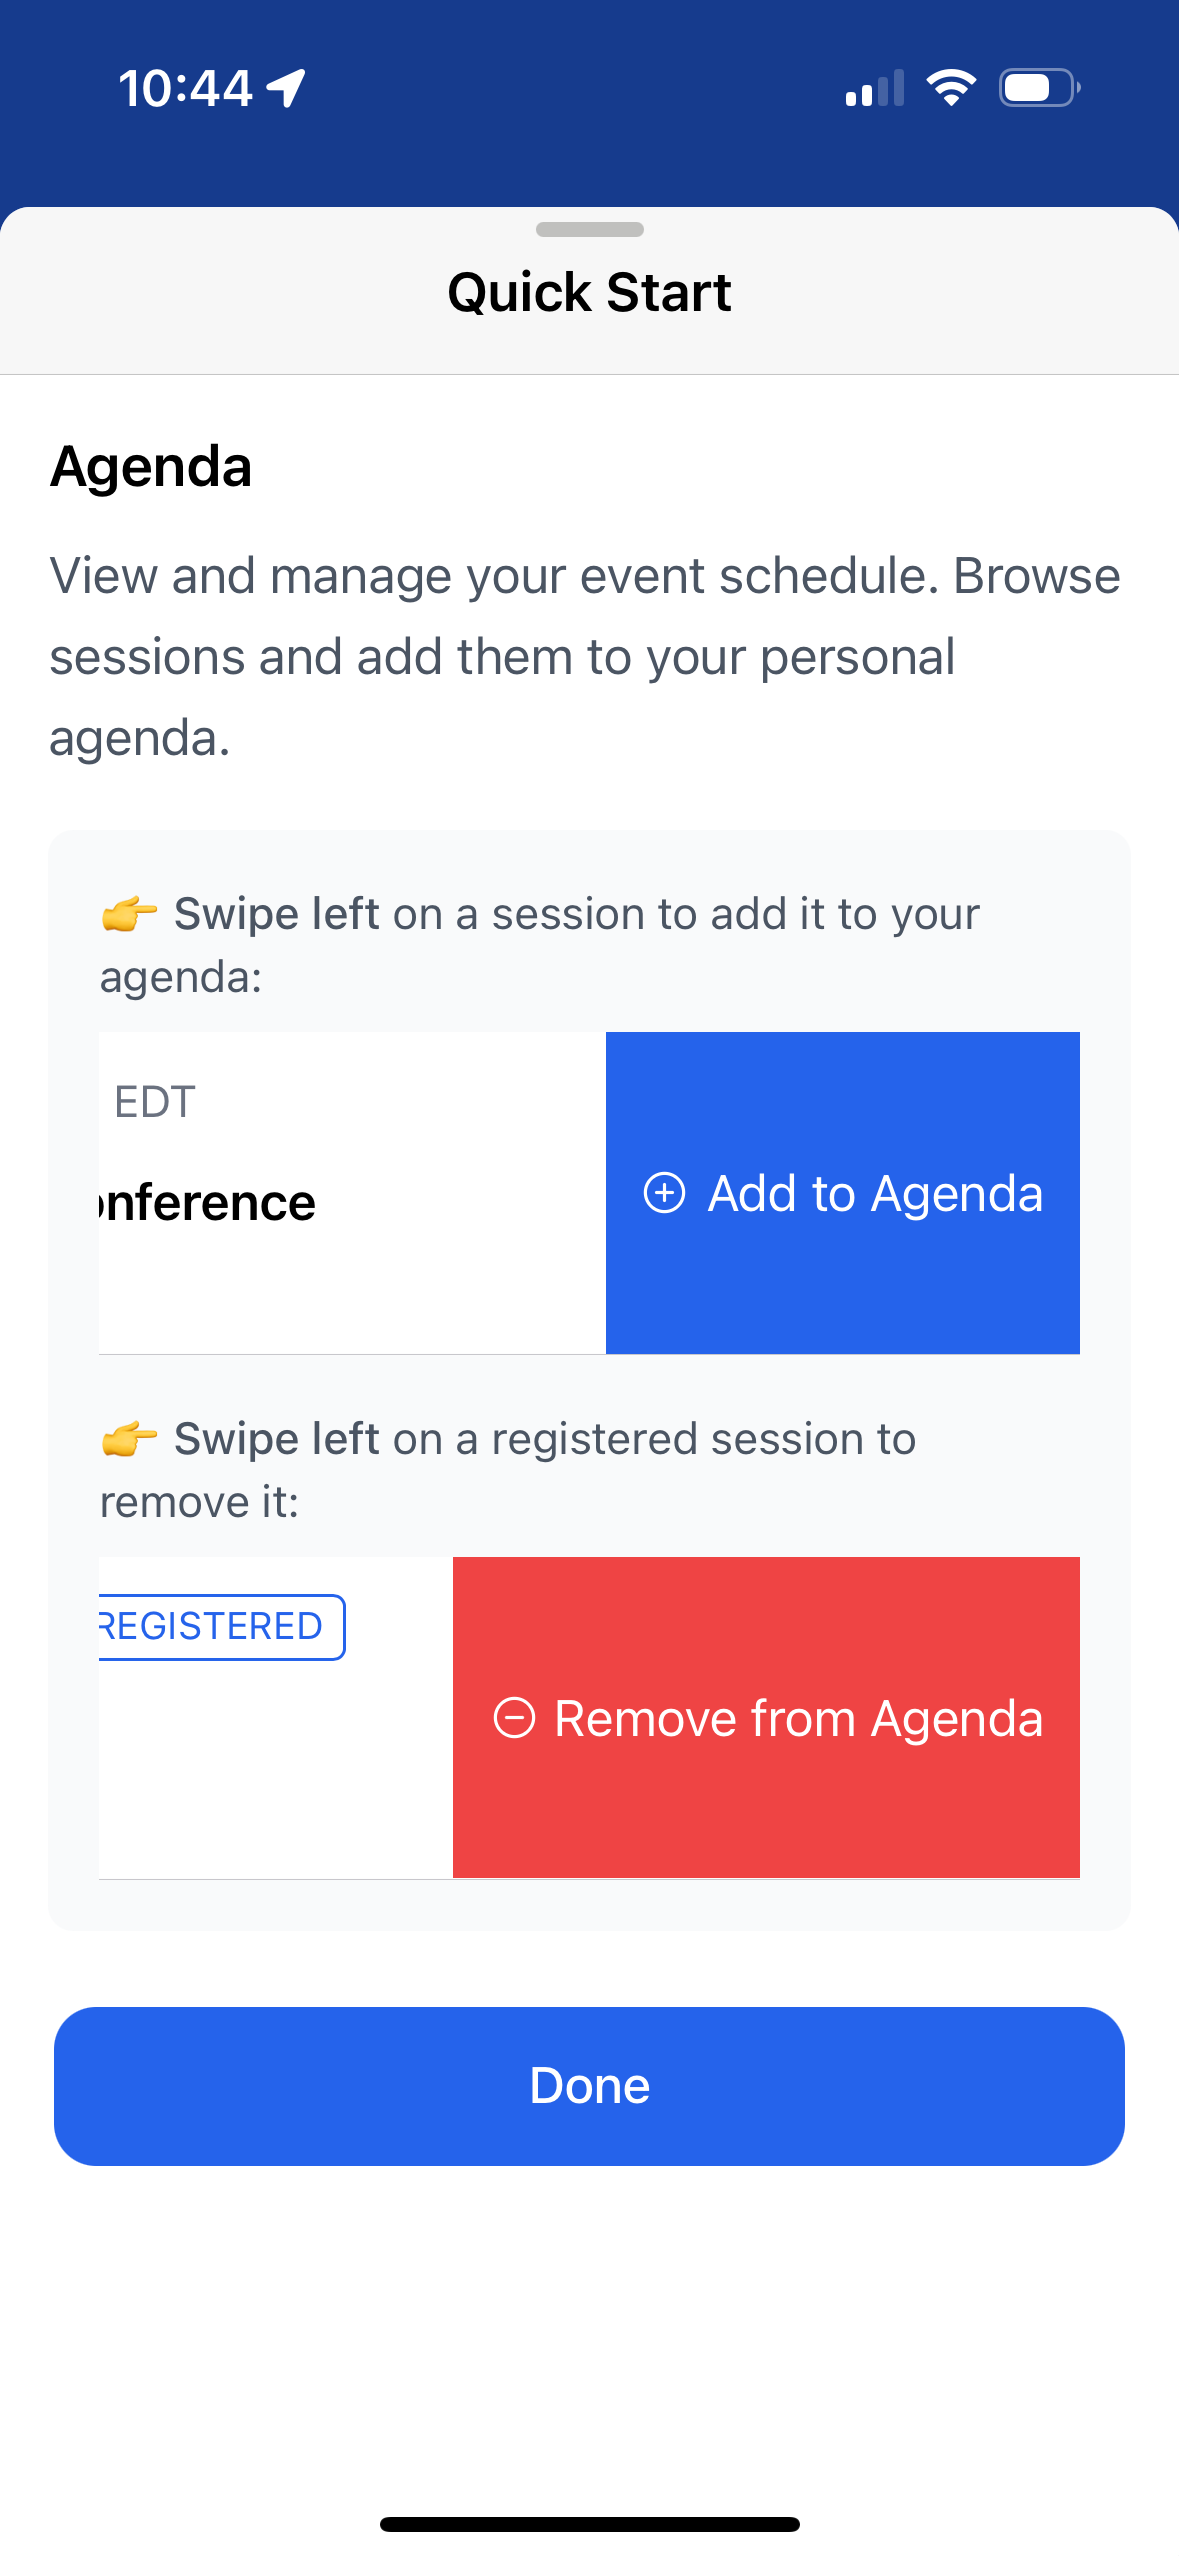
Quick Start
Click the More tab.
Click Quick Start.

Review the steps for an overview of how to use the app.
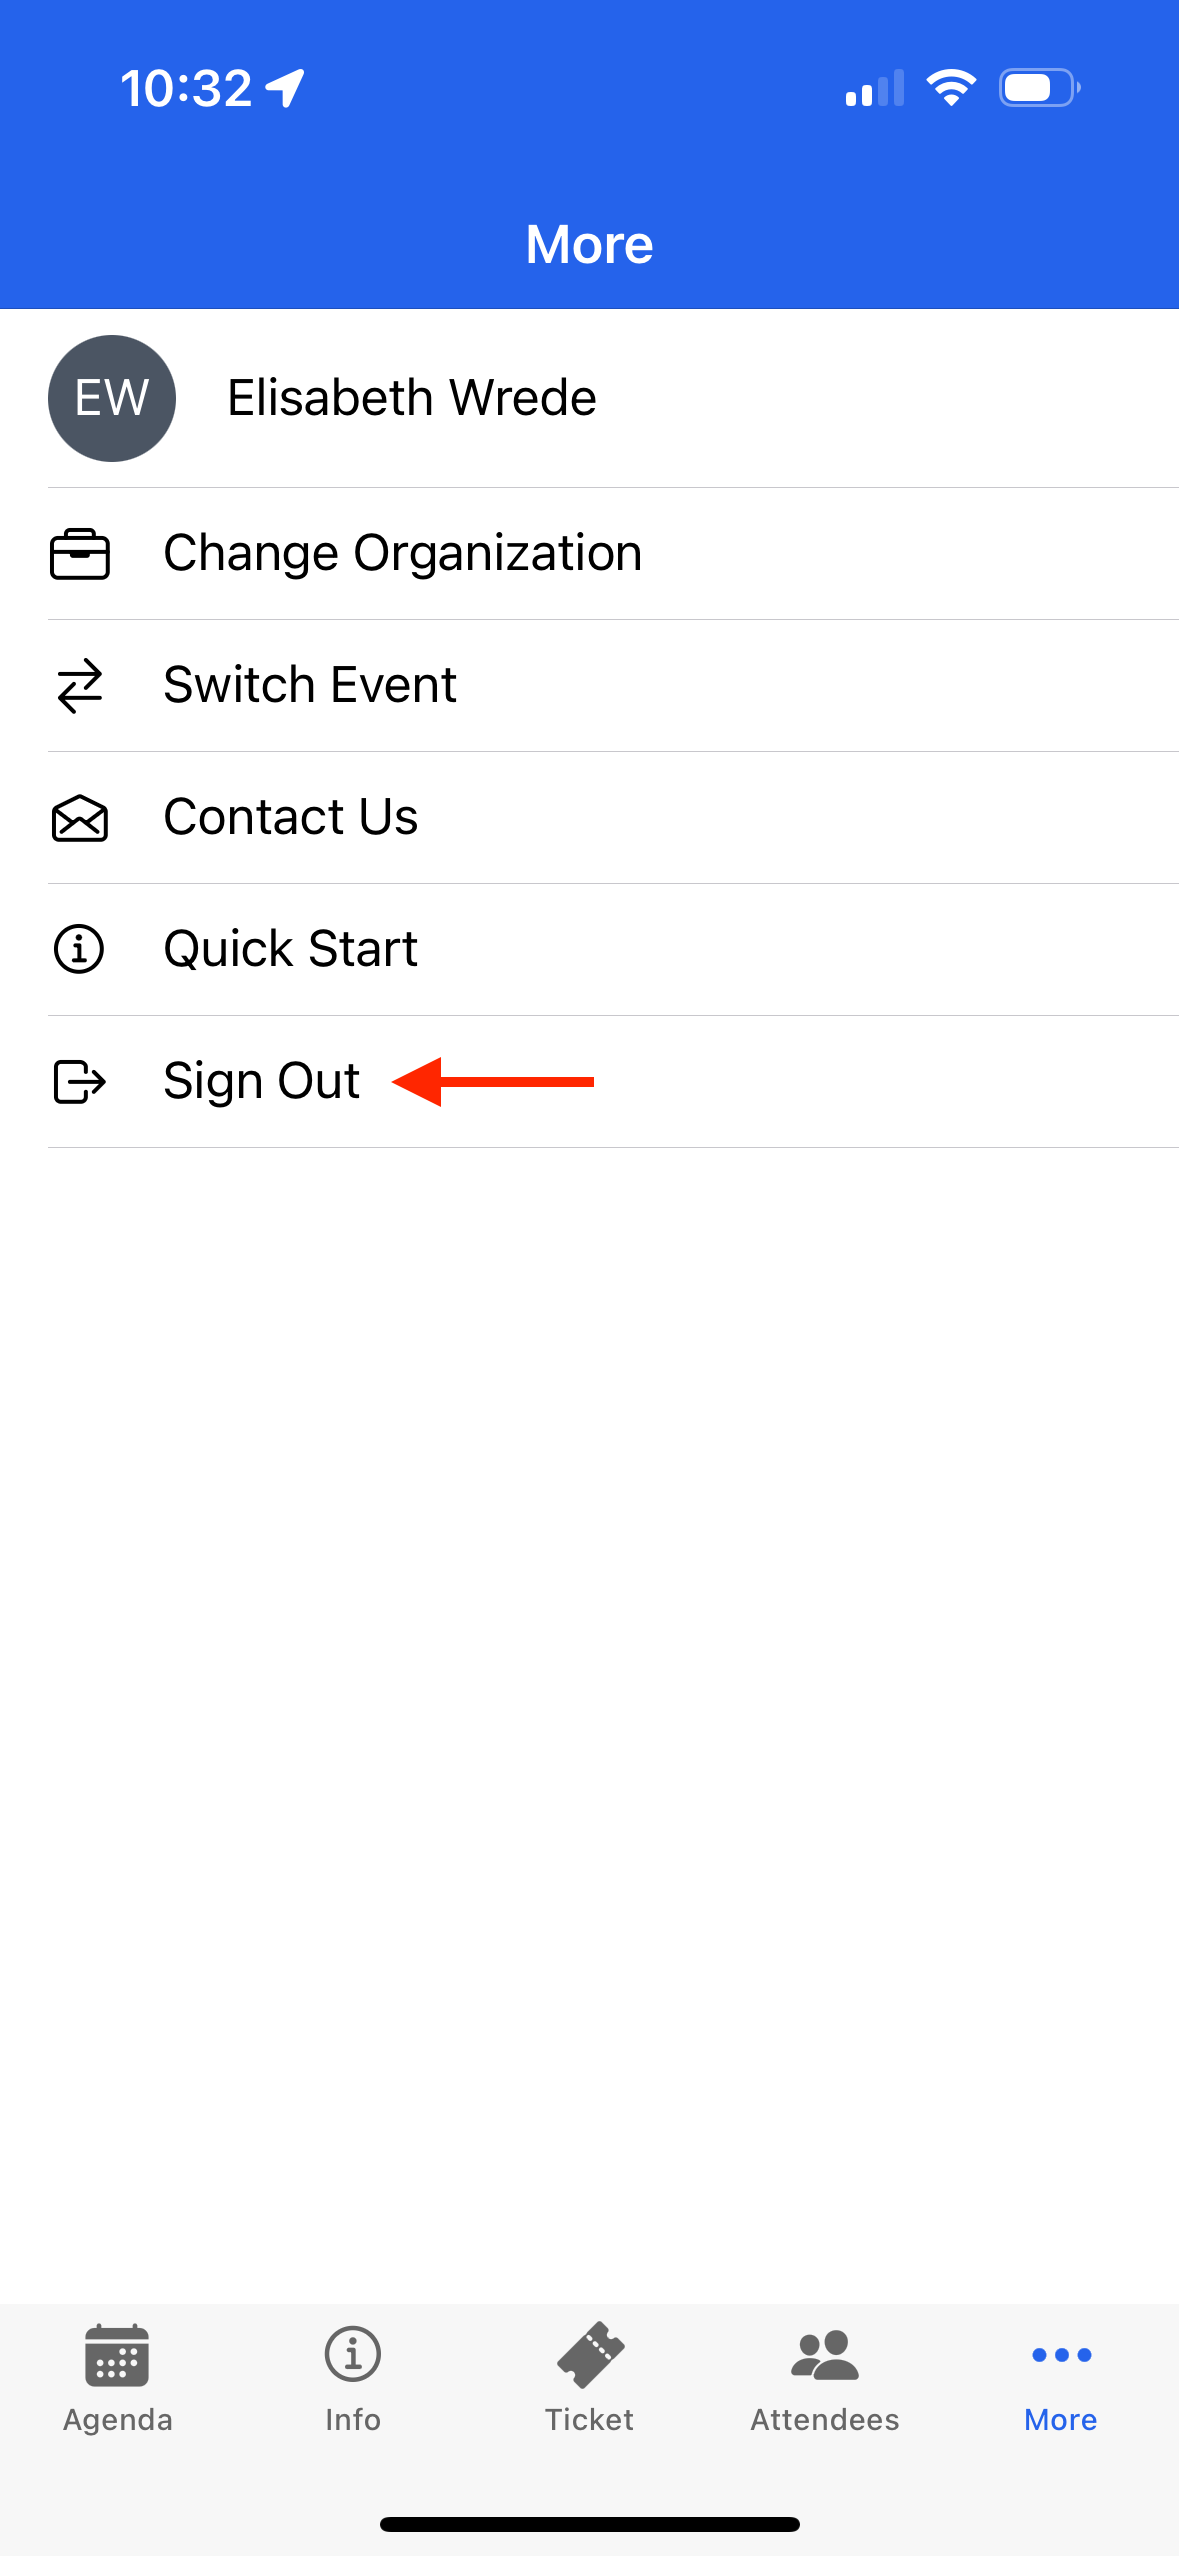
Sign Out
Click the More tab.
Click Sign Out.
Click Sign Out.
