Manual Attendee Group Check-in
Event Organizers can use the Attendee Group Check-in feature to check in all Attendees that belong to an Attendee Group with the click of a button.
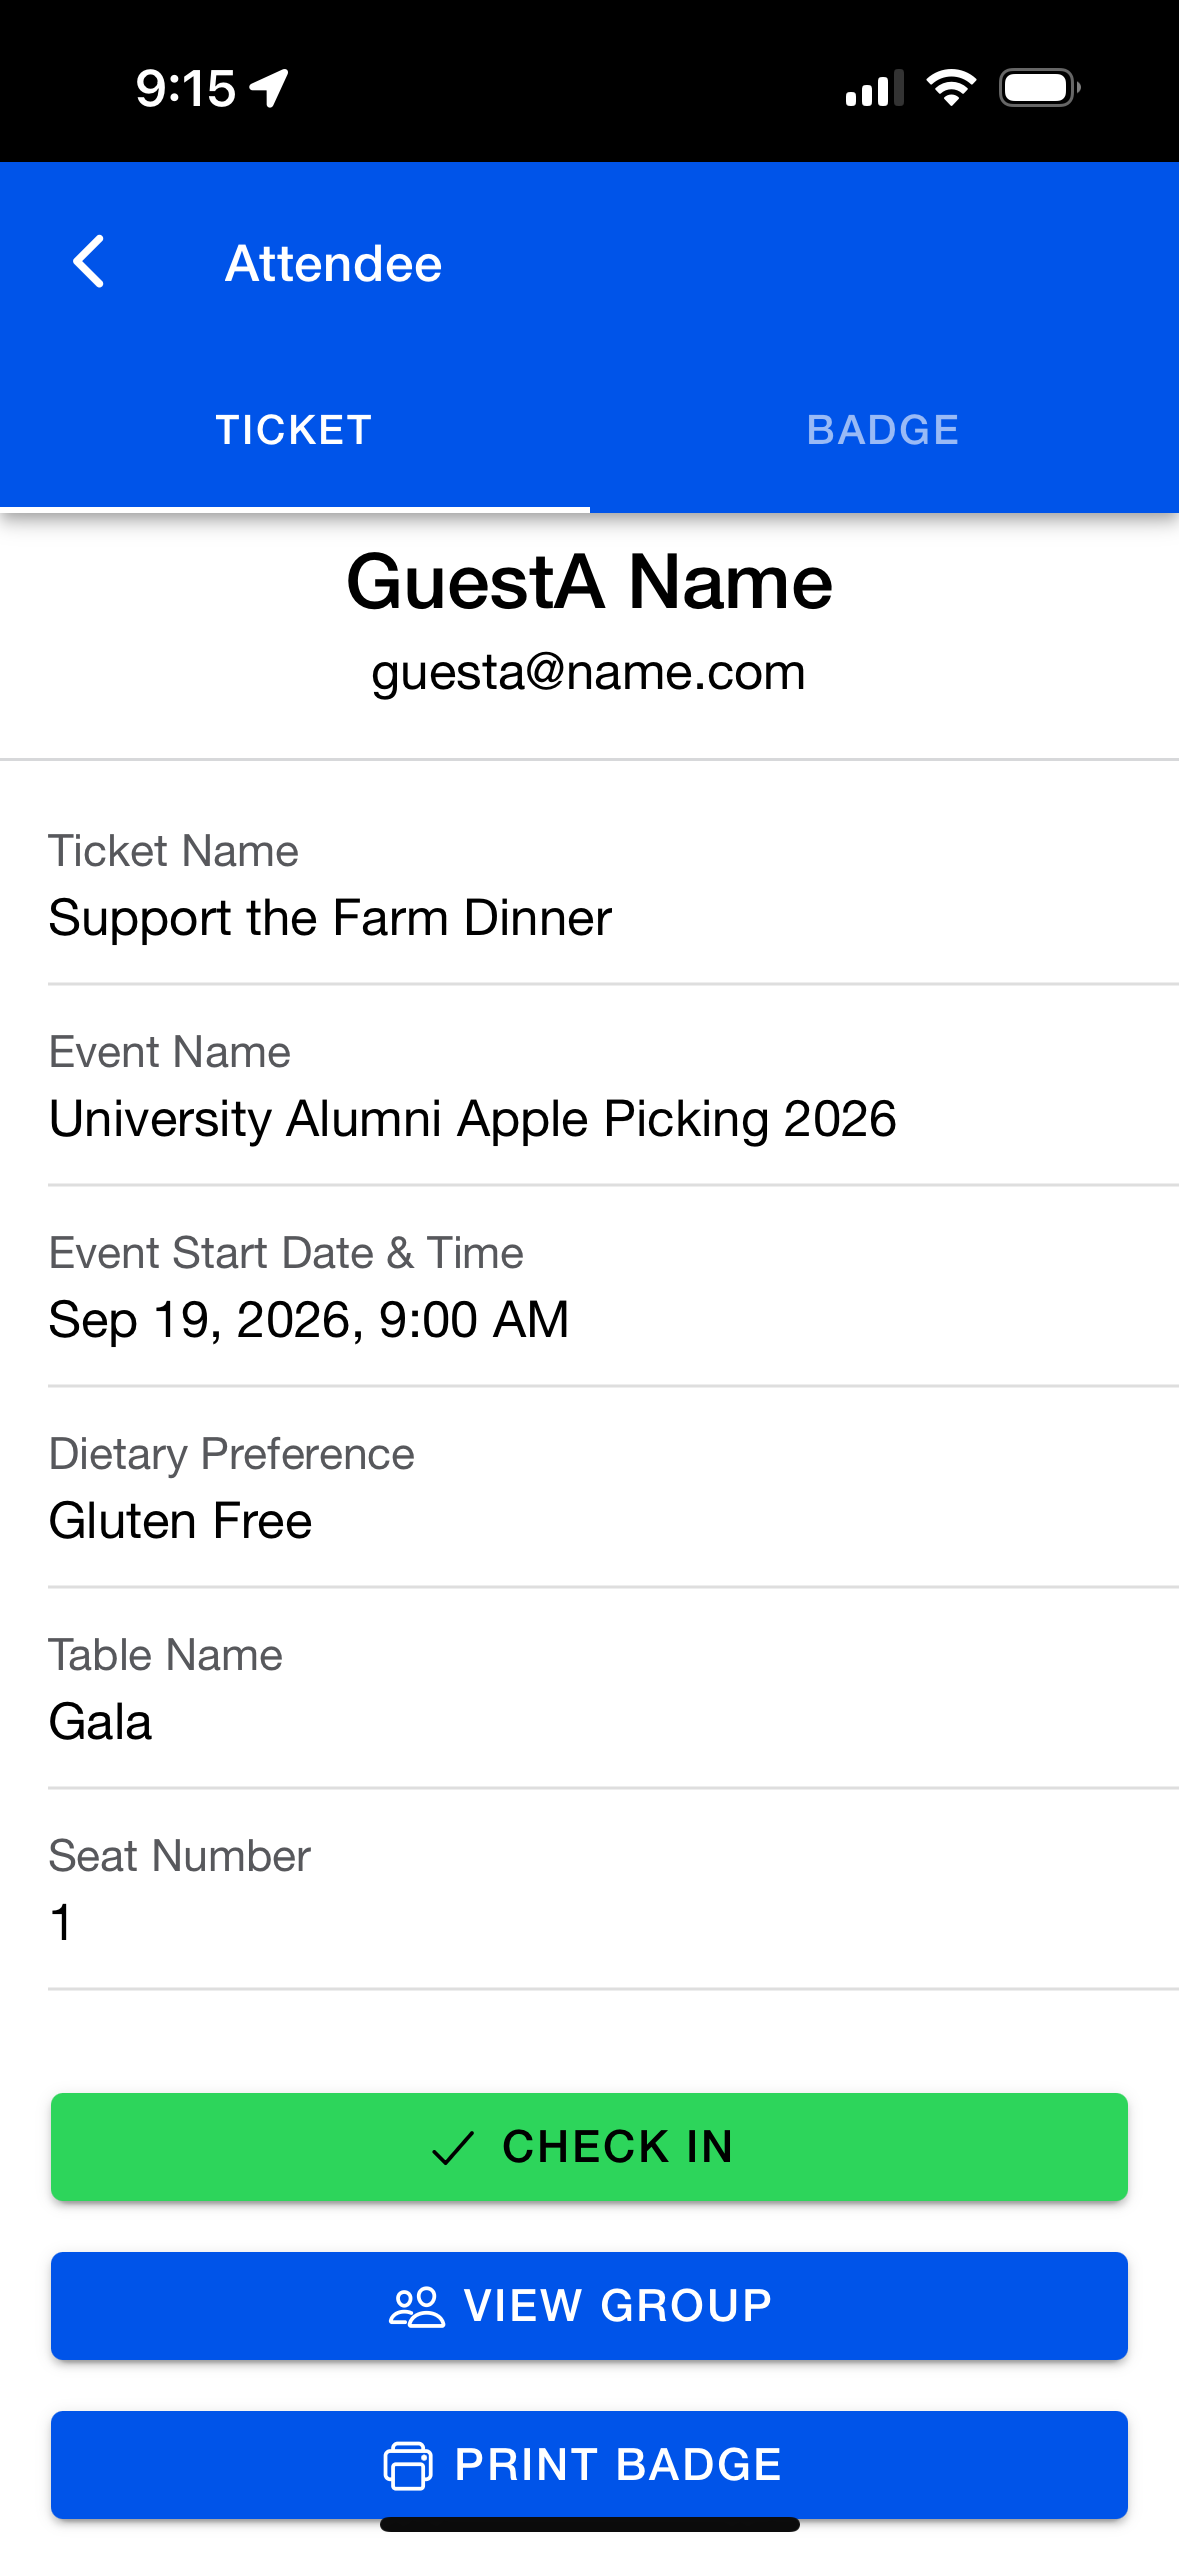
Start by going to the Attendee Details page for an Attendee who is part of an Attendee Group.
Click the View Group button.
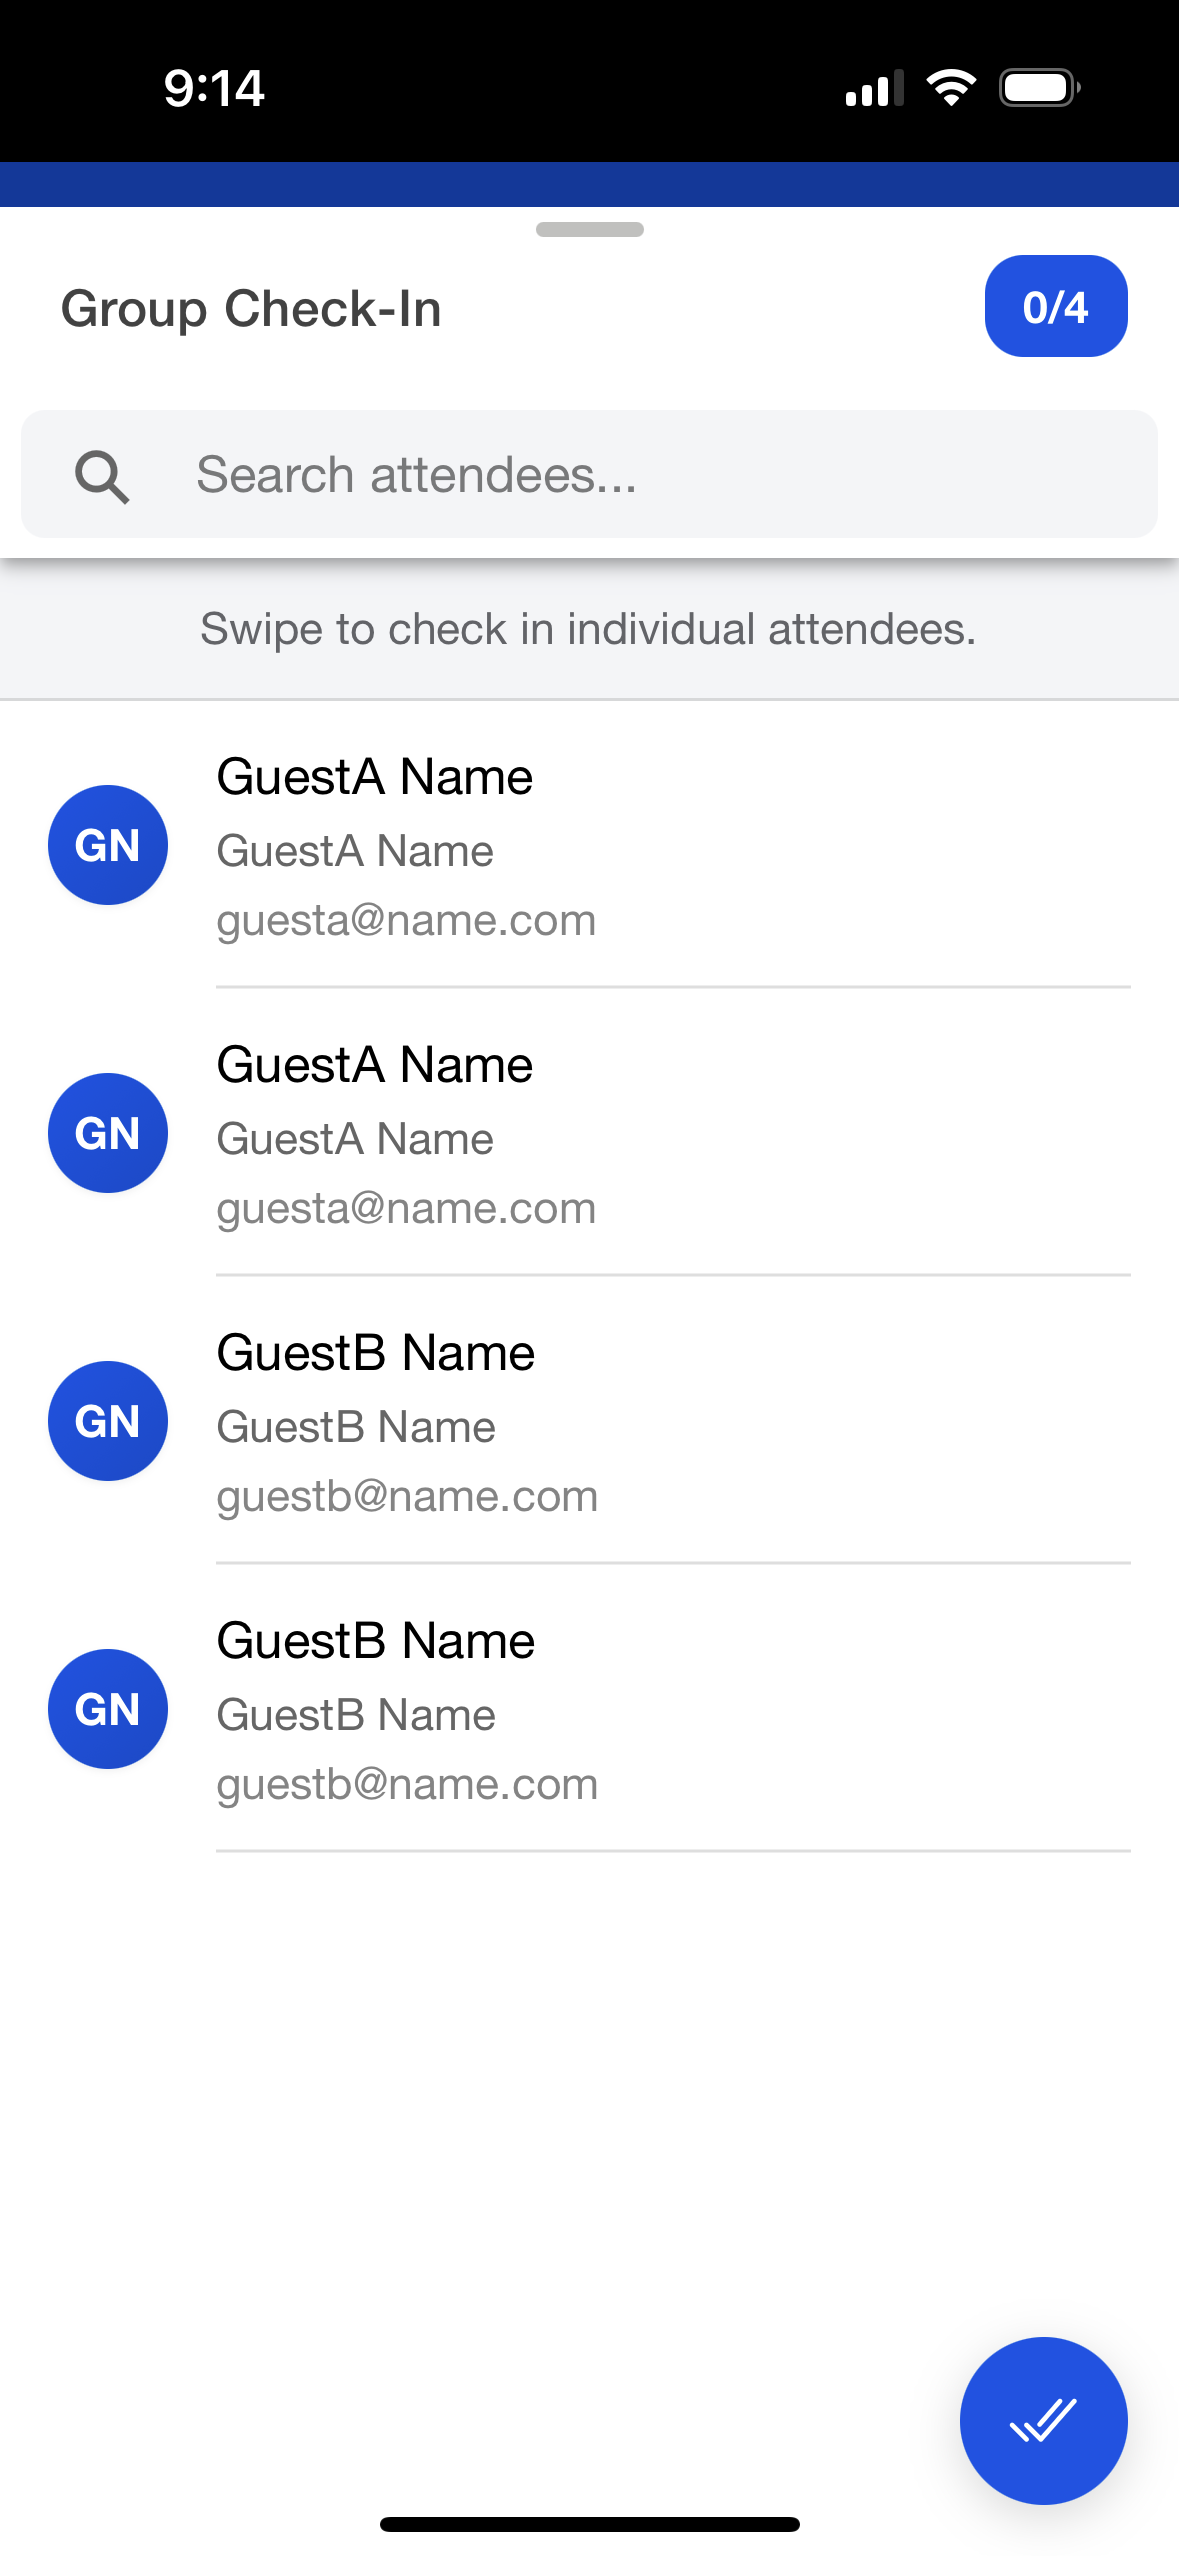
You are now on the Attendee Group Details page, where the following information may be visible.
Custom fields associated with the Attendee Group
Custom fields related to each Attendee in the Attendee Group
Attendee Group members are listed alphabetically by last name.
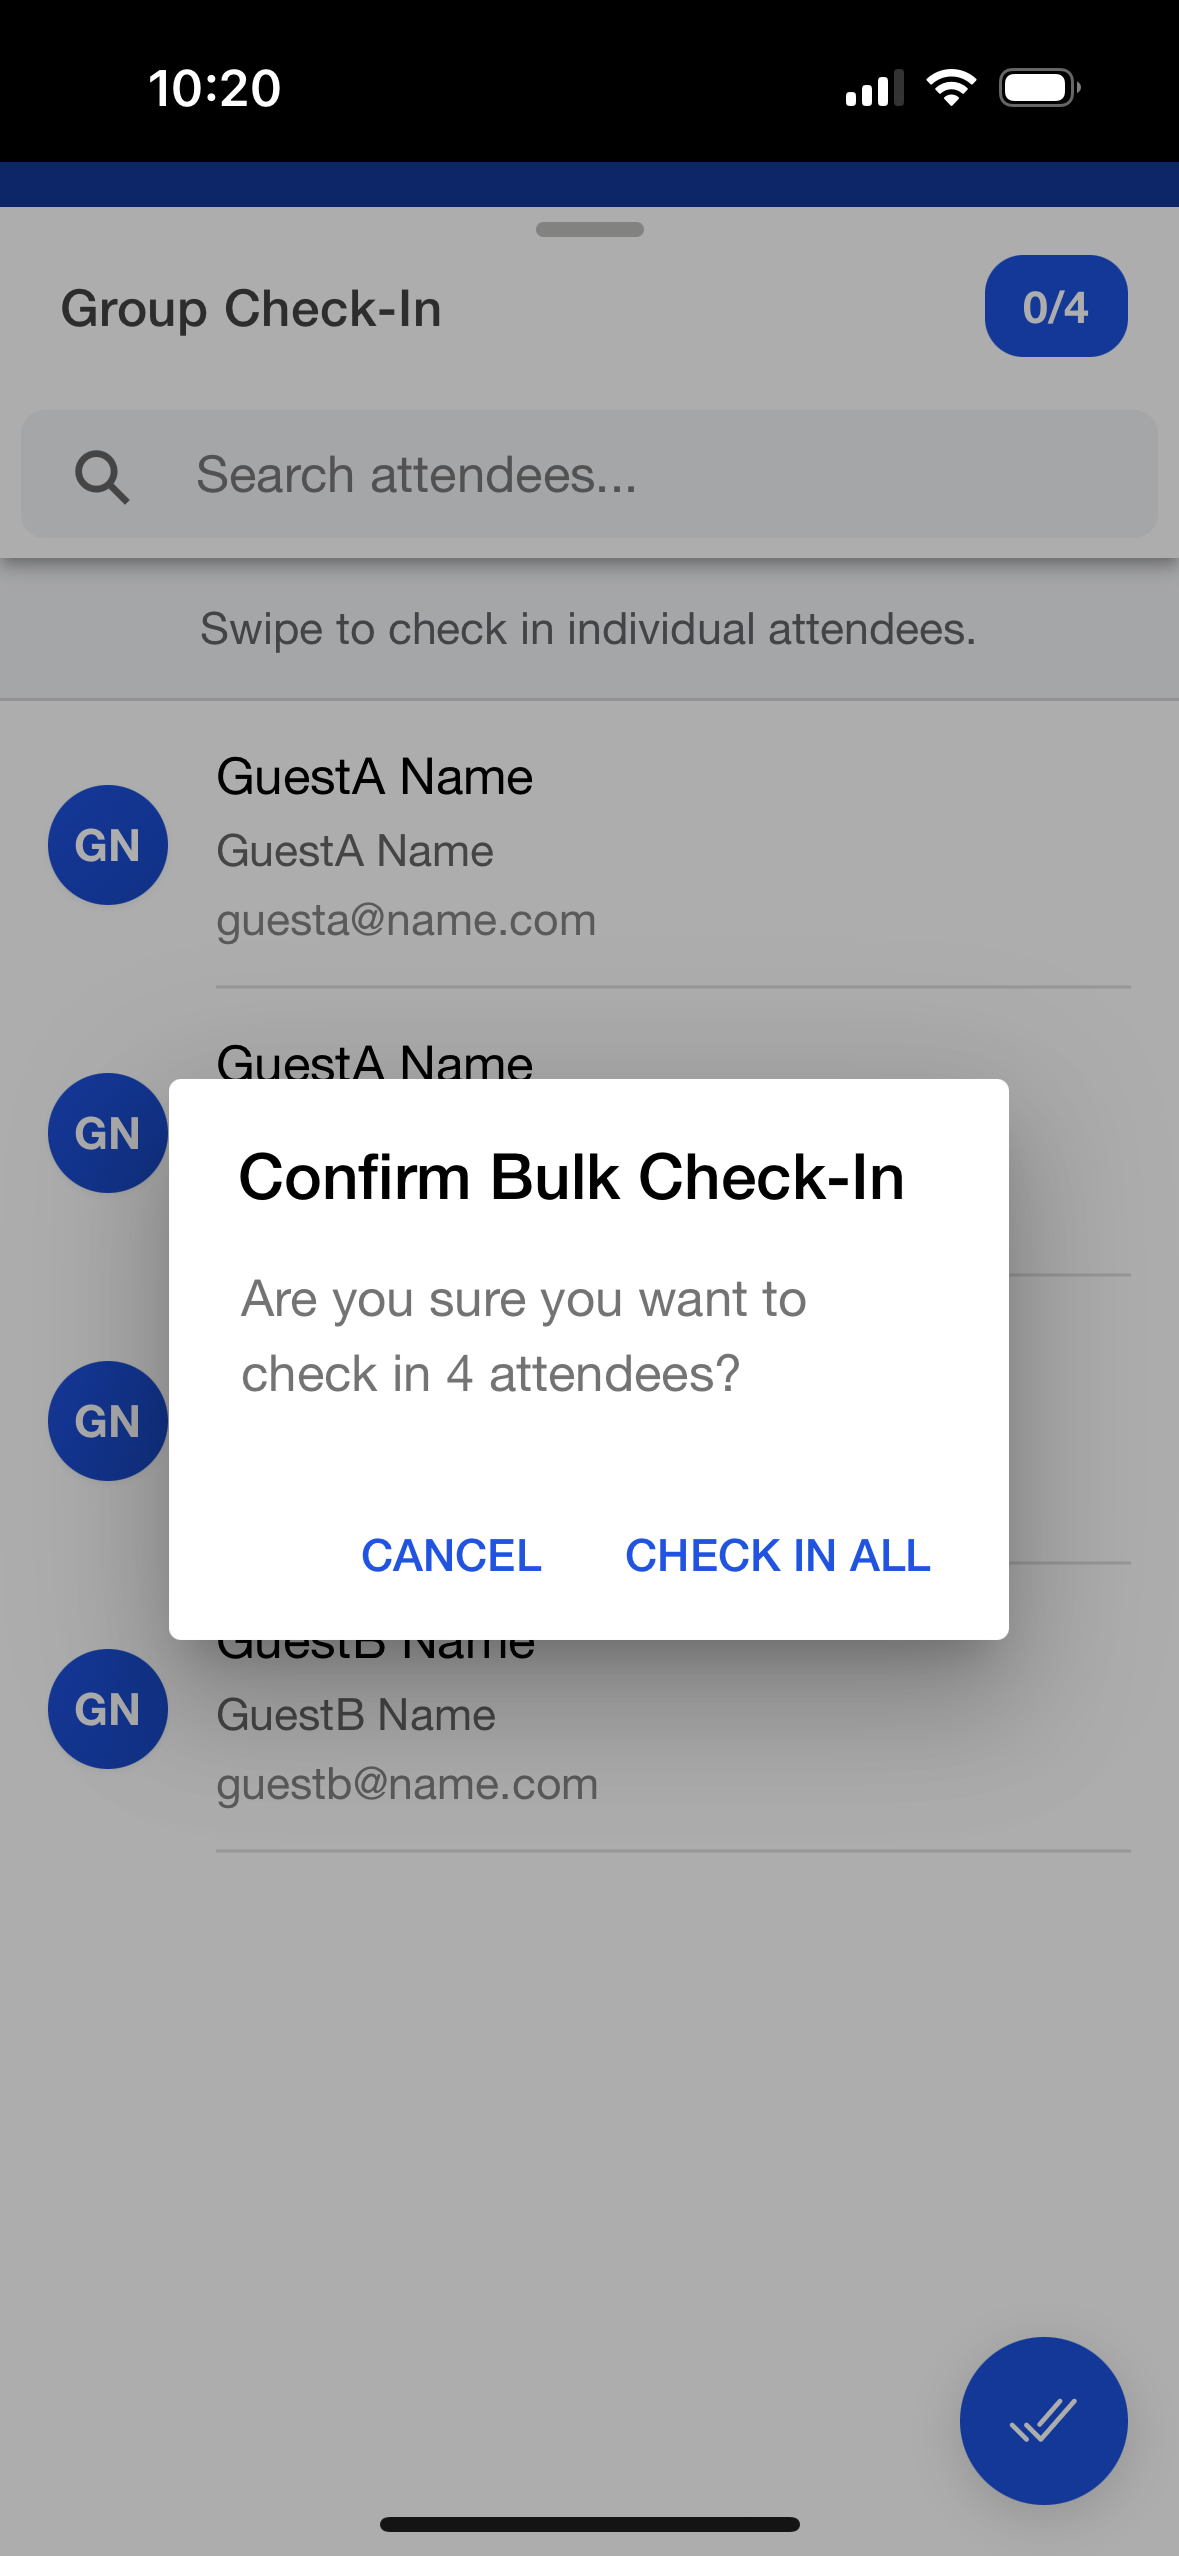
To check in all members of the Attendee Group together, click the
View an Attendee
Clicking an Attendee’s name will take you to that Attendee’s information, where you can view custom fields and the Attendee’s check-in status.
Note: If an Event Organizer wants to check in only one Attendee in an Attendee Group, swipe left. To check out an Attendee, swipe right.
QR Code Check-in
Checking in an Attendee Group can also be completed by using an Attendee’s QR code.
Scan a QR code for an Attendee who belongs to an Attendee Group.
A pop-up window will appear asking if you want to individually check in the Attendee or navigate to the Group tab.
NOTE: Checking in an Attendee Group via a QR code is available whether the Mobile Check-in app is online or offline.


