App Prerequisite
To use the QR code scan feature, the Mobile Check-in app must be updated to Version 1.0.10 or higher.
Check-in Options
QR Code
To check in an Attendee using the QR code scan feature press the capture a QR code button on the home screen and scan the QR code. A valid QR code will start the check-in process and provide the user with relevant details about the Event.
If you are using an iOS device and need to close the QR code scanning feature without scanning a QR code, click the Cancel button.
Attendee Name
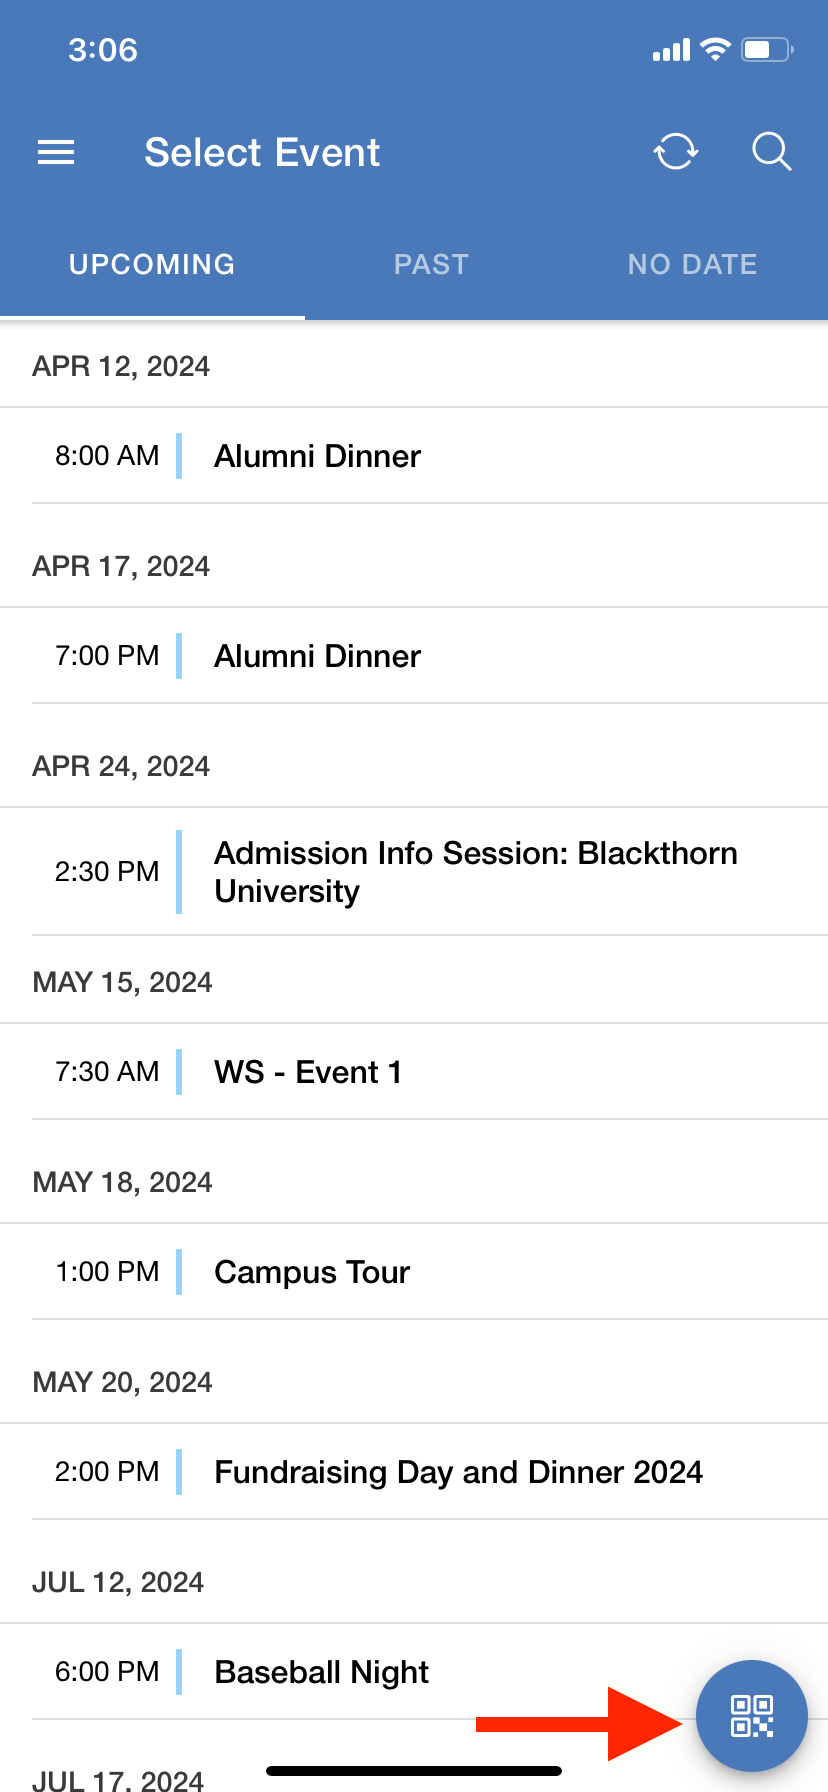
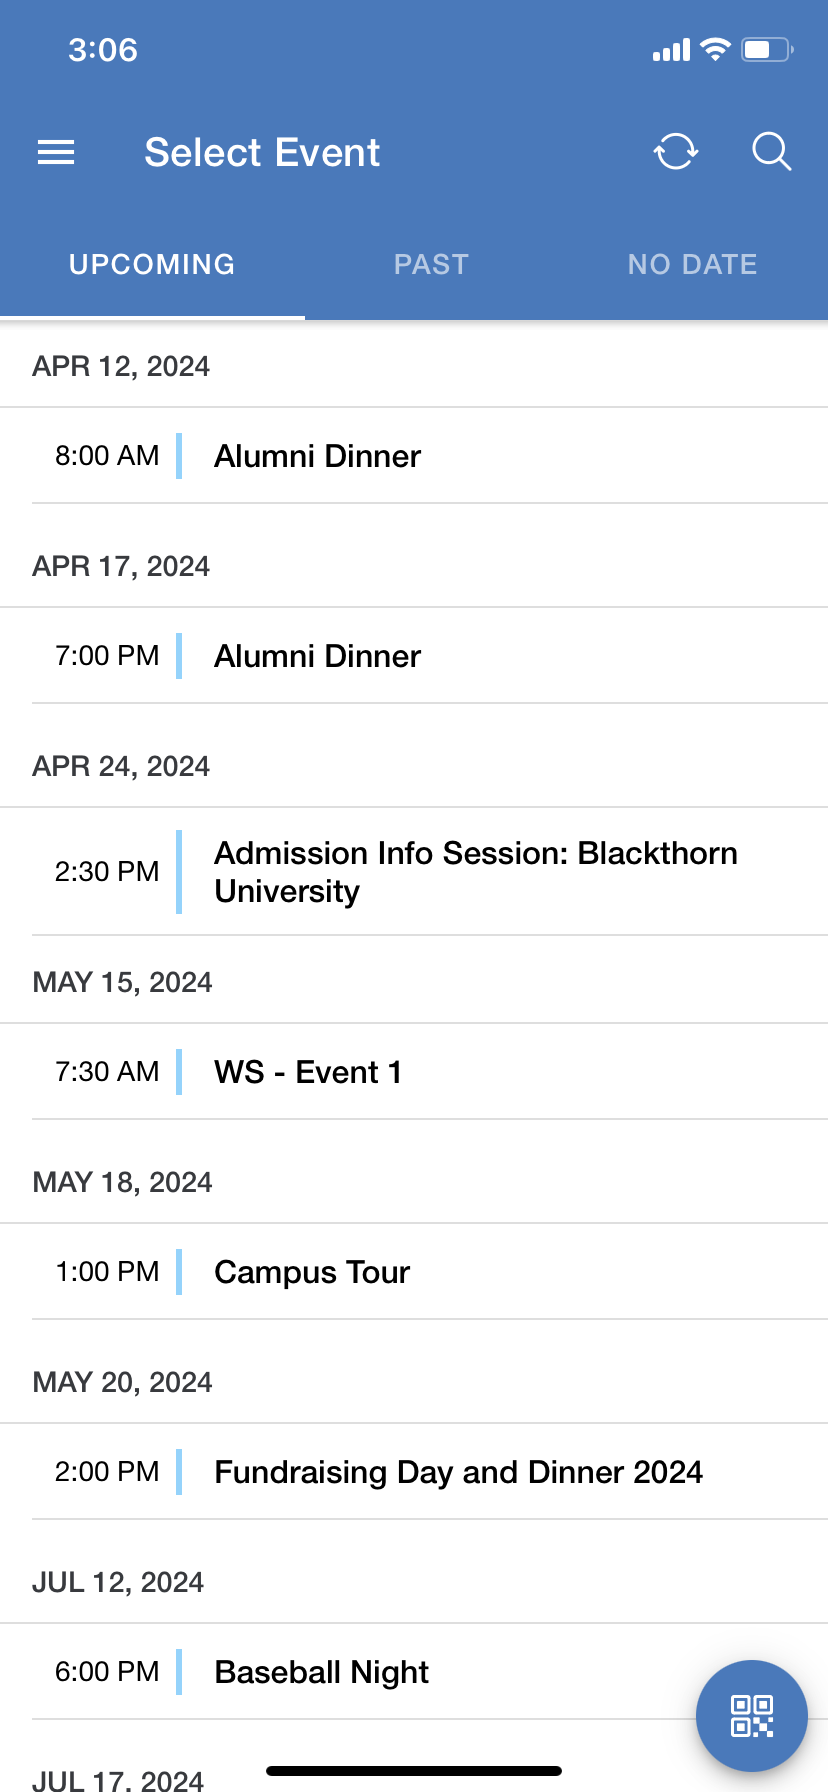
Select an Event from the Event listing screen.
On the Attendee listing screen, you can see the registered Attendees for the Event. There is a refresh button on the top right for manually refreshing the list in case there are data changes from Salesforce. Also, the sub-header displays the total checked-in Attendee count as well as total registered Attendee count.
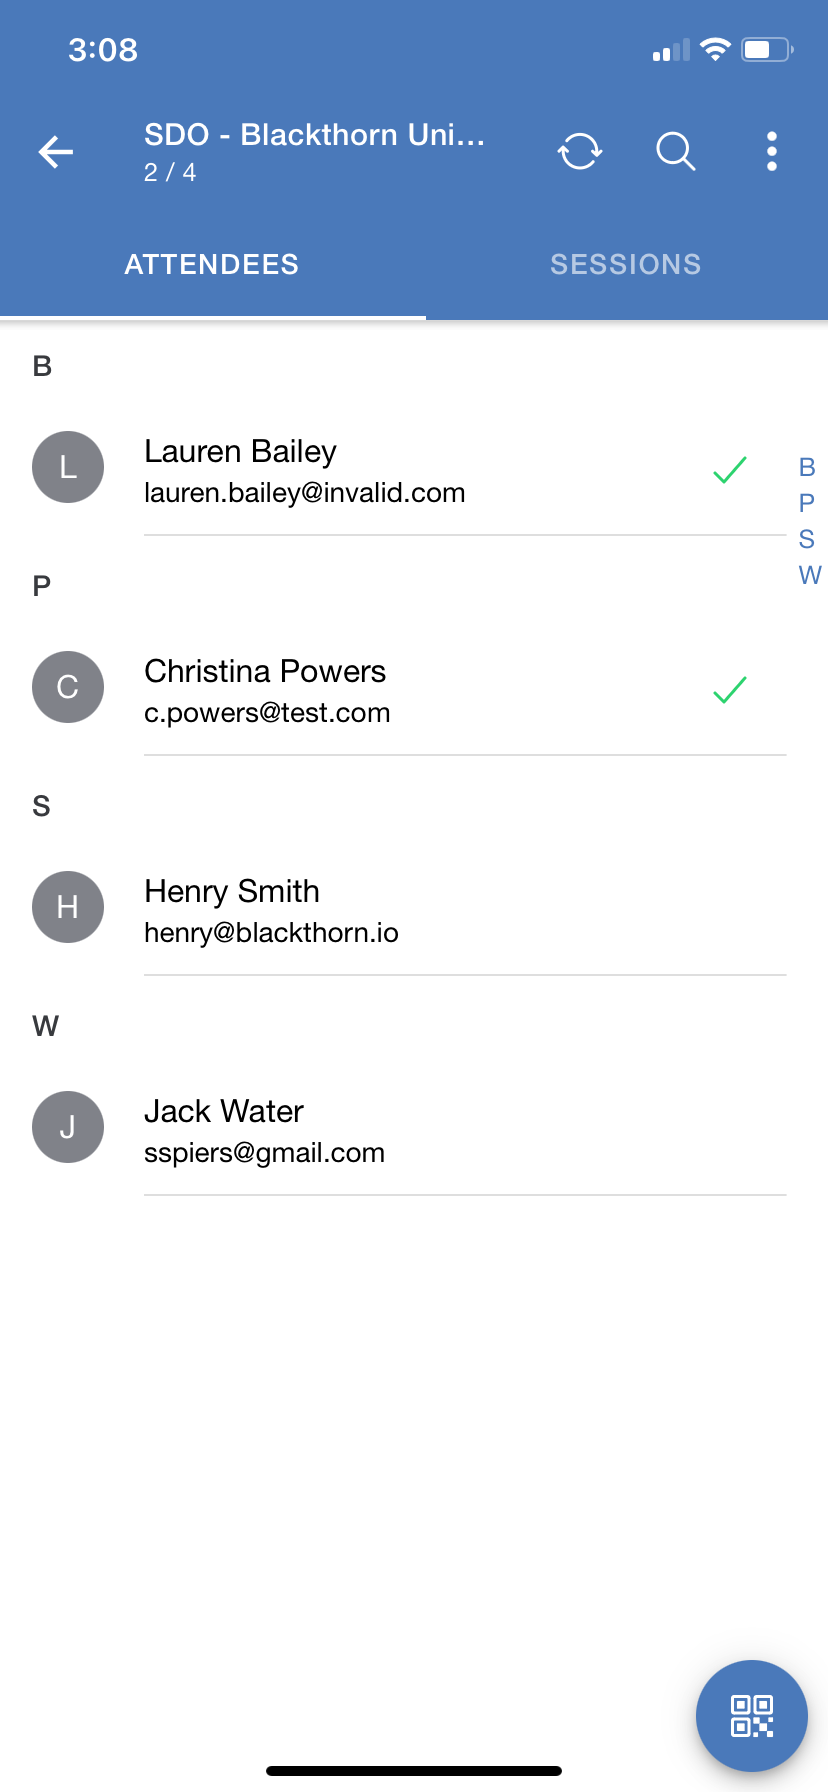
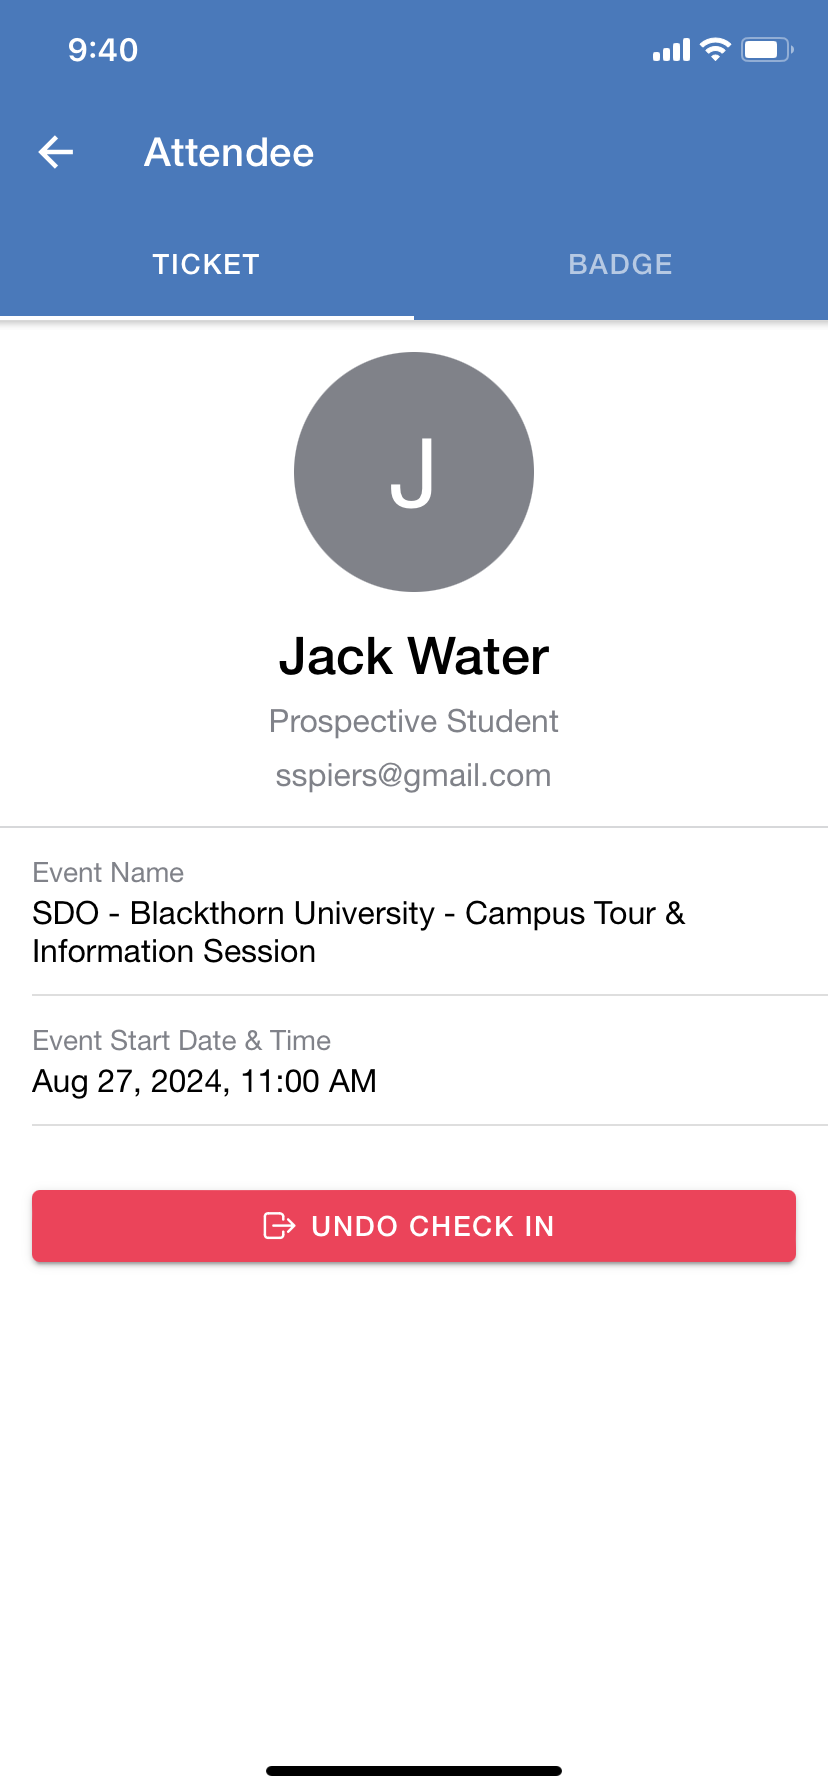
To check someone in, swipe their name from right to left, or tap their name to see their Attendee details and check them in from there.

The Attendee is now checked in.
Attendee Badge
To check someone in using their badge QR code, tap the floating scan button to trigger the camera like so:
Once a QR code is accepted and found, you will be taken to the Attendee details screen, otherwise, an alert message will be prompted saying no one is found.
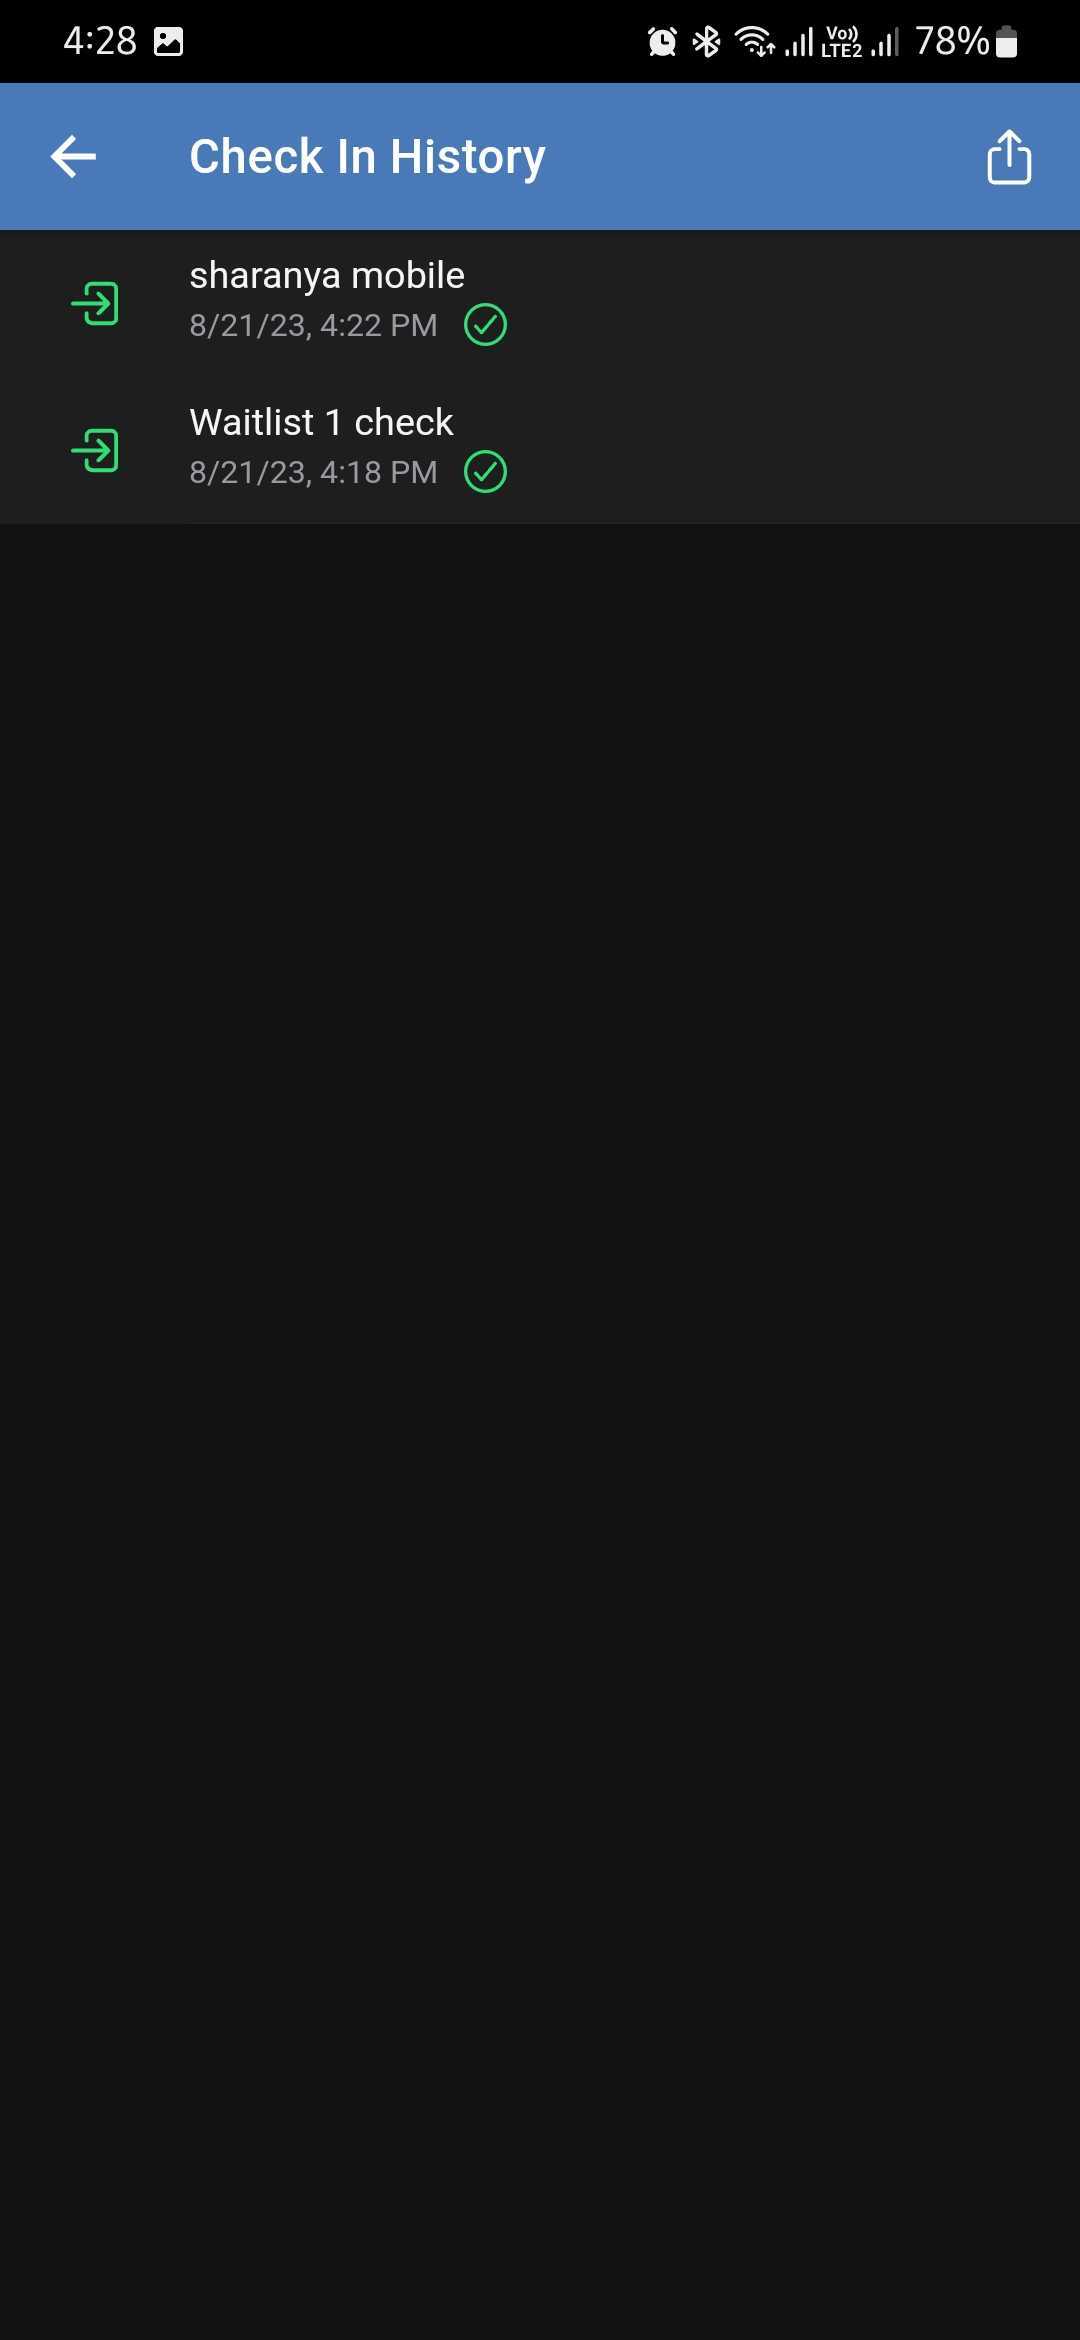
Review the Check-in History
To review the check-in history for an Event’s Attendees, complete the following steps.
Go to the Event.
Tap the Attendees tab.

Click the three dots in the top right corner.
Click Check In History.