This walkthrough builds a simple landing page for a free event, similar to the Simple UI. When you finish, you'll have a page with the event title and a video at the top, a welcome message in the middle, and a registration form at the bottom. You can then add any other components you like.
Before you begin
- Open an Event record in Salesforce that has one free Event Item (ticket).
- Set the UI Experience field on the Event record to Page-Designer.
- Open the BT Page Designer component on the Event record. You are signed in automatically. You see a Salesforce sign-in screen only if the automatic sign-in fails.
If you see an access error instead of the editor, ask your admin to assign you the Blackthorn | Events (Admin) or Blackthorn | Events (Organizer) permission set. See Initial Setup.
Start from scratch
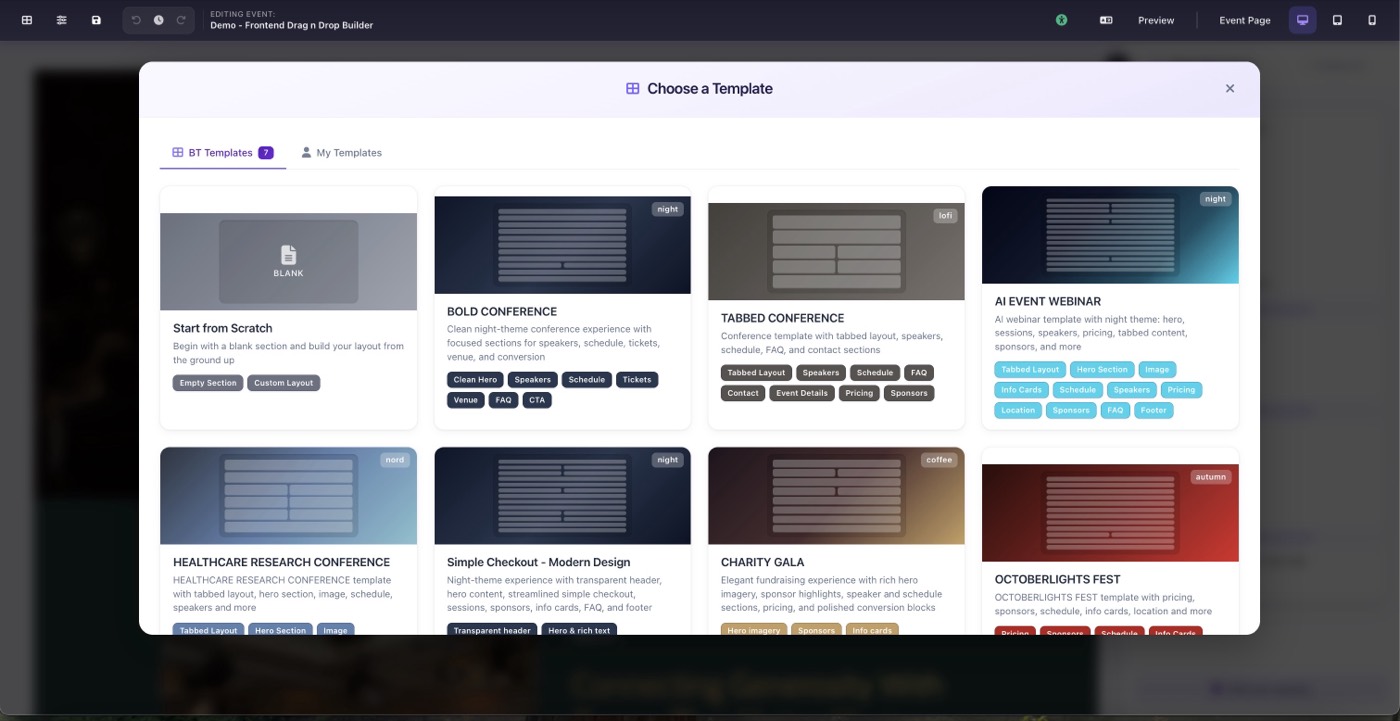
- In the Choose a Template window, click Start from Scratch. This gives you an empty page. You can open templates later with the first icon in the toolbar.
- If your org already has a default layout, you see a dialog about the shared layout instead. Choose Use a pre-made template, then click Start from Scratch.
Add a theme
- In the toolbar, click Site Settings (the second icon from the left).
- In the Site Settings panel header, click Theme Creator.
- Enter a theme name: 2 to 48 letters, no spaces or numbers. Capital letters become lowercase, and a few names that are already in use (such as light or dark) can't be chosen. Click Next.
- Set the Background, Primary, Secondary, and Accent colors (hex or rgba). Each color has a paired text color. A badge shows whether the pair has enough contrast, and the wand button picks the best-contrast text color for you.
- Click Next through the remaining steps, then click Create theme on the Review step. Page Designer fills in the remaining colors for you, and the theme is saved for your whole organization.
To check your colors for contrast, click the accessibility icon in the Site Settings panel header, then click Run Checks. Use Auto-fix All Issues to accept the suggested colors.
Build your page structure
- Click Add New Section.
- With the section selected, open the Content tab in the right-hand panel. Under Column distribution, choose 2 columns and a split, for example 50% / 50%, 33% / 67%, or 25% / 75%.
- Click Add new section below twice to add two more sections. New sections start with one column, which is what the middle and bottom sections need.
You now have three sections: top, middle, and bottom.
Add components
Top section
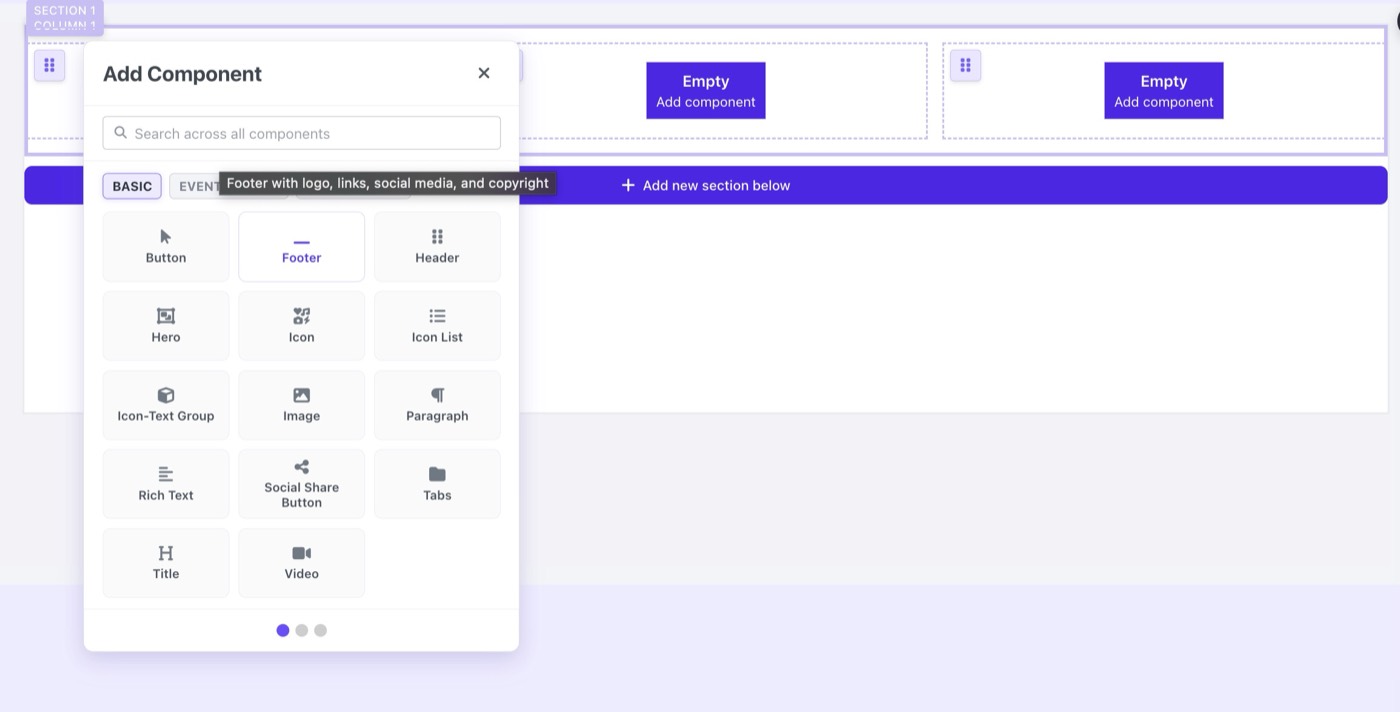
- In the first column of the top section, click Add component.
- On the Event Details tab, choose Event Title.
- In the second column, click Add component, and on the Basic tab choose Video.
- With the Video component selected, open the Content tab in the right-hand panel. Enter the Video URL, then turn on Autoplay, Loop, and Muted as needed. The video plays in Preview, not in the editor.
Middle section
- Click Add component in the middle section, and on the Basic tab choose Hero.
- In the right-hand panel, enter a Title and Paragraph for your welcome message. You can also add a Background Image.
Bottom section
- Click Add component in the bottom section.
- On the Registration tab, choose Checkout Form.
The Checkout Form registers people for a free ticket. If the event has more than one free ticket, it uses the first one. For paid tickets, use the Register Button instead.
Save, preview, and publish
- Click Save Layout in the toolbar, enter a Layout Name, and click Save Layout. After this first save, your changes save automatically.
- Click Preview to see the page the way visitors will, then click Back to Editor to return.
- Publish the Event from the Salesforce Event record, then click Event Page in the toolbar to open the live page.
From here, add any other components you like.