The Salesforce field "AttendeeLink Message" on the Event object has been relabeled as "AttendeeLink Invite Message" to clarify the purpose of the field.
Welcome Message
By default when Attendee Registration Status = "Invited", we provide a generic message that your Attendee will see when coming to your Event URL page.
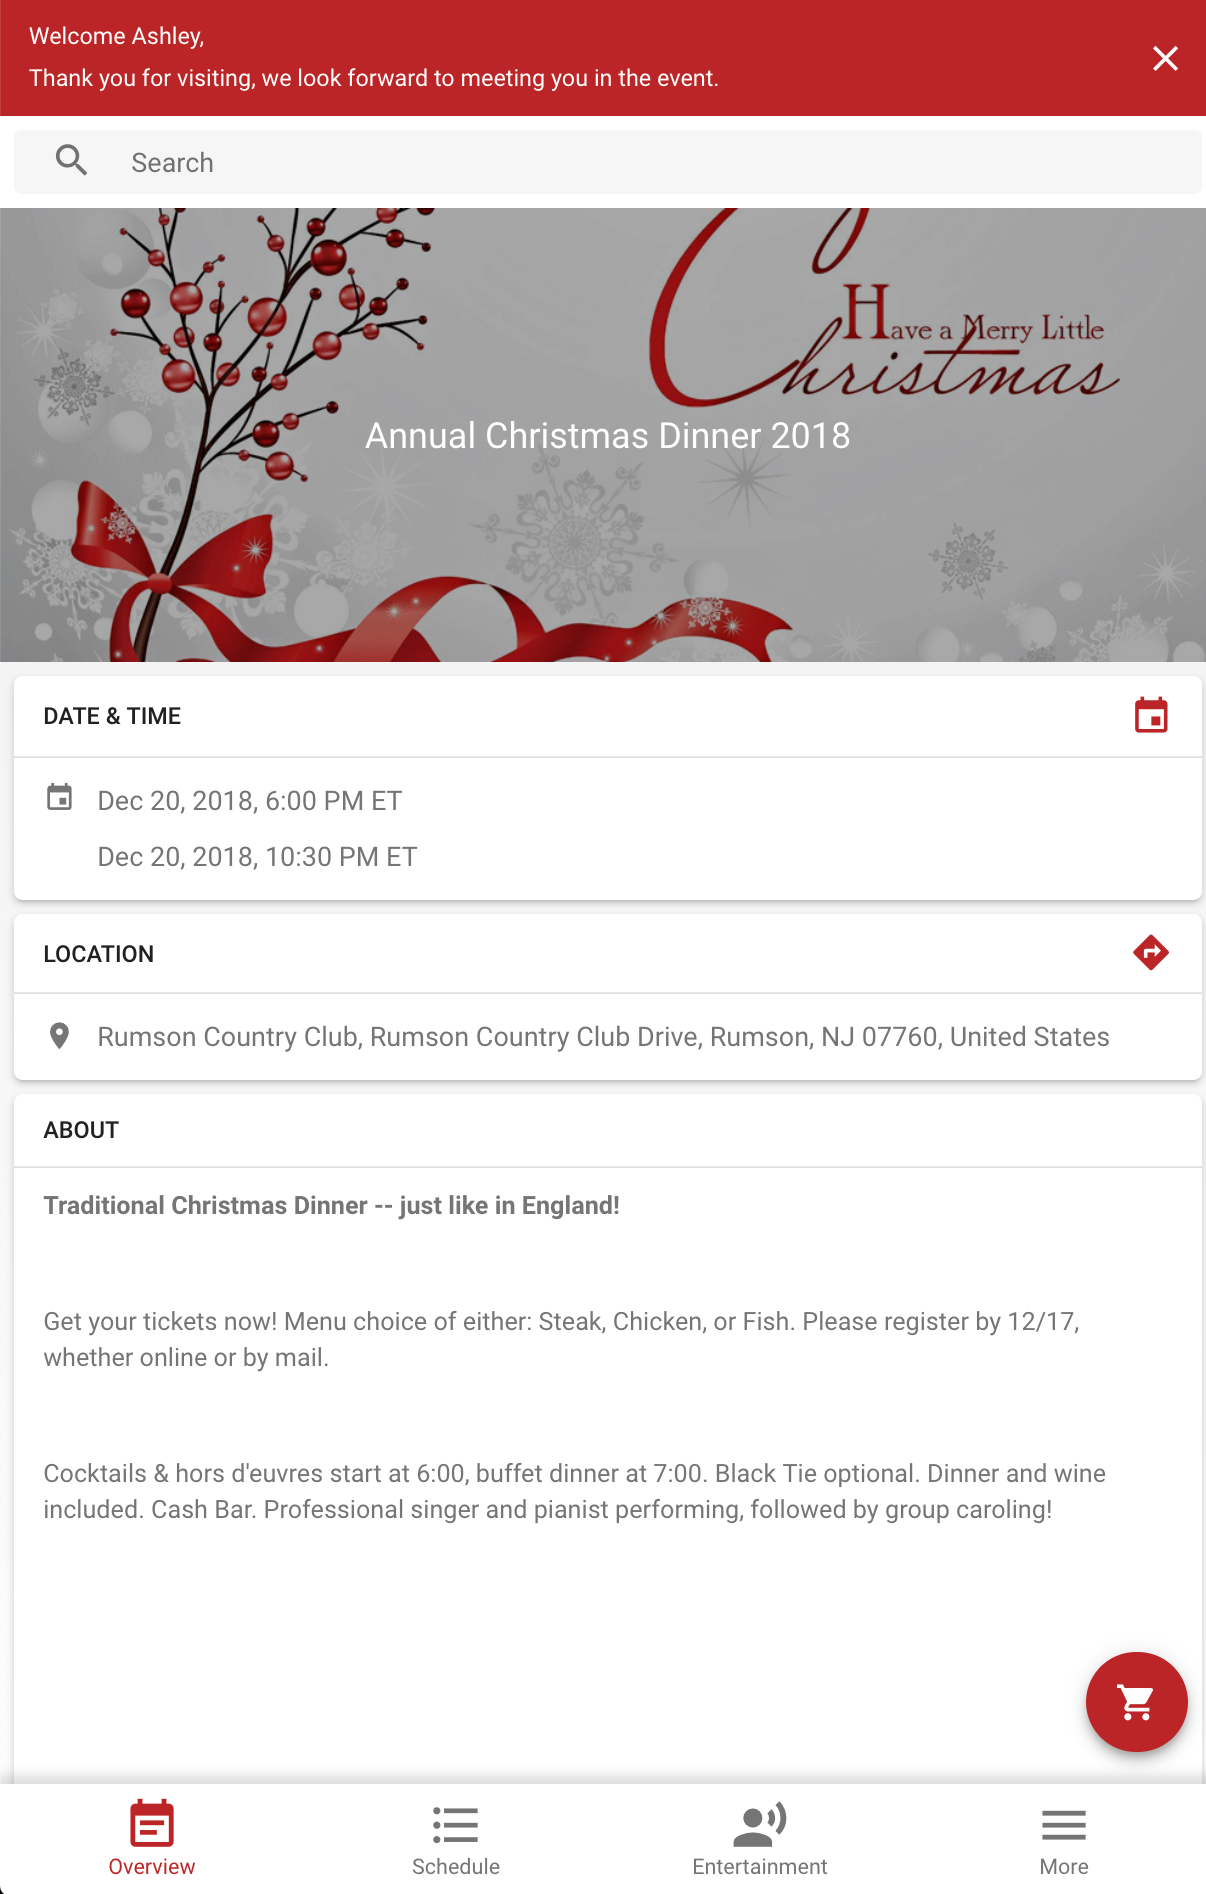
You can change the message by editing the AttendeeLink Invite Message field on your Event record. Modifying this field will replace all default text with the text you define.
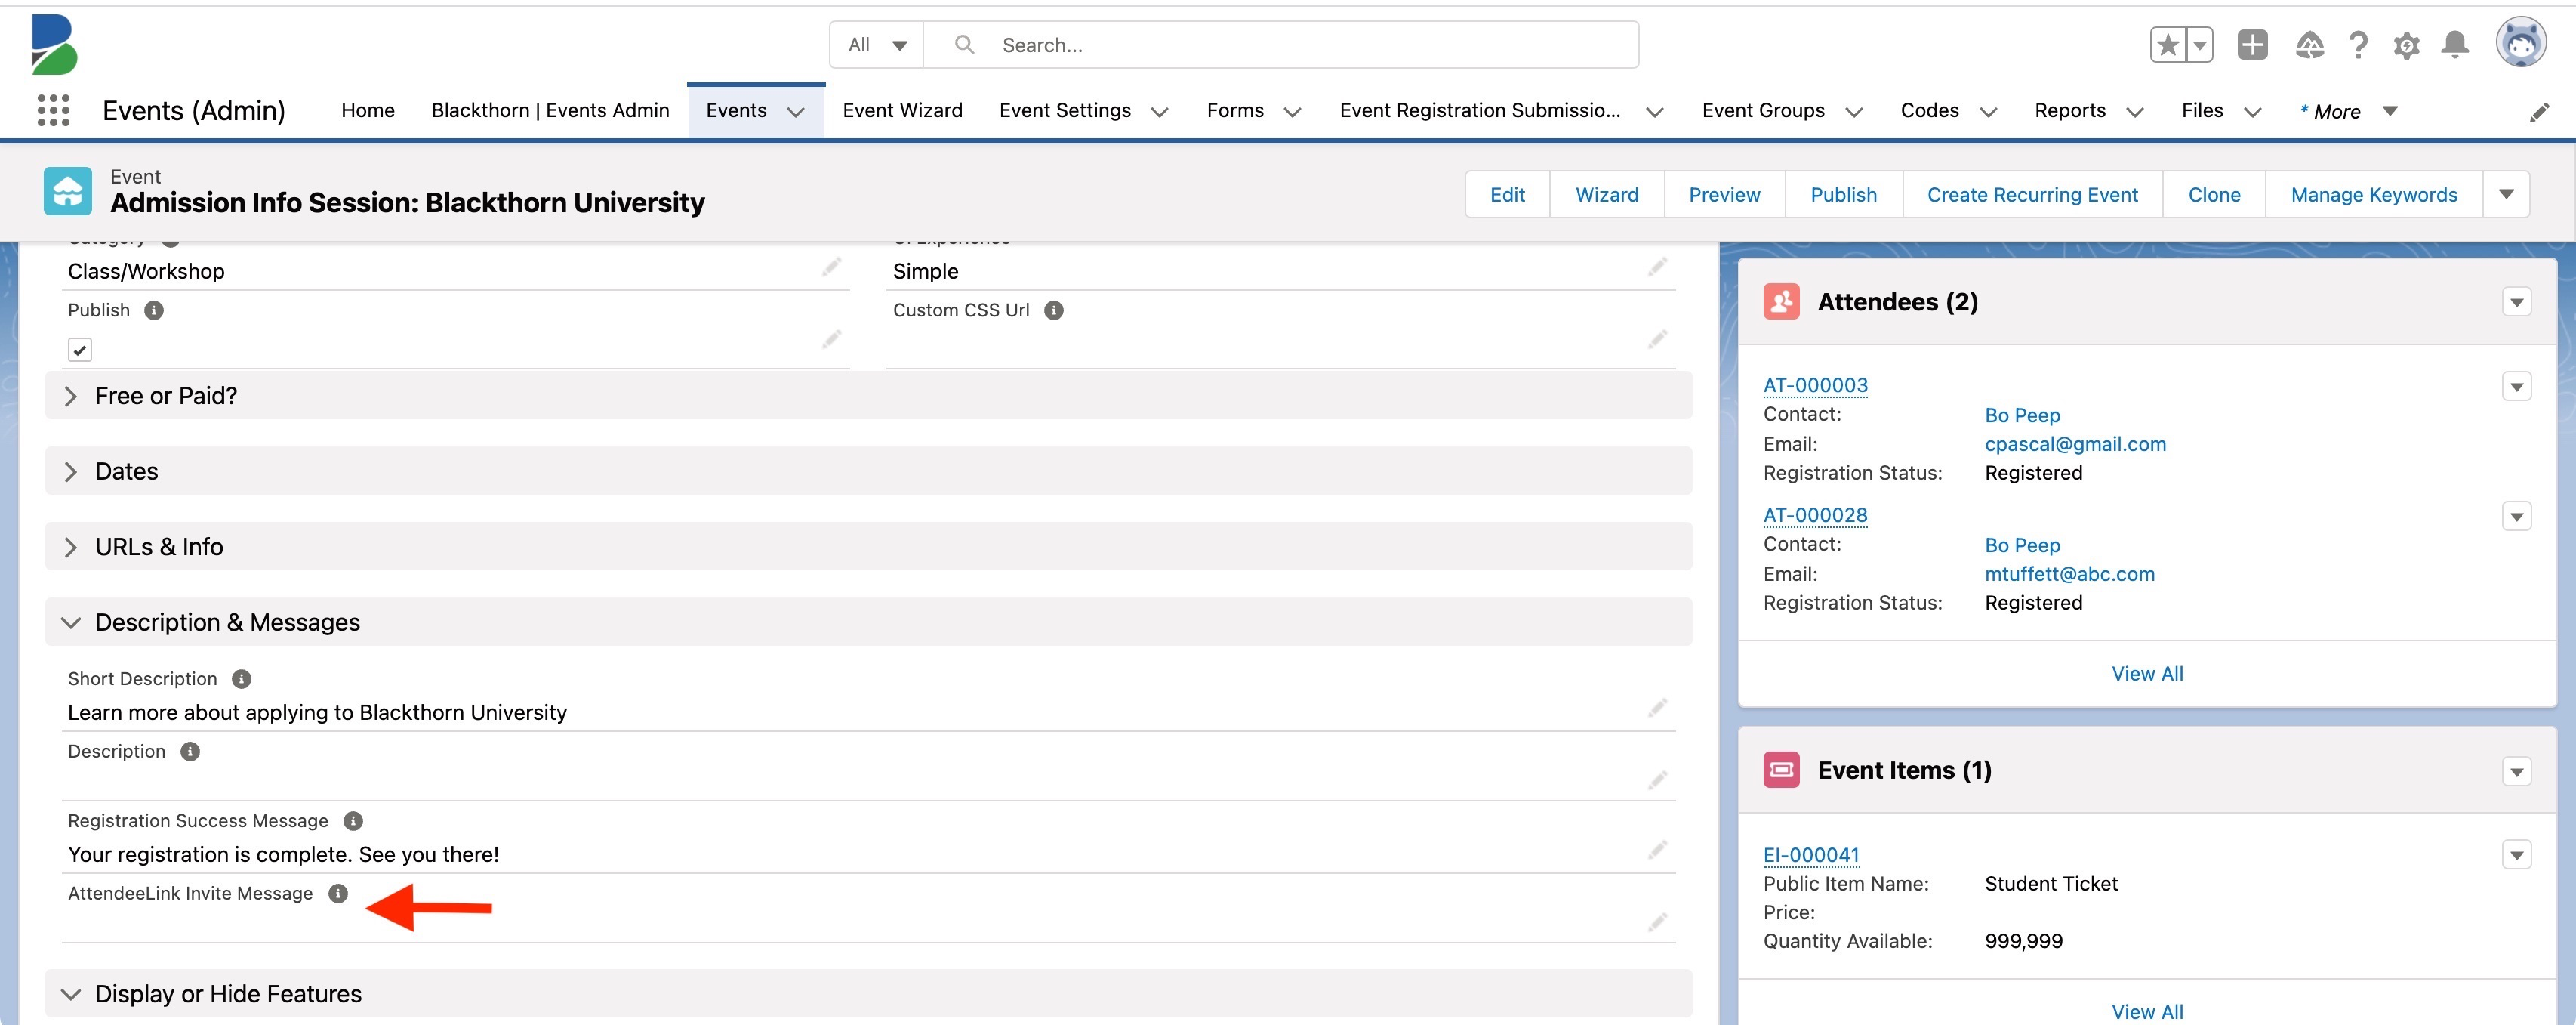
If you don't see the AttendeeLink Invite Message field on your Event page, please edit the Event page layout and add the field.
You can also personalize what an Attendee sees on the AttendeeLink using the Data Dictionary{target=_blank}. Personalization works differently before and after an Attendee registers.
Greeting an invited Attendee by first name
The default invite greeting includes the Attendee's first name. It comes from the Data Dictionary key MSG_ATTLINK_PERSONAL, whose value uses {name} as the placeholder for the first name.
This greeting appears only when all of the following are true:
- The Attendee's Registration Status is "Invited" or "Pending". It does not appear once the Attendee is registered.
- The Attendee record has a first name.
- The AttendeeLink Invite Message field on the Event is empty. If you enter your own message there, it replaces the greeting entirely, including the first name.
- Registration is open and at least one Event Item (Ticket) is on sale.
The confirmation heading after an Attendee registers
On the AttendeeLink check-in page, the heading is the Data Dictionary value for MSG_ATTLINK_CONFIRM_REGISTERED, or MSG_ATTLINK_WELCOME_TO_EVENT when a live stream is available. The page adds the Attendee's first and last name after that message automatically, followed by an exclamation mark.
Because the name is added by the page and not by the message, you cannot hide it, move it, or place it in the middle of your text, and custom CSS cannot target it separately from the message.
Write your value so it reads naturally with a name after it. Ending it with a comma, or with no punctuation at all, usually reads best:
- Value:
Thank you for registering,gives "Thank you for registering, Jane Doe!"
Two things to know:
- If you do not override the key, the shipped default message has its punctuation removed, so the built-in "Thank you for registering!" renders as "Thank you for registering Jane Doe!".
- The waitlist heading,
MSG_ATTLINK_CONFIRM_WAITLIST, does not get a name added.
Salesforce-style merge fields are not supported in Data Dictionary values, and the key MSG_REGISTRATION_CONFIRMED never receives a name. To show an Attendee's name in the confirmation heading, override MSG_ATTLINK_CONFIRM_REGISTERED as described above and let the page append the name.
RSVP
Allow your customers to quickly decide if they would like to accept the invitation. This is displayed at the top right of every AttendeeLink.
-
Selecting "Yes" will take them directly to the Event Item (Ticket) selection page, or the pre-checkout page if a Event Item (Ticket) type is preselected.
-
Selecting "No" will update the Attendee's Registration Status to "Declined" automatically, along with a friendly message as such (default):
- "Sorry that you are not able to attend this event but we hope to see you at one of our next events! If you decide to attend our event, change your registration by registering for the event."
-
Clicking Not {First Name}? will take them back to the general Event URL overview page and decouple them from the invitation.
Customize the information, including the description and location, your Attendees see in the Calendar Invite that is sent after an Attendee clicks the Add to Calendar button.
Invite Only
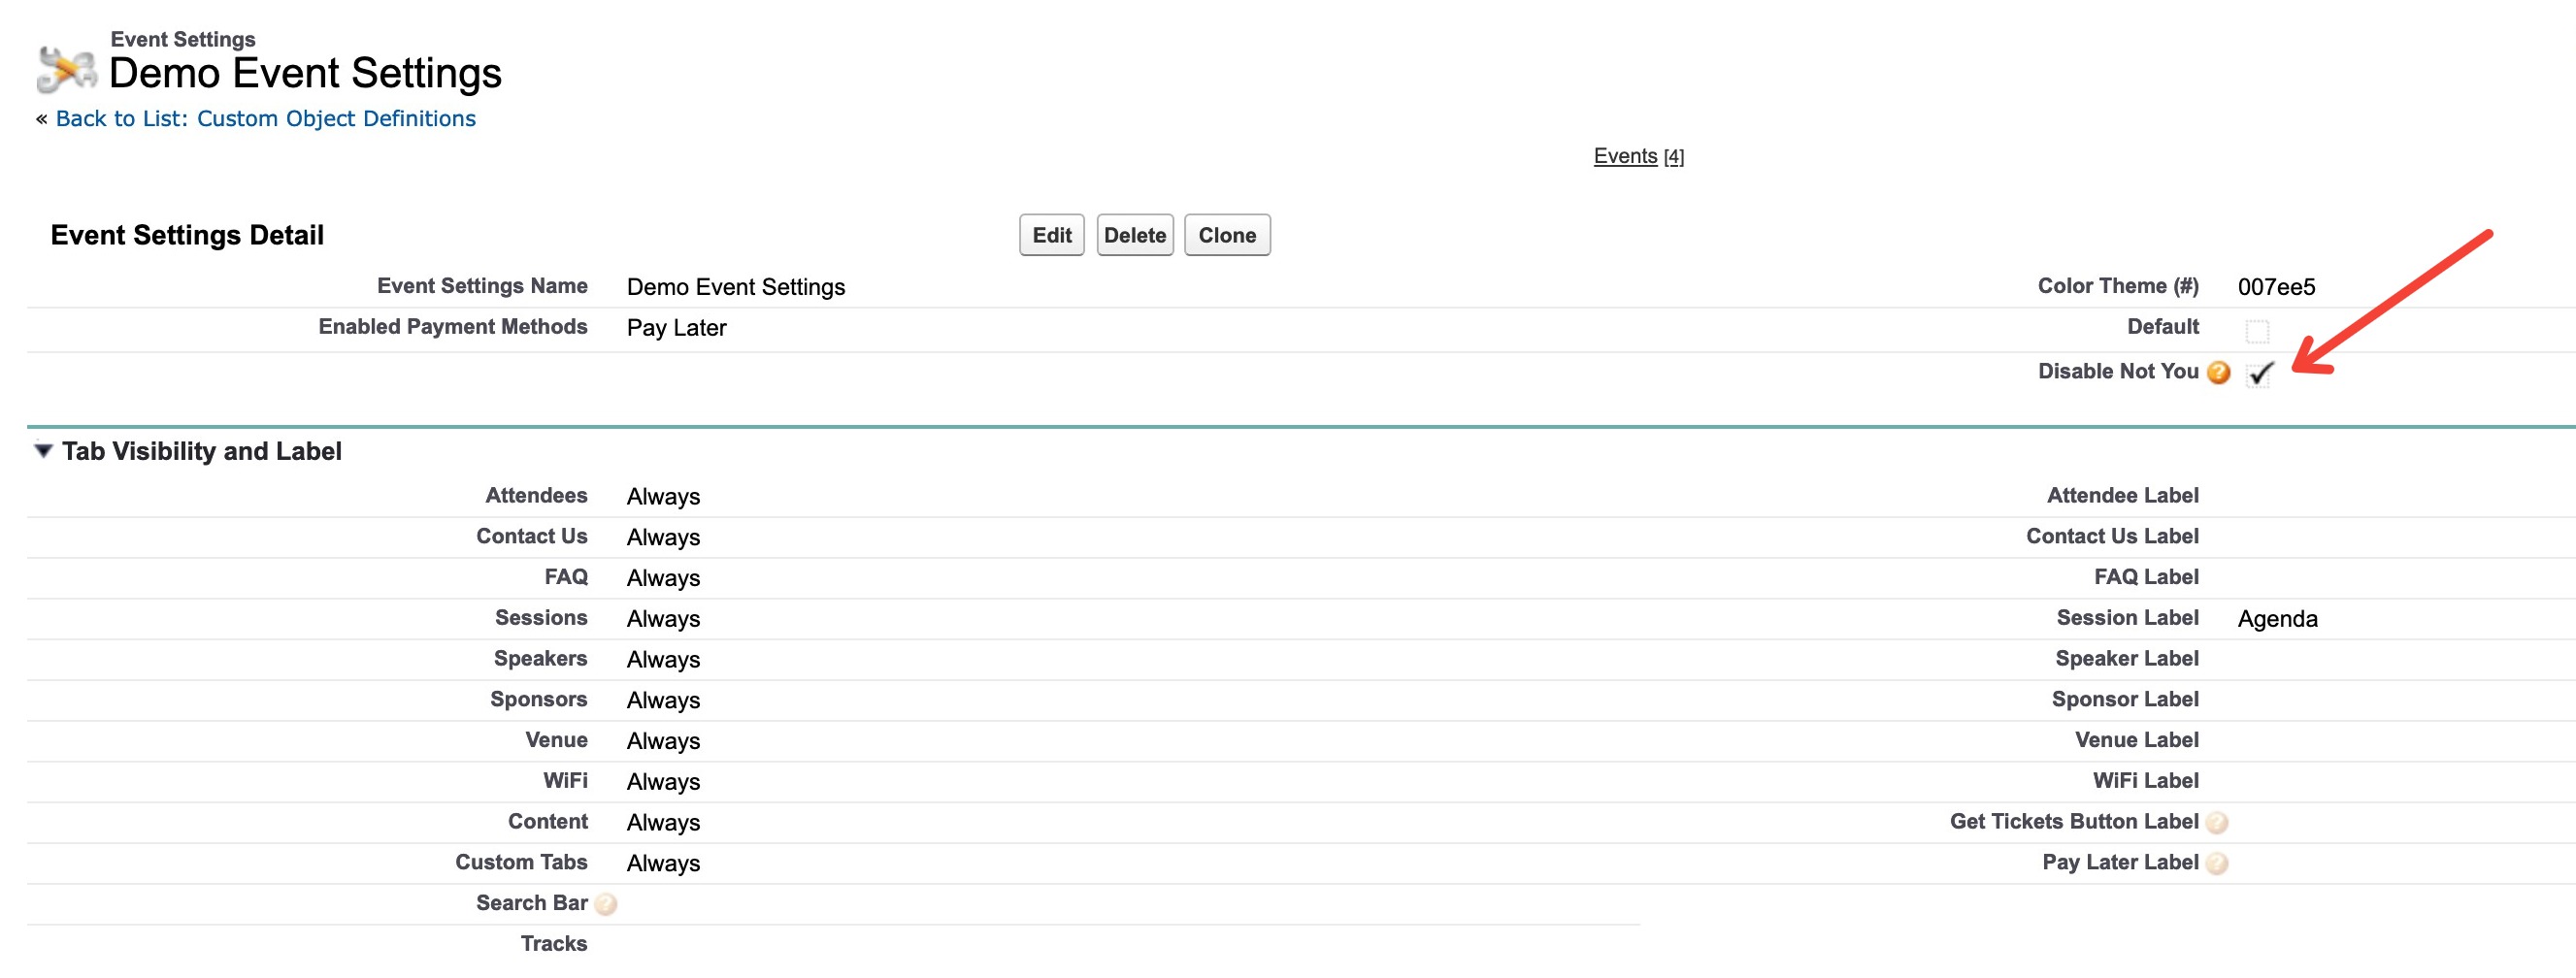
Starting from Event version 2.23, you will be able to disable the Not You button from the RSVP message banner. A common use case for this is with invite-only Events and with Attendees forwarding invite emails to block other people from registering.
To disable the Not {First Name}? button, go to the Event Settings page, and make sure the Disable Not You checkbox is checked.