We made PayLink it's own app to give you more independence. In addition to a few internal process changes, you no longer have to rely on us to configure your PayLink or reauthorize the connection.
Prerequisite
Before upgrading PayLink, please upgrade the Payments app to the most recent version.
Installing PayLink
-
Navigate to the Blackthorn Payments (Admin) app.
-
Select the Blackthorn | Payments Setup Wizard.
-
Click on the PayLink step.
-
Click the Install button.
-
If the existing PayLink breaks during the upgrade, reauthorize PayLink by completing the following steps.
- Go to the PayLink Setup Wizard tab.
- Click Authorize.
- Click Grant Access.
-
If you had any processes (Process Builder, Flows, Triggers, Validations, etc) around the old PayLink field, please update them to reference the new PayLink field.
-
Once the PayLink package installed, navigate to the PayLink app, and click "Blackthorn | PayLink Setup Wizard"
-
Navigate to Permission Sets
-
Assign the user to PayLink (User) and Payments (User)
-
Navigate to the Charge Transaction Page Layout. The new PayLink field will only work on the Charge Transaction record type.
-
Remove the old PayLink field.

-
If you are not seeing the new "PayLink" section, edit the Transaction layout and mimic the below configuration.
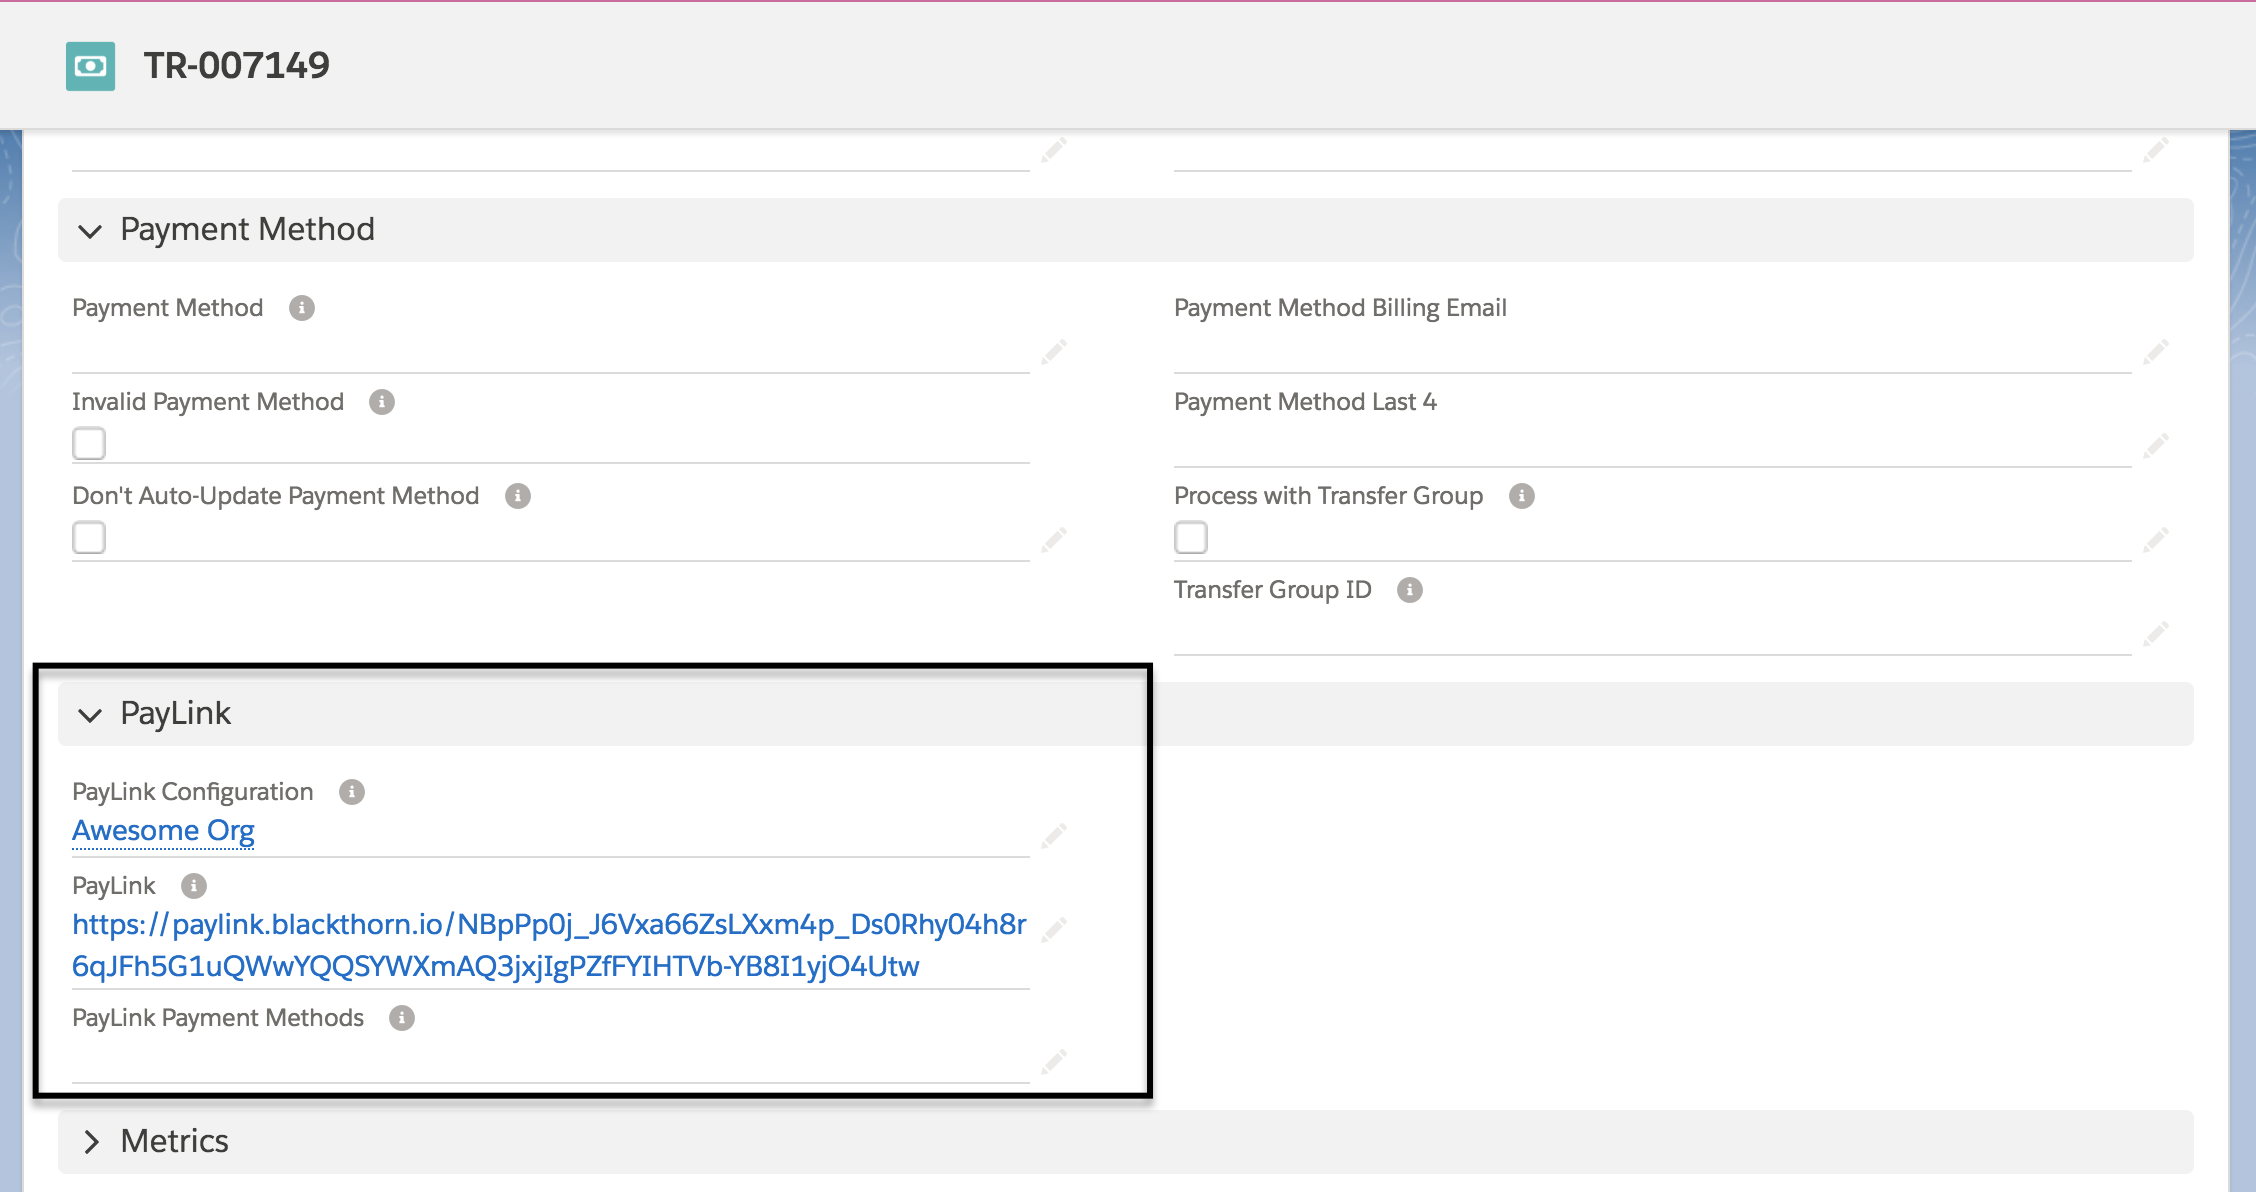
It's now time to configure your PayLink template.
PayLink Trial
When you install PayLink, you will be given a 14-day trial for all users in your organization. After the 14-day trial is complete, you must assign the enabled PayLink licenses to your users or contact Blackthorn Support to purchase PayLink.