You can now configure and manage emails from within the Event Builder when editing existing Events. The “Emails” section is located in the left-side navigation under Attendees. Note: When you use the Event Builder to create or clone a new Event, the “Emails” tab will be hidden.
Email Templates Related List
Start by clicking the Emails tab in the left-hand navigation bar.

If there are Email Templates related to the Event, they will appear here.
You can also create new Email Templates by clicking New in the Email Templates Related List component.
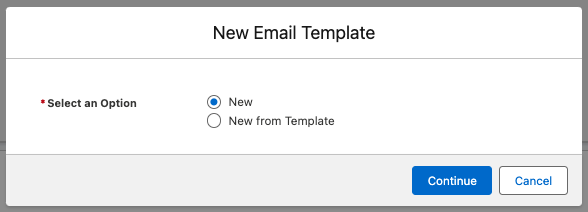
Select “New” to create a new template or select “New from Template” to use an existing template.
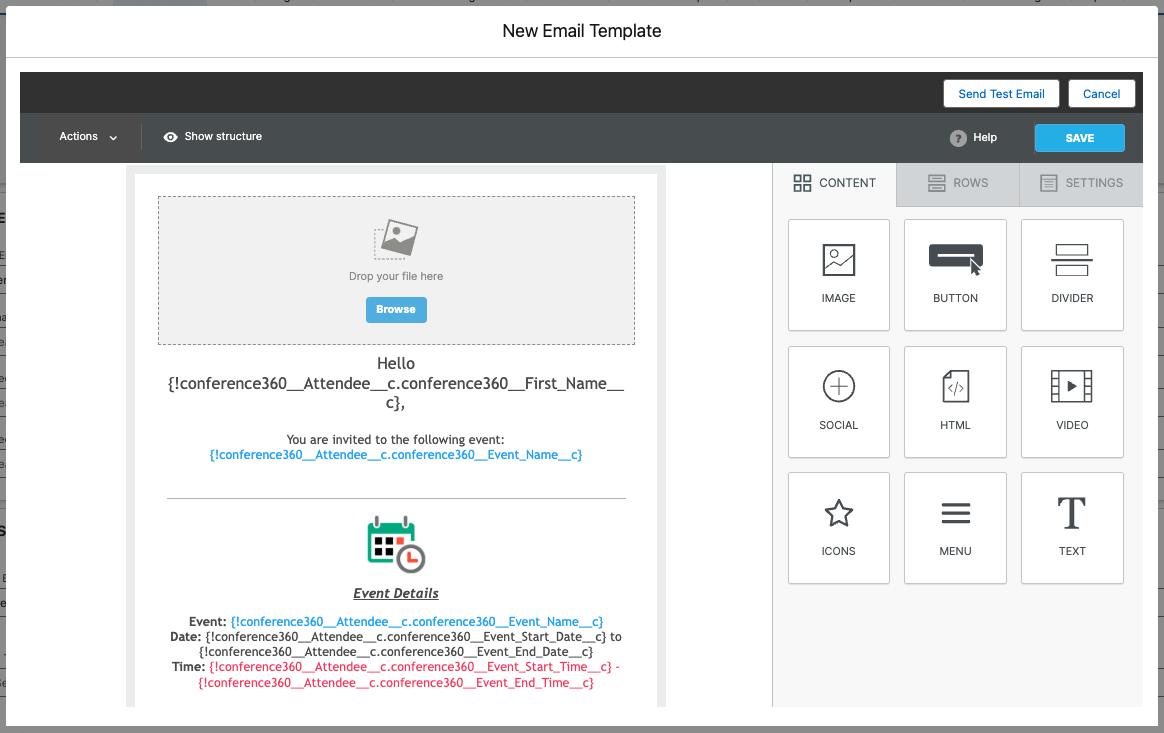
New
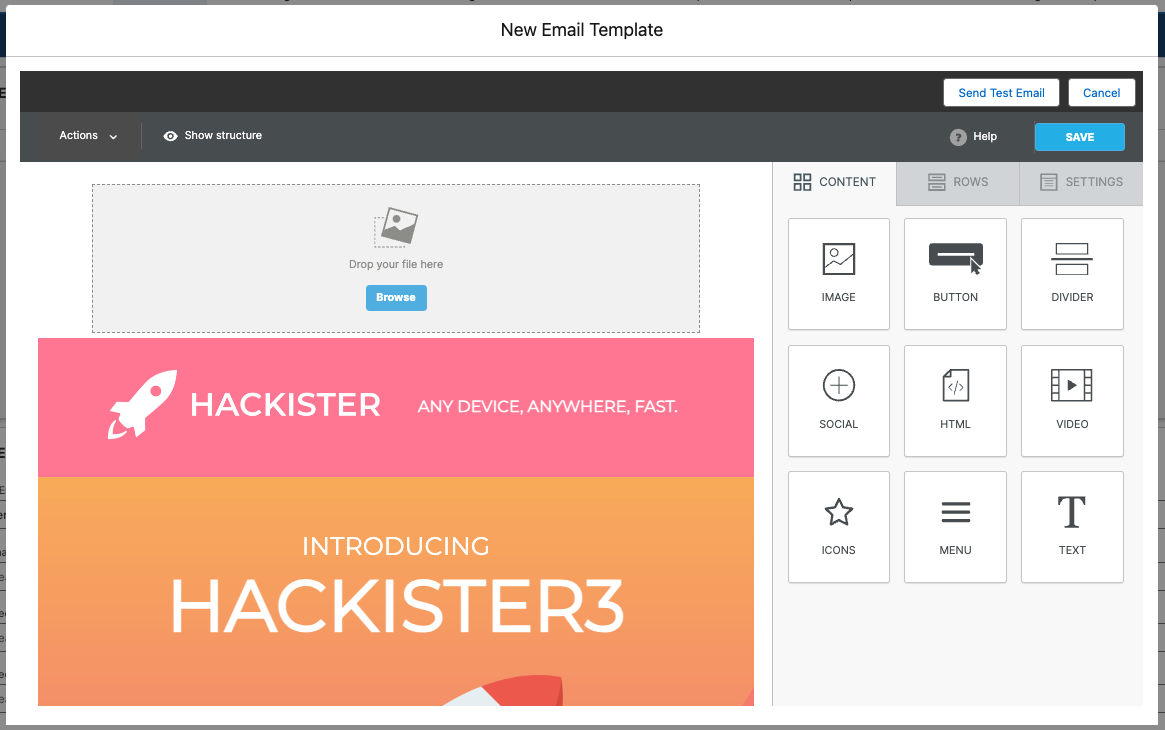
- If the Image URL field on your Event contains an image, it will appear in the gray box that says, “Drop your file here.” To replace the image or If the space is blank, click Browse.
- Click Upload, Import, or Search free photos to add images.
- Use the Upload button to add an image locally from your computer.
- Use the Import button to add an image via Facebook, Dropbox, One Drive, etc.
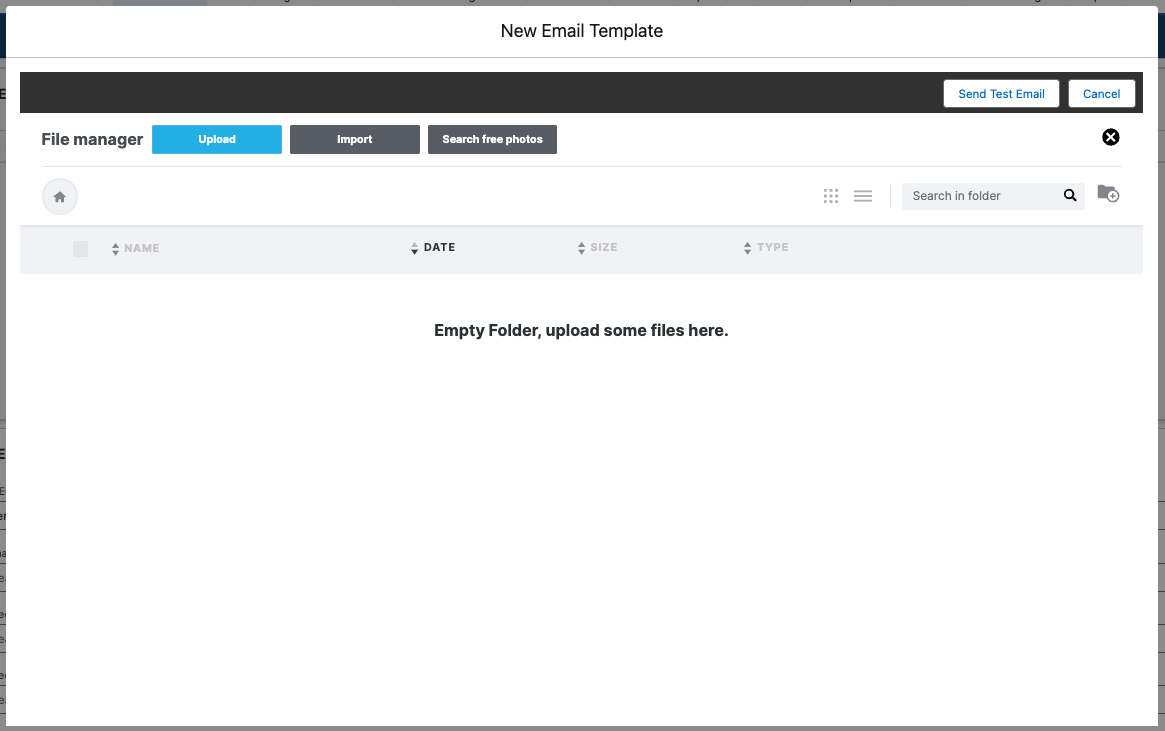
- To upload an image via Salesforce Files, click Import, copy the public link from your image, and paste it in the “Enter a URL” box.
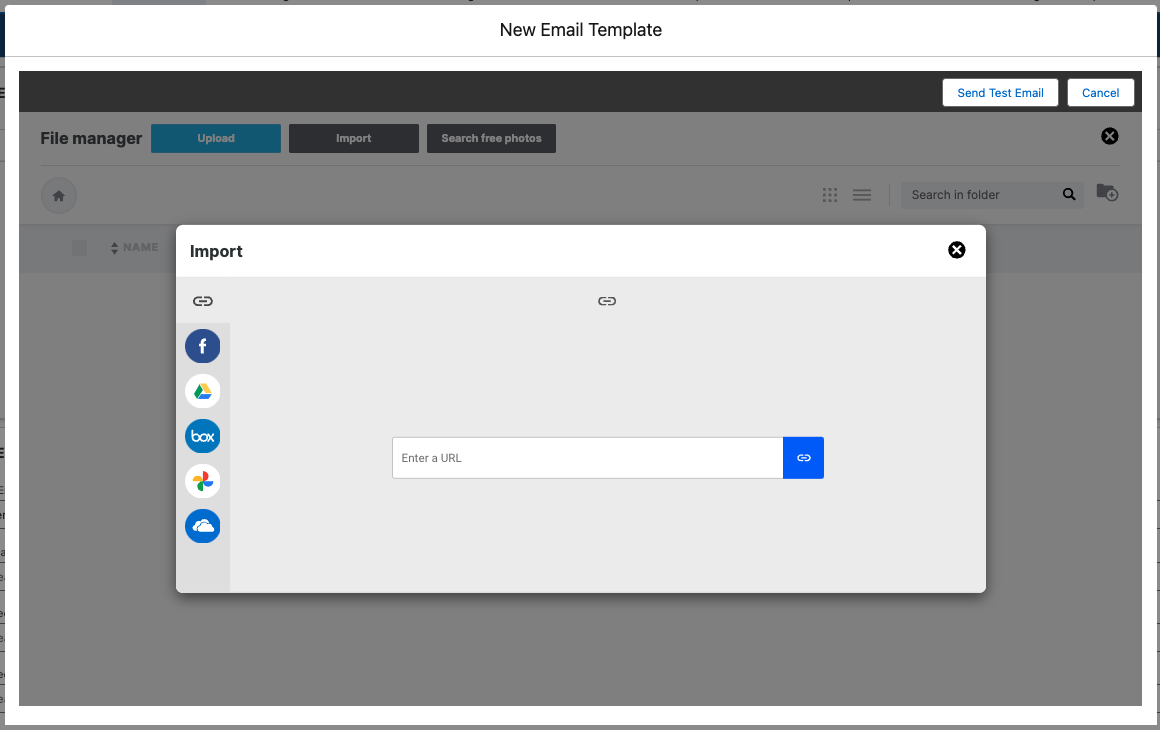
- Click the X below the Cancel button to return to the previous screen.
- To customize your Email Template further, complete the following steps.
- Use the options in the Rows section to change each row’s layout.
- Drag and drop the icons from the Content section onto the template. You can add more images, buttons, dividers, social media links, videos, and more.
- Use the options in the Settings section to set the background color, background image, default font, and more.
For more information about configuring your Email Template, click here.
New from Template
- If you choose “New from Template,” select an Email Template (required).
- Click Continue.
- Use the options in the Content, Rows, and Settings sections to edit your Email Template.
For more information about how the Email Template Builder works, click here.
Email Configuration Component
- Review/Edit the following fields.
- Send Emails From (required)
- Confirmation Email
- Waitlisted Email
- Waitlisted Pending Email

- Click Save.
Send Email Instantaneously Component
- Review/edit the following fields.
- Send Emails From (required) – Select the from email address. The field defaults to the current user. Add an email address to the Organization-Wide Email Addresses to automatically include it as a picklist option.
- Email Template (required) – Select the Email Template you want to use.
- Attendee Filter – This field controls which Attendees will receive the email.
- “Registration Status” - Select “Registration Status” (Invited, Registered, etc.) to select Attendees with a specific Registration Status.
- “Attendee Status” - Select “Attendance Status” (Attended, No Show, etc.) to select Attendees with a specific Attendance Status.
- Status Filter for “Registration Status” – Choose from Lead, To Invite, Invited, Pending, Registered, Declined, Canceled, Waitlisted – Pending, Waitlisted – Rejected, Awaiting Approval, or Rejected.
- Status Filter for “Attendee Status” – Choose from Pending, Attended, or No-Show.
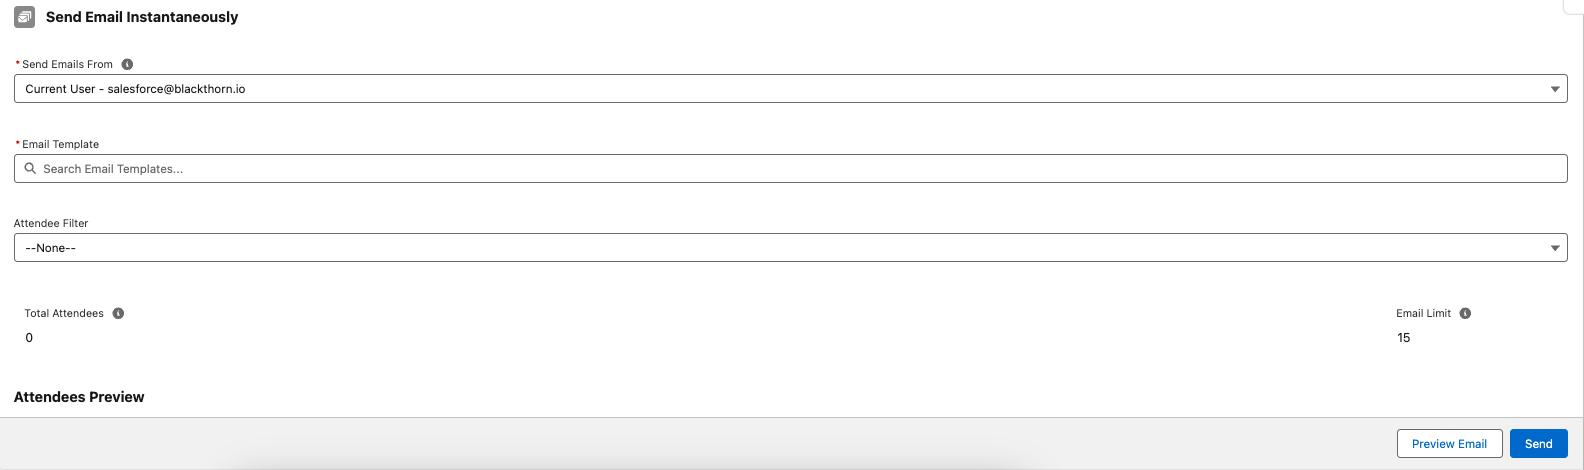
- You’ll now see the list of Attendees the email will be sent to.
- Click Preview Email to preview the email or click Send.