You cannot update the existing test Payment Gateway to live. This will result in an error. Please create a new Payment Gateway.
If you have refreshed a partial or full sandbox from Production, please create a template that does not include the Payment Gateway object. Otherwise, scheduled Transactions in production will be recaptured in the sandbox.
It's time to connect to your Authorize.net account! Follow the steps below to configure you live Authorize.net gateway.
-
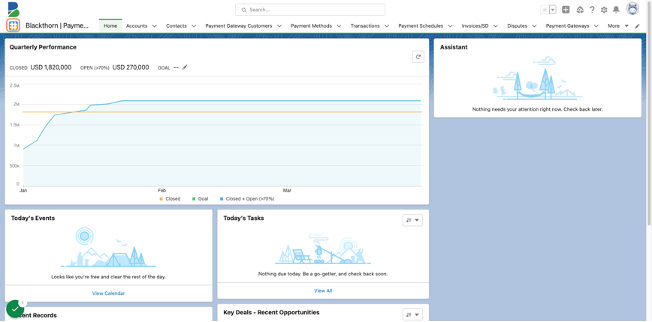
Click the App Launcher.
-
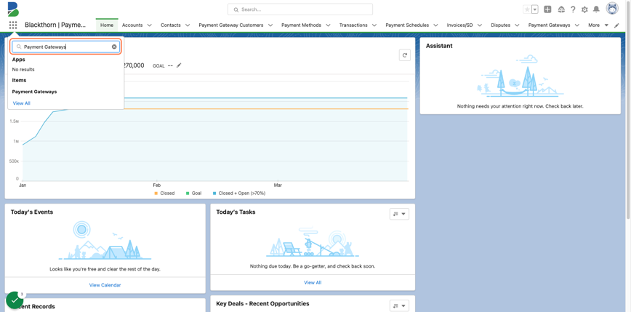
Type "Payment Gateways".
-
Click "Payment Gateways".
-
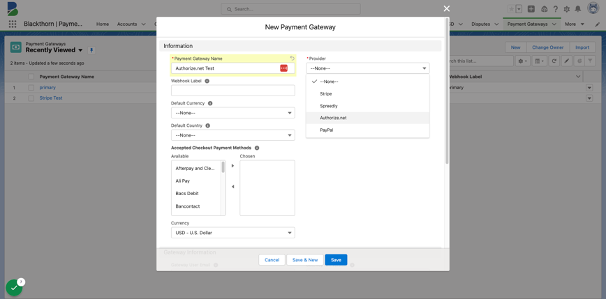
Click New.
-
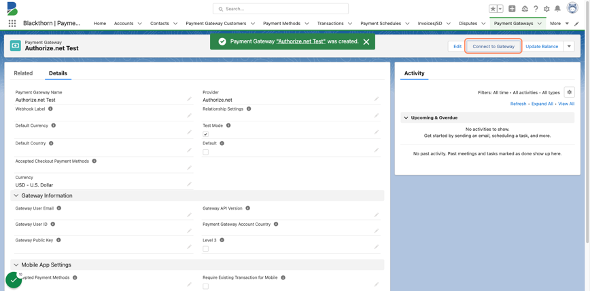
Enter a Payment Gateway Name.
-
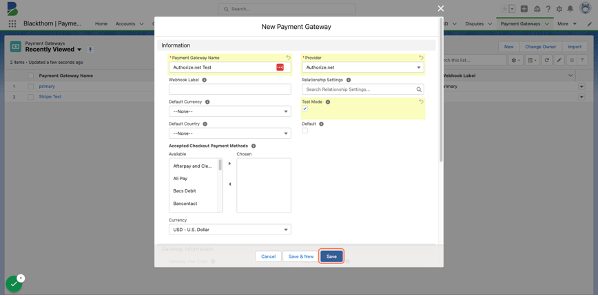
Set Provider = “Authorize.net”.
-
Click Save.
-
Click the Connect to Gateway button.
-
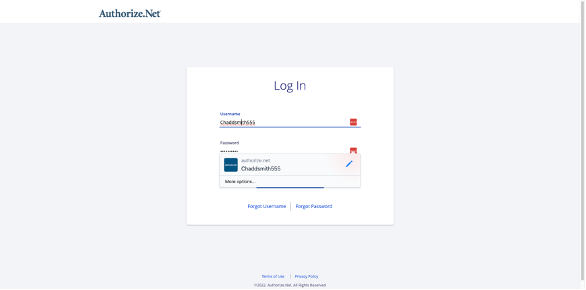
Authorize.net's login page will launch in a new tab.
-
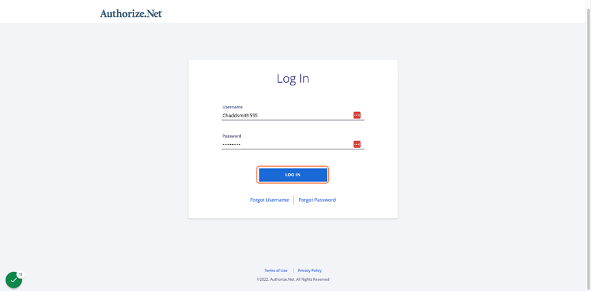
Enter your Username & Password.
-
Click LOG IN.
-
Click Allow.
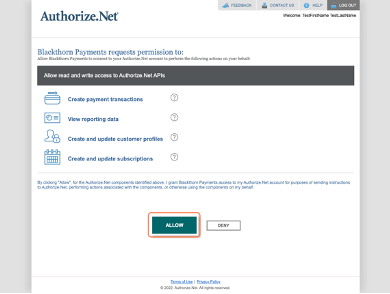
The page will redirect back to Salesforce and you're all set!
Troubleshooting
Q: I think I defined the wrong object during the Relationship step. What do I do?
A: Complete the following steps to remove the relationship.
- Go to Setup.
- In the Quick Find box, enter and click "Custom Settings."
- Click Manage next to "Blackthorn Pay - Transaction Parents."
- Find the object/field you want to remove.
- Click Del (Delete) next to the object/field.
- Go to the Object Manager tab.
- In the Quick Find box, enter and click "Transaction."
- Open the relevant Transaction page layout.
- Delete the lookup field to the object you removed in Step 5.
- Click Save.