Follow the steps below to see what an Attendee sees when completing the checkout process for a free Event. We've also included images of the Event and Attendee records in Salesforce.
Do you want a different look and feel for your Event?
No problem. All colors, images, and text are 100% customizable to your specific use case!
An Attendee views your Event's webpage. They can click the Share button to generate a URL to share the Event on LinkedIn, X/Twitter, or Facebook, or they can click Register to start the process. 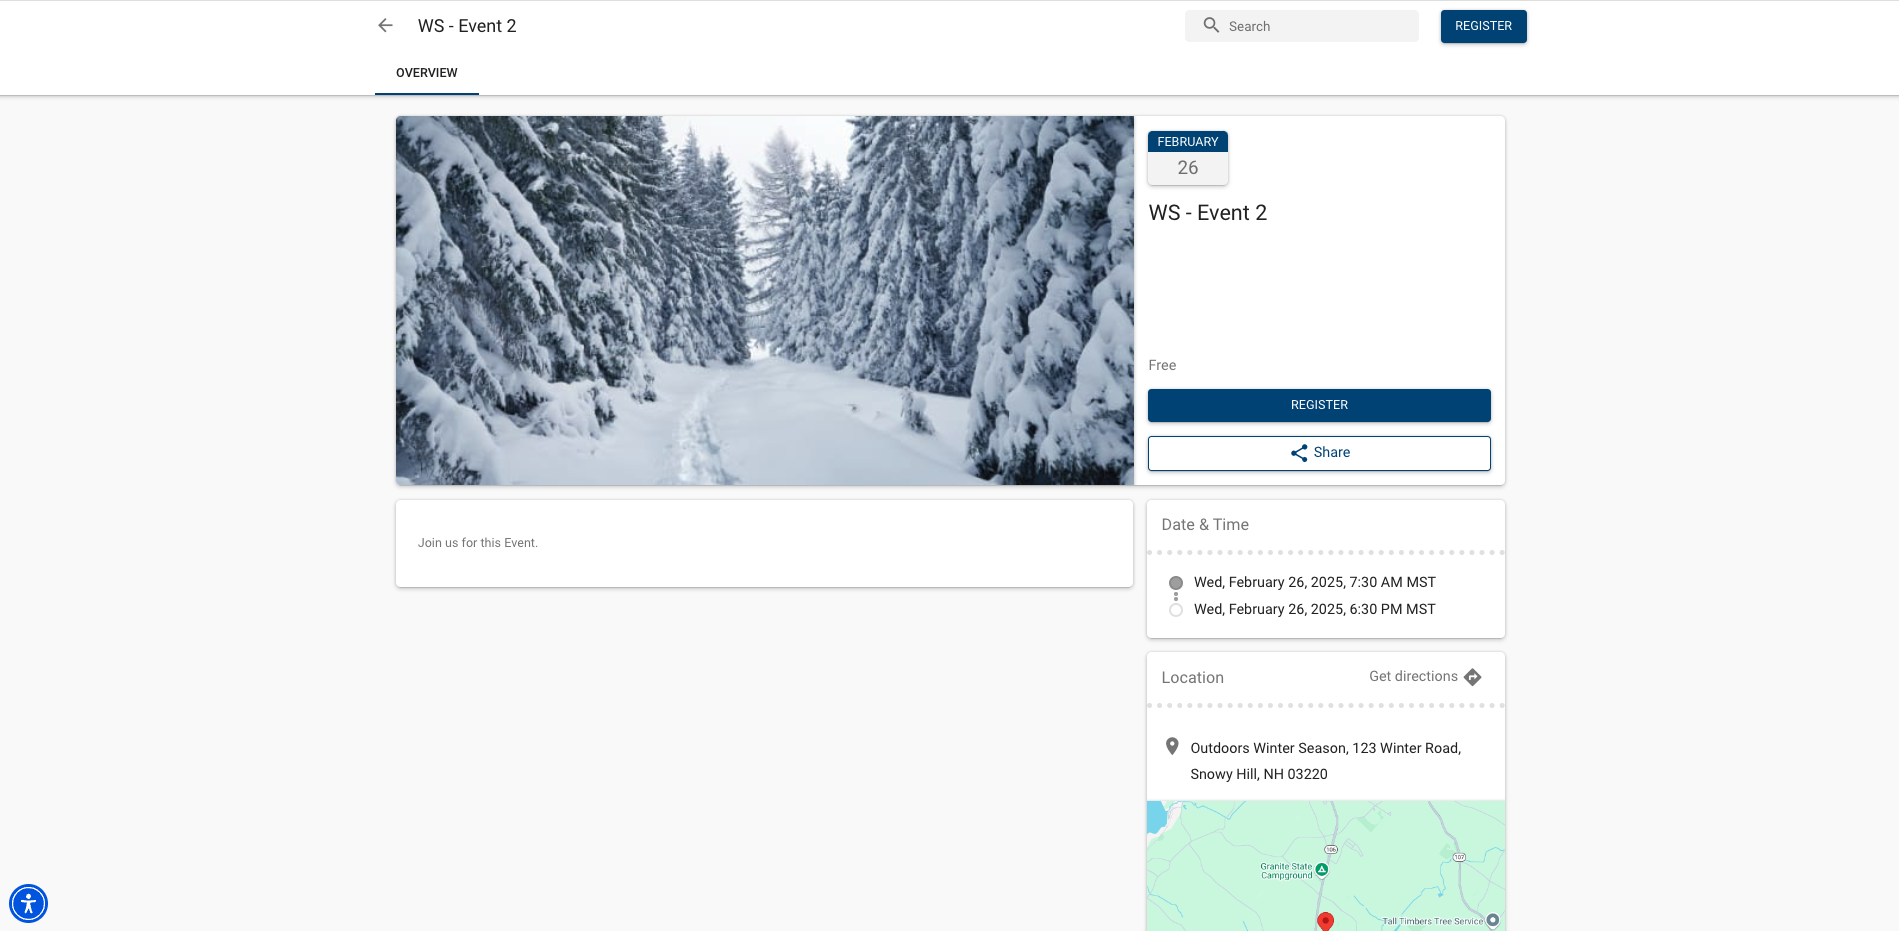
The Attendee selects the number of Event Items they want to register for and clicks Register. Or, if a value is in the Event Item’s Default Quantity Selection field and the Event Item isn’t sold out or isn’t a Donation, the default quantity of Tickets is automatically added to the cart the first time an Attendee reaches the Event Item selection screen.
Attendees can change the number of Tickets in their cart and move around the Event’s webpage without changes being made to their cart based on the default quantity.
If the number of remaining tickets is greater than 0 but less than the Default Quantity Selection, all remaining tickets will be added to the cart. For example, if the number of remaining tickets is 3, but the Default Quantity Selection is “5,” then 3 tickets will be added to the cart.
NOTE: When an Attendee purchases Tickets from their AttendeeLink, the default quantity will not be added to the cart. (The original behavior is unchanged.)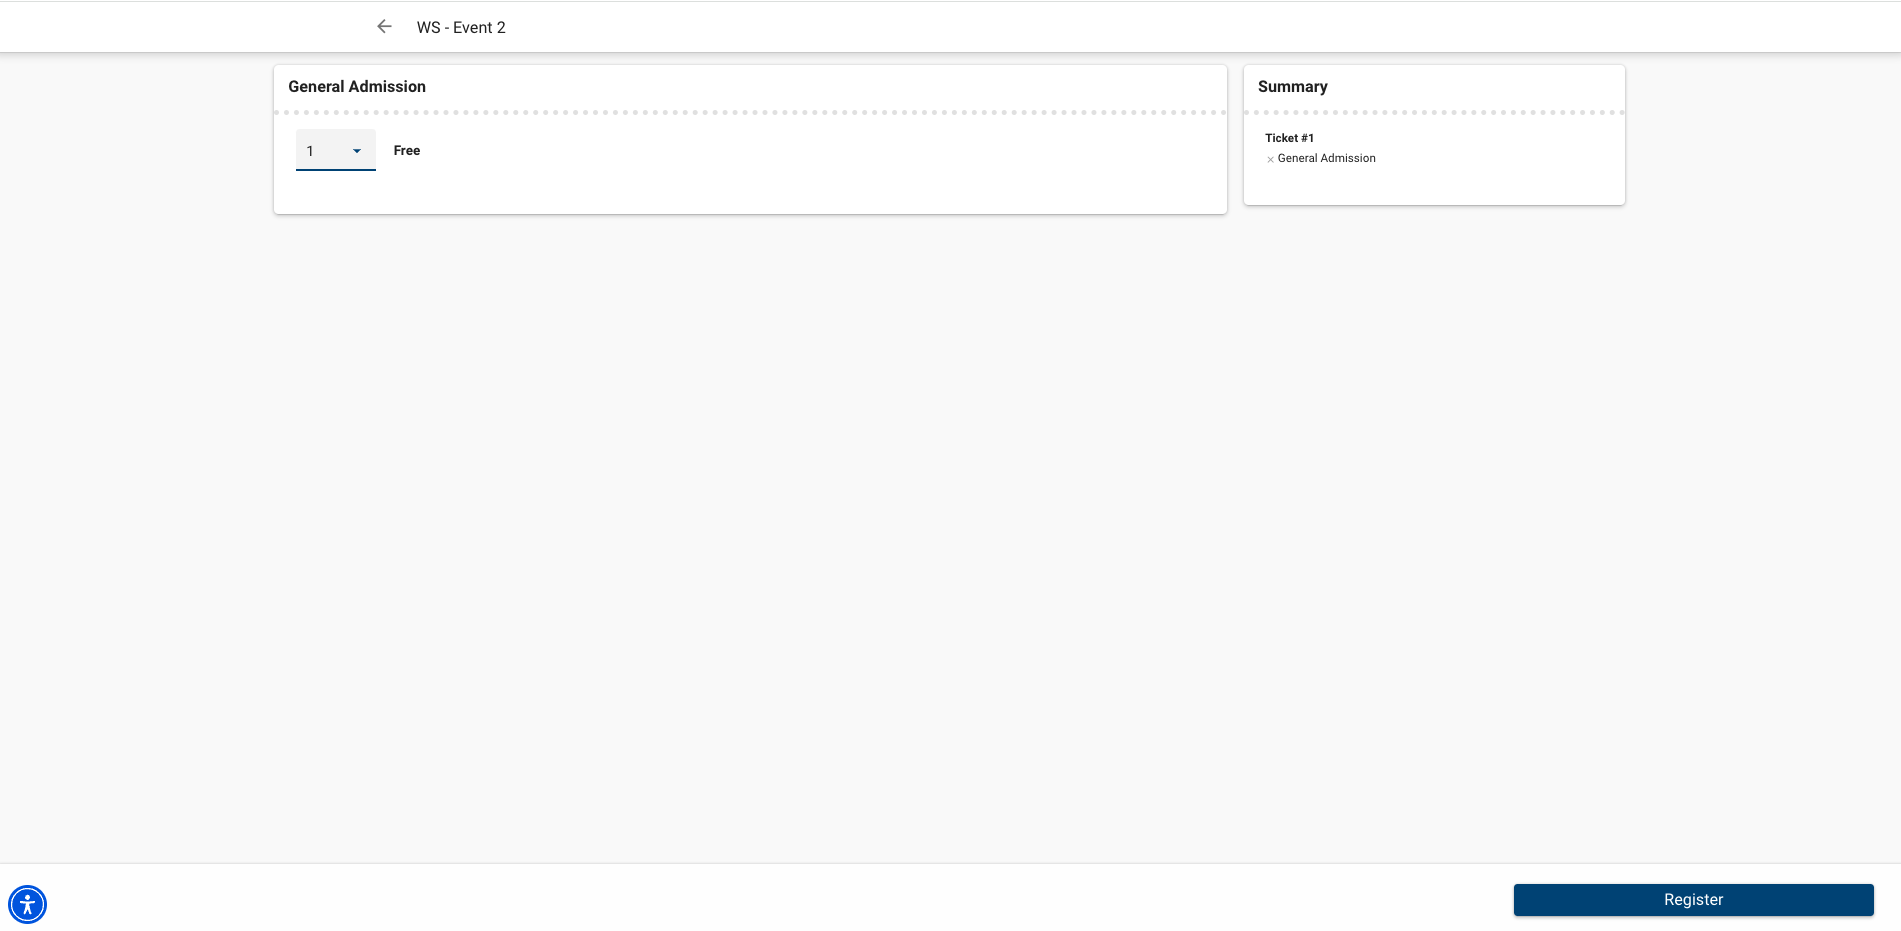
The Attendee enters their information. If available, they can add a promo Code. Everything you see here can be customized to create a unique checkout experience, including the language options in the Data Dictionary.
The Attendee enters any additional contact information and clicks Register. You can decide which fields to include and which ones should be required. If you want to show the page that asks for additional contact/payment information, set the Event Settings’ Remove Info Page for Free Events field to “No.”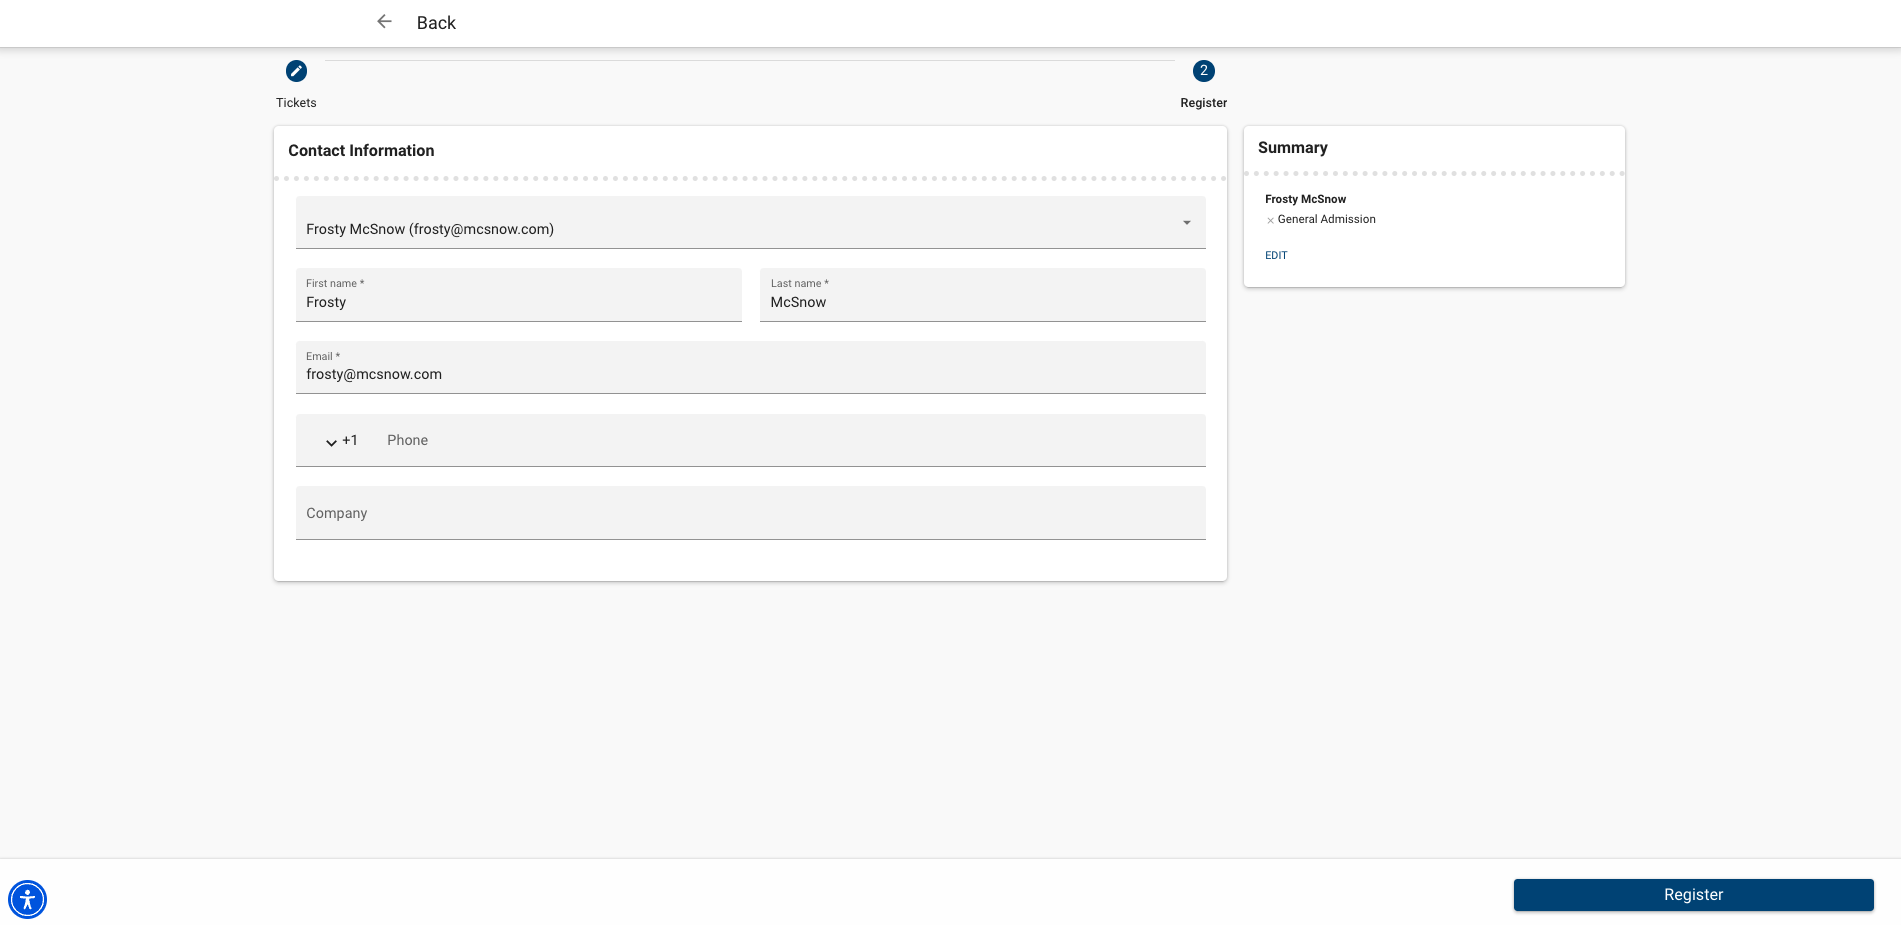
The Attendee receives a successful registration message!. A thank you message and all the information needed to attend the Event will be sent to the Email the Attendee entered in Step 3.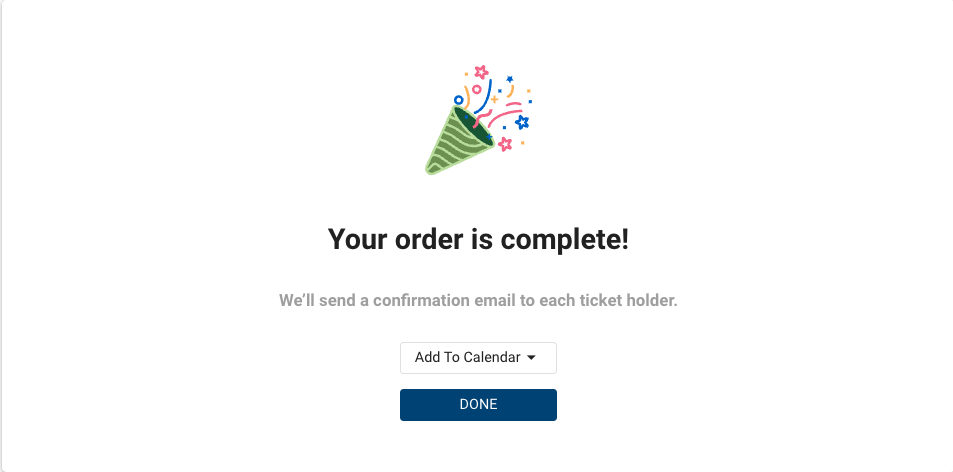
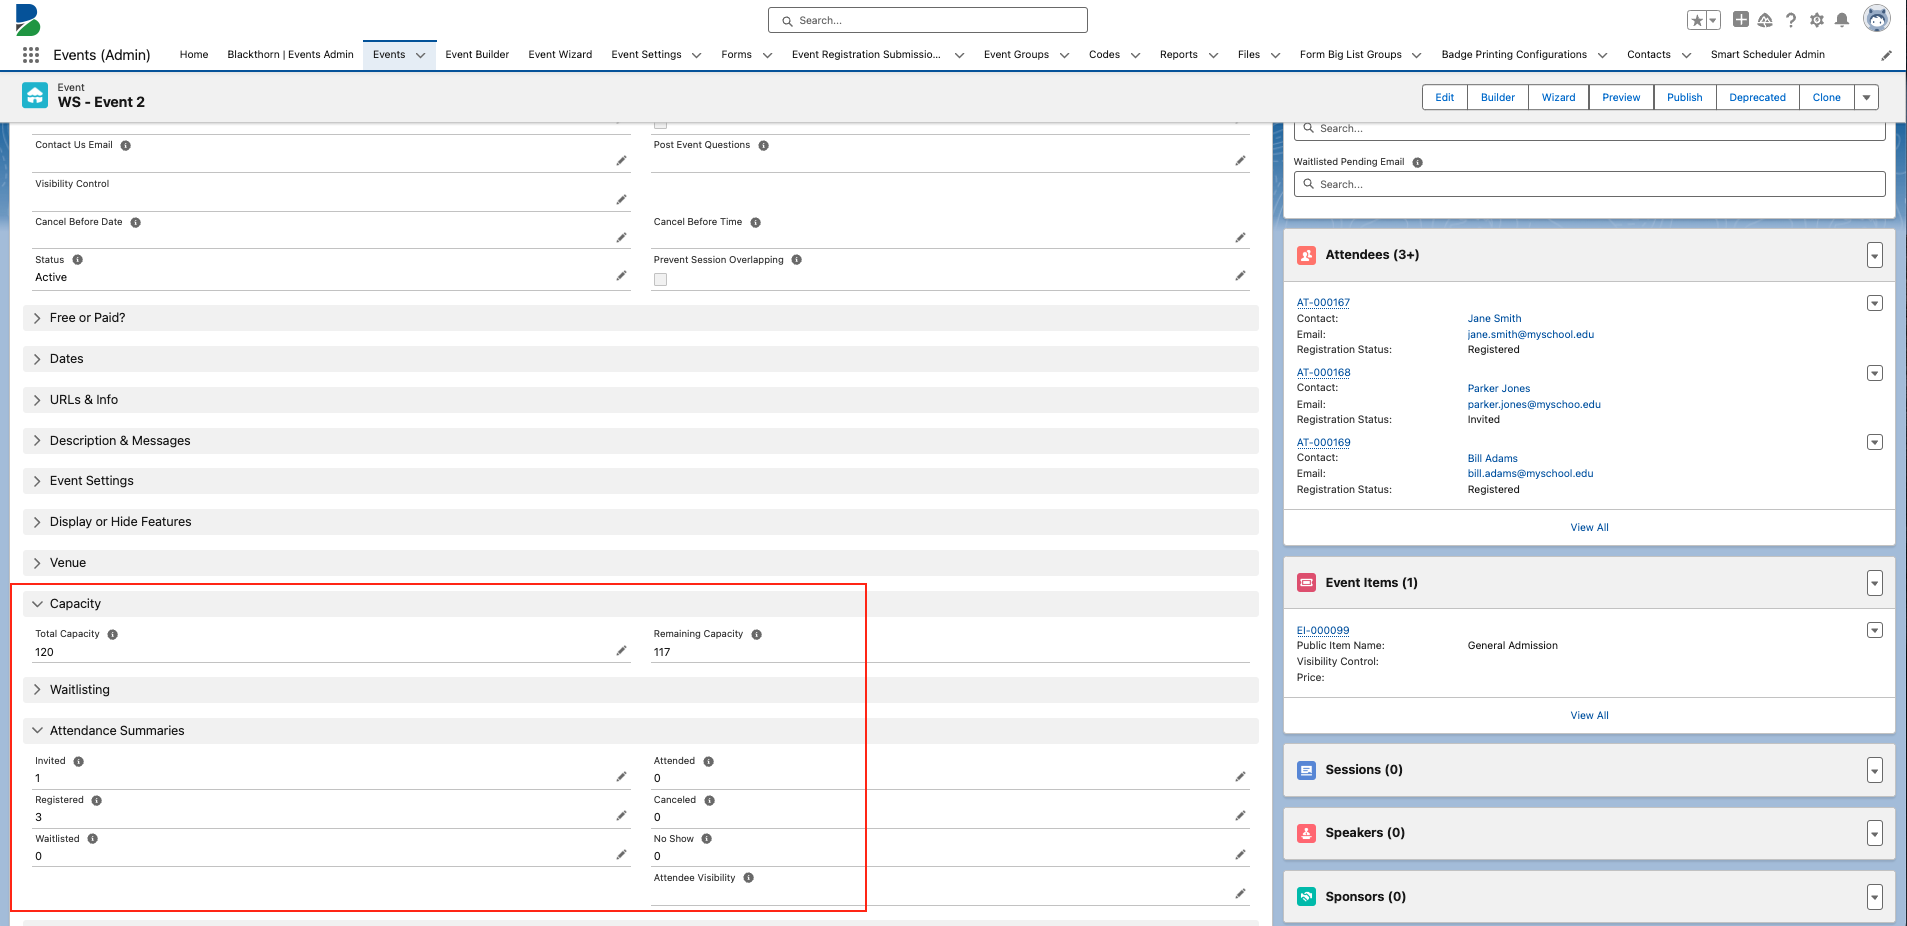
Salesforce users can view the related Attendee information.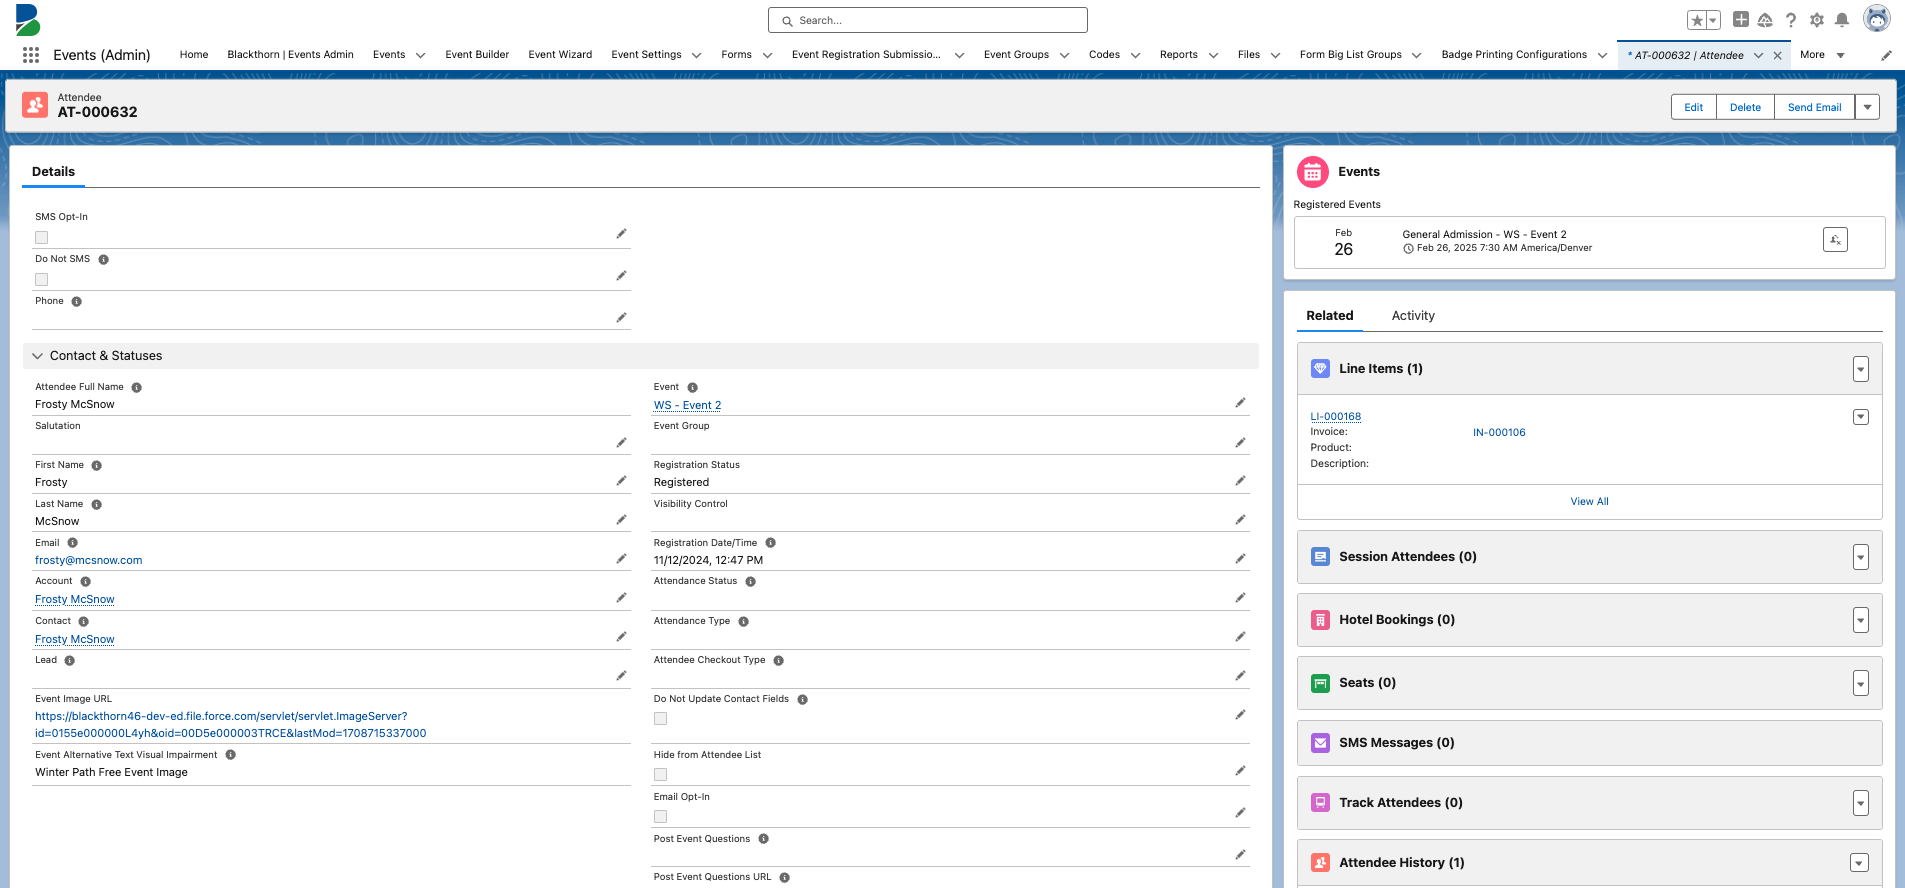
The Attendance summaries and settings are also updated immediately. This allows you to see how many people have registered for the Event, how many have attended or canceled, and what the remaining capacity is.