Overview
Looking for Transact (Cashnet)? You've come to the right place! We officially support Transact (Cashnet) for Events checkout only. Let's take a look at what you'll need to configure the Transact (Cashnet) Payment Gateway, prepare a Salesforce org, and configure and enable the gateway.
Requirements
The names of the APIs used must match exactly what is listed.
A dedicated Transact (Cashnet) site connected to Blackthorn is required to configure Blackthorn Events to use Transact (Cashnet) for Payments. With a properly configured Transact (Cashnet) site, the following information is required to configure a Transact (Cashnet) Payment Gateway.
CashNet Checkout Name
CashNet Item Code
CashNet Operator Id
CashNet Password
Prepare your Salesforce Org for Transact (Cashnet)
Add a Transact (Cashnet) Payment Provider
Add the value "CashNet" to the existing Provider picklist field (bt_stripe_Provider_c) on the Payment Gateway object.
Create Fields and Update the Payment Gateway Page Layout
Create the following fields and add them to the Payment Gateway page layout.
Fields
- Field Label: CashNet Checkout Name
- Field Name: CashNet_Checkout_Name
- Data Type: Text(255)
- Field Label: Cashnet Item Code
- Field Name: CashNet_Item_Code
- Data Type: Text(255)
- Field Label: Cashnet Operator Id
- Field Name: CashNet_Operator_Id
- Data Type: Text(255)
- Field Label: CashNet Password
- Field Name: CashNet_Password
- Data Type: Text(255)
Steps
- Click the Gear icon.
- Click Setup.
- Click the Object Manager tab.
- In the Quick Find box, enter and click "Payment Gateway" (bt_stripe__Payment_Gateway__c).
- Click the Fields & Relationships tab.
- Click New.
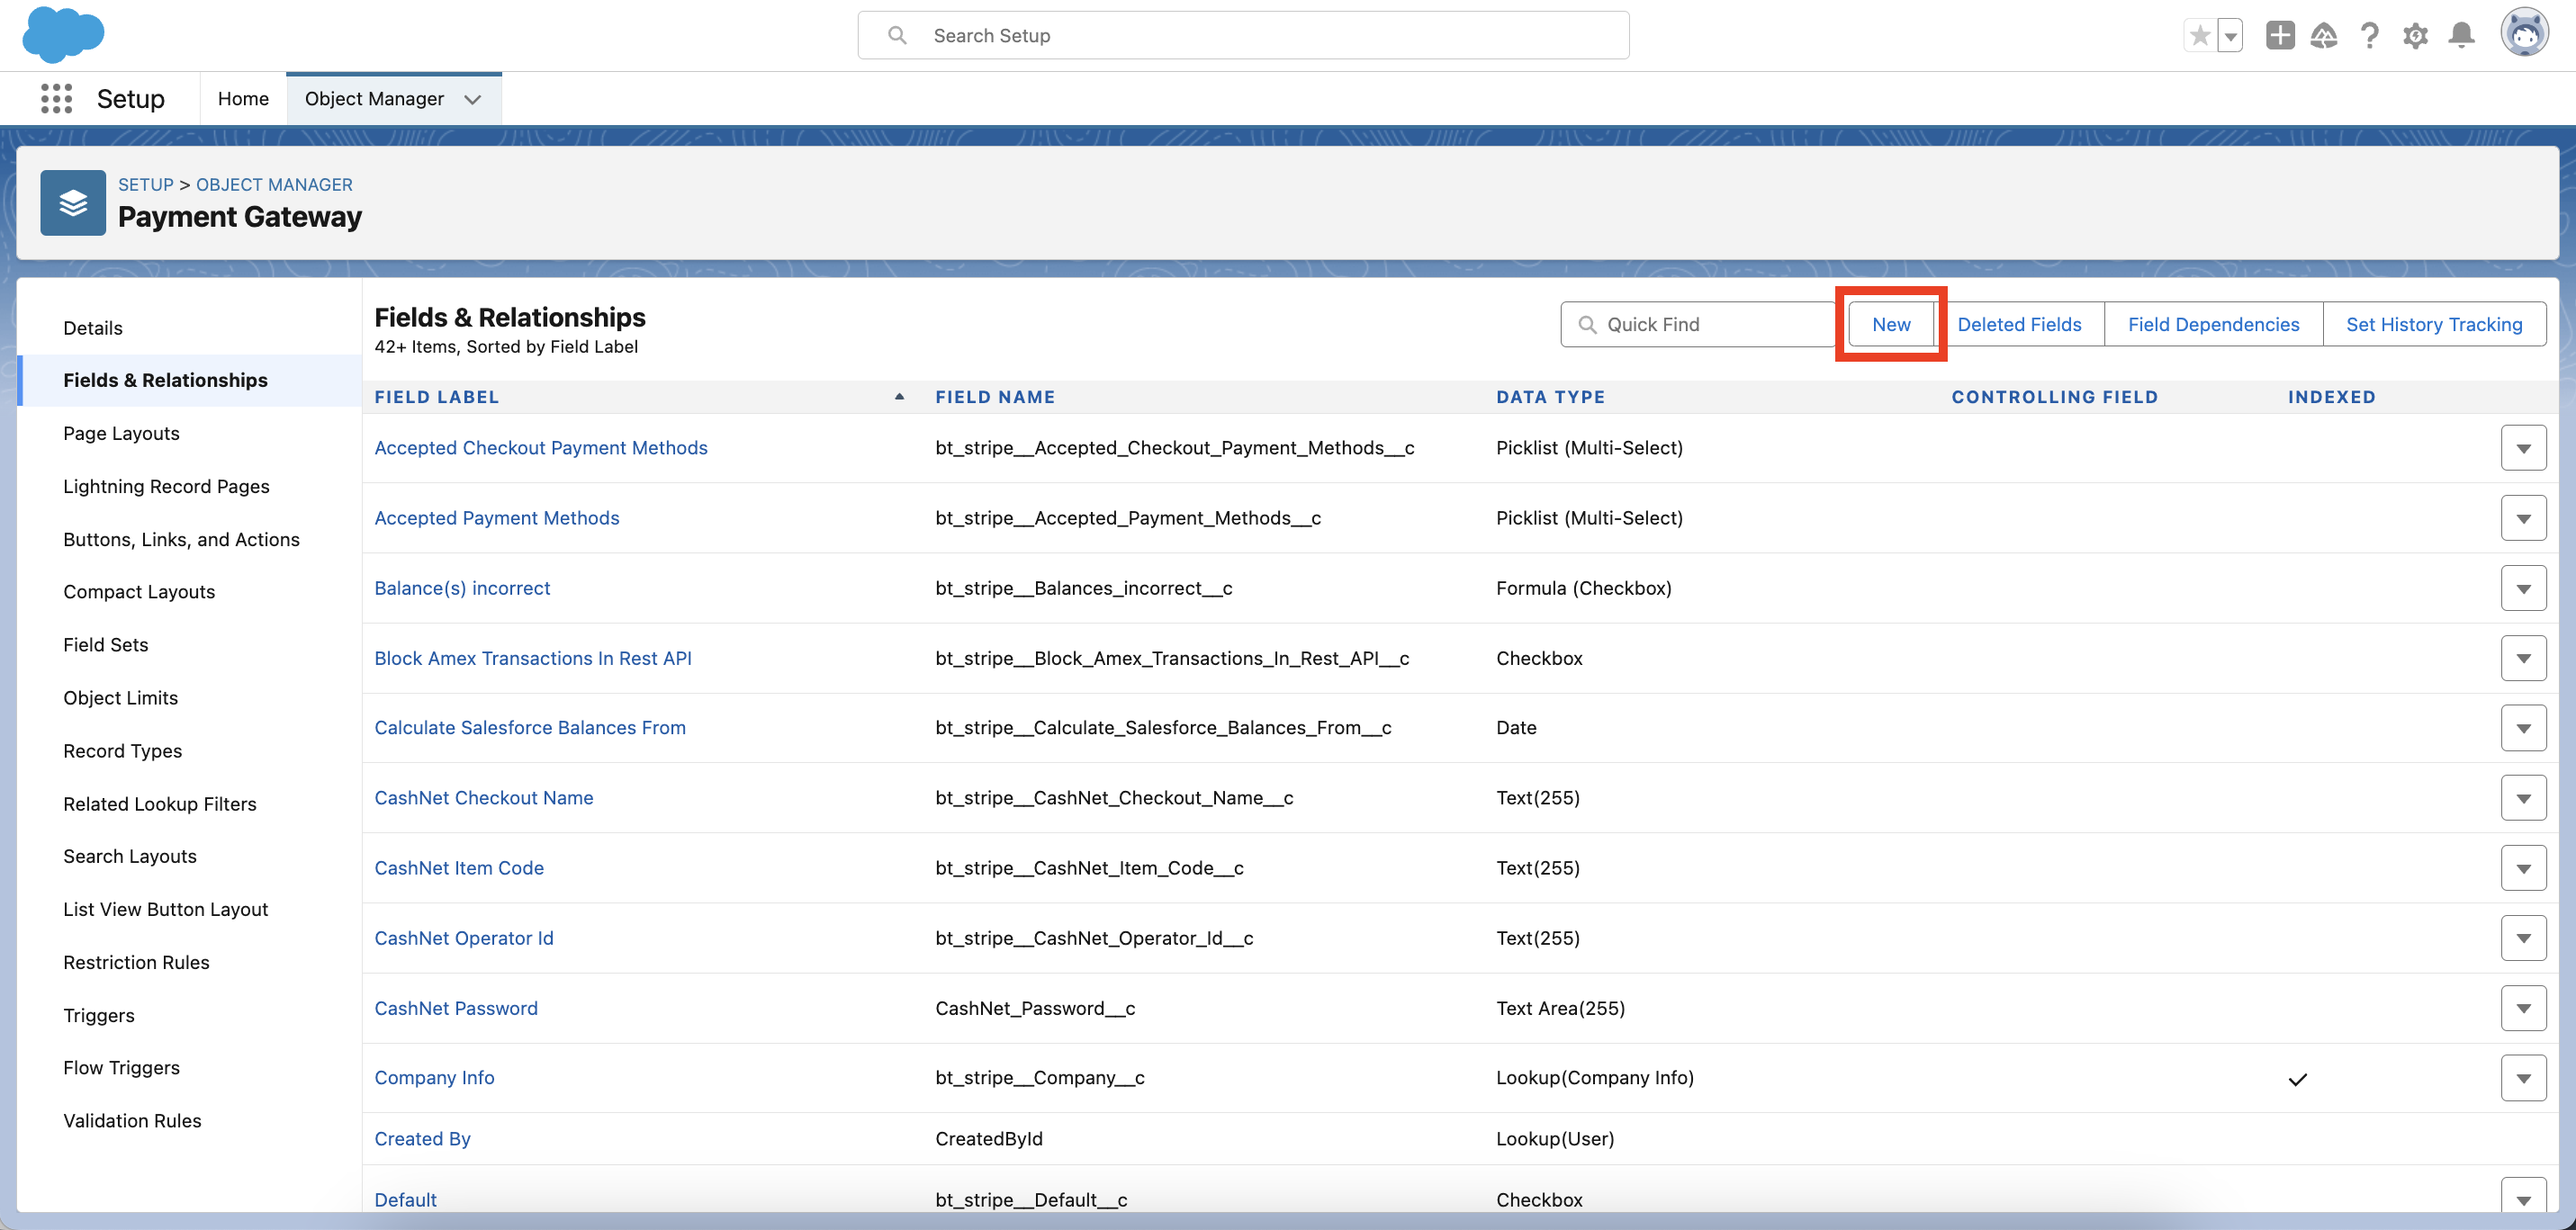
- Select "Text Area."
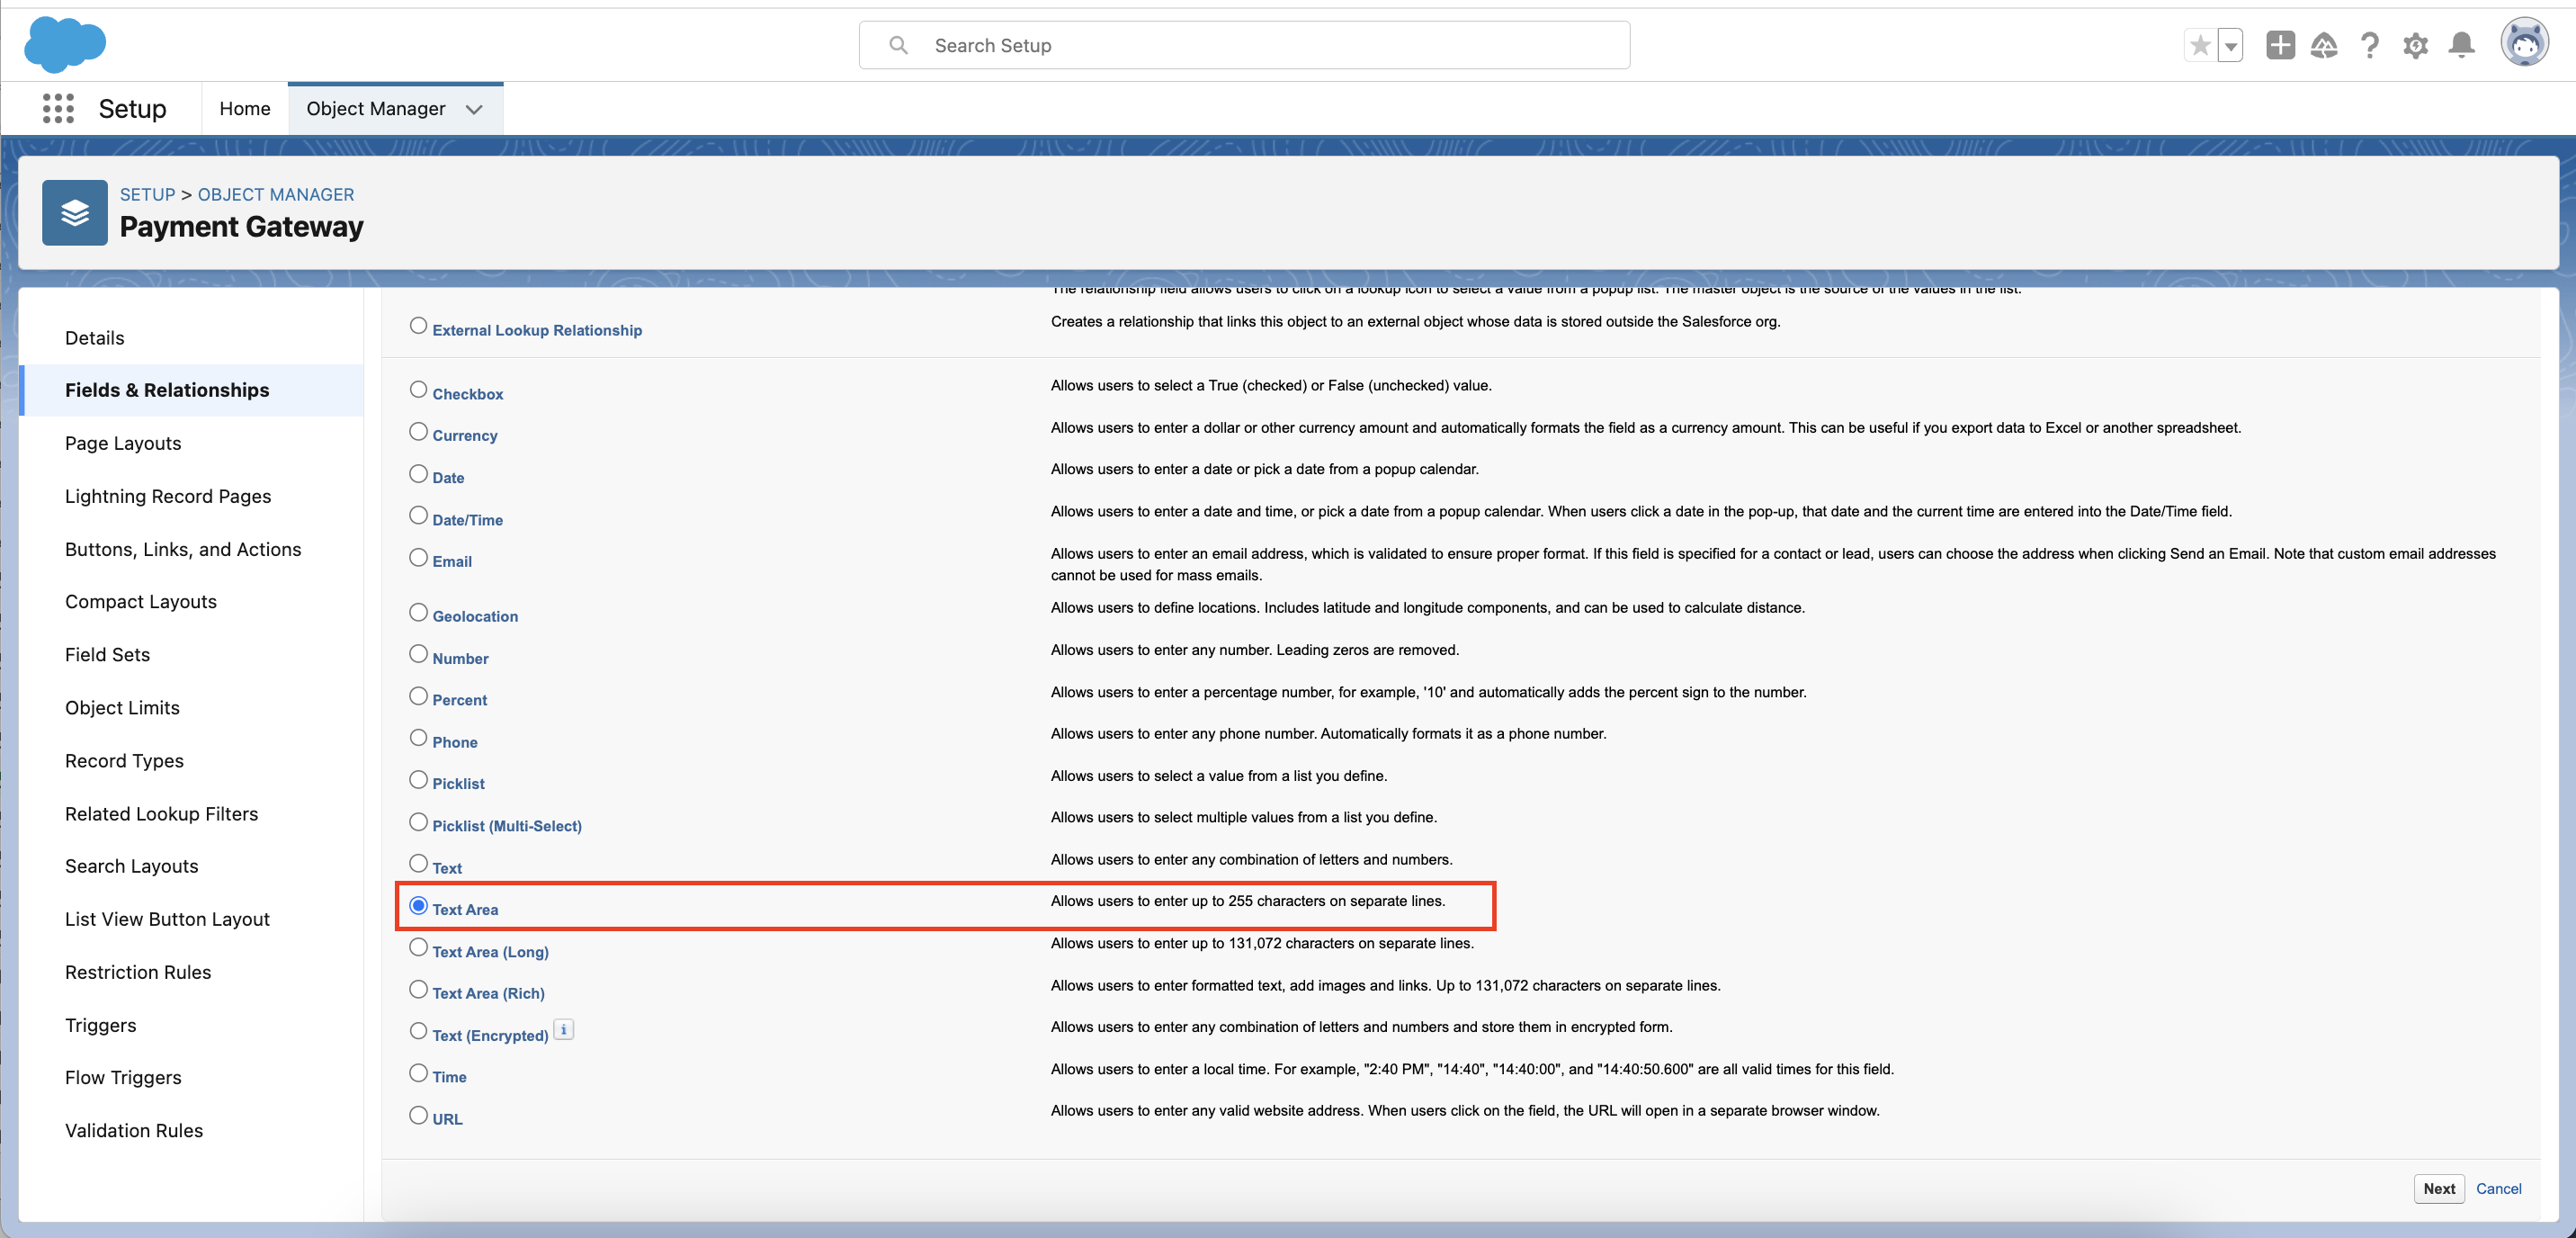
- Click Next.
- Set Field Label = Enter the Field Label value listed above.
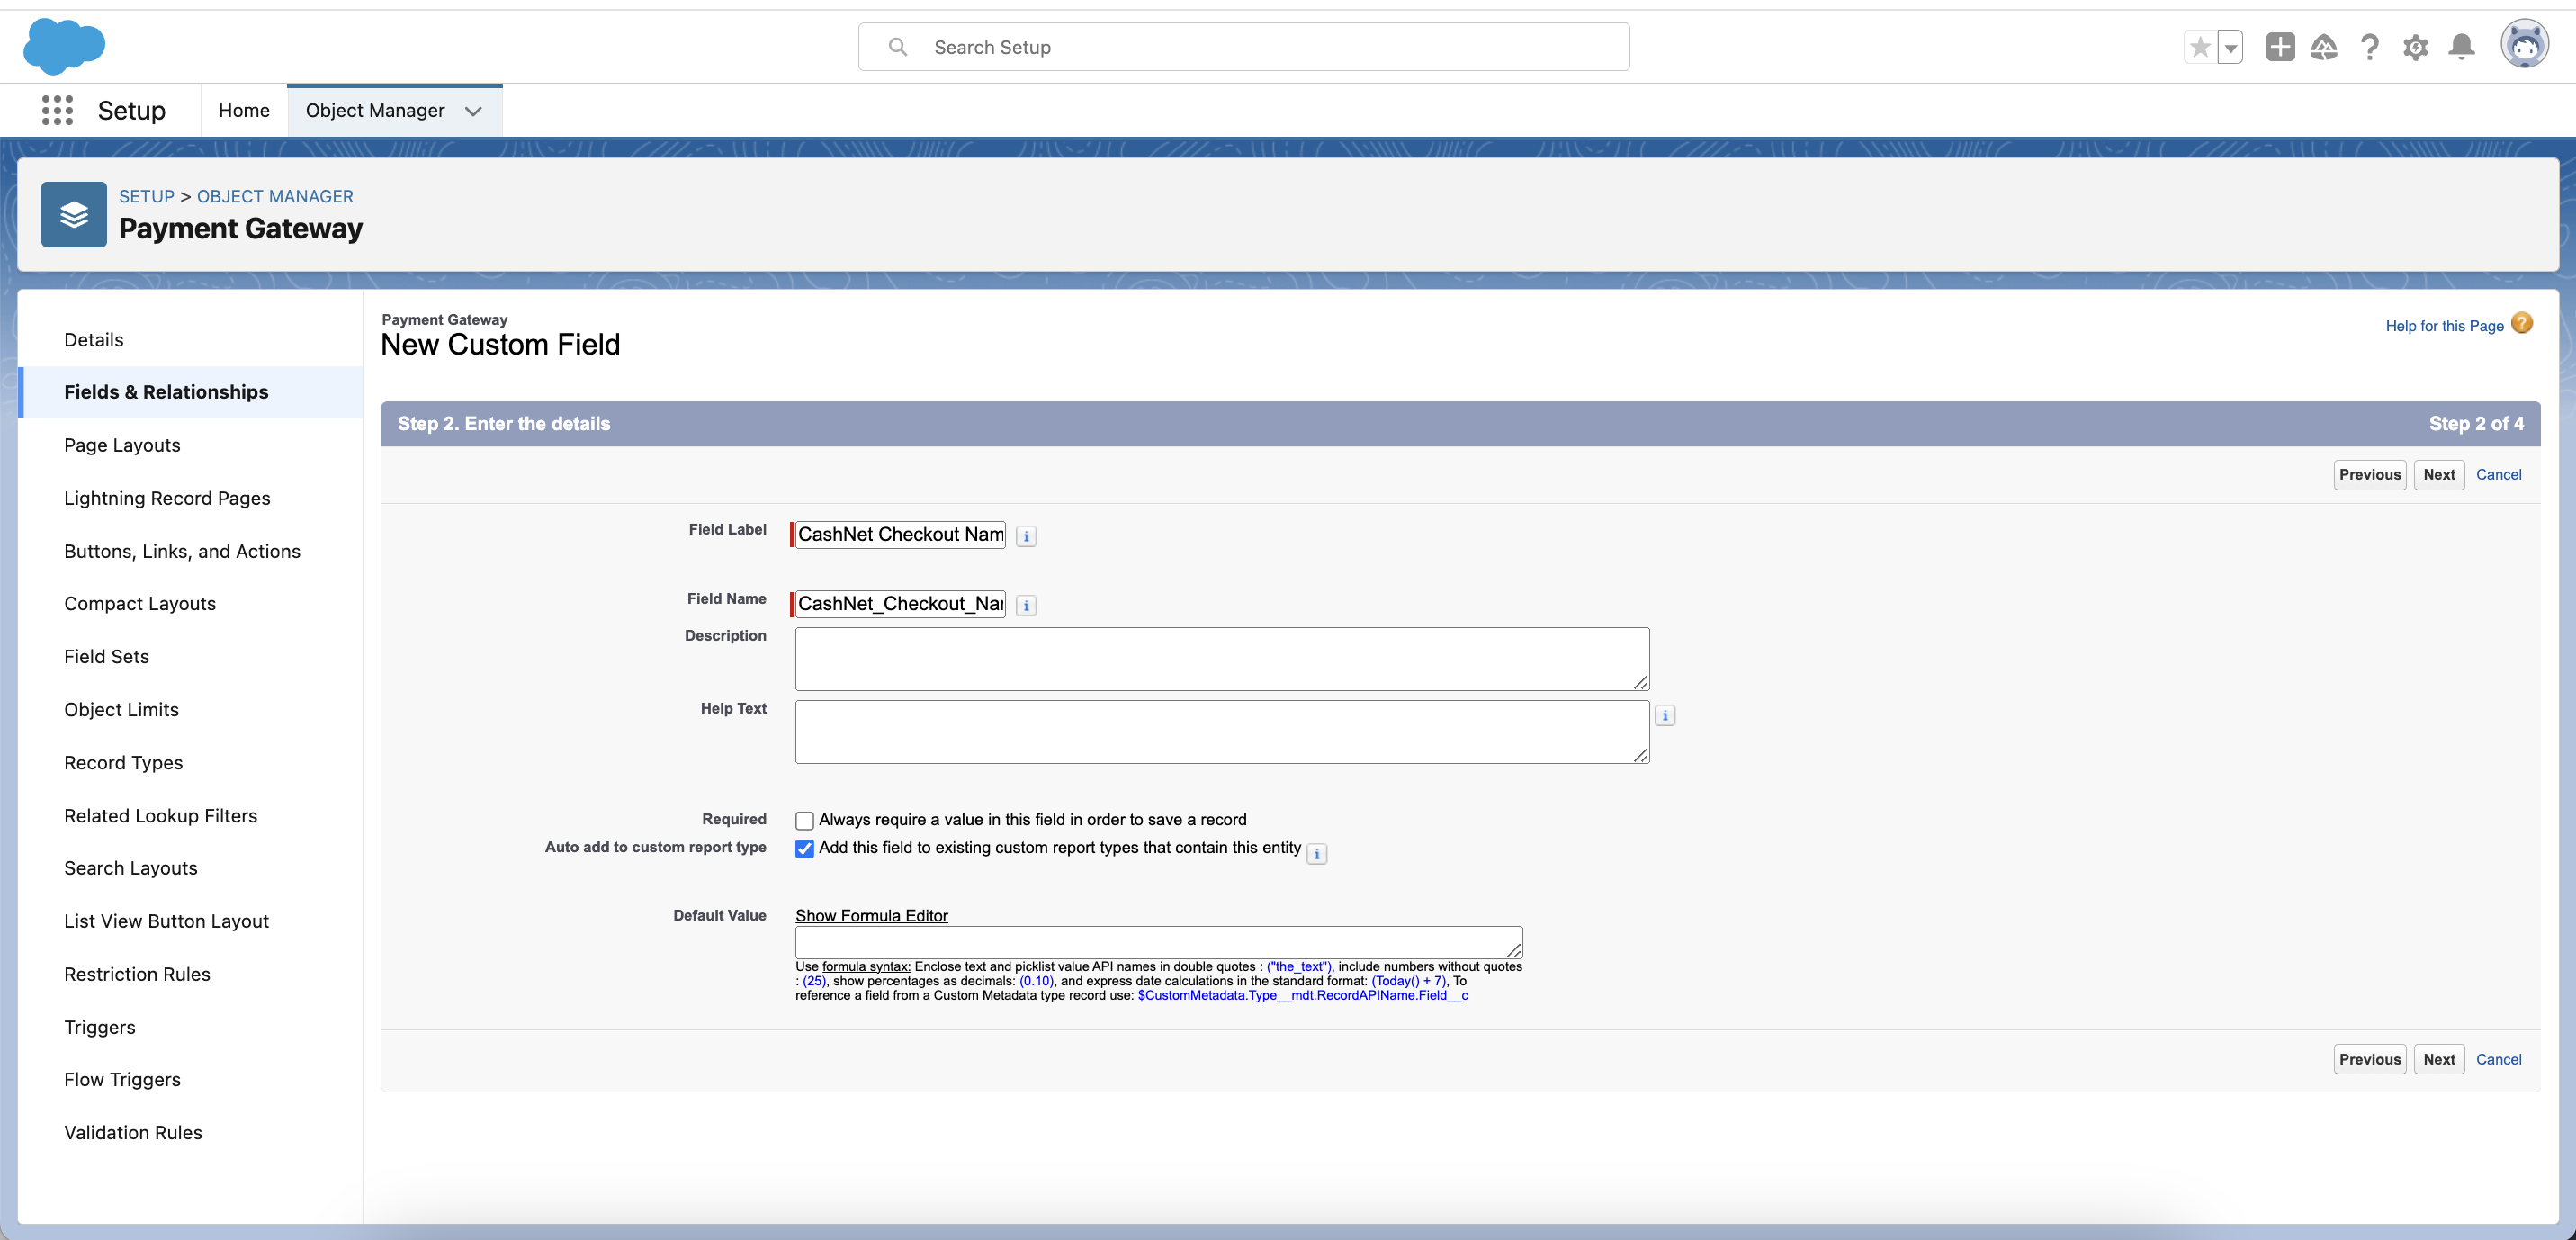
- Enter a Description and/or Help Text.
- Complete the remaining fields based on your requirements.
- Click Next.
- Set the user(s) access to the field.
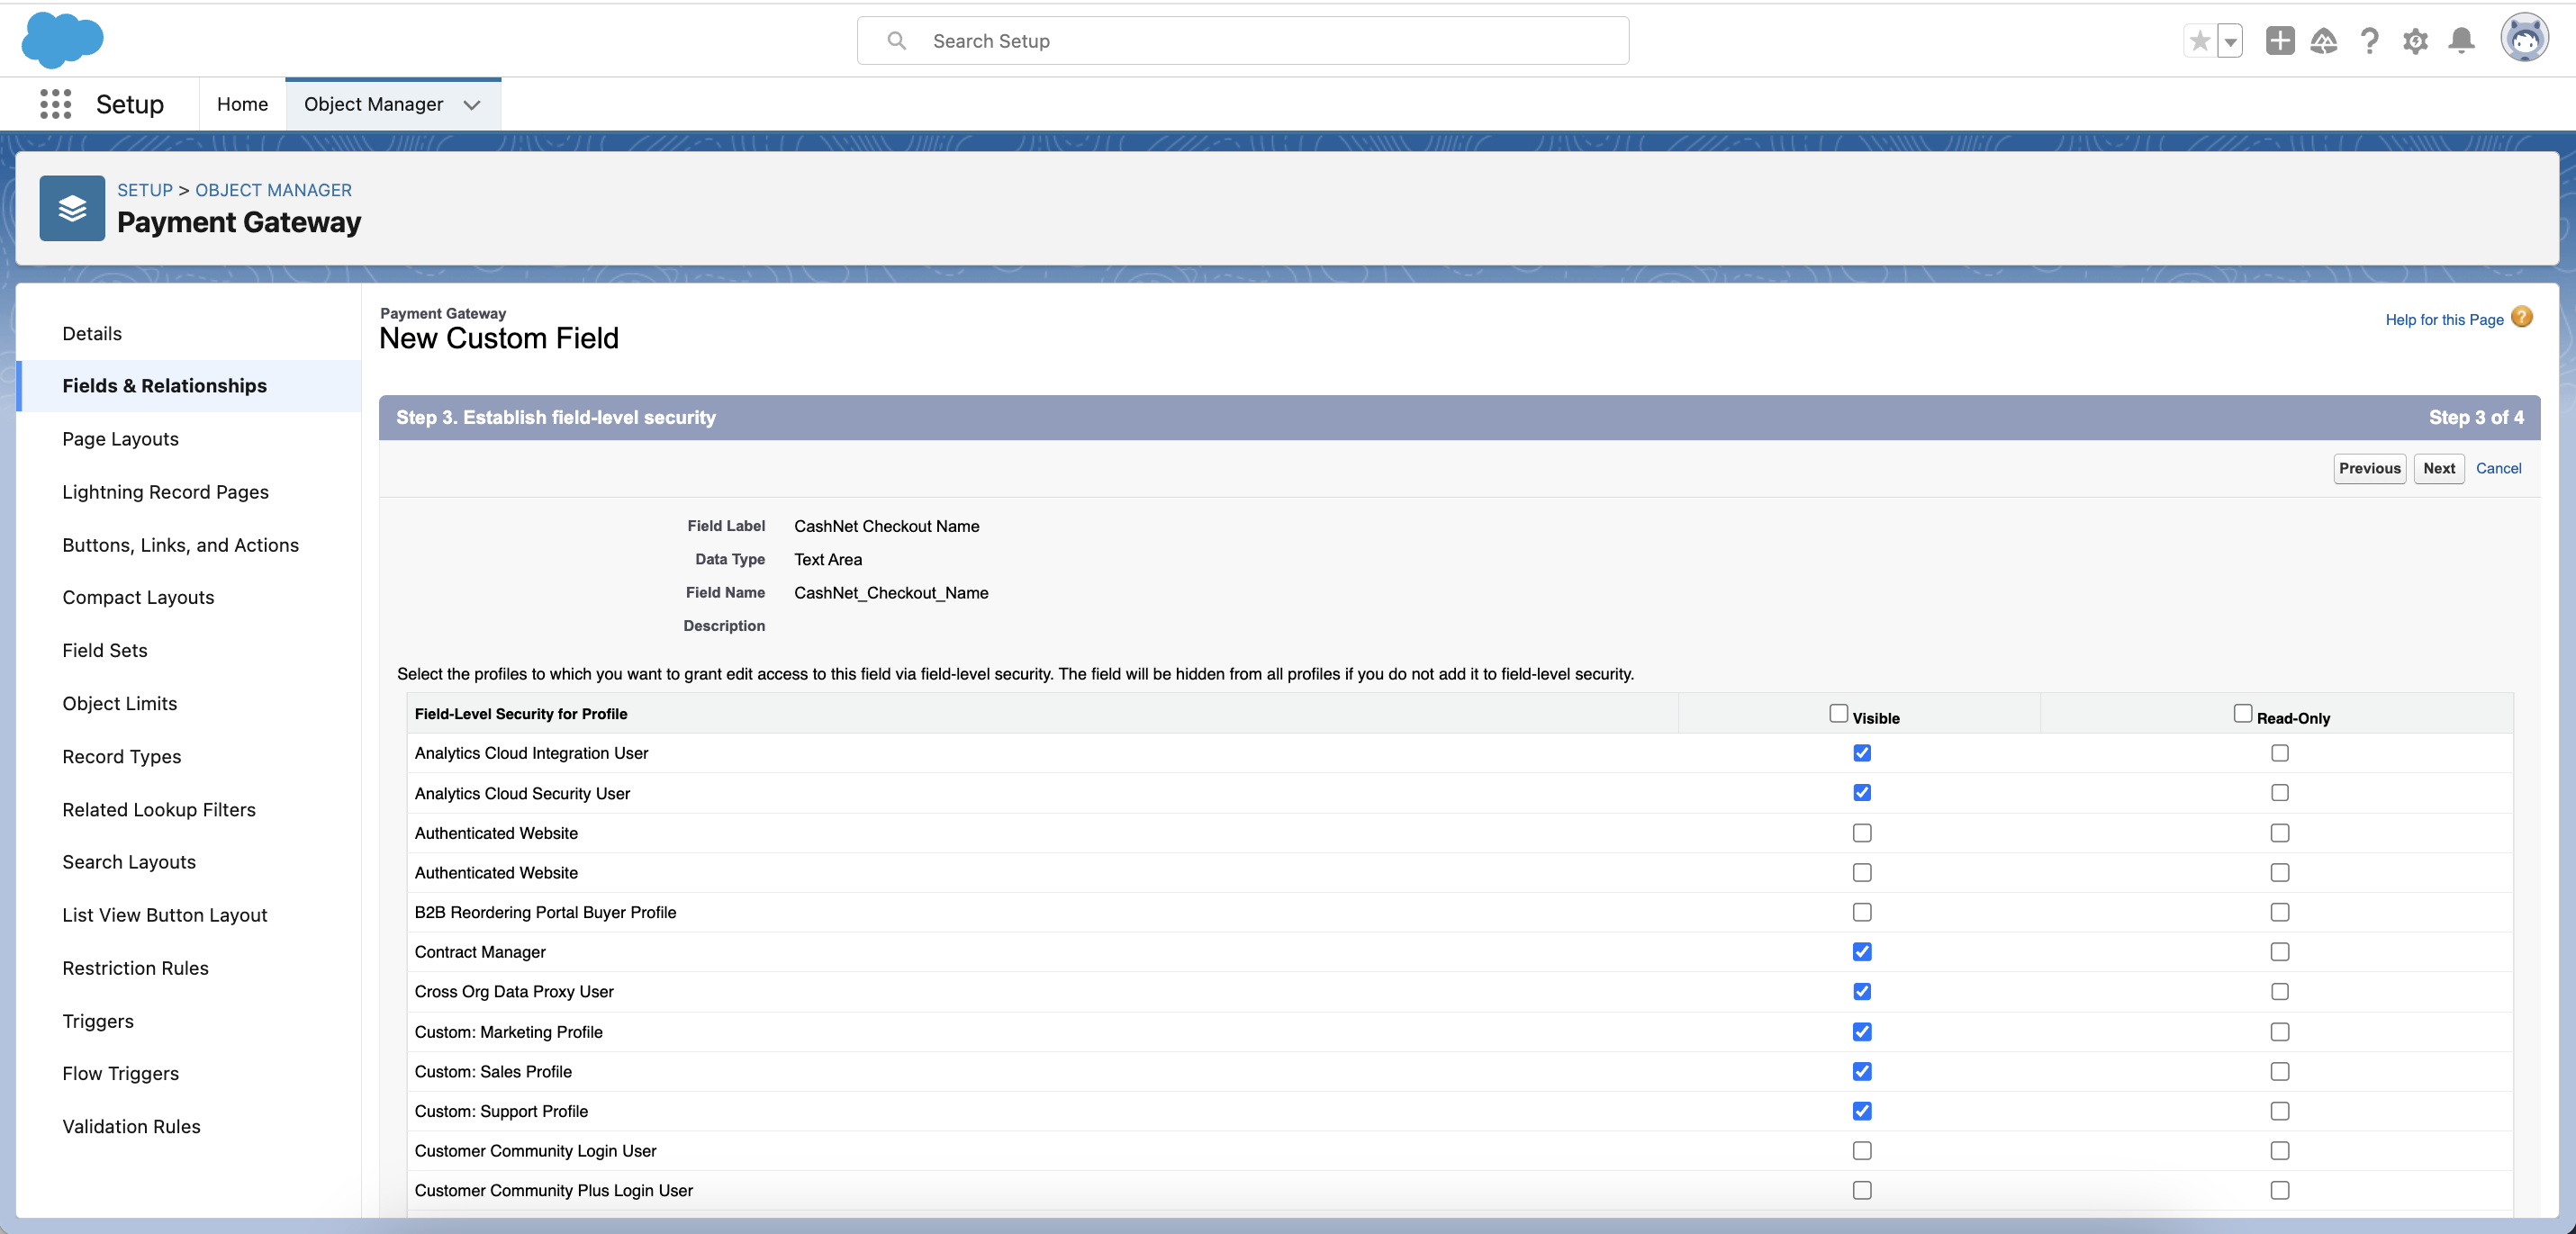
- Click Next.
- Review the new field's information.
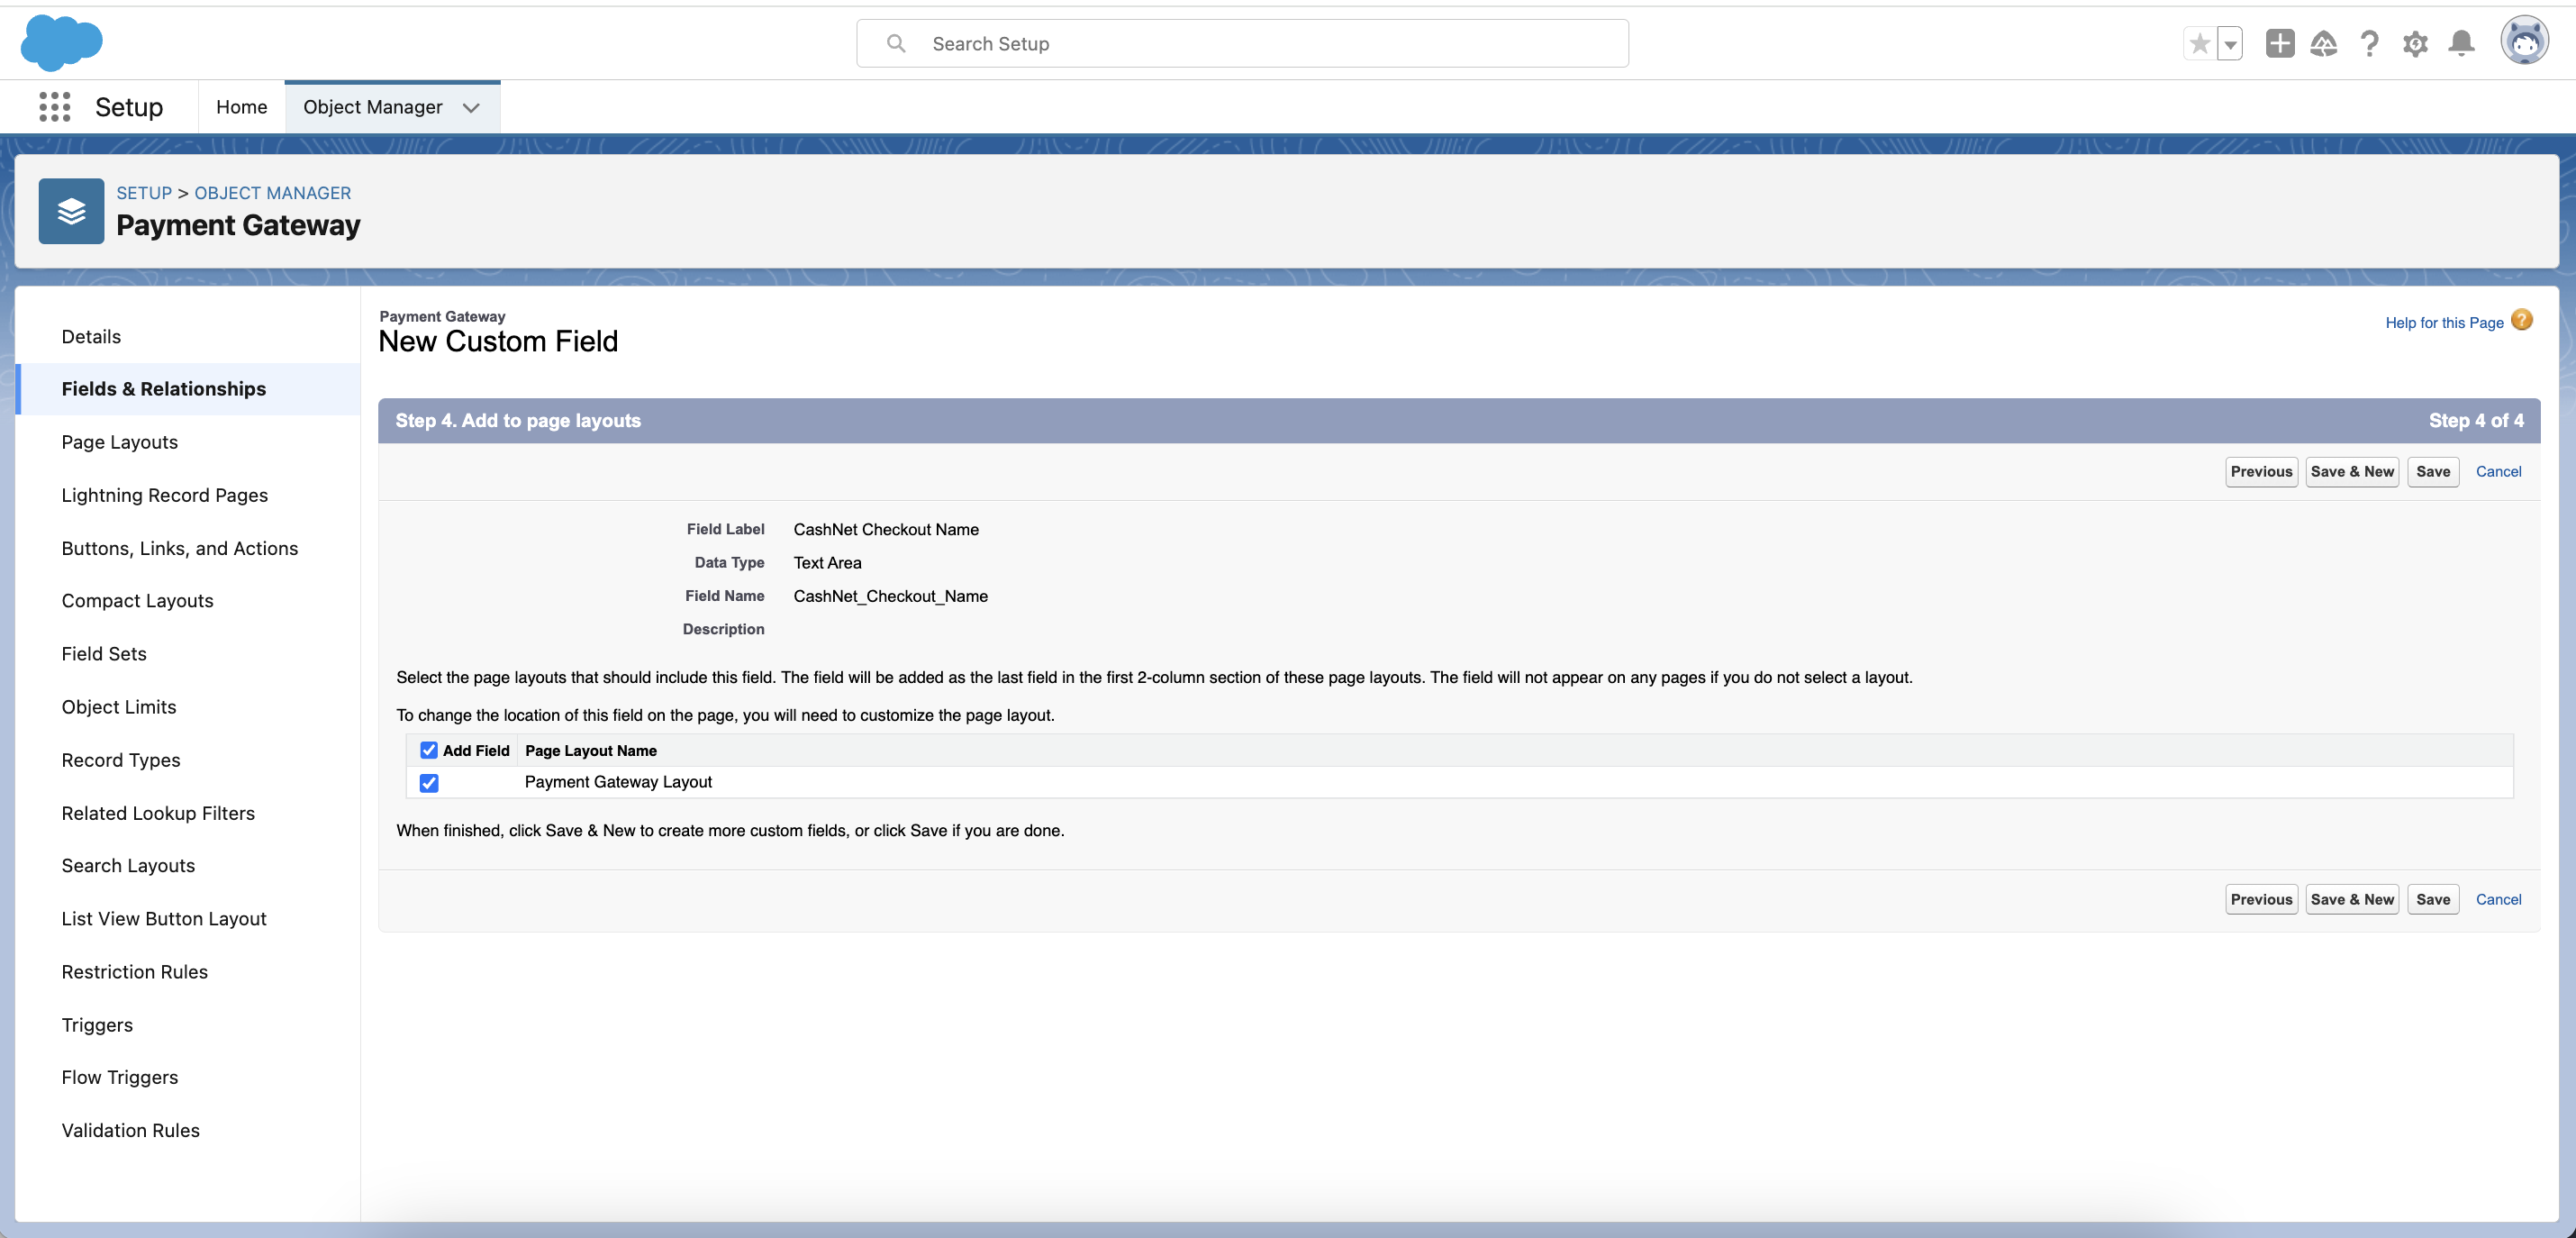
- Click Save.
- Repeat Steps 5 - 16 for each field.
- Go to the Page Layouts tab.
- Click Payment Gateway Layout.
- Drag and drop the four new fields on the page layout.
- Click Save.
Enable Transact (Cashnet) Payment Gateway Support
- Create a new Payment Gateway and set the Provider field to "CashNet".
- Use the Transact (Cashnet) Checkout Name, Item Code, Operator Id, and Password to fill in the corresponding fields in the Payment Gateway.
- Assign the Payment Gateway to a Store.
- Please reach out to Blackthorn Support to enable Transact (Cashnet) for your org.
- Re-provision the org's schema by visiting a Store Page URL and performing a "Hard Refresh".
Set Up the Checkout Store in Transact (Cashnet)
Blackthorn only supports the Checkout Store in Transact (Cashnet). Please make sure to use CashNet eCheckout.
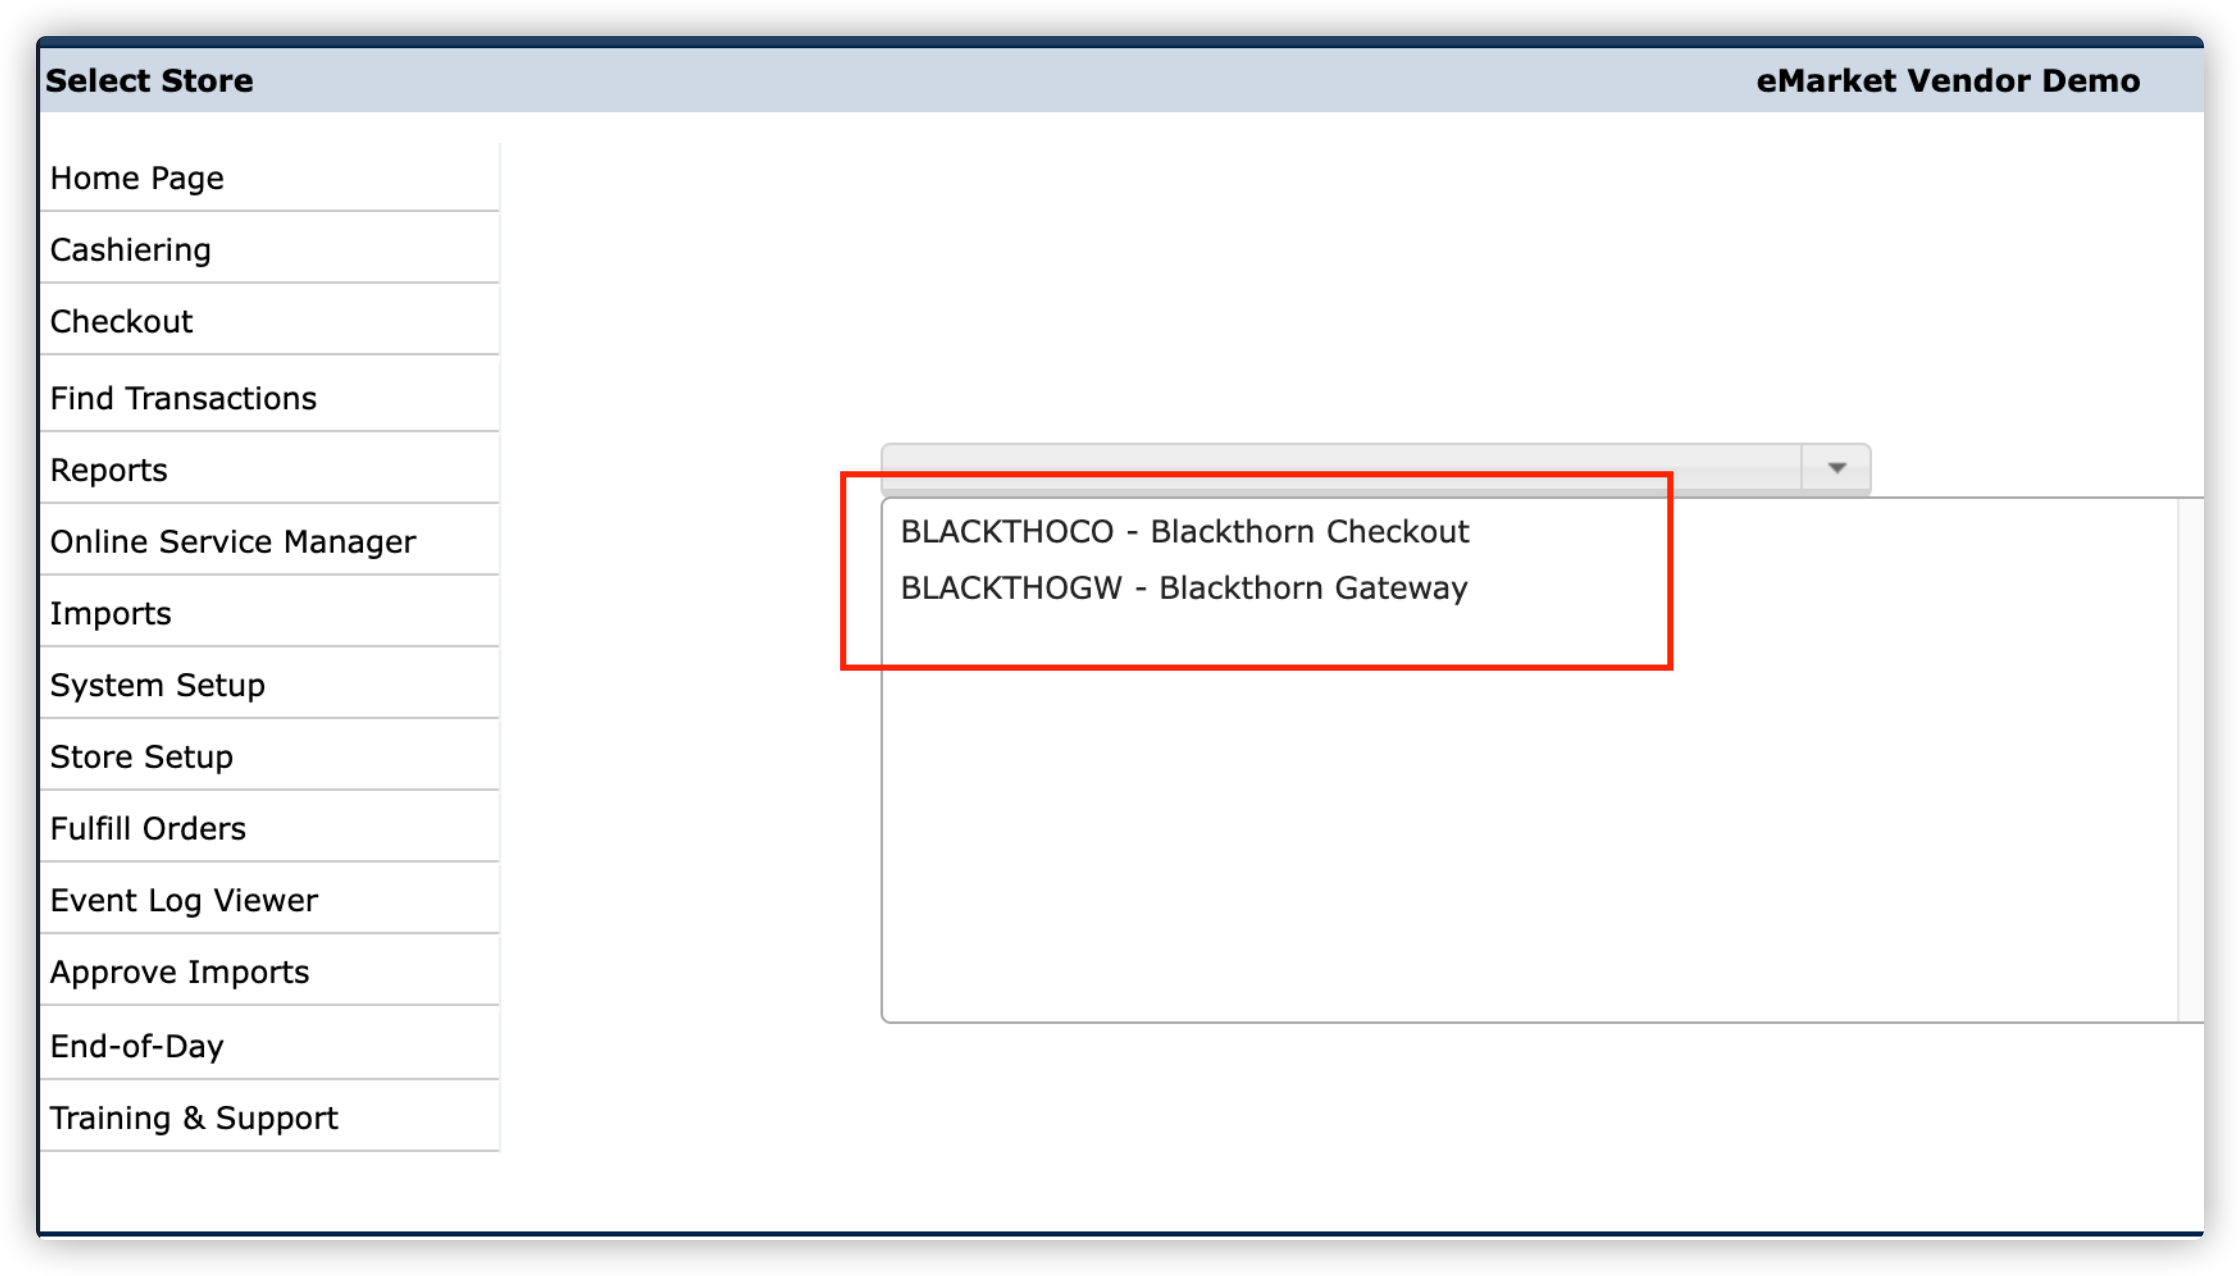
The following setting in Transact (Cashnet) is required for the workflow to work.

Other Helpful Information
What Is Supported
- Card Checkout Only
What Is Not Supported
- Webhook Events
- Virtual Terminal
- Salesforce refunds or charges
- PayLink / DocumentLink
How to Test
For testing purposes, create a Transact (Cashnet) Payment Gateway and use the following values.
Use the Transact (Cashnet) Payment Gateway with any Store/Event and perform a normal (paid) checkout. You should be able to successfully checkout as well as perform failing checkouts that should be handled appropriately.
Use the following test card numbers:
| Card Type | Number | CVV |
|---|---|---|
| Visa | 4111111111111111 | 125 |
| Mastercard | 5454545454545454 | 125 |
| American Express | 343434343434343 | 1250 |