Allocations allow you to distribute funds from a single Transaction to either multiple Invoices or multiple Line Items on one Invoice. For example, when a payment is made for four Invoices using the same Transaction, Allocations help to split the funds across those four Invoices.
Use Cases
- You receive a bulk payment and distribute the payment across multiple Invoices. For example, one $10,000 payment can be applied from one Transaction across multiple Line Items on the same Invoice.
- Auto-create an Allocation record for each Line Item as part of a paid Event checkout.
- Manually create full or partial refund Allocations between a Transaction and one or more Line Items.
Write-Off Allocation Feature
This feature empowers users to define the process for creating write-off Transactions based on their unique requirements. Admins have the flexibility to implement Allocations using a variety of tools including Screen flows, Approval Processes, and other custom workflows to generate write-off Transactions.
Write-off Transactions also provide a way to deduct amounts from an Invoice while maintaining an accurate, individual record of the Transaction. This provides granular level control of how amounts (payments/refunds/write offs) are allocated and recorded for reporting purposes.
How It Works
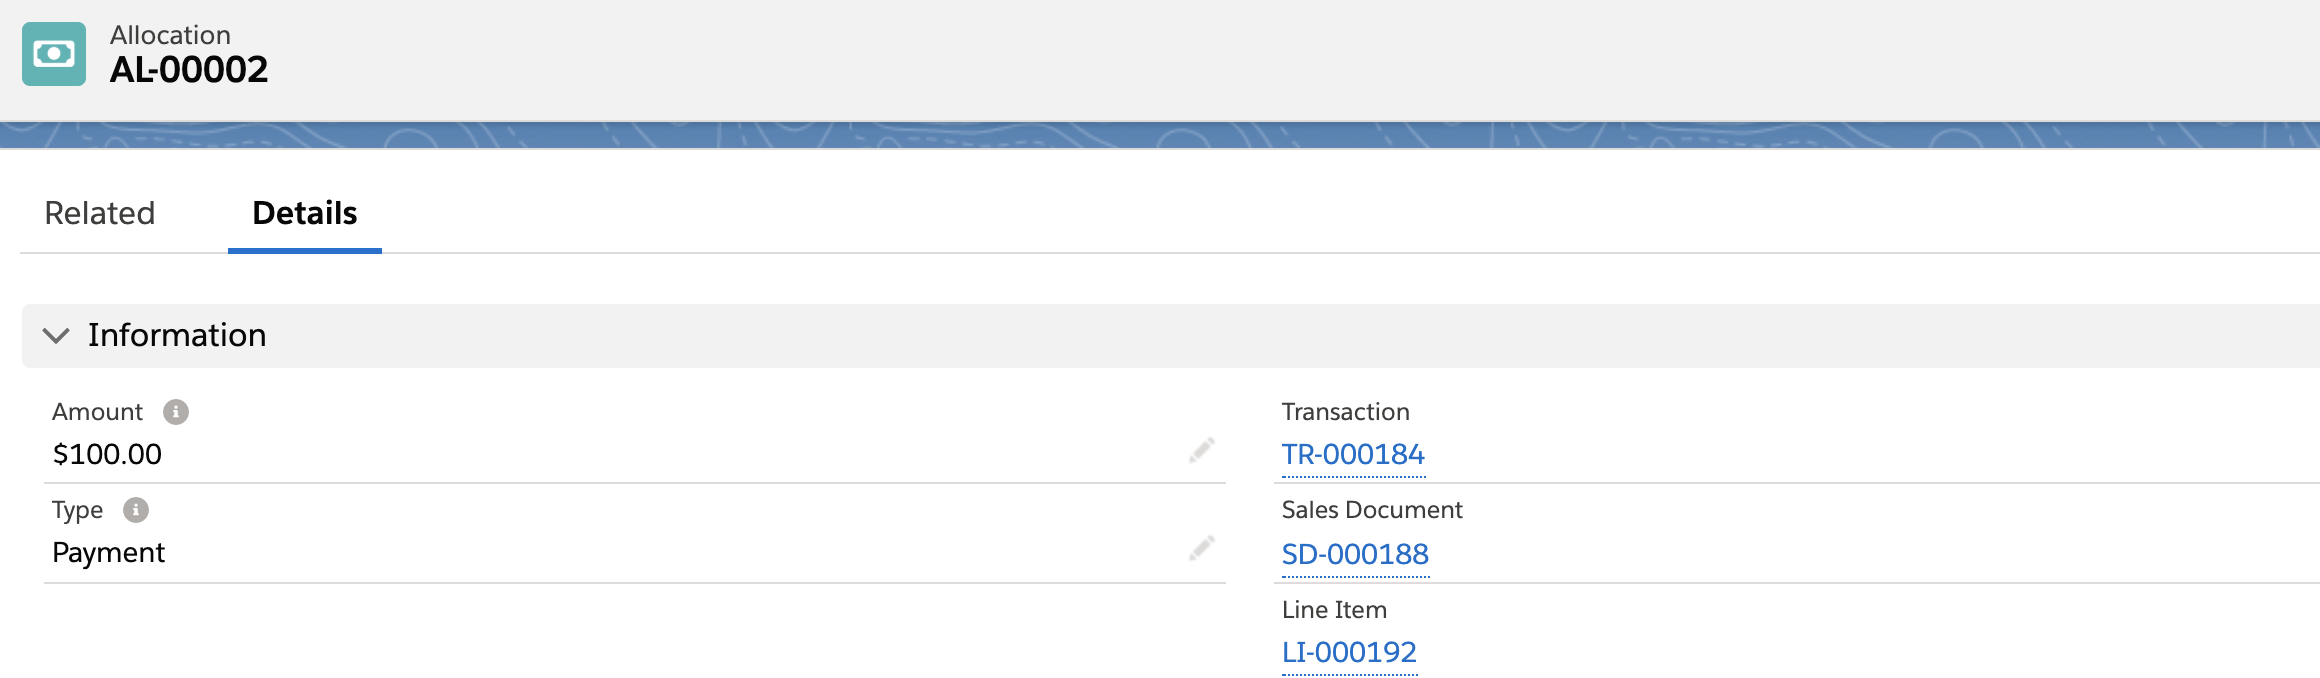
The Allocation object now supports a Transaction with Transaction Type = “Write Off”. When an Allocation record is created, it's related to an Invoice, a Line Item, and a Transaction. The Allocation record represents the allocation of a partial amount of the total Transaction Amount to a particular Line Item on an Invoice.
The Invoice object also includes the Write Off Amount field which automatically adds up all the write-off Transactions associated with each Invoice. The write-off total is also considered when calculating the Invoice roll-up field values in the Totals and Financials section of the Invoice page layout.
New Fields
- Invoice object: Write Off Amount field
- Field Label: Write Off Amount
- API Name: bt_stripe__Write_Off_Amount__c
- Description: If write-off Transactions are related, then this field is automatically populated. If no write-off Transactions are present, then this field will be blank.
- Line Item object: Amount Written Off field
- Field Label: Amount Written Off
- API Name: bt_stripe__Amount_Written_Off__c
- Description: Auto-populates when a write off Allocation is related to Line Item.
Parent Object Relationship
Allocations are related to Invoice, Line Item, and Transaction objects. The Allocation's Invoice lookup field is automatically populated by the Line Item's Invoice field. This connection relates the Allocation record to the Line Item, Invoice, and the Transaction that paid for the Invoice.
With the addition of the write-off Allocation, the following updates will be made when an Allocation record is created.
- The related Line Item fields will be updated.
- Amount Written Off
- Balance Due = Total - (Balance Paid + Amount Written Off)
- The related Invoice field will be updated.
- Allocation Rollup field = Line Item Balance Paid - (Line Item Amount Refunded + Line Item Amount Written Off)
- The Line Item’s Balance Due field updates to reflect changes to Line Item fields, including Unit Price, Quantity, and Write Off Amount.
Allocation Rollup Calculations
The following calculations include write-off amounts and the new fields on the Invoice and Line Item records.
Balance Paid
When Allocation Type = "Payment" is associated with a Line Item object, the value is automatically rolled up to the Line Item’s Balance Paid.
Amount Refunded
When Allocation Type = "Refund" is associated with a Line Item object, the value is automatically rolled up to the Line Item’s Amount Refunded.
Amount Written Off
When Allocation Type = "Write Off" is associated with a Line Item object, the value automatically rolled up to the Line Item’s Amount Written Off.
Balance Due
Line Item Balance Due = Line Item Total - (Line Item Balance Paid + Line Item Amount Written Off)
Retained Amount
Line Item Retained Amount = Line Item Balance Paid - (Line Item Amount Refunded)
Total
Line Item Total = Line Item Net + Line Item Tax - Line Item Write Off Amount
Allocation Rollup
Invoice Allocation Rollup = (the sum of all Allocation Type = “Payment”) – (The sum of all Allocation Type = “Refund” + the sum of all Allocation Type = “Write off”)