Account Registration (Production)
- 15 Aug 2024
- 2 Minutes to read
- Print
- DarkLight
Account Registration (Production)
- Updated on 15 Aug 2024
- 2 Minutes to read
- Print
- DarkLight
Article summary
Did you find this summary helpful?
Thank you for your feedback
After you've completed the installation steps, it’s time to activate your Blackthorn Messaging account. When we say "activation," we are referring to a one-time process that will create a Messaging account and link it to your Salesforce org.
Go to the Messaging Administration tab.
You will see a dialog that asks if you already have a Messaging account. Click No, I need an account to indicate that you do not have a Messaging account.
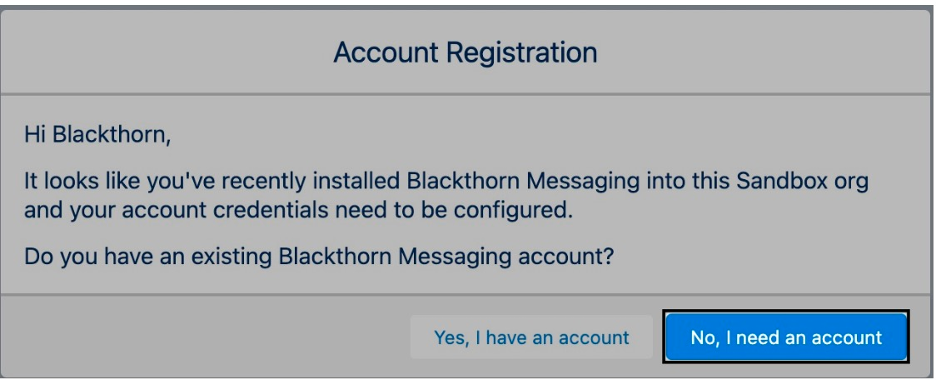
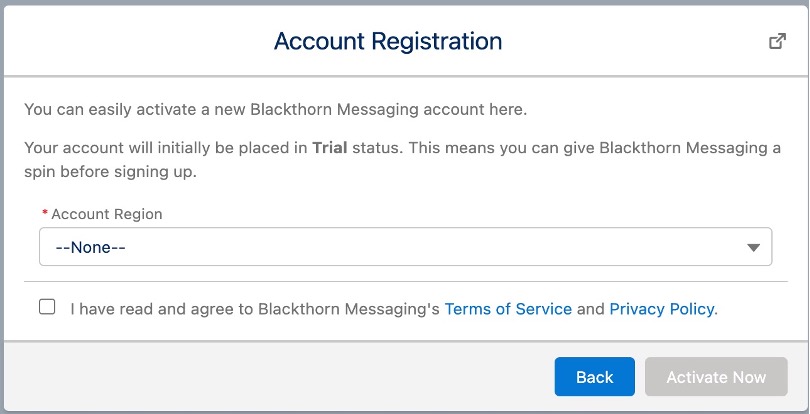
This will open the Account Registration dialog box.
- Set
Account Region= “United States (US1)”. - Review our Terms of Service and Privacy Policy.
- Click the
I have read…checkbox. - Click Activate Now.
- Set
Click Yes, I have an account.
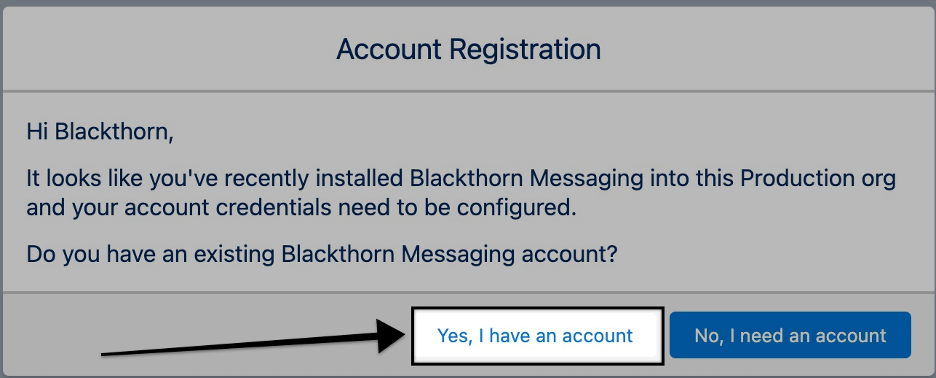
Set
Account Region= “United States (US1)”.Contact Blackthorn Support for the Account Number & API Key.
Once you have the Account Number & API Key, enter them in the
Account NumberandAPI Keyfields.Click Save. Your account is now registered and activated.

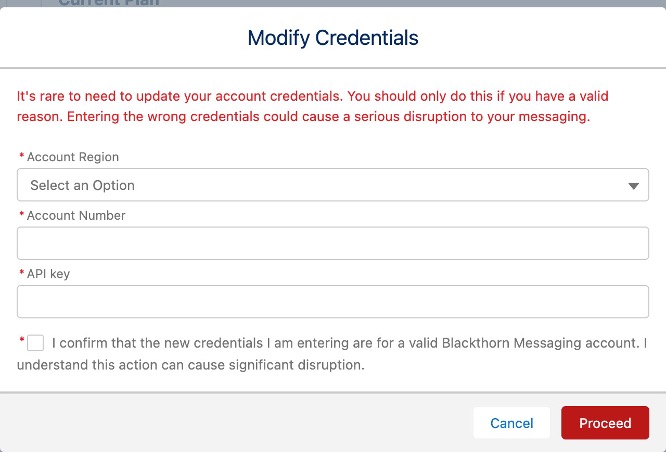
To change the credentials, click the Change Credentials button.
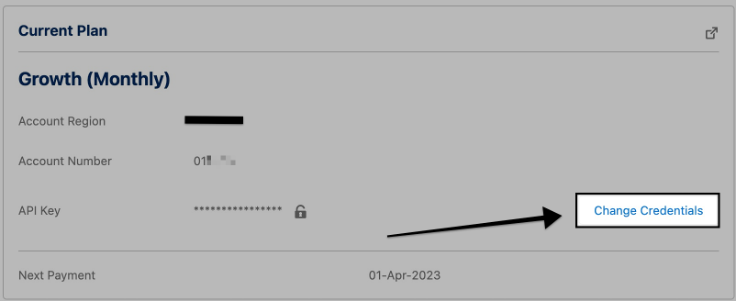
Update the fields as needed and click Proceed.


Congratulations! Your Messaging account has been created and placed in Trial status.
What is the Trial status?
When your account is initially created, it is placed in "Trial" status. This allows you to provision one phone number and send/receive fifty (50) text messages. You will have access to all the existing features. After you exhaust the available 50 text messages you can upgrade to a paid plan using the Upgrade button located on the Messaging Administration page.
Demo Phone Numbers
View the Demo Phone Number
The demo phone number is in the managed Phone Number section. To create a demo phone number, click the Create Record button. You cannot add Call Forwarding or add more phone numbers to the list of provided numbers.
Send the First Outbound Message
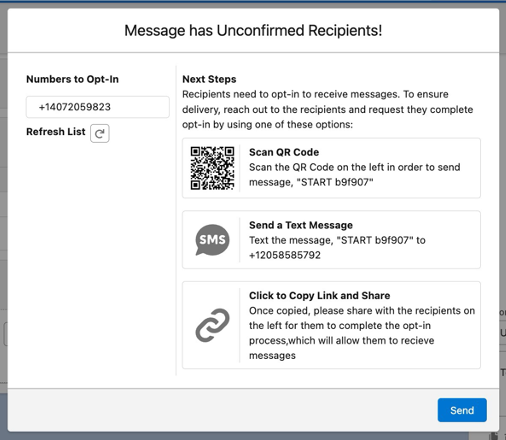
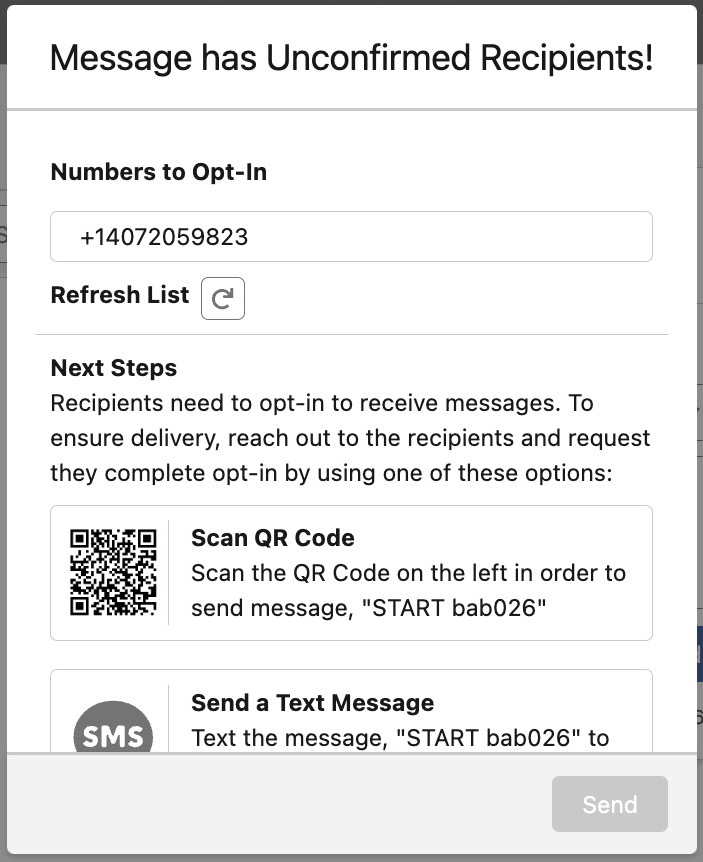
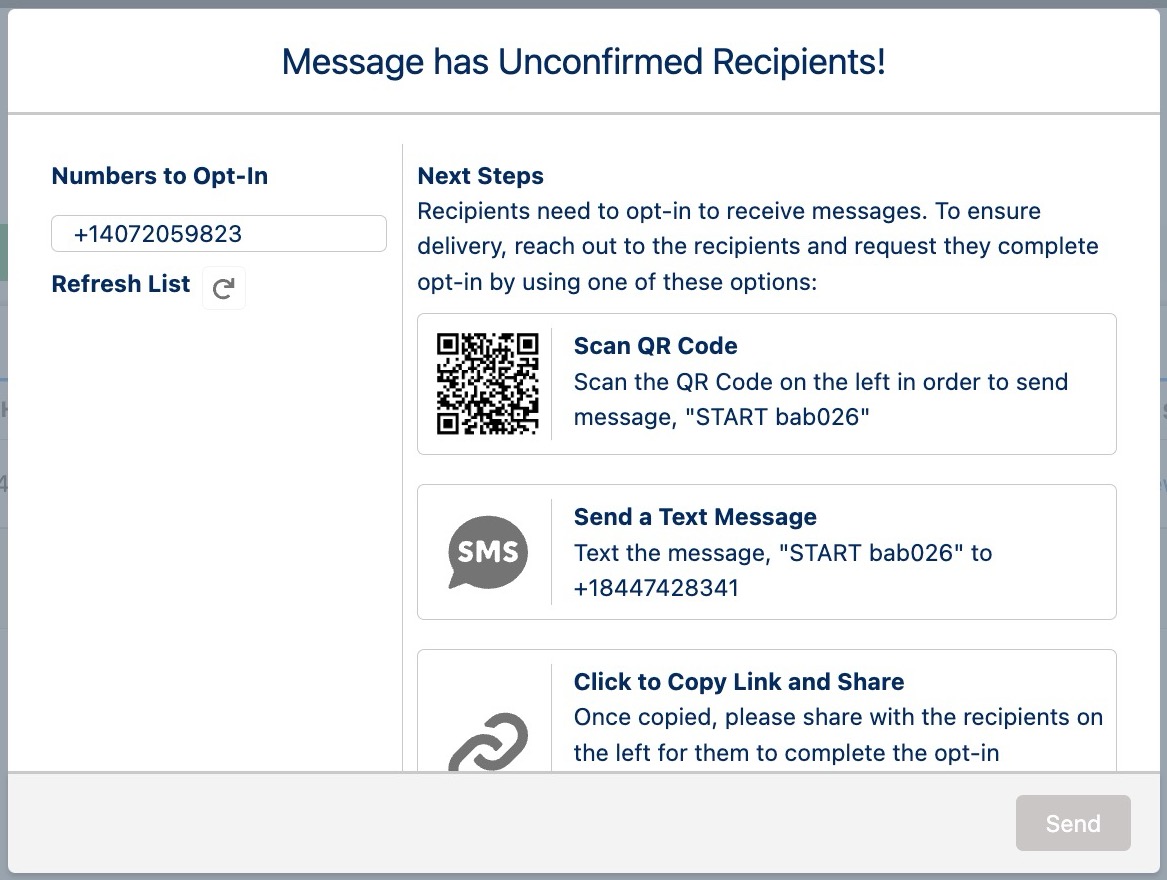
The recipient must subscribe to the phone number before the user can send the first outbound message.
Share Required Information
Customers must share the following information with a recipient before the recipient can subscribe to the phone number.
- RLC
- NMC
- Bulk


Validation Errors
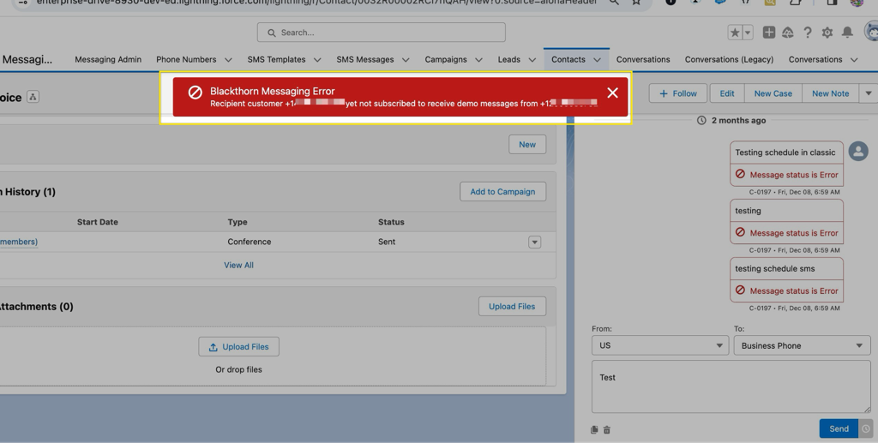
- Send a Single Message
- If a user sends a message without the recipient subscribing to the number, then the user will receive the following error message. “Recipient customer +1XXXXXXXXXX yet not subscribed to receive demo messages from +1XXXXXXXXXX”
- If a user sends a message without the recipient subscribing to the number, then the user will receive the following error message. “Recipient customer +1XXXXXXXXXX yet not subscribed to receive demo messages from +1XXXXXXXXXX”
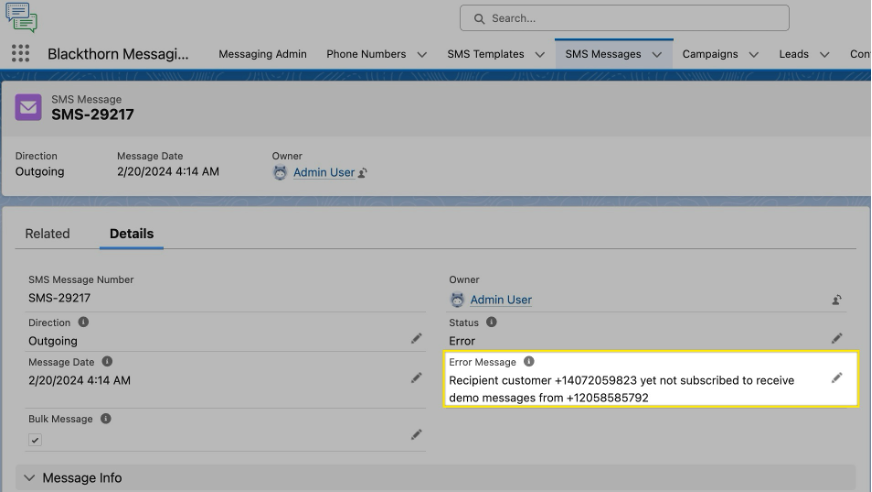
- Send Bulk Messages
- If a user sends a Bulk SMS message without the recipient subscribing to the number, the user will see the following error message in each SMS Message record. “Recipient customer +1XXXXXXXXXX yet not subscribed to receive demo messages from +1XXXXXXXXXX”
- If a user sends a Bulk SMS message without the recipient subscribing to the number, the user will see the following error message in each SMS Message record. “Recipient customer +1XXXXXXXXXX yet not subscribed to receive demo messages from +1XXXXXXXXXX”
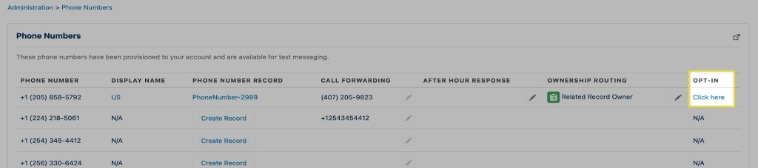
- Opted-in Numbers
- Users can see which phone numbers have opted-in for the demo number by going to the Messaging Admin tab and clicking the Phone icon.
- Users can see which phone numbers have opted-in for the demo number by going to the Messaging Admin tab and clicking the Phone icon.


Purchase the Demo Number
Users can purchase a new number once they upgrade their trial account to a paid license. At that point, the following will occur.
- The demo number will be removed from the Messaging Admin page.
- Recipients will be unsubscribed from the demo number.