Create a Store
- 29 Apr 2024
- 2 Minutes to read
- Print
- DarkLight
Create a Store
- Updated on 29 Apr 2024
- 2 Minutes to read
- Print
- DarkLight
Article summary
Did you find this summary helpful?
Thank you for your feedback
The Store’s header will contain the Store Name, a search box, the Cart, and the Language Selector (if using).
Follow the steps below to use the Store Builder to create a Store.
Navigate to the “Blackthorn | Storefront (Admin)” app via the app launcher.
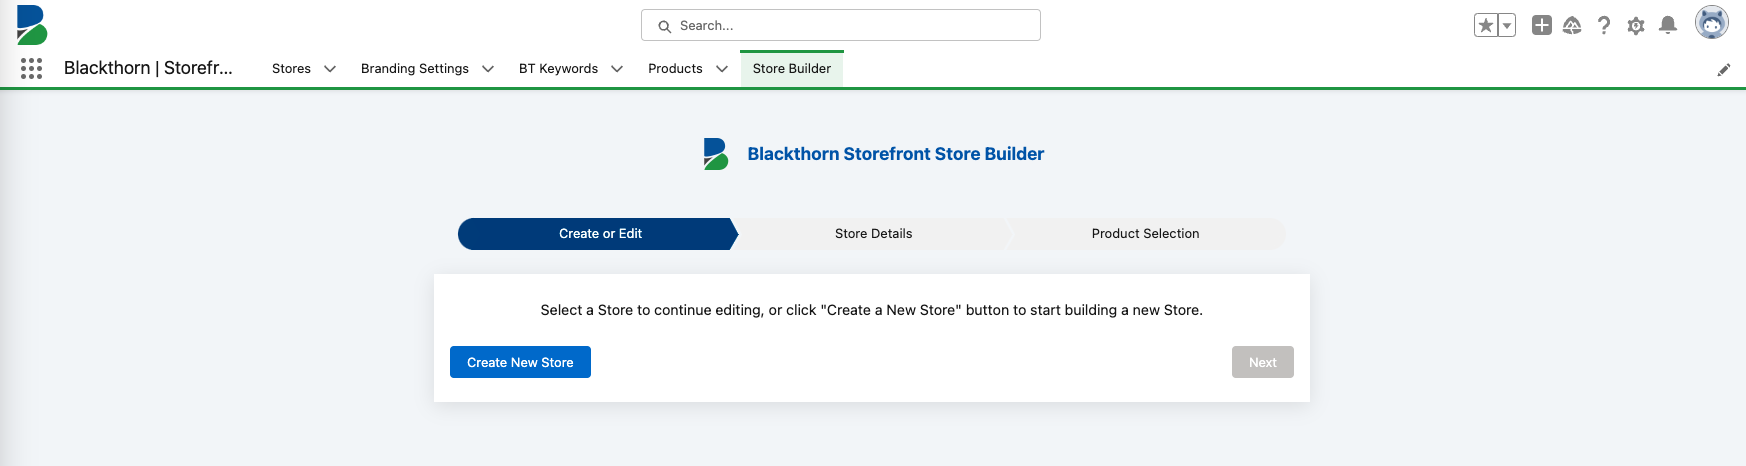
Click the Blackthorn Store Builder tab.
Click Create New Store.
Enter the following Store details.
- Store Name (required)
- Payment Gateway (required)
- Featured Keyword Select an existing BT Keyword or click + Create New to create a new one.
If a Featured Keyword is added, then there must also be a value in the Max Featured Products field. - Branding Setting Name (required) Select an existing Branding Settings or click + Create New to create a new one.
- Max Featured Products
- Click Upload Hero Image to upload the Store's hero image.
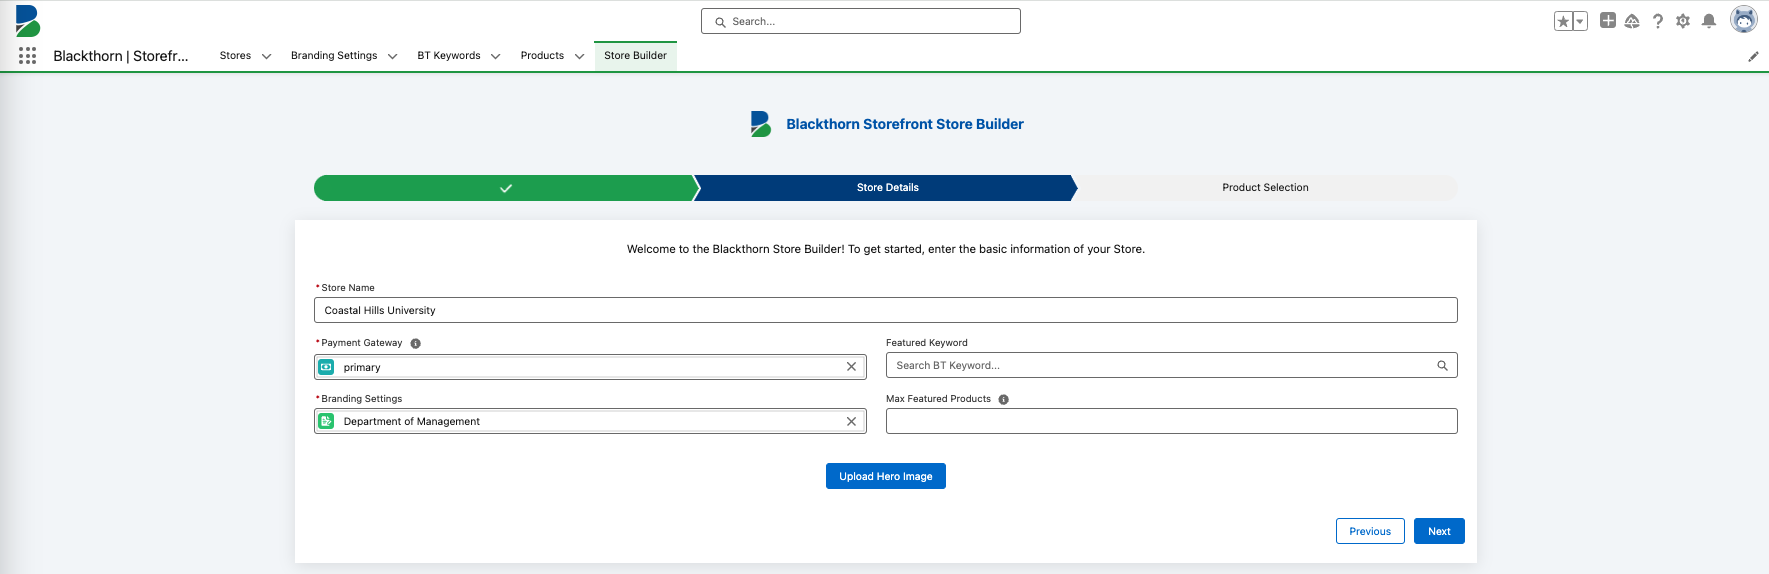
Click Next.


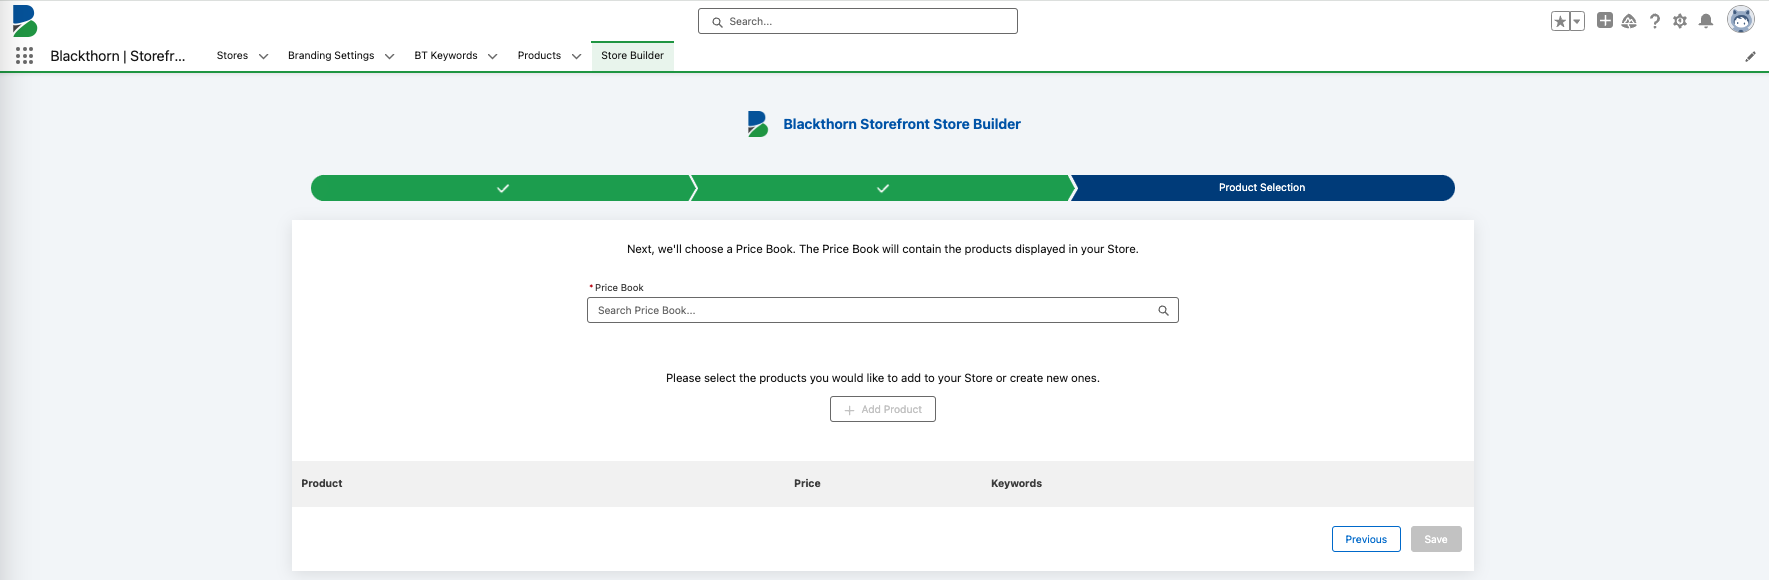
Add a Price Book
Select an Existing Price Book
Select a Price Book (required).
Check the box next to the Product(s) you want to add.
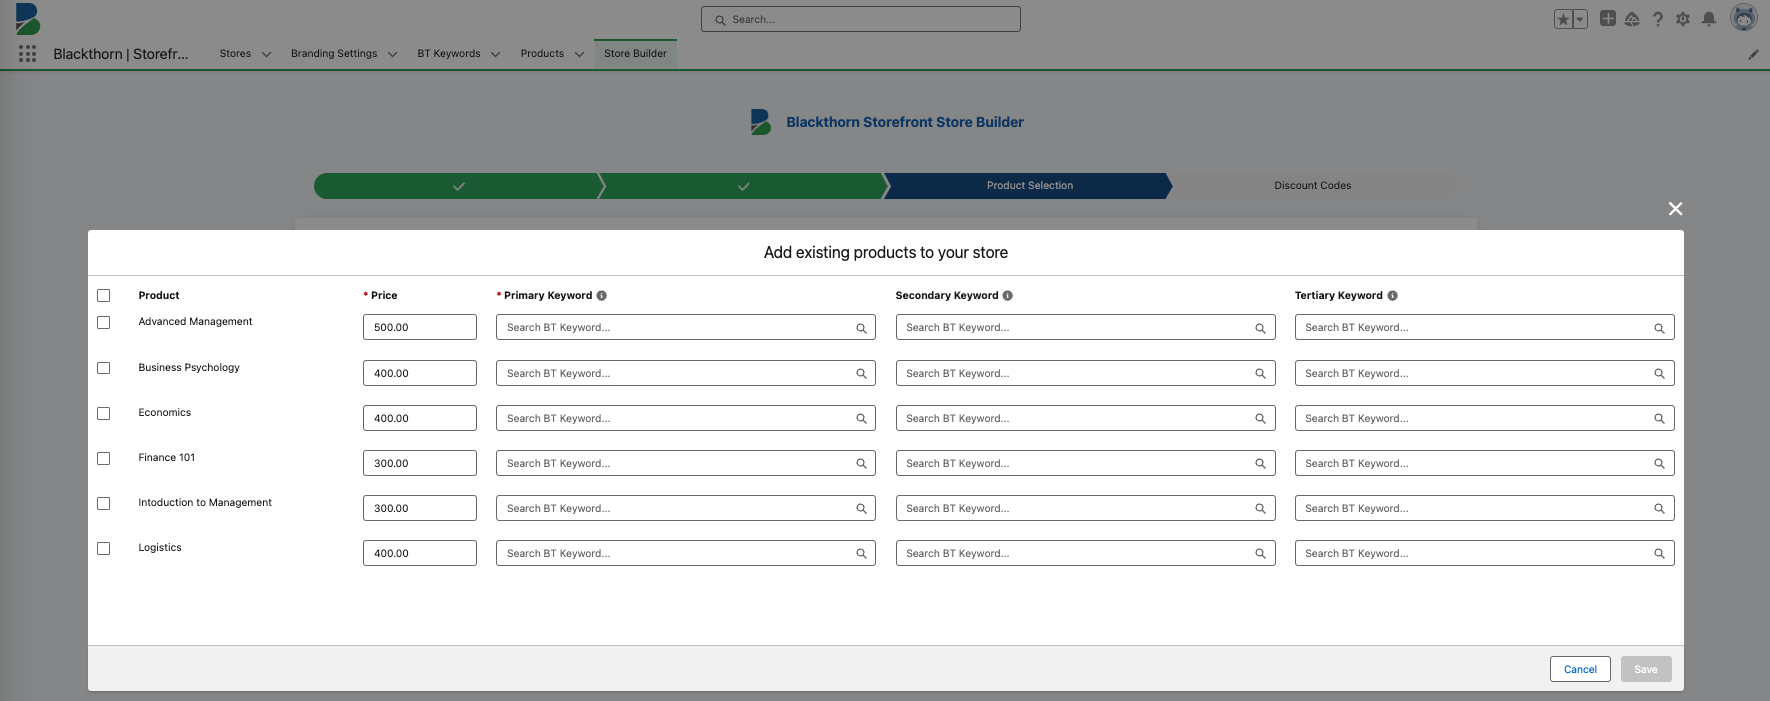
Select a Primary Keyword for each Product. If the Primary Keyword doesn’t exist, click + Create New to create it.
Click Save.


Create a New Price Book
- Click + Create New to create a new Price Book.
- In the New Price Book window, enter the following.
- Price Book Name (required)
- Description
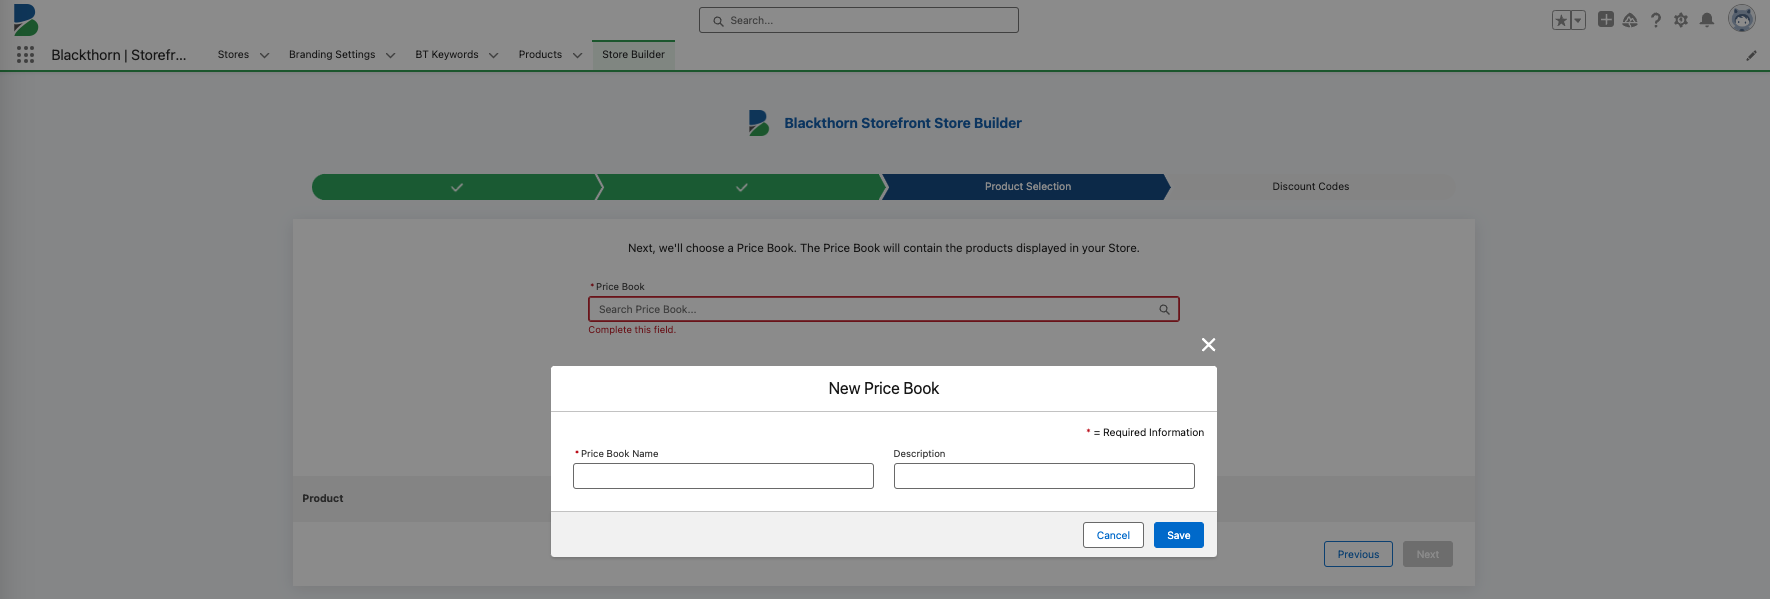
- Click Save.
- Click + Add Product.
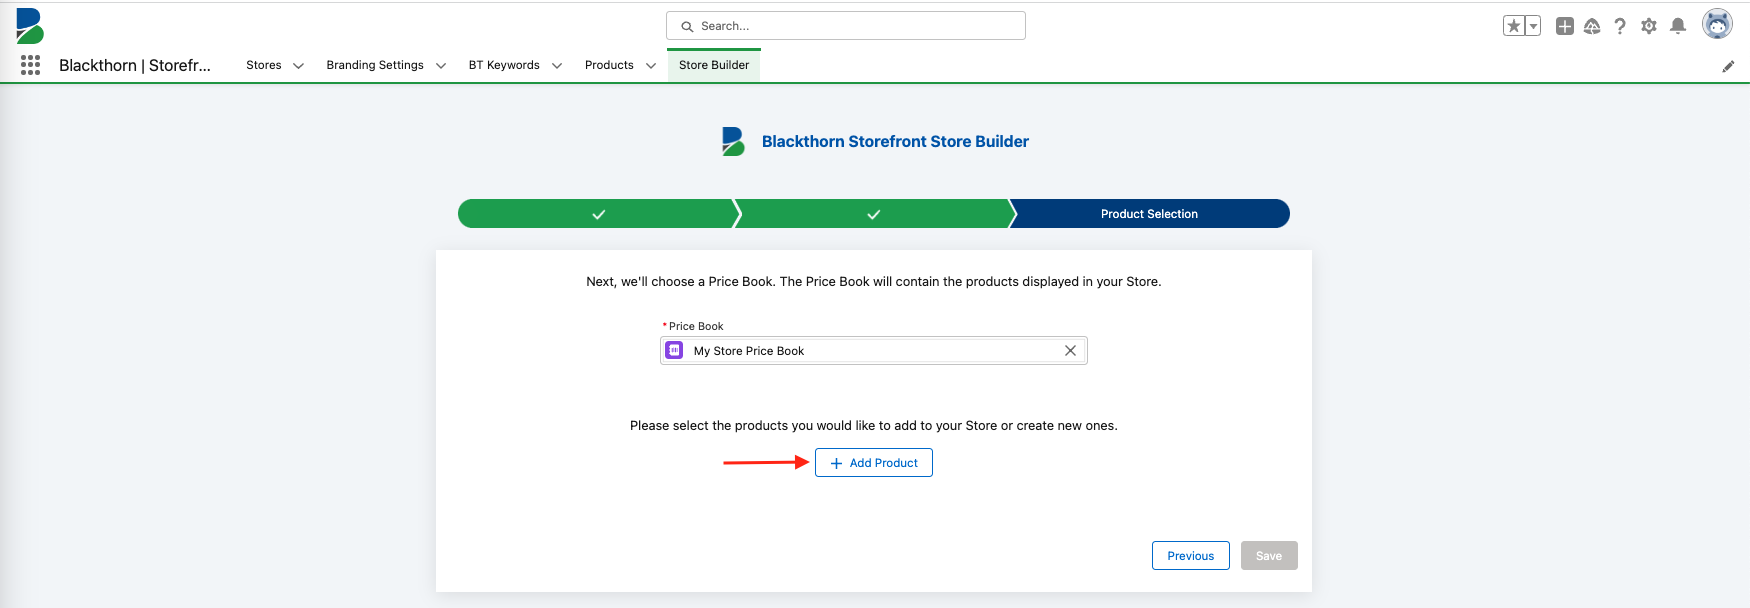
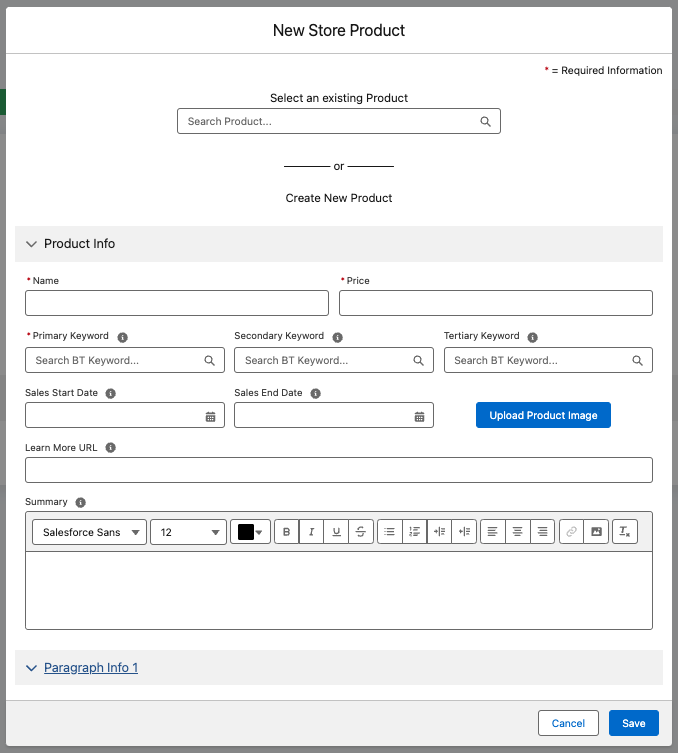
- In the New Store Product window, there are two choices: select an existing Product if your newly created Price Book has Products or Create a new Store Product.
- Complete the following fields to add a new Store Product.
- Product Name (required)
- Price (List Price) (required)
- Primary Keyword (required)
- Secondary Keyword
- Tertiary Keyword
- Sales Start Date
- Sales End Date Note: The Product will be visible in the Store when today’s date is between the Sales Start Date and Sales End Date. If no dates are set, the Product will be visible in the Store until it is removed.
- Click the Upload Product Image button to upload an image.
- Learn More URL
- Summary
- Paragraph Title 1
- Paragraph Body 1
- Paragraph Title 2
- Paragraph Body 2
- Paragraph Title 3
- Paragraph Body 3
- Click Save.
- Click Next.


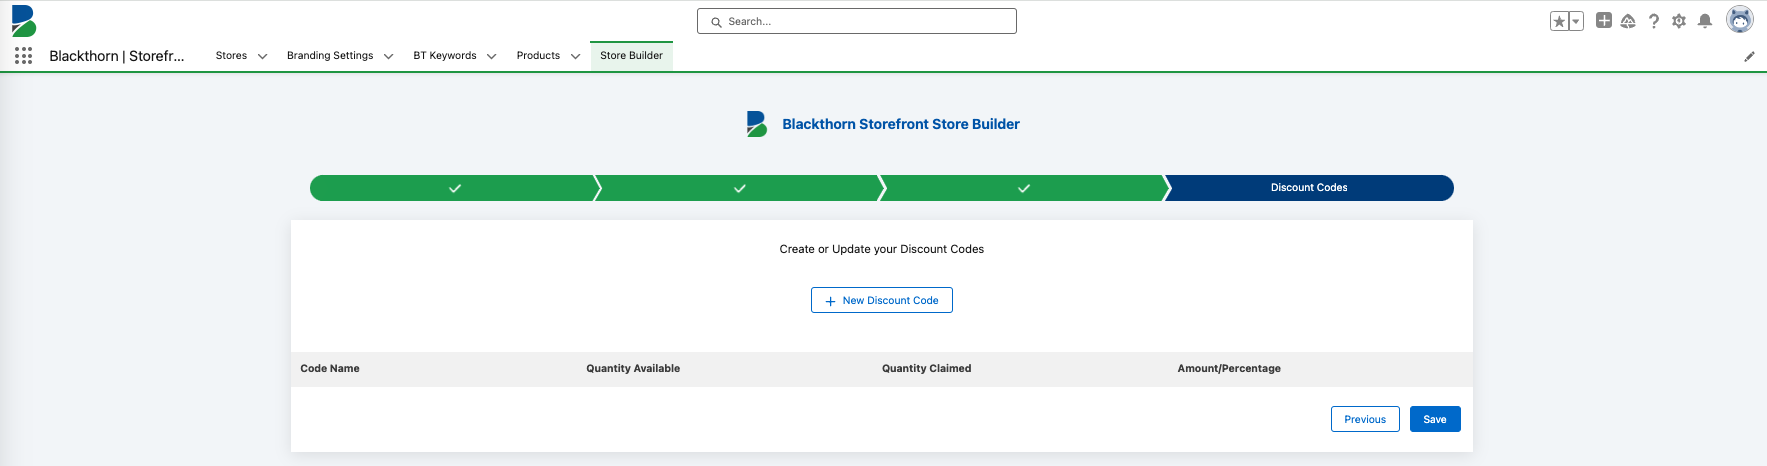
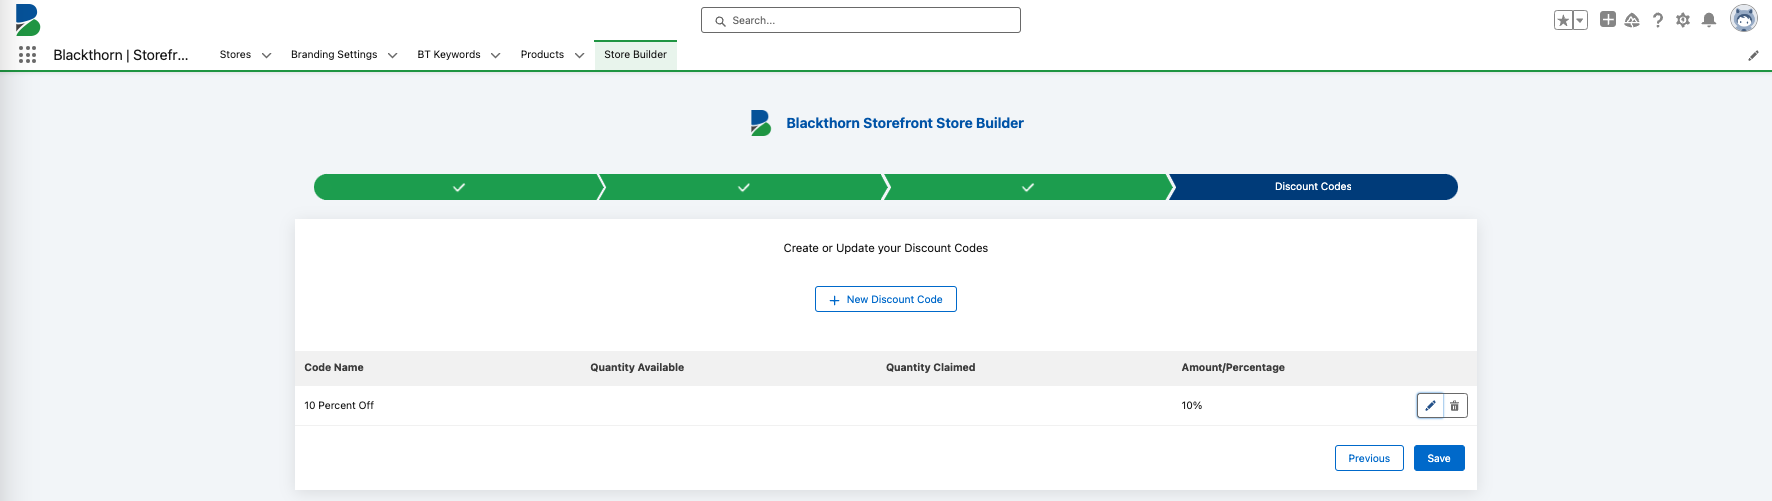
Add a Discount Code
A discount Code can be Store-wide or for a specific Store Product. Users will see existing Codes associated with a particular Store (or Store Products in that Store.)
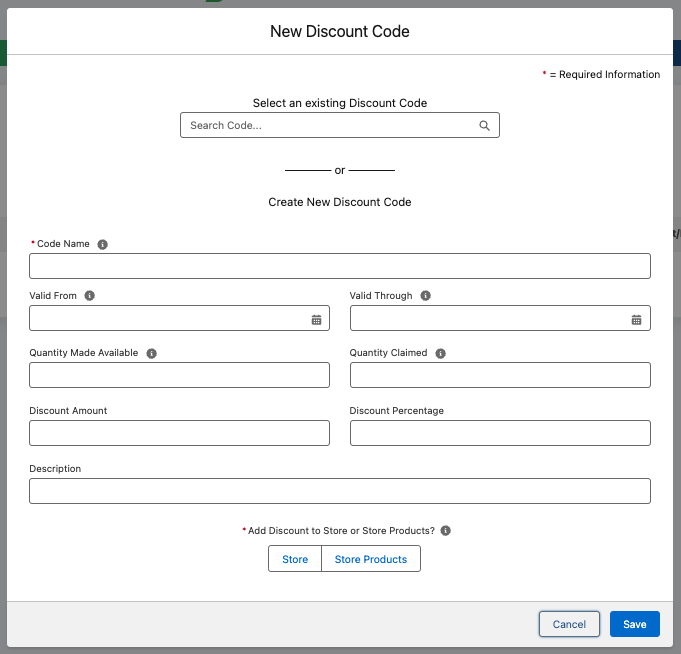
Create a New Discount Code
- Click + New Discount Code.
- Complete the following fields to create a discount Code.
- Code Name
- Valid From
- Valid Through
- Quantity Made Available
- Quantity Claimed
- Enter a Discount Amount or a Discount Percentage.
- Description
- Select whether to add the Code to the Store or to specific Store Products. If you choose to add the discount to Store Products, select the Store Products.
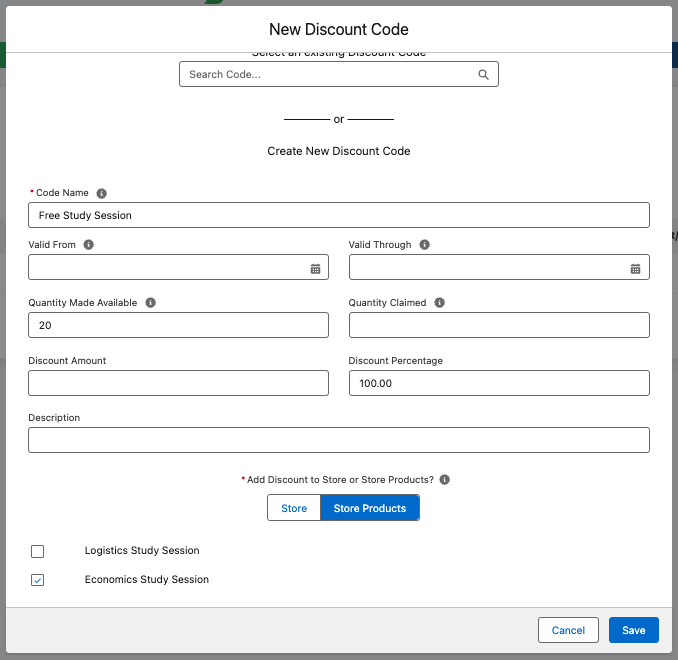
- Click Save.


Select an Existing Discount Code
- Click + New Discount Code.
- Choose an existing discount Code.
- Add any additional information to the following fields.
- Valid From
- Valid Through
- Quantity Made Available
- Quantity Claimed
- Description
- Select whether to add the Code to the Store or to specific Store Products. If you choose to add the discount to Store Products, select the Store Products.
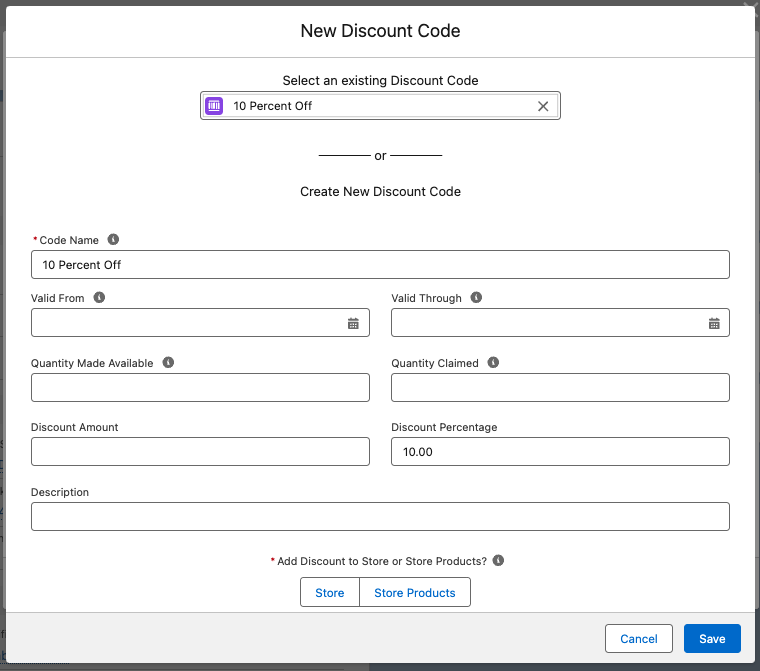
- Click Save.
- Click Save.


Your Store was successfully created.

Your newly created Store can now be accessed via the Store tab. The newly created Store Products are located in the Stores’ Related List.
The Store’s Status will be set to “Draft” until you are ready to make your Store public.
The Store's Store Page URL will be generated with the Store Name instead of the Salesforce Record ID. If a Store has a duplicate name, the system will add a -2, -3, -4, and so on at the end of the URL.
Did you update your Store?
If anything connected to a Store is changed, you must click the Update button on the Store record for the changes to take effect and the cache to be cleared.