There are a few more steps to completely finish setting up SecureAttachment.
STEP ONE: Add SecureAttachment Tabs to Blackthorn Compliance
Once you have installed the SecureAttachment package, you will need to add Custom Tabs to Compliance.
-
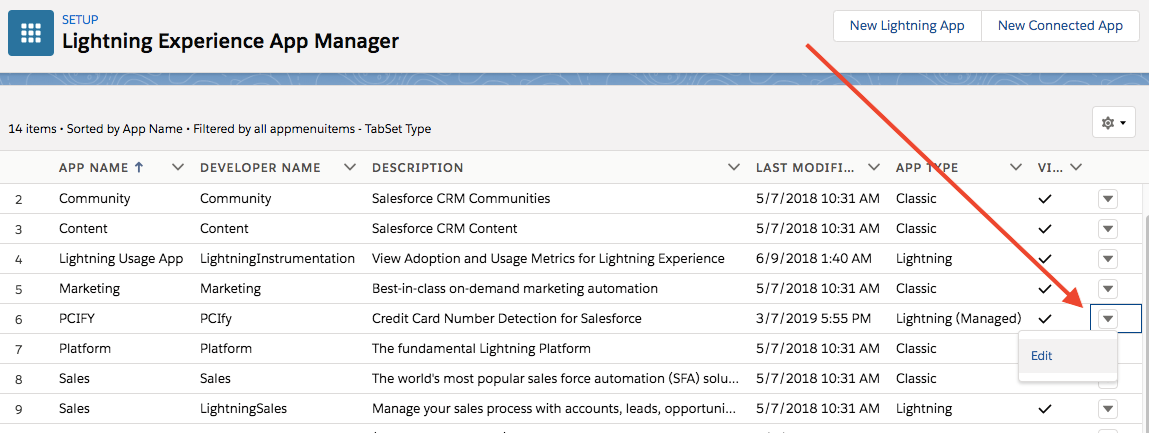
Edit the Compliance Lightning App. Go to Setup > Apps > App Manager > Compliance > Edit.
-
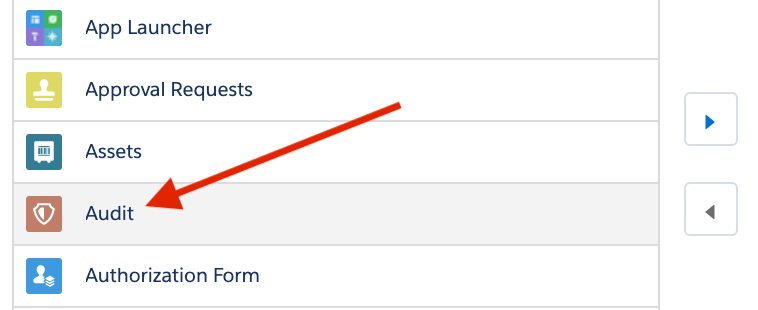
Click on Navigation Items in the App Settings.
-
Add the "Audit" tab to the Selected Items.
-
Add the "API Credentials" tab to the Selected Items.

-
Press Save.
-
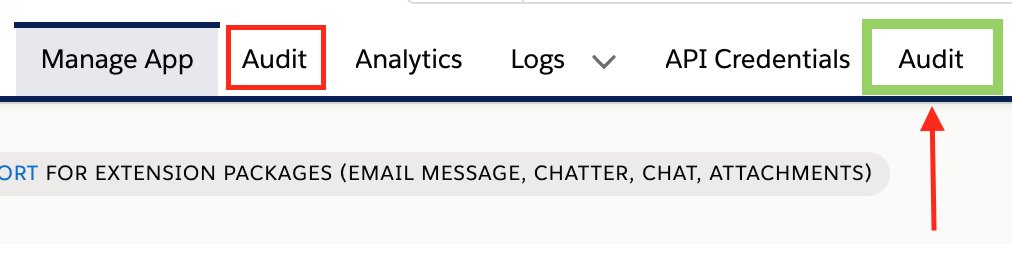
At this point, you may see two Audit tabs in Compliance. SecureAttachment comes with it's own Audit tab, and you should start using the new tab highlighted in green.
-
Hide the old tab (highlighted in red) by navigating to: Setup > Users > Profiles.
-
Select your user's Profile.
-
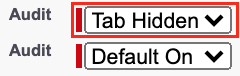
Click Edit and scroll down to the Custom Tab Settings section.
-
Change the first Audit tab to "Tab Hidden".
-
Click Save.
-
Navigate back to the Compliance Lightning App.
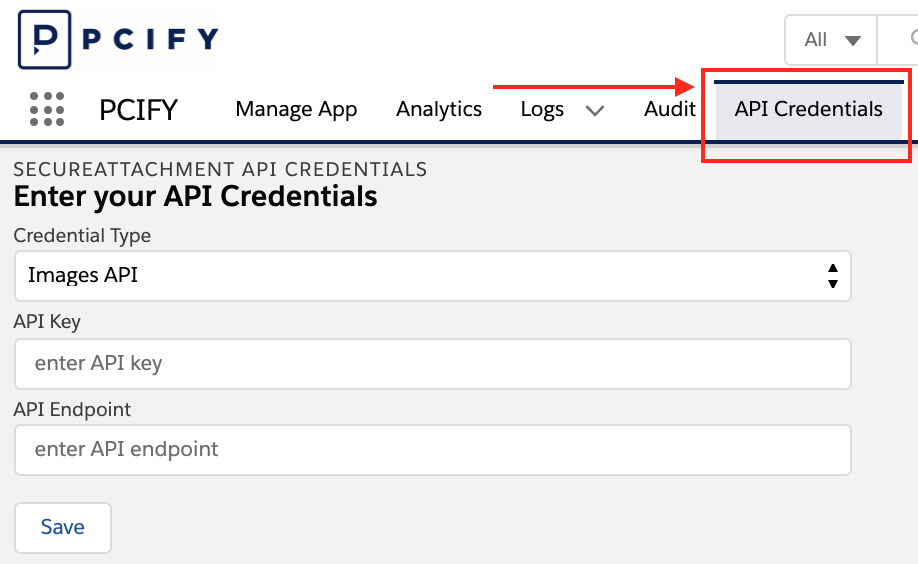
STEP TWO: Add Images API Credentials
SecureAttachment scans your attachments via OCR technology. You will need to enter two different sets of credentials: 1) Images and 2) Files.
-
Click the new API Credentials tab.
-
Select
Credential Type= "Images API" from the dropdown. -
Enter the Images API Key provided by Compliance support in the
API Keyfield. -
Enter the Images API Endpoint provided by Compliance support in the
API EndPointfield. -
Click Save. (For security reasons, the credentials will disappear after saving.)
Stay on this page for the next step: Adding API credentials for Files.
STEP THREE: Add Files API Credentials
- Select
Credential Type= "Files API" from the drop-down. - Enter the Files API Key provided by Compliance support in the
API Keyfield. - Enter the Files API Endpoint provided by Compliance support in the
API EndPointfield. - Click Save. (For security reasons, the credentials will disappear after saving.)
Congratulations! You have finished integrating SecureAttachment with the APIs.
STEP FOUR: Turn On APIs in SecureAttachment
The last step is to turn on the APIs so that SecureAttachment knows you’re ready to start calling the APIs. If you haven’t completed steps 1-3, this step won’t work!
-
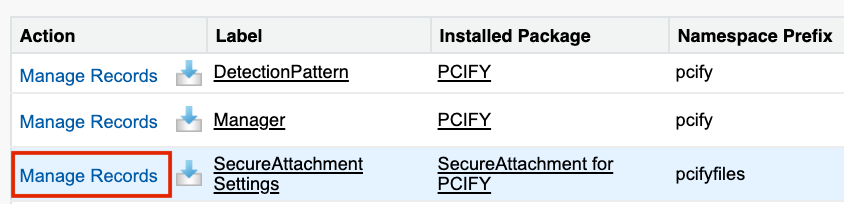
Navigate to Setup > Custom Code > Custom Metadata Types > SecureAttachment Settings.
-
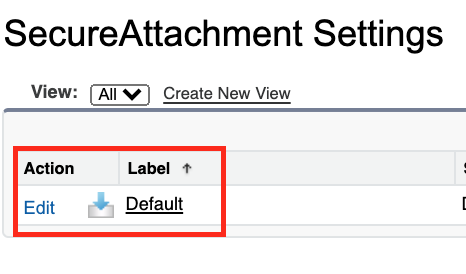
Click Manage Records.
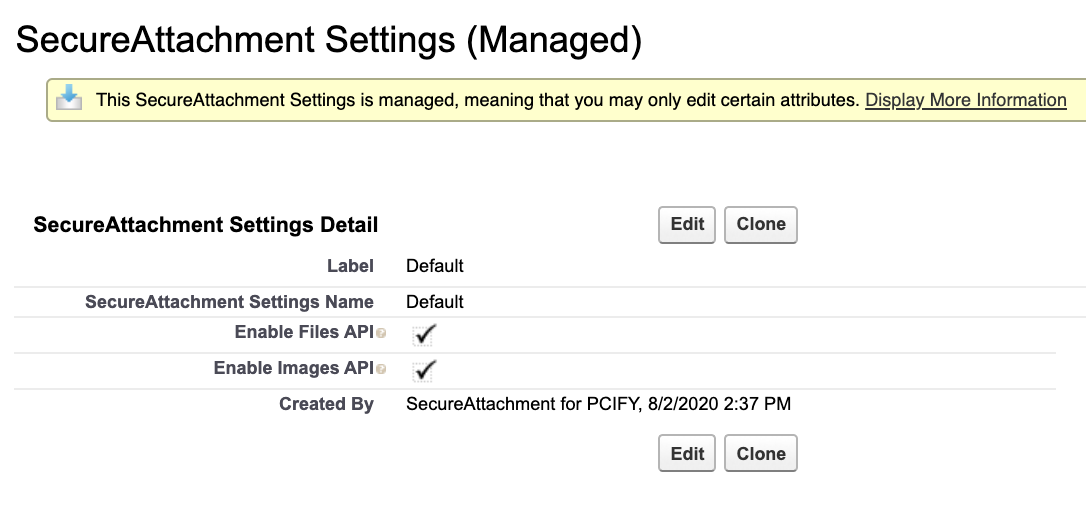
-
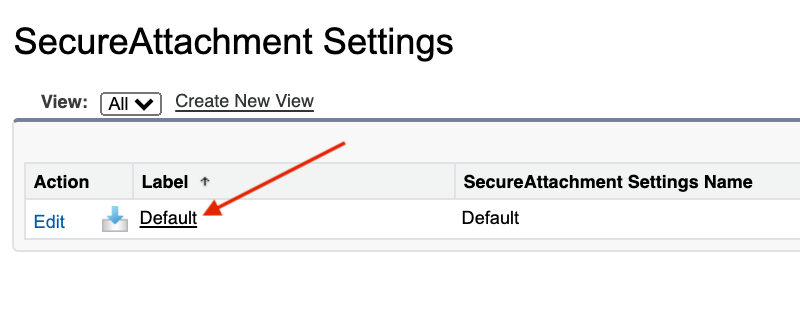
Click on the Default record.
-
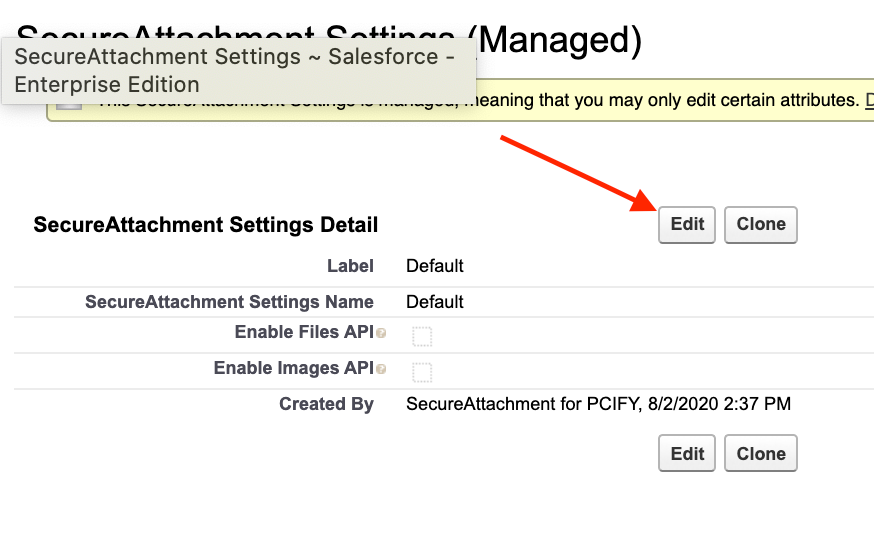
Click Edit.
-
Check
Enable Files API.
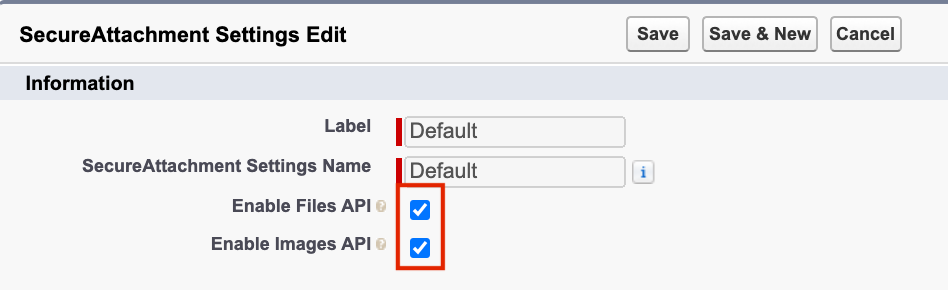
-
Check
Enable Images API. -
Press Save.
STEP FIVE: Auto-Create Chatter Posts on Parent Records [OPTIONAL]
This last step is optional. If you want to inform your agents when attachments or files are auto-deleted or reported by Compliance, you can perform the following steps. A process builder flow will automatically create Chatter posts on the Chatter Feed of the parent record of the Attachment or ContentVersion record. Usually this Chatter post will be created on the Case where the Attachment was uploaded.
-
Navigate to Setup > Process Automation > Process Builder.
-
Expand the process called "PCIFY: Create Chatter Post for Detected PII".

-
Press Activate and confirm the popup.
-
Navigate back to Setup > Custom Code > Custom Metadata Types > SecureAttachment Settings.
-
Click Manage SecureAttachment Settings.
-
Click Default.
-
Edit and Save the "AutoChatterMessage" to your liking or keep as-is.

You’re all done! You can start using SecureAttachment now.