Once you are connected to Authorize.net, it’s time to configure webhooks. What does a webhook do? It automatically sends specific data from Authorize.net to Salesforce.
If you have created a Customer Profile in Authorize.net, webhooks can update Salesforce and add the new Payment Gateway Customer and Payment Method records.
Prerequisites
You must have Salesforce administrator access and Authorize.net access to complete the following instructions.
Due to a limited number of available fields in Authorize.net, the Payment Profile information in Authorize.net is used to populate the following Salesforce records.
Payment Method
Payment Gateway Customer
Example: Payment Profile Name from Authorize.net = Payment Gateway Customer Name.
Create a Force.com Domain
- Go to Setup.
- In the Quick Find box, enter “Sites and Domains.”
- Click “Sites.”
- Enter a value for your Force.com domain.
- Click Check Availability.
- Review and accept the Site terms of use.
- Click Register My Force.com Domain.
Configure Your Site
Go to Setup.
In the Quick Find box, enter “Sites and Domains.”
Click “Sites.”
Click New.
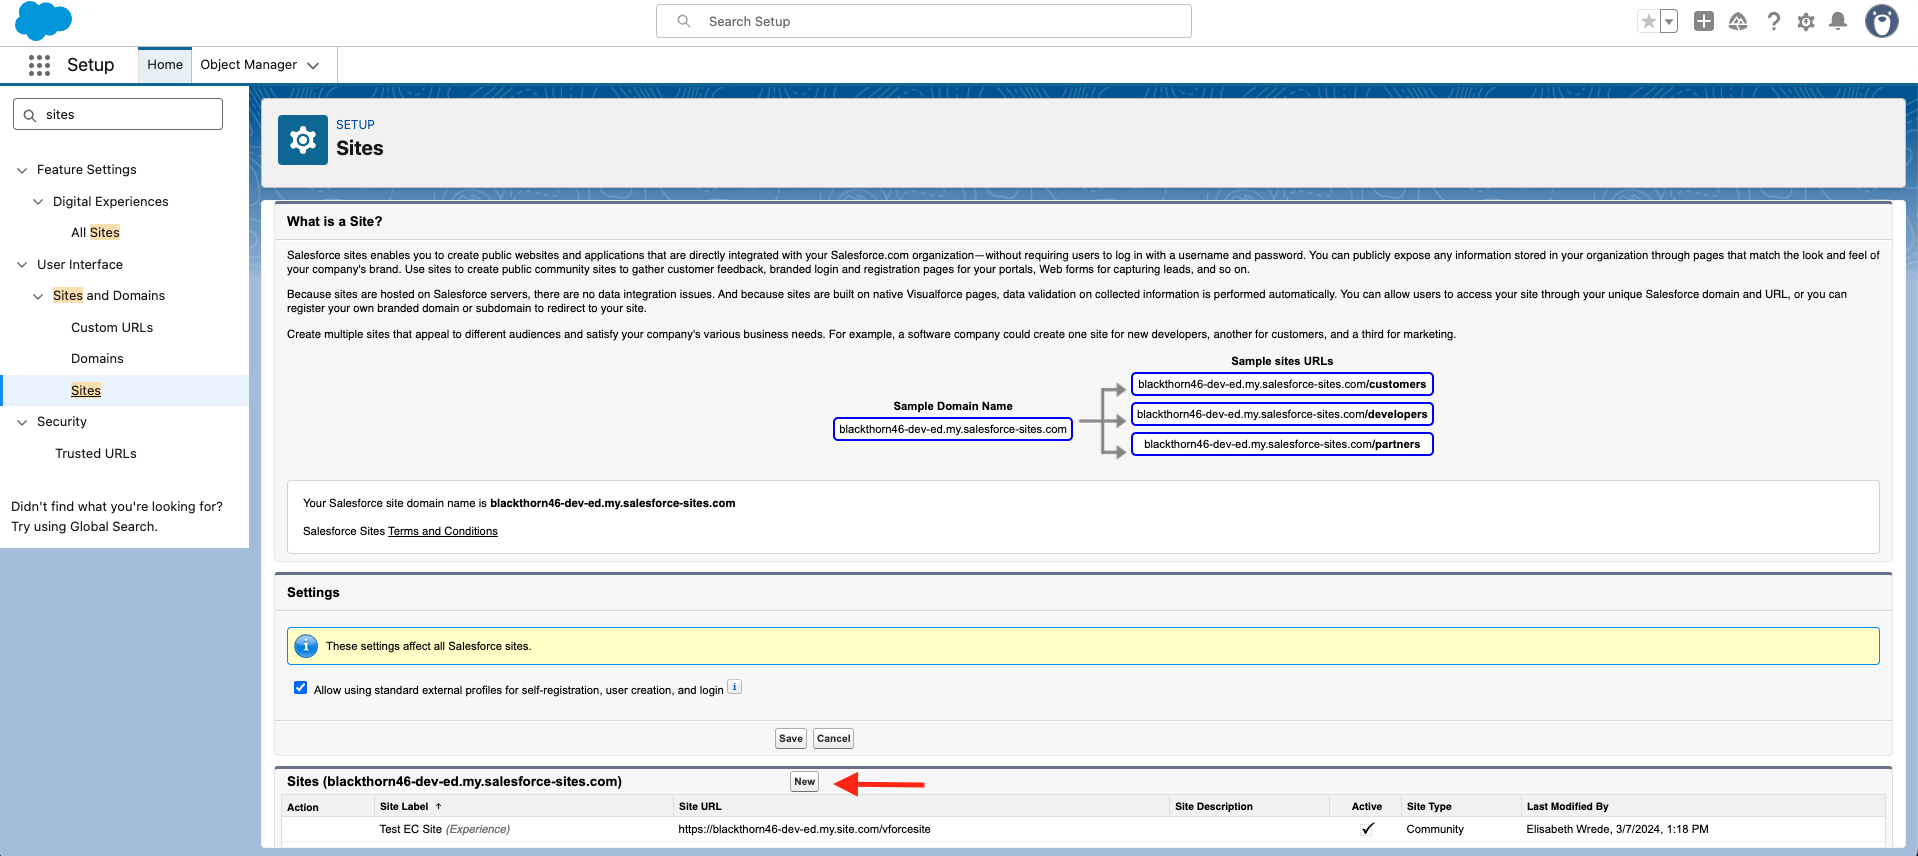
Enter a Site Label, Site Name, and a Default Web Address. (We suggest using "webhook" or "stripe" for the Site Label and Site Name.)
Set Active = "TRUE" (checked).
For the Active Site Home Page field, click the Lookup icon and select "InMaintenance". (The page is not visible. It's just a placeholder because a value is required).
Click Save.
Assign the Site Guest User Permission Set
Navigate back to the Site you created.
Click Public Access Settings.
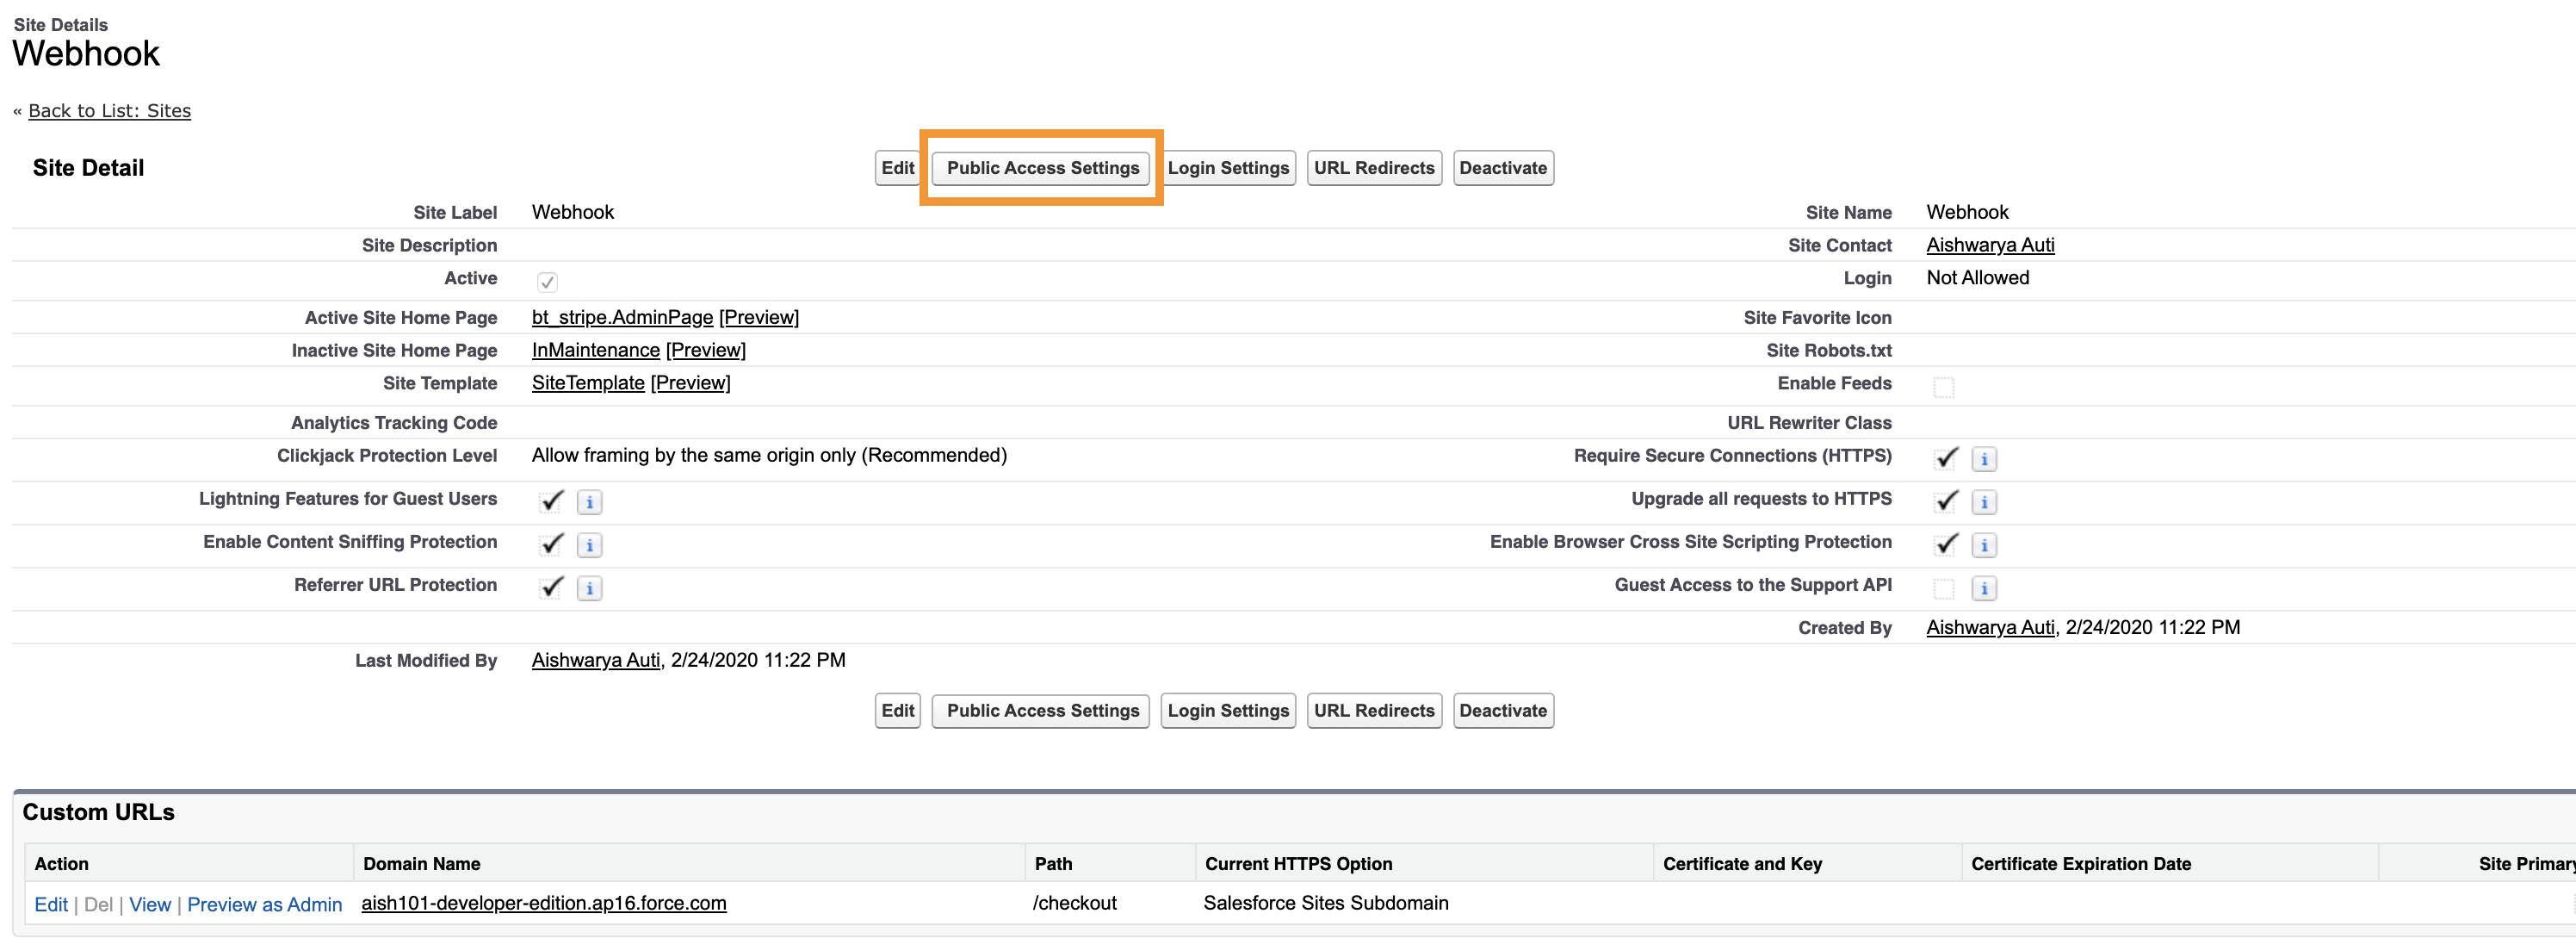
Click the View Users or Assign Users button.
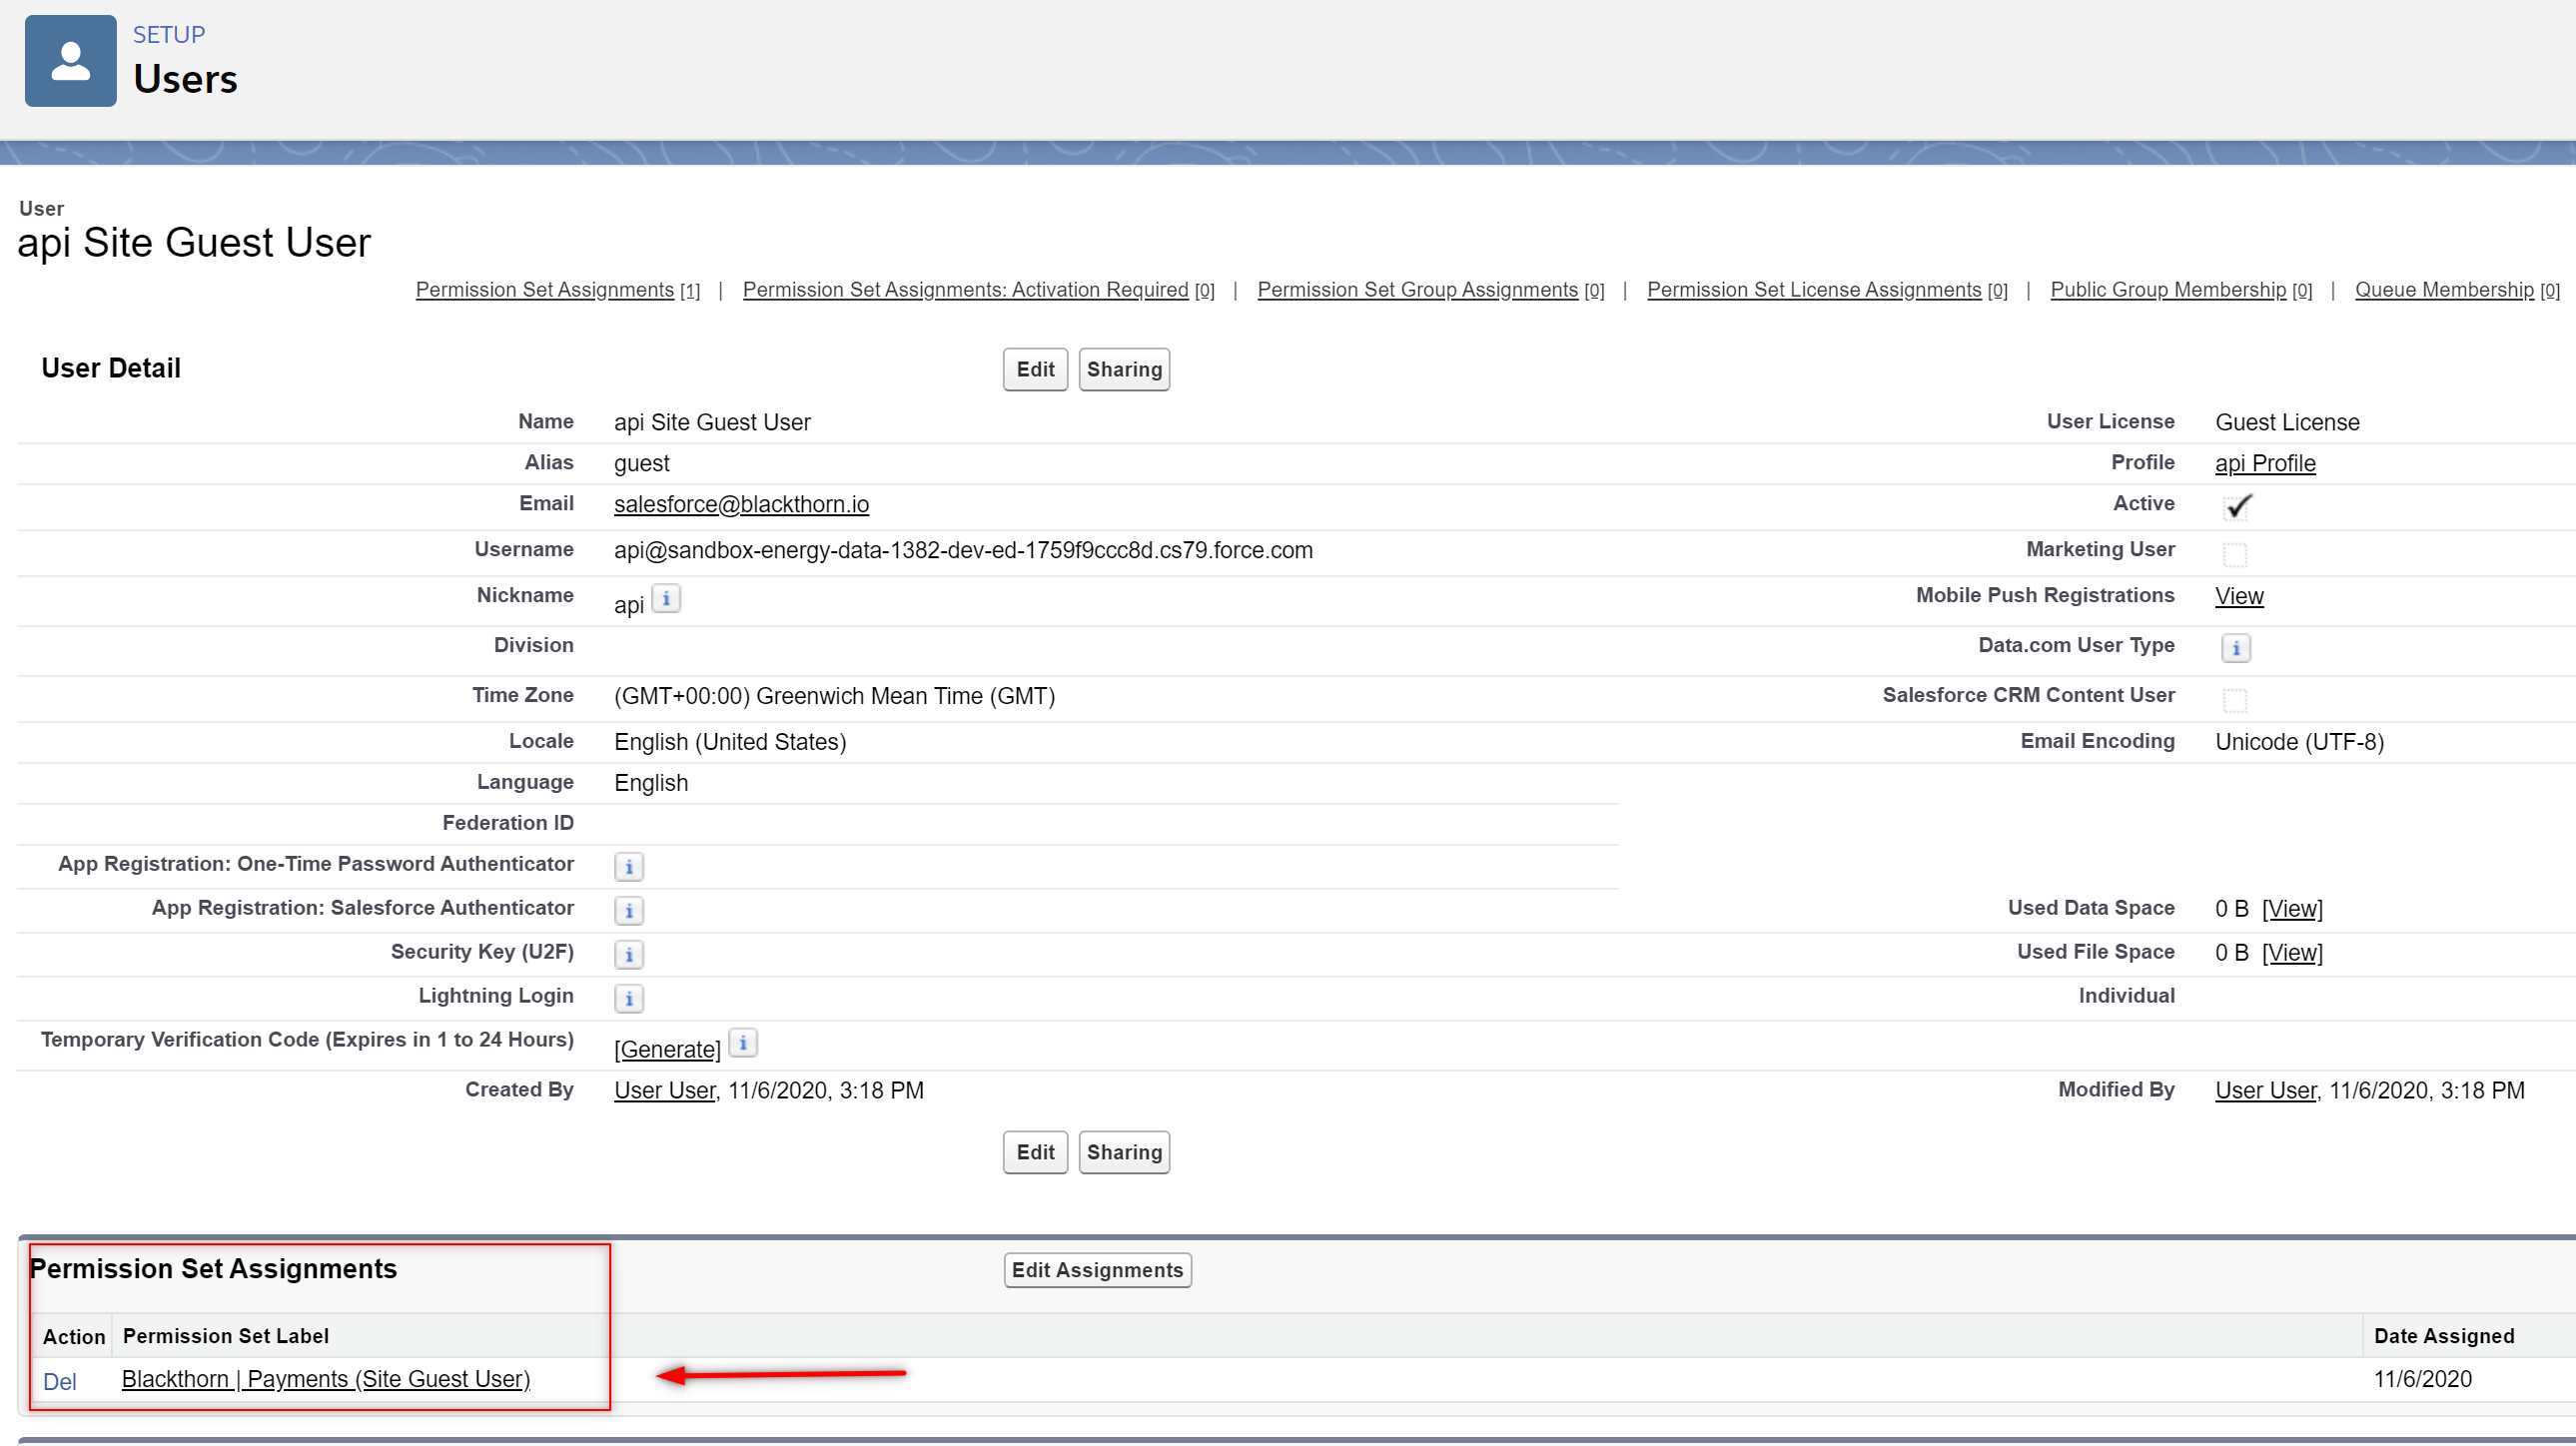
Click the link for the site guest user.

Add the Blackthorn | Payments (Site Guest User) permission set to this user's record.
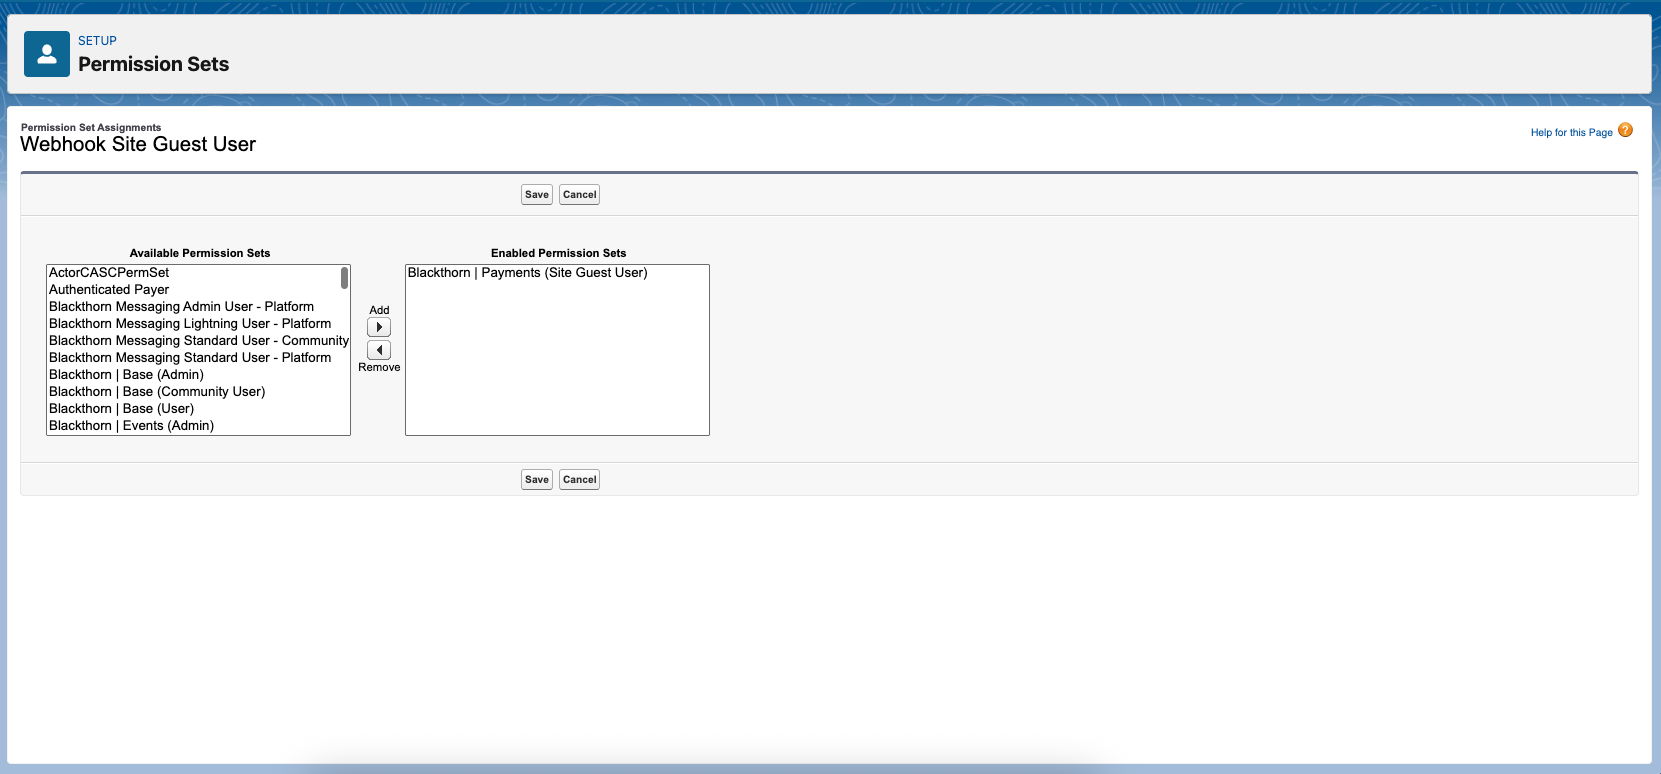
Click Save.
Configure Webhooks in Authorize.net
In this section, you will gather the different components that will make up the URL before adding it to Authorize.net.
The URL will have the following format: https://SITE_DOMAIN_NAME/SITE_PATH/services/apexrest/bt_stripe/webhook/WEBHOOK_LABEL
SITE_DOMAIN_NAME = The Salesforce Domain Name for the Site you set up
SITE_PATH = The Path for the Site
WEBHOOK_LABEL = The value in the Payment Gateway Webhook Label field
“services/apexrest/bt_stripe/webhook” remains the same
Create a Salesforce Webhook Site URL
Go to Setup.
In the Quick Find box, enter “Sites and Domains.”
Click “Sites.”
Locate the site you just created and click the URL.
Copy the URL.
Replace “SITE_DOMAIN_NAME/SITE_PATH” with the copied URL.
Leave “services/apexrest/bt_stripe/webhook” as is.
Open the related Payment Gateway record.
Copy the value in the Webhook Label field.
Replace “WEBHOOK_LABEL” with the copied value from the Webhook Label field.
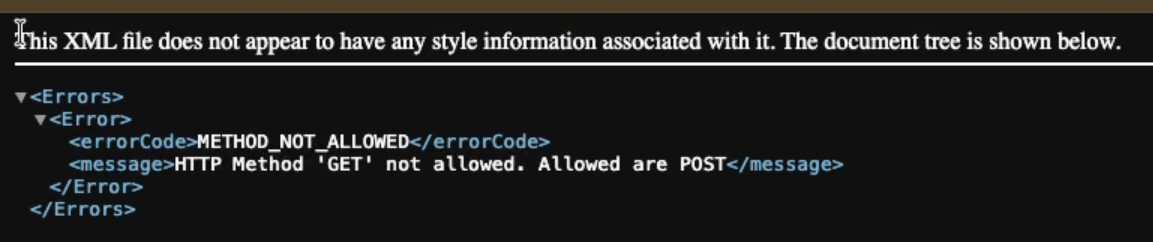
To verify that the new URL works, open a new browser tab and paste the URL. You will see the following message.
Configure the URL in Authorize.net
Go to your connected Authorize.net account dashboard.
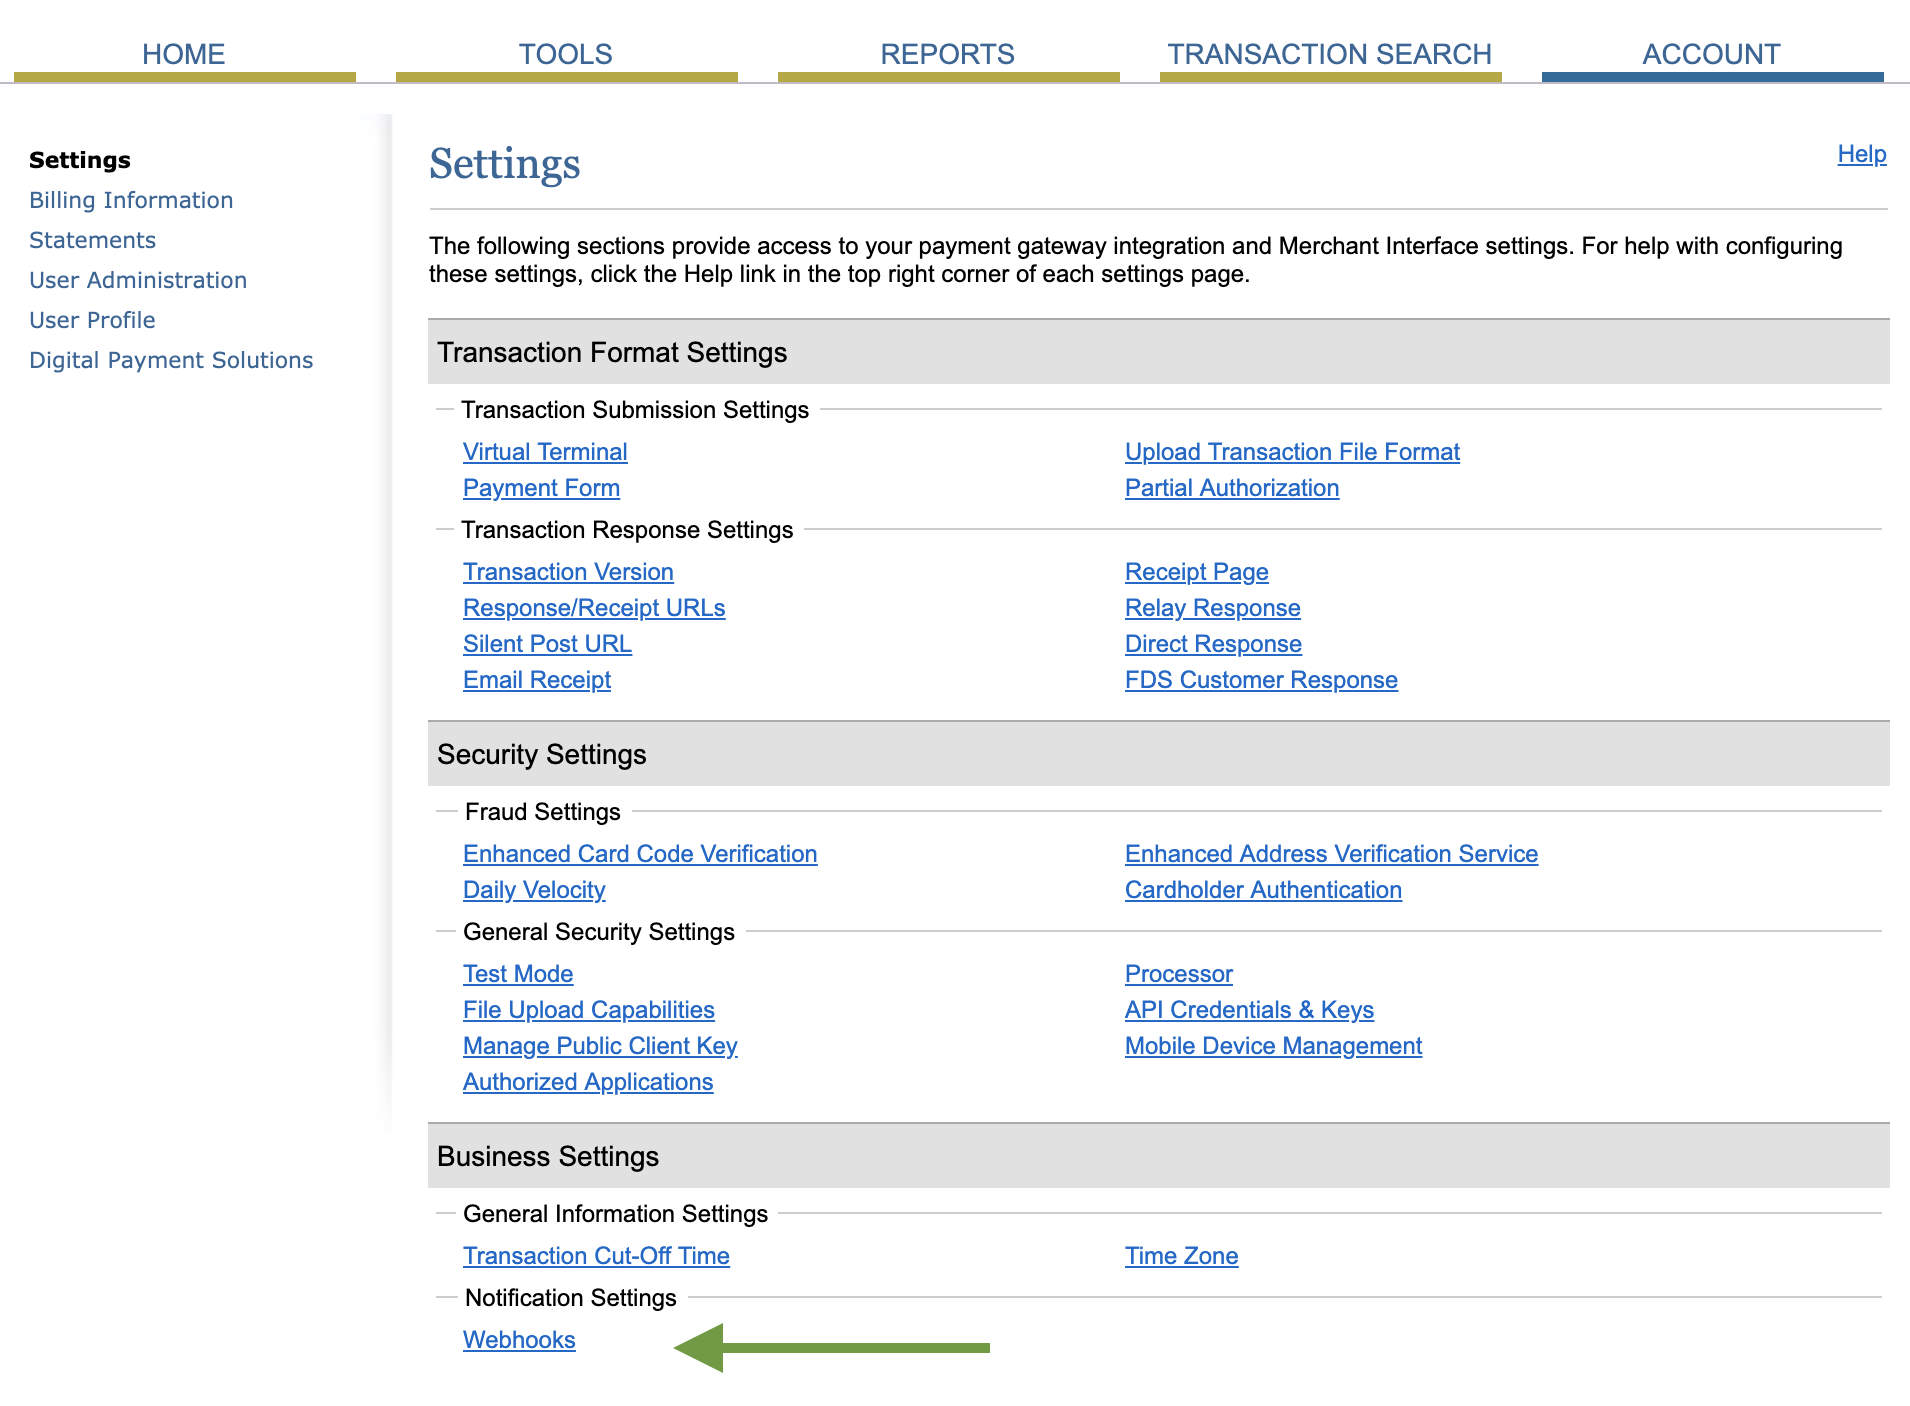
Click the Account tab.
Click Settings.
Click Webhooks.
Click Add endpoint.
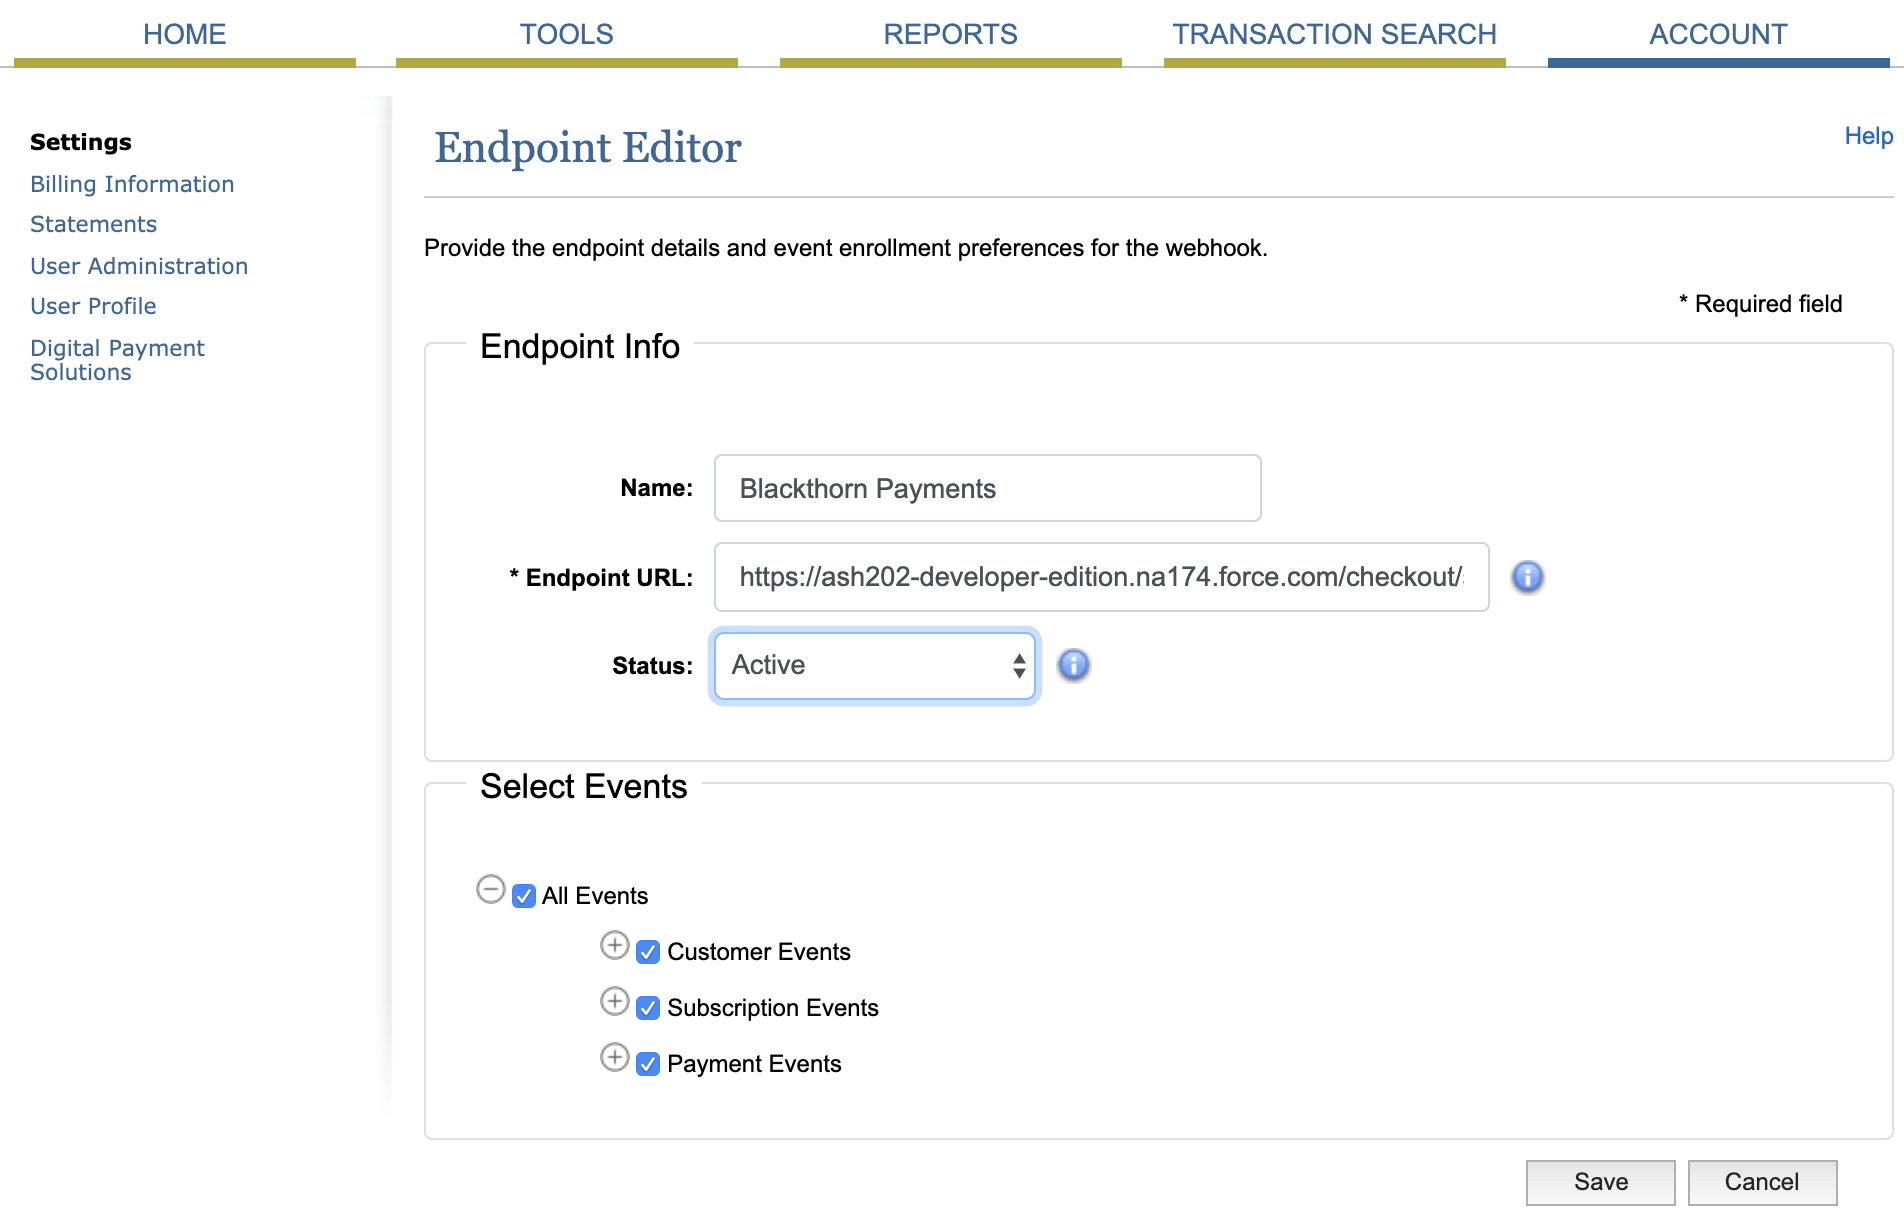
Define a Name.
In the Endpoint URL field, enter the Salesforce webhook Site URL you created.
Set Status = "Active".
Under Select Events, check "All Events."
Click Save.
If you have multiple Authorize.net accounts connected to your Salesforce org and want to create a Webhook Endpoint for each in Authorize.net, you can use the same Salesforce Site. Change the WEBHOOK_LABEL part of the URL to the Webhook Label value on the Payment Gateway record you want to use.