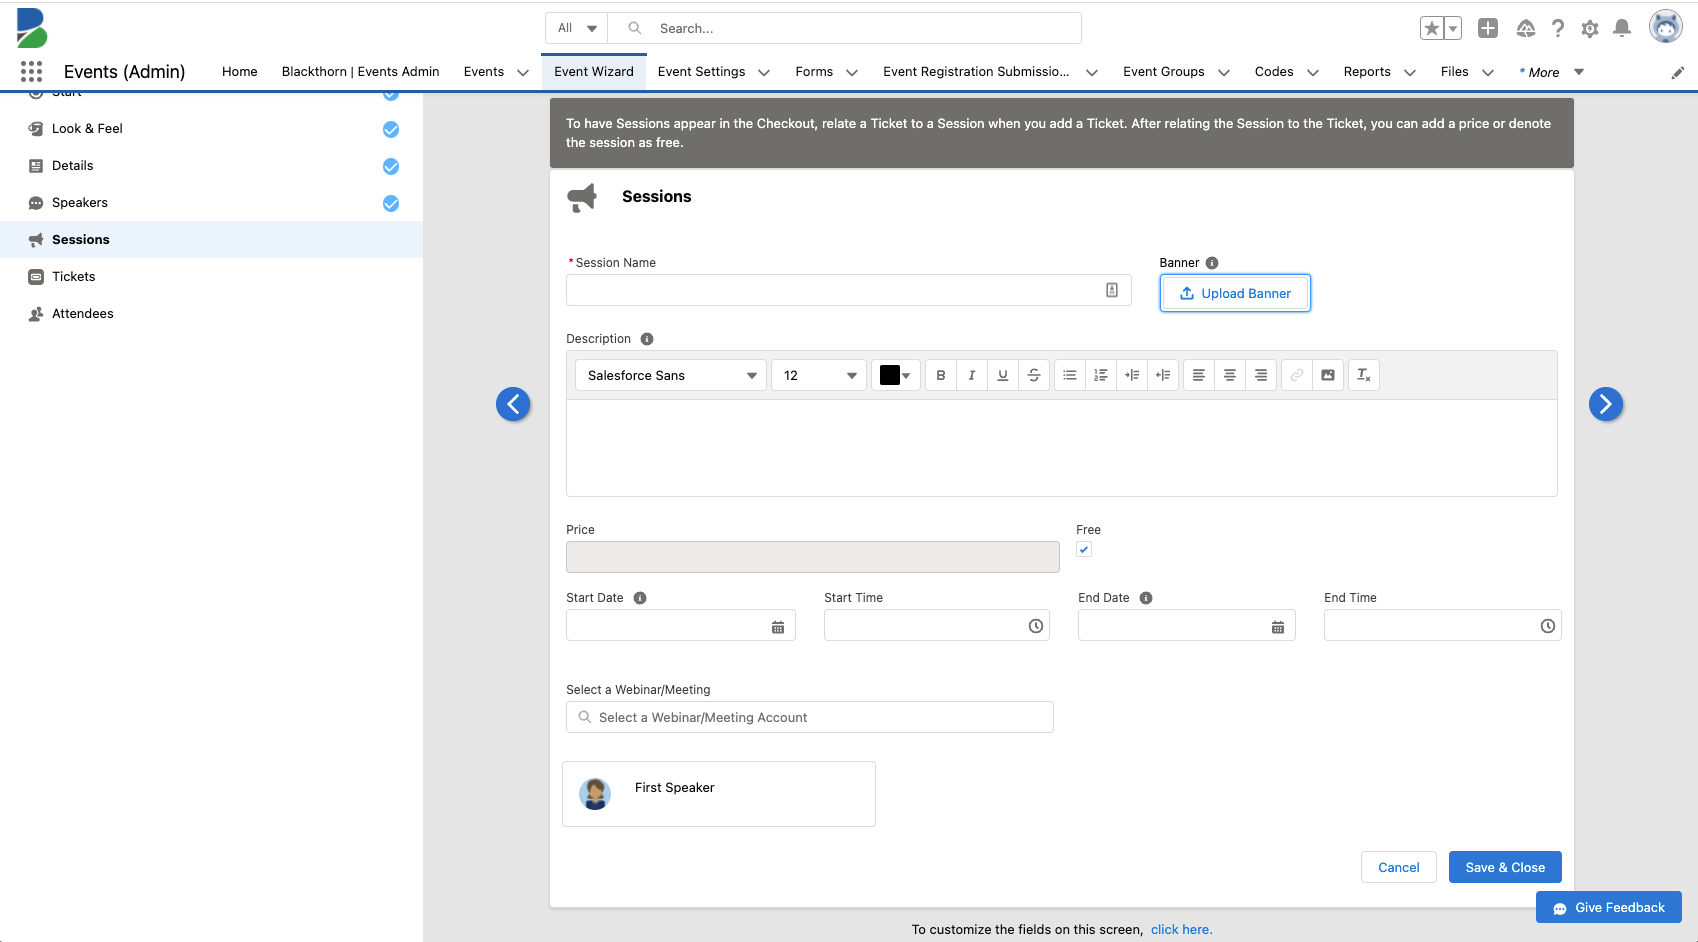
The Session page defines any Sessions you would like added to your Event.
Define the Session Name, Description, Banner, and the Start Date and End Date. Any Speakers that you created in the previous step can be added to the Session by clicking their name.
The Display Name field on Sessions overrides the Session Name field on the front end.
Sessions cannot be made mandatory out of the box.
Update Existing Sessions
A Session’s start and end dates must always fall within an Event’s start and end dates. To update a Session’s Start Date and/or End Date in the Event Wizard, complete the following steps.
- Update the Event End Date to the same date as the new Session End Date.
- Click the > next arrow until you land on the Sessions page.
- Click edit on the Session you need to update.
- Enter the new Session Start Date and/or End Date.
- Click Save & Close.
- If the Event Start Date also needs to be updated, enter the new date now.
- Click Save.
- If your Event was already published, go to the Event record, and click Update.
Example
| Fields | Original Dates | New Dates |
|---|---|---|
| Event Start Date | Oct 4, 2026 | Oct 4, 2026 |
| Event End Date | Oct 5, 2026 | Oct 4, 2026 |
| Session Start Date | Oct 5, 2026 | Oct 4, 2026 |
| Session End Date | Oct 5, 2026 | Oct 4, 2026 |
- Change the Event End Date to "Oct 4, 2026".
- Click the > next arrow until you land on the Sessions page.
- Click edit on the Session you need to update.
- Change the Session Start Date to "Oct 4, 2026".
- Change the Session End Date = "Oct 4, 2026".
- Click Save & Close.
- Click Save.
- If your Event was already published, go to the Event record, and click Update.
Enhancements
Users can only add a Session to a "Ticket" once; however, once a Session has been added, users can duplicate that Session from the “Sessions Table” on the Offers page. The default sort for the added Sessions is alphabetical, and all text will be aligned to the left and justified.
To include previously created Session in Checkout, those Session must be associated with Event Items.
Event Admins
A new fieldset has been added to edit custom fields if different fields need to be displayed. The custom fields are displayed in the Session block of "Ticket"s.
Event Managers
The following tasks can be performed on the Edit "Ticket" screen:
- Add single or bulk groups of previously created Sessions to "Ticket"s and sort by the Start Date.
- Modify Session fields and details within the Sessions’ block of the Ticket view.
- Add a Price to a Session or mark the Session as Free in order to share the cost of a Session with registrants.
Use the Event Wizard to complete the following tasks:
- Search all previously created Sessions and choose which Session should be added to a "Ticket".
- Use the Tickets section to view the number of Sessions in each "Ticket" without having to first edit the "Ticket".
Sorting Sessions
The default sort order for Sessions is alphabetical. Sessions can also be sorted by Start Date and Start Time in ascending order. The list below describes how the Session’s sorting rule works in various scenarios.
- If there are multiple Sessions on a single day and each Session has a different Start Time, then the Sessions will be listed from the earliest Start Time to the last.
- If there are multiple Sessions with the same Start Time, BUT each Session has a different Start Date, then the Session with the earliest Start Date will be listed first.
- If multiple Sessions have the same Start Date and Start Time, the Sessions will be sorted alphabetically by Session Name.
- If there are multiple Sessions without a Start Date, the Sessions will be sorted alphabetically by Session Name.