Select a Session
Desktop
Once an Attendee has successfully registered for an Event with Sessions (or the Attendee has Registration Status = "Registered"), they can register for individual Sessions by accessing the AttendeeLink. The Session registration screen will look like this.
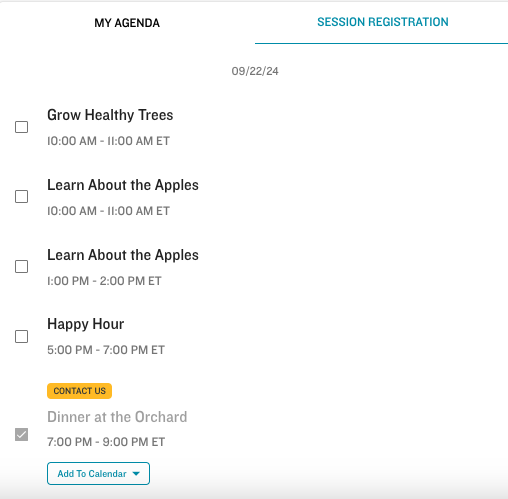
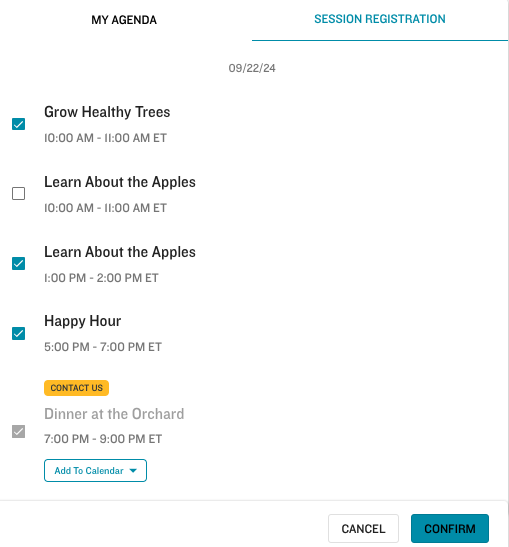
The Attendee will then check the box next to the Sessions they want to attend and click Confirm.
If they change their mind about a Session, they must click the checkbox next to it and click Confirm.
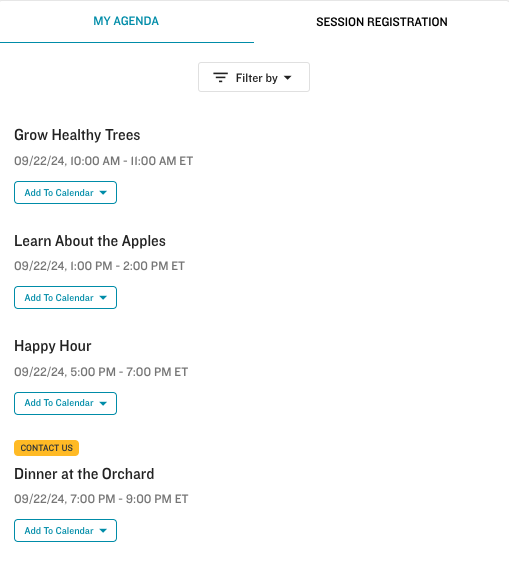
To see their agenda with only the Sessions they signed up for, the Attendee must click the My Agenda tab.
Mobile Device
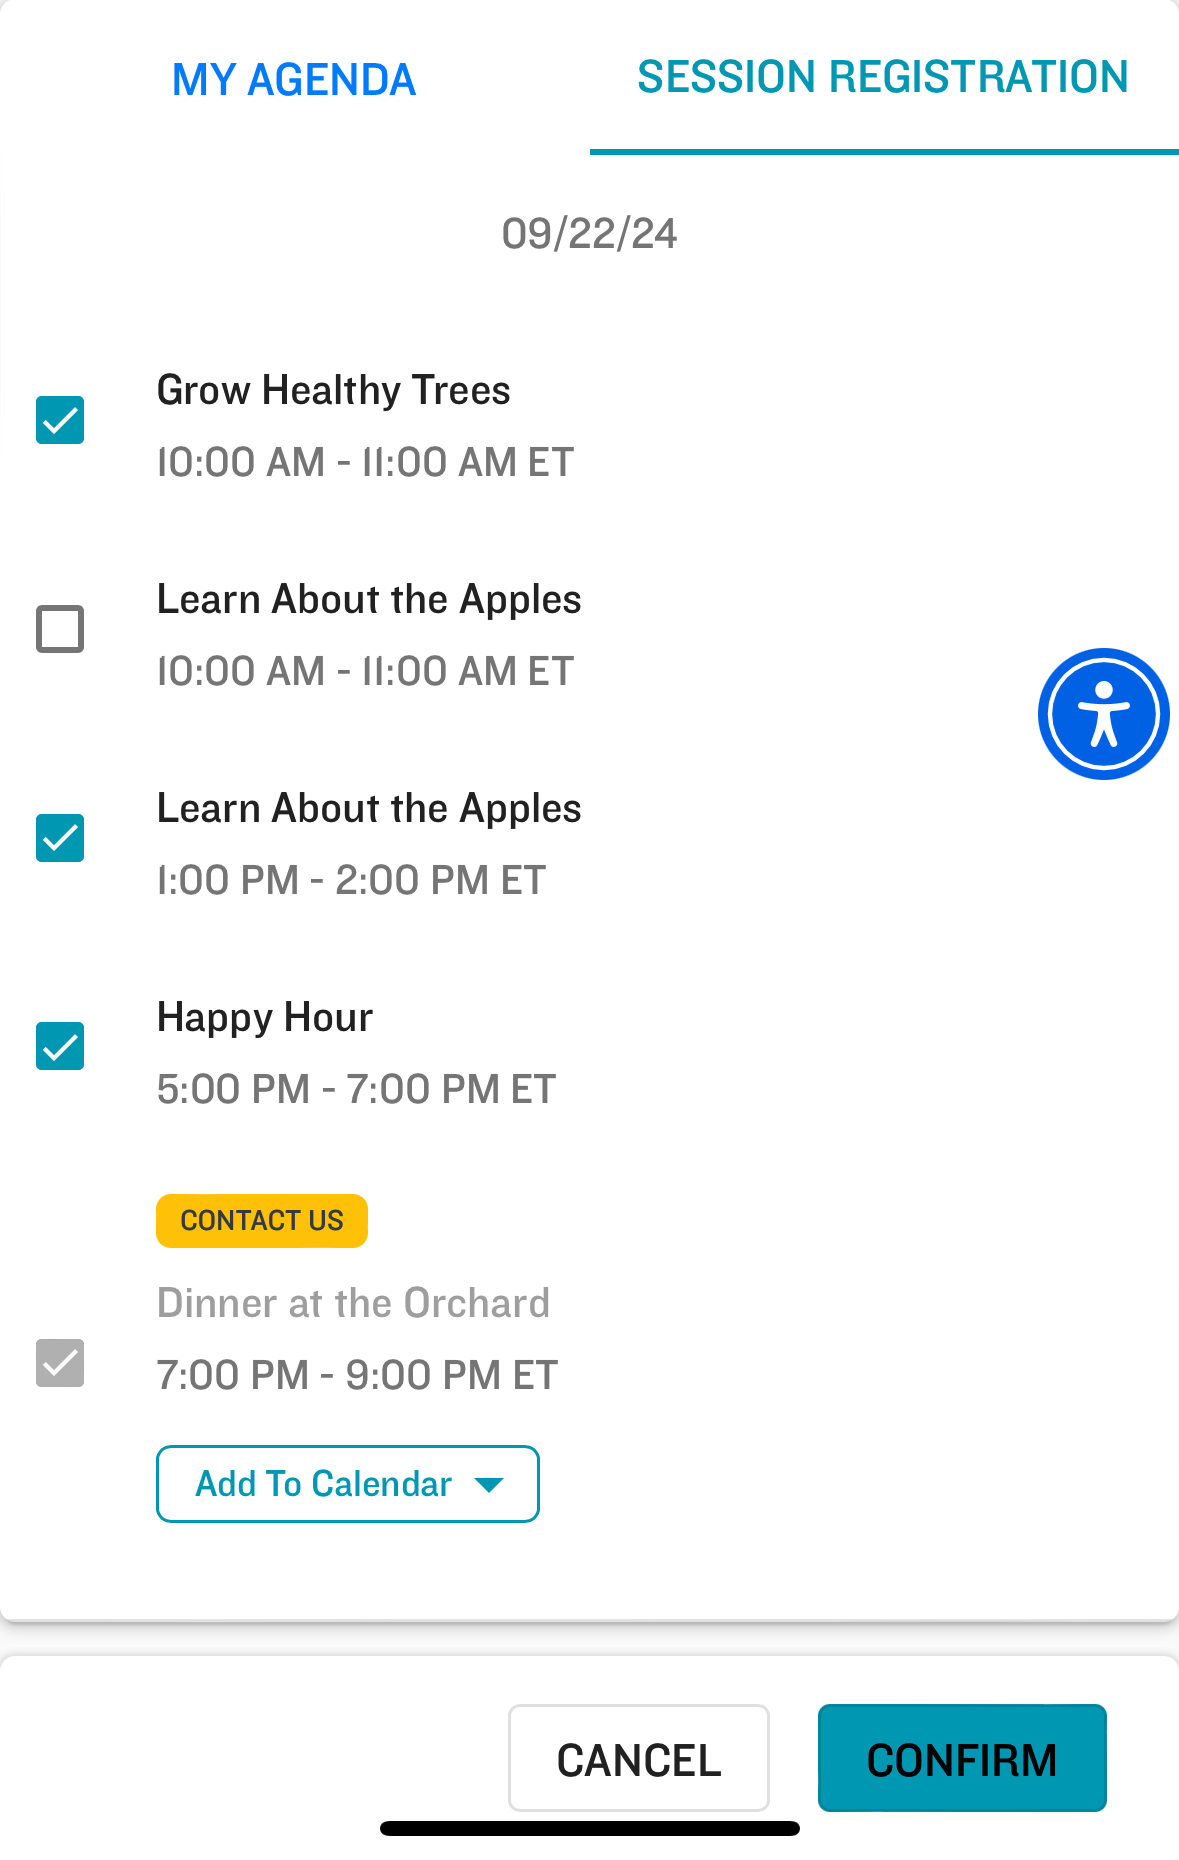
Once an Attendee has successfully registered for an Event with Sessions (or the Attendee has Registration Status = "Registered"), they can register for individual Sessions by accessing the AttendeeLink. The Session registration screen will look like this.
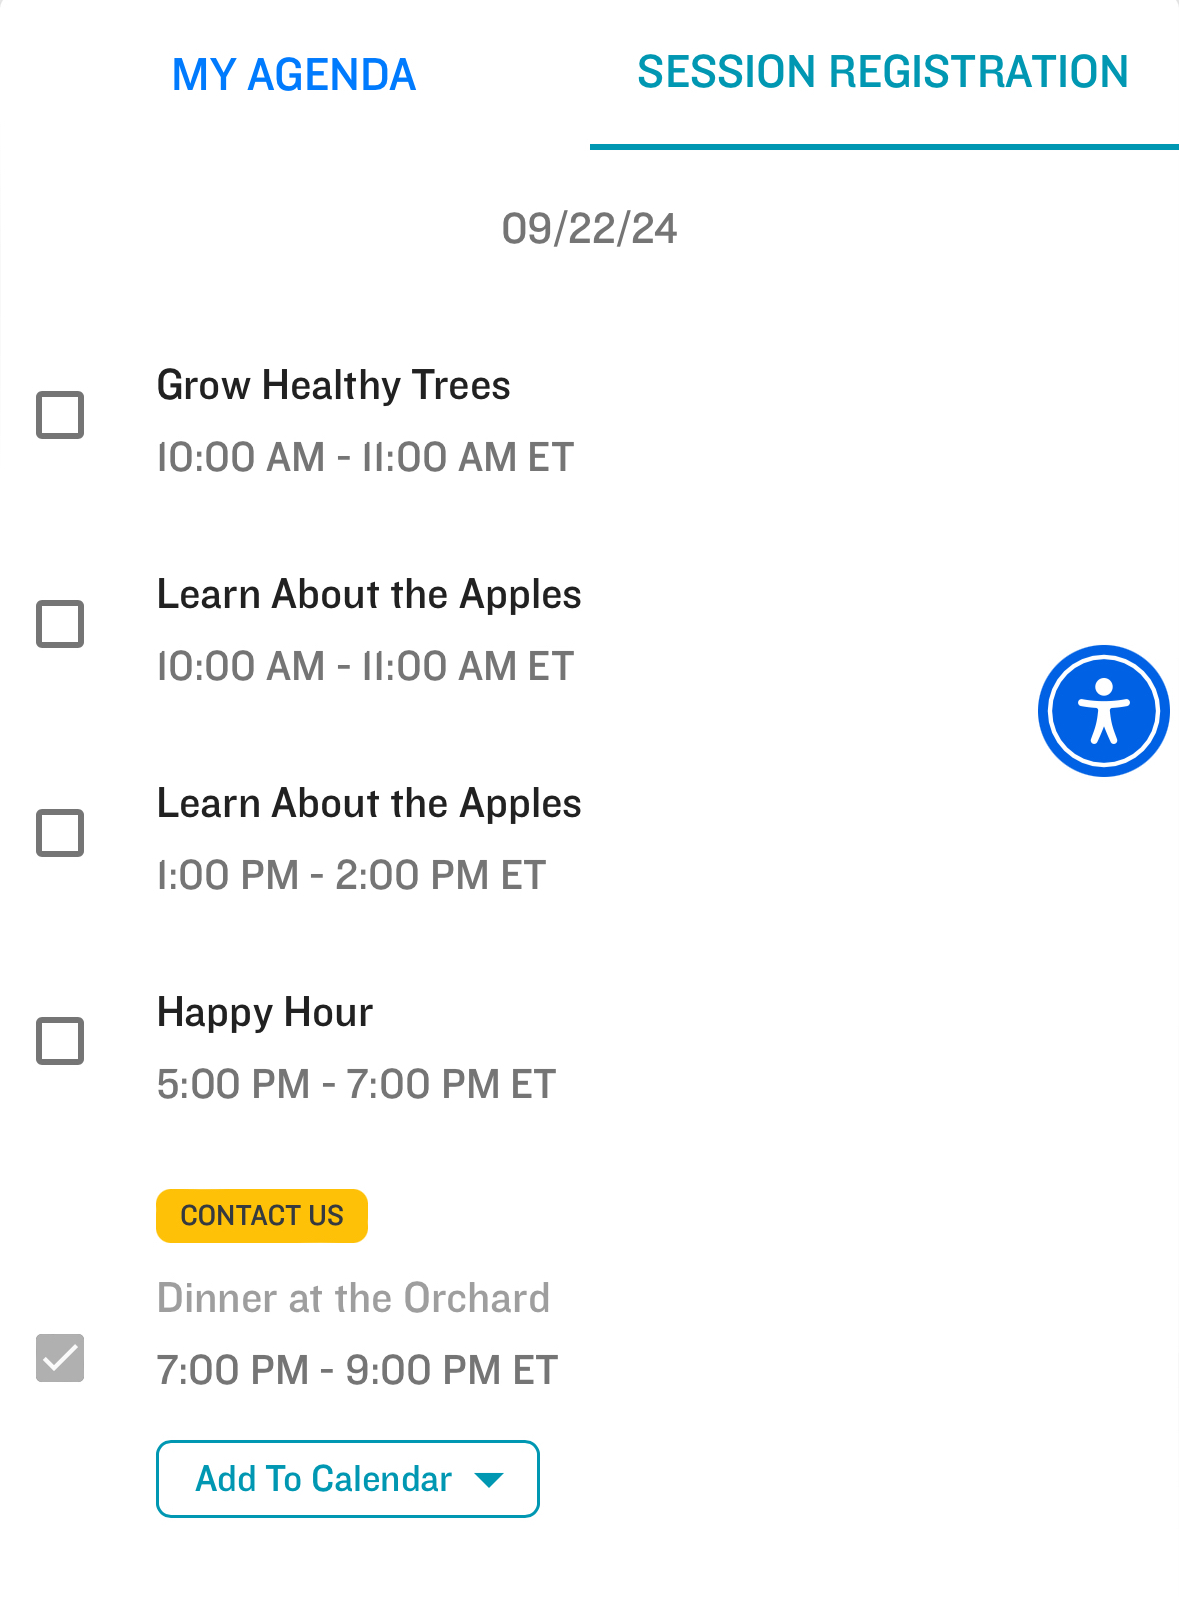
The Attendee will then check the box next to the Sessions they want to attend and click Confirm.
If they change their mind about a Session, they must click the checkbox next to it and click Confirm.
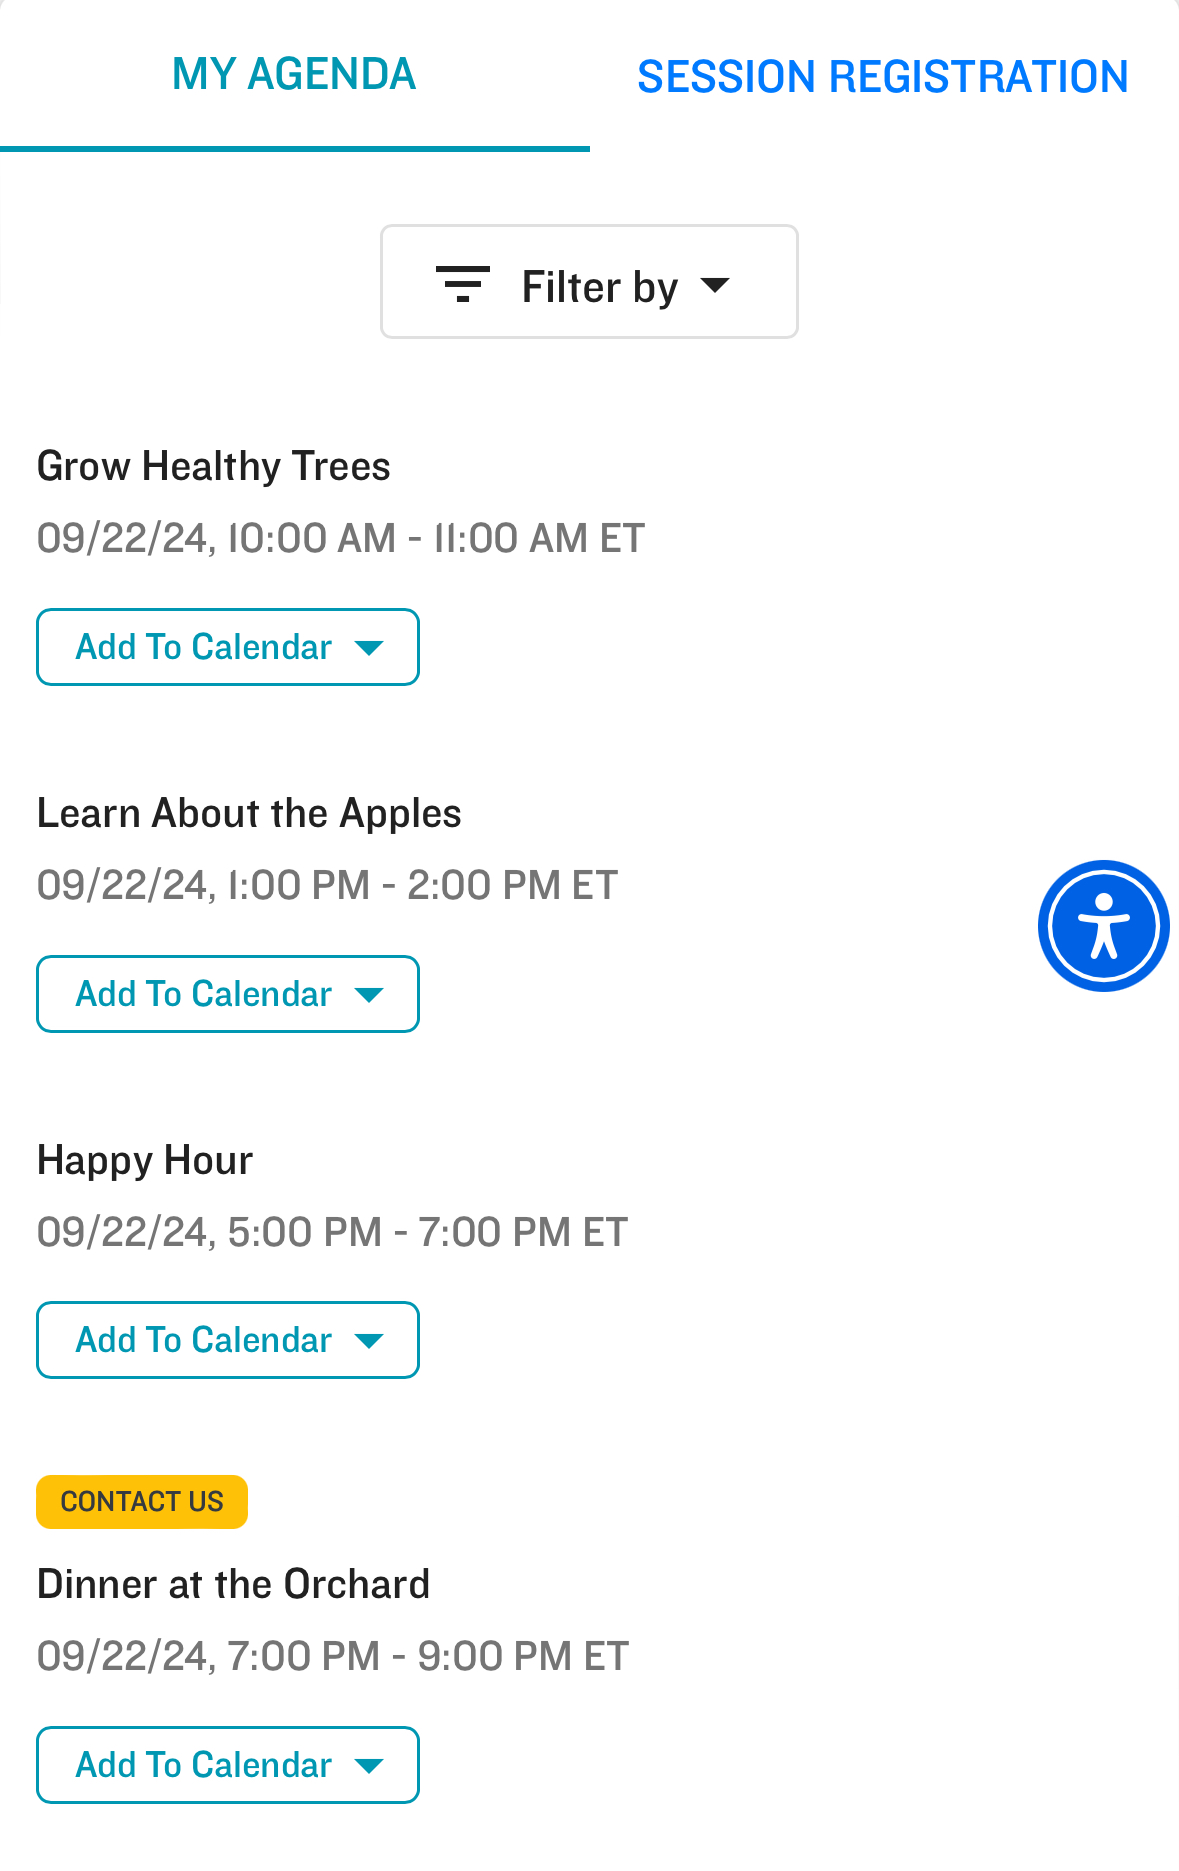
To see their agenda with only the Sessions they signed up for, the Attendee must click the My Agenda tab.
Sorting Sessions
The default sort order for Sessions is alphabetical. Sessions can also be sorted by Start Date and Start Time in ascending order. The list below describes how the Session’s sorting rule works in various scenarios.
- If there are multiple Sessions on a single day and each Session has a different Start Time, then the Sessions will be listed from the earliest Start Time to the last.
- If there are multiple Sessions with the same Start Time, BUT each Session has a different Start Date, then the Session with the earliest Start Date will be listed first.
- If multiple Sessions have the same Start Date and Start Time, the Sessions will be sorted alphabetically by Session Name.
- If there are multiple Sessions without a Start Date, the Sessions will be sorted alphabetically by Session Name.
Session Attendee
In Salesforce, a junction object record (Session Attendee) is created between the Attendee and the Session records. The Session Attendee record connects the Attendee to the Session, as well as connecting to the Lead or Contact for global visibility.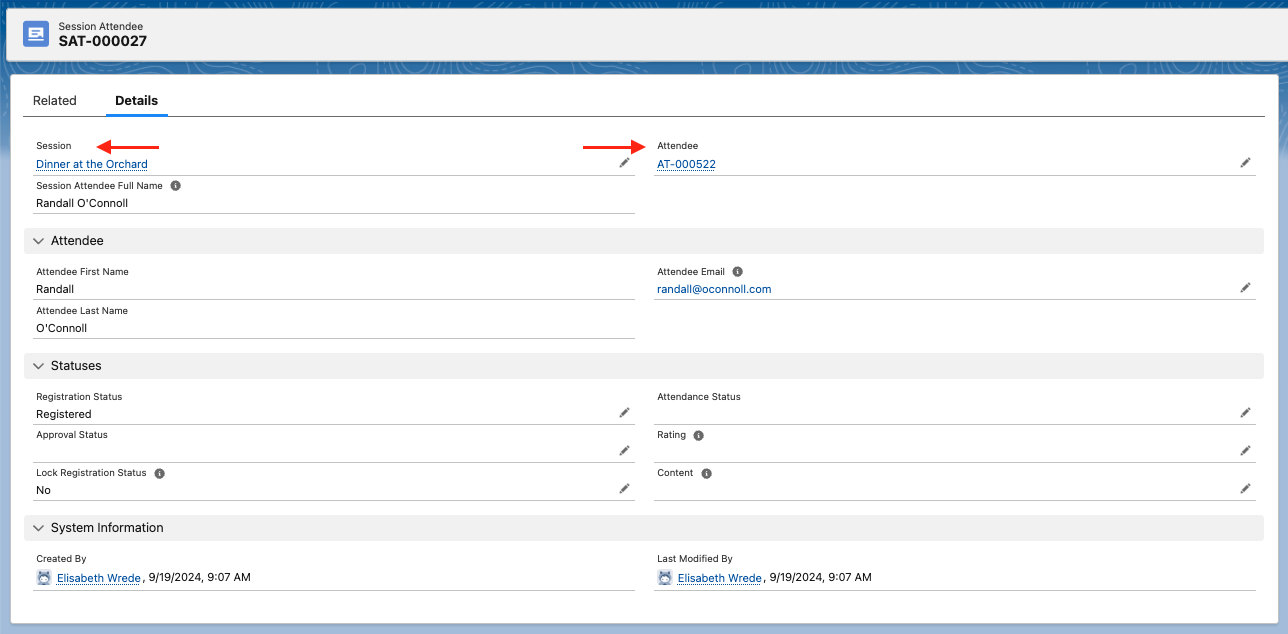
Event Organizers can add a public URL to the Post Session Question URL field so Session Attendees can easily find the Form/Survey. (If you don't see the field, you may need to add it to the Session Attendee page layout.)
Registered Session Content
Use the Content field on the Session Attendee object to provide your registered Attendees with additional information about the Session they signed up for!
If you don't see the Content field on the Session Attendee record, complete the steps below.
- Navigate to the Blackthorn | Events Admin tab.
- Click the Upgrade tab.
- Click Upgrade Events Layouts.
Wait about two minutes for it to upgrade, and then refresh your Session Attendee record.
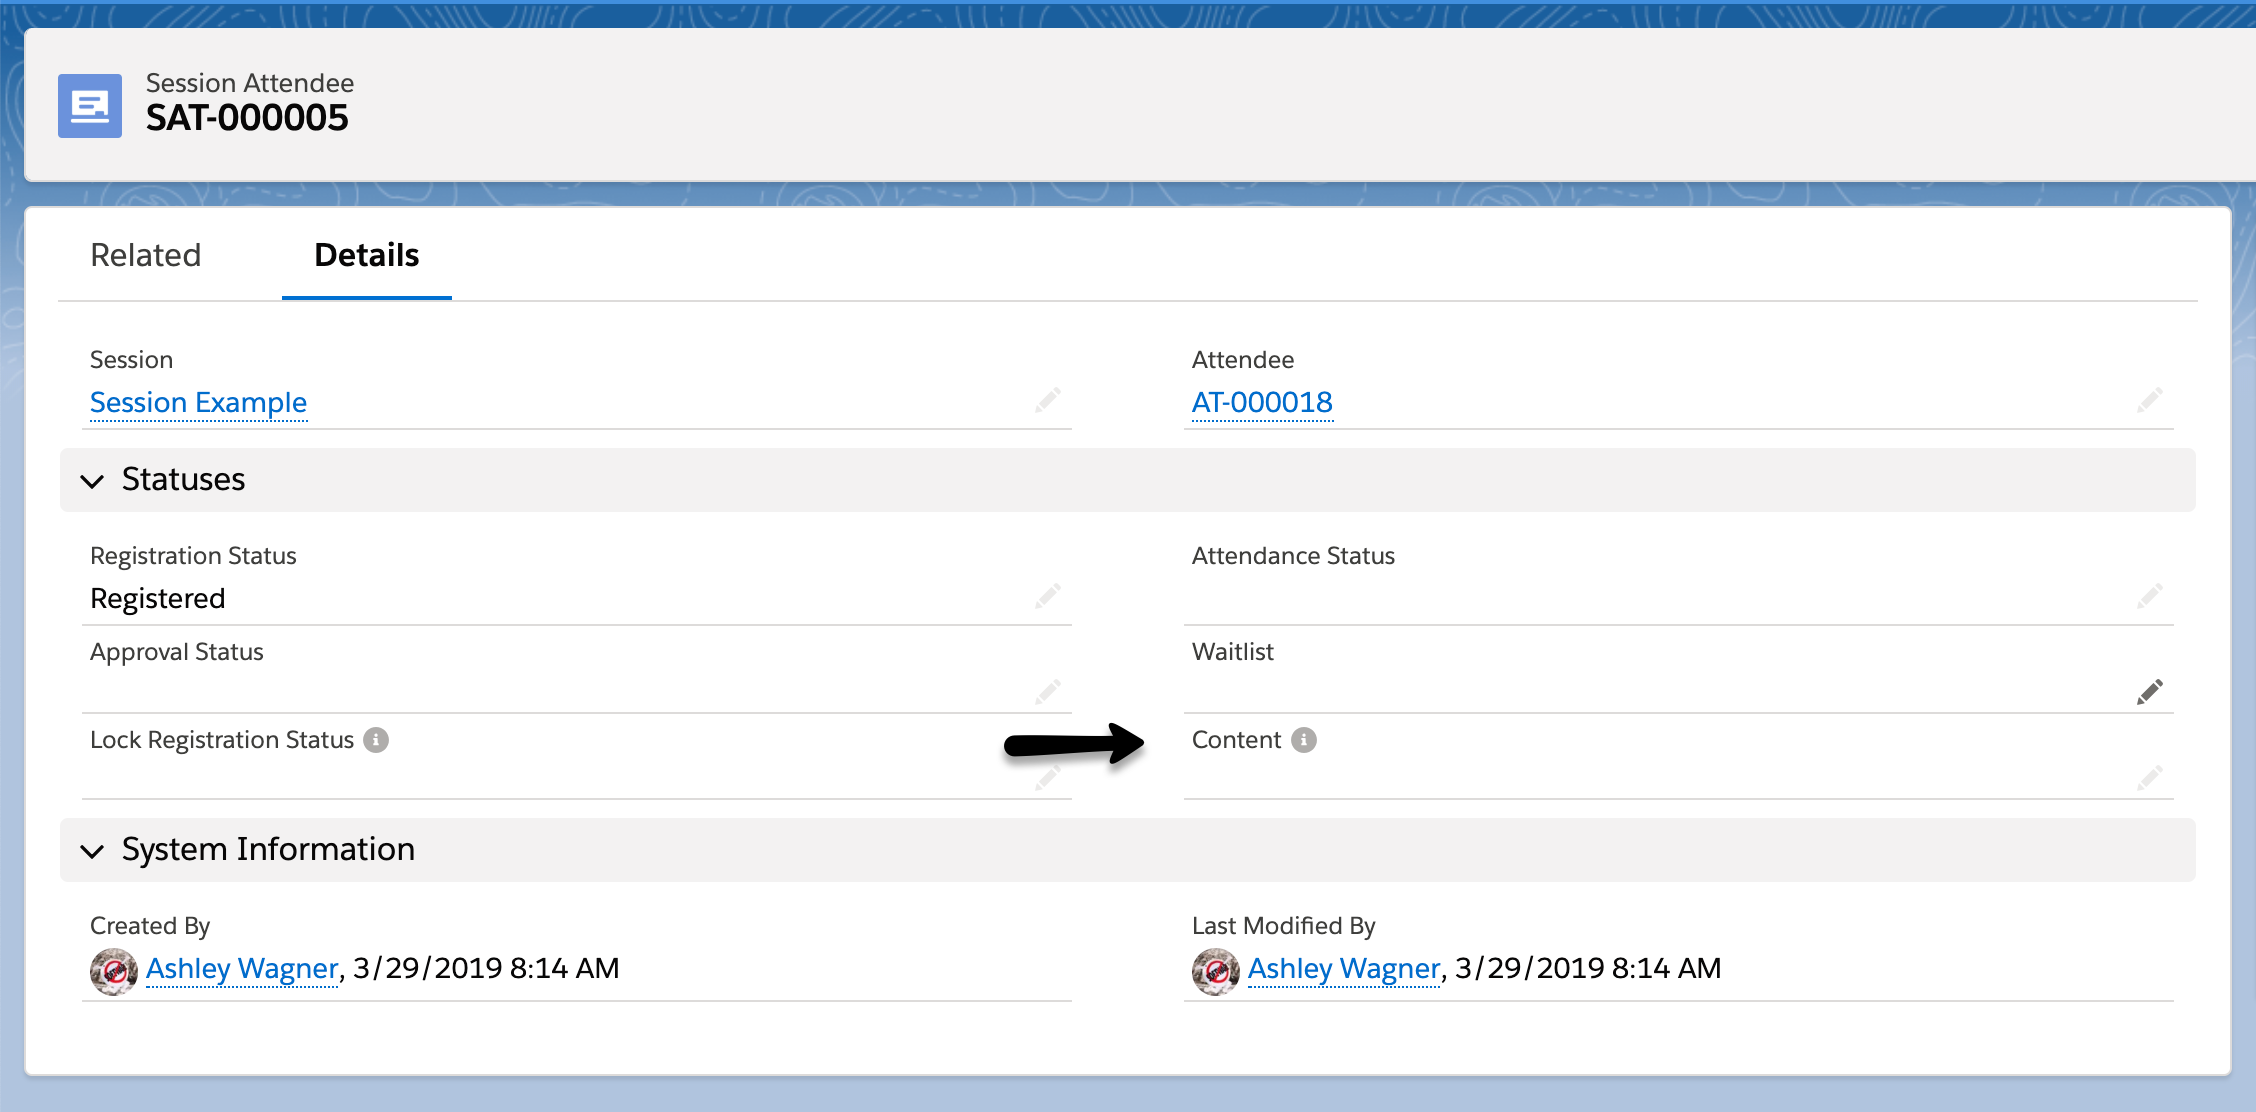
Once the Content is set for that Session, it will be displayed below the Session Name, as shown below: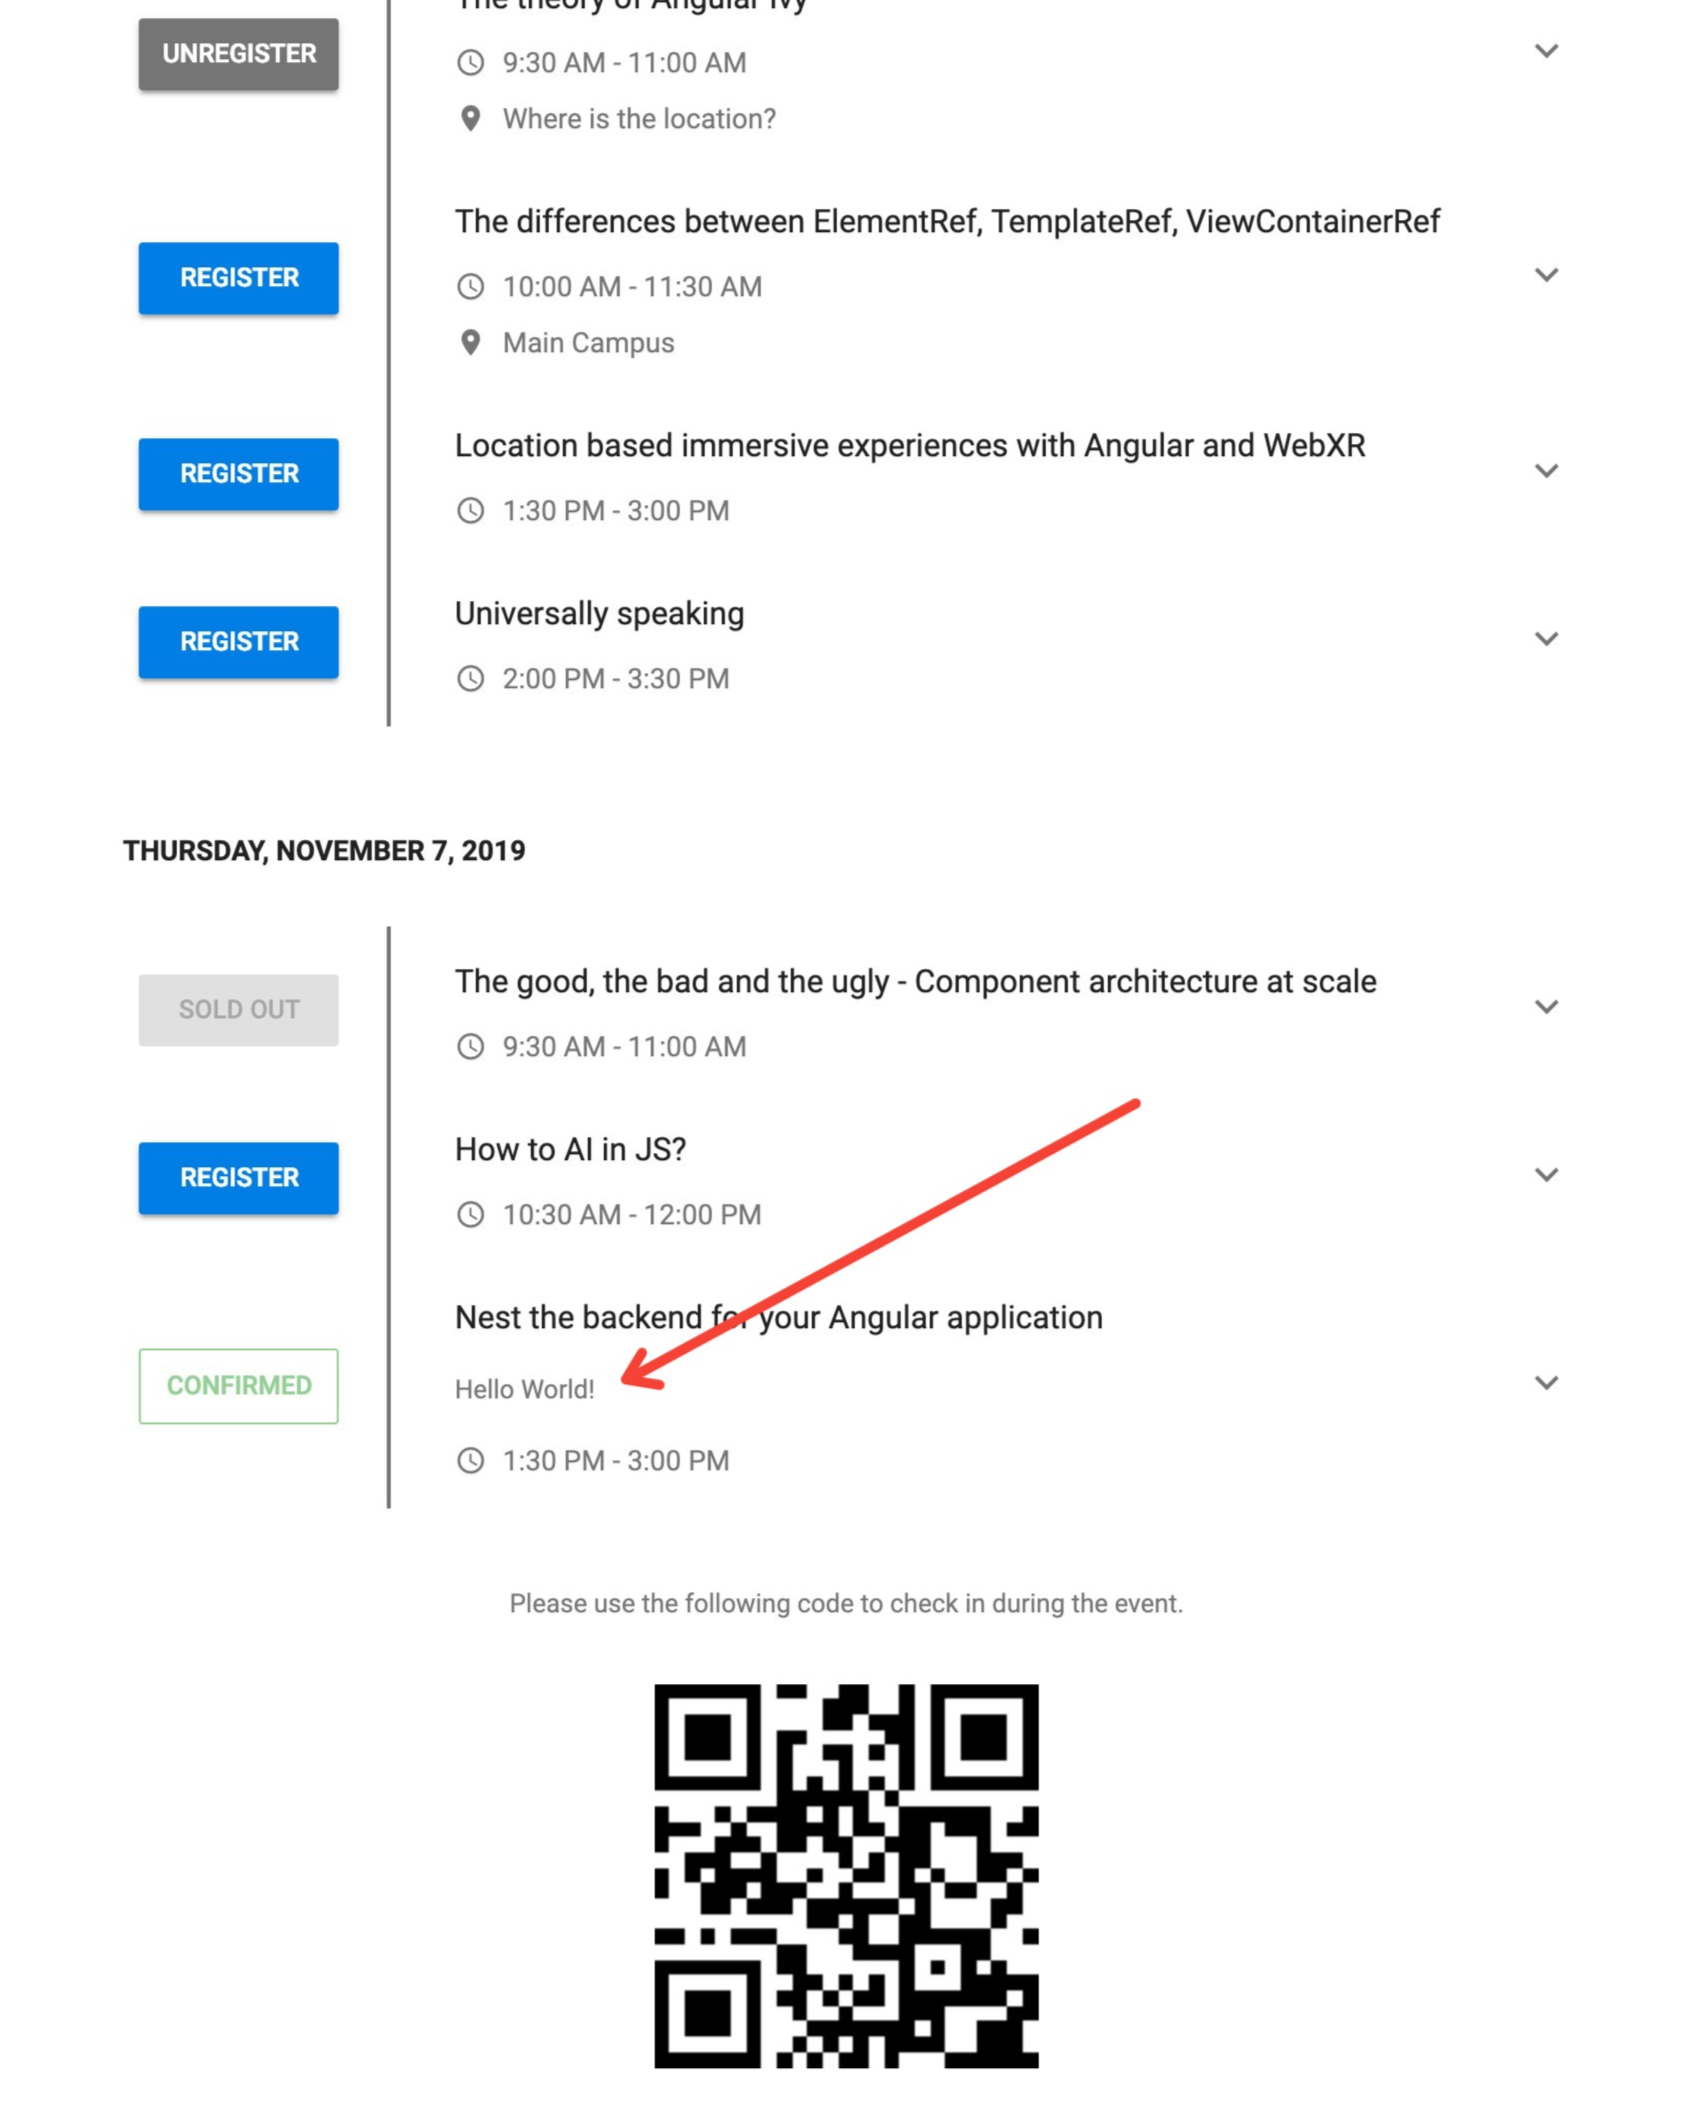
Locked Session Registration
If you don't want an Attendee to unregister for a Session, update the Session Attendee's Lock Registration Status to "Yes".
If you don't see the Lock Registration Status field on the Session Attendee record, complete the steps below.
- Navigate to the Blackthorn | Events Admin tab.
- Click the Upgrade tab.
- Click Upgrade Events Layouts.
Wait about two minutes for it to upgrade, and then refresh your Session Attendee record.
Sold Out Sessions
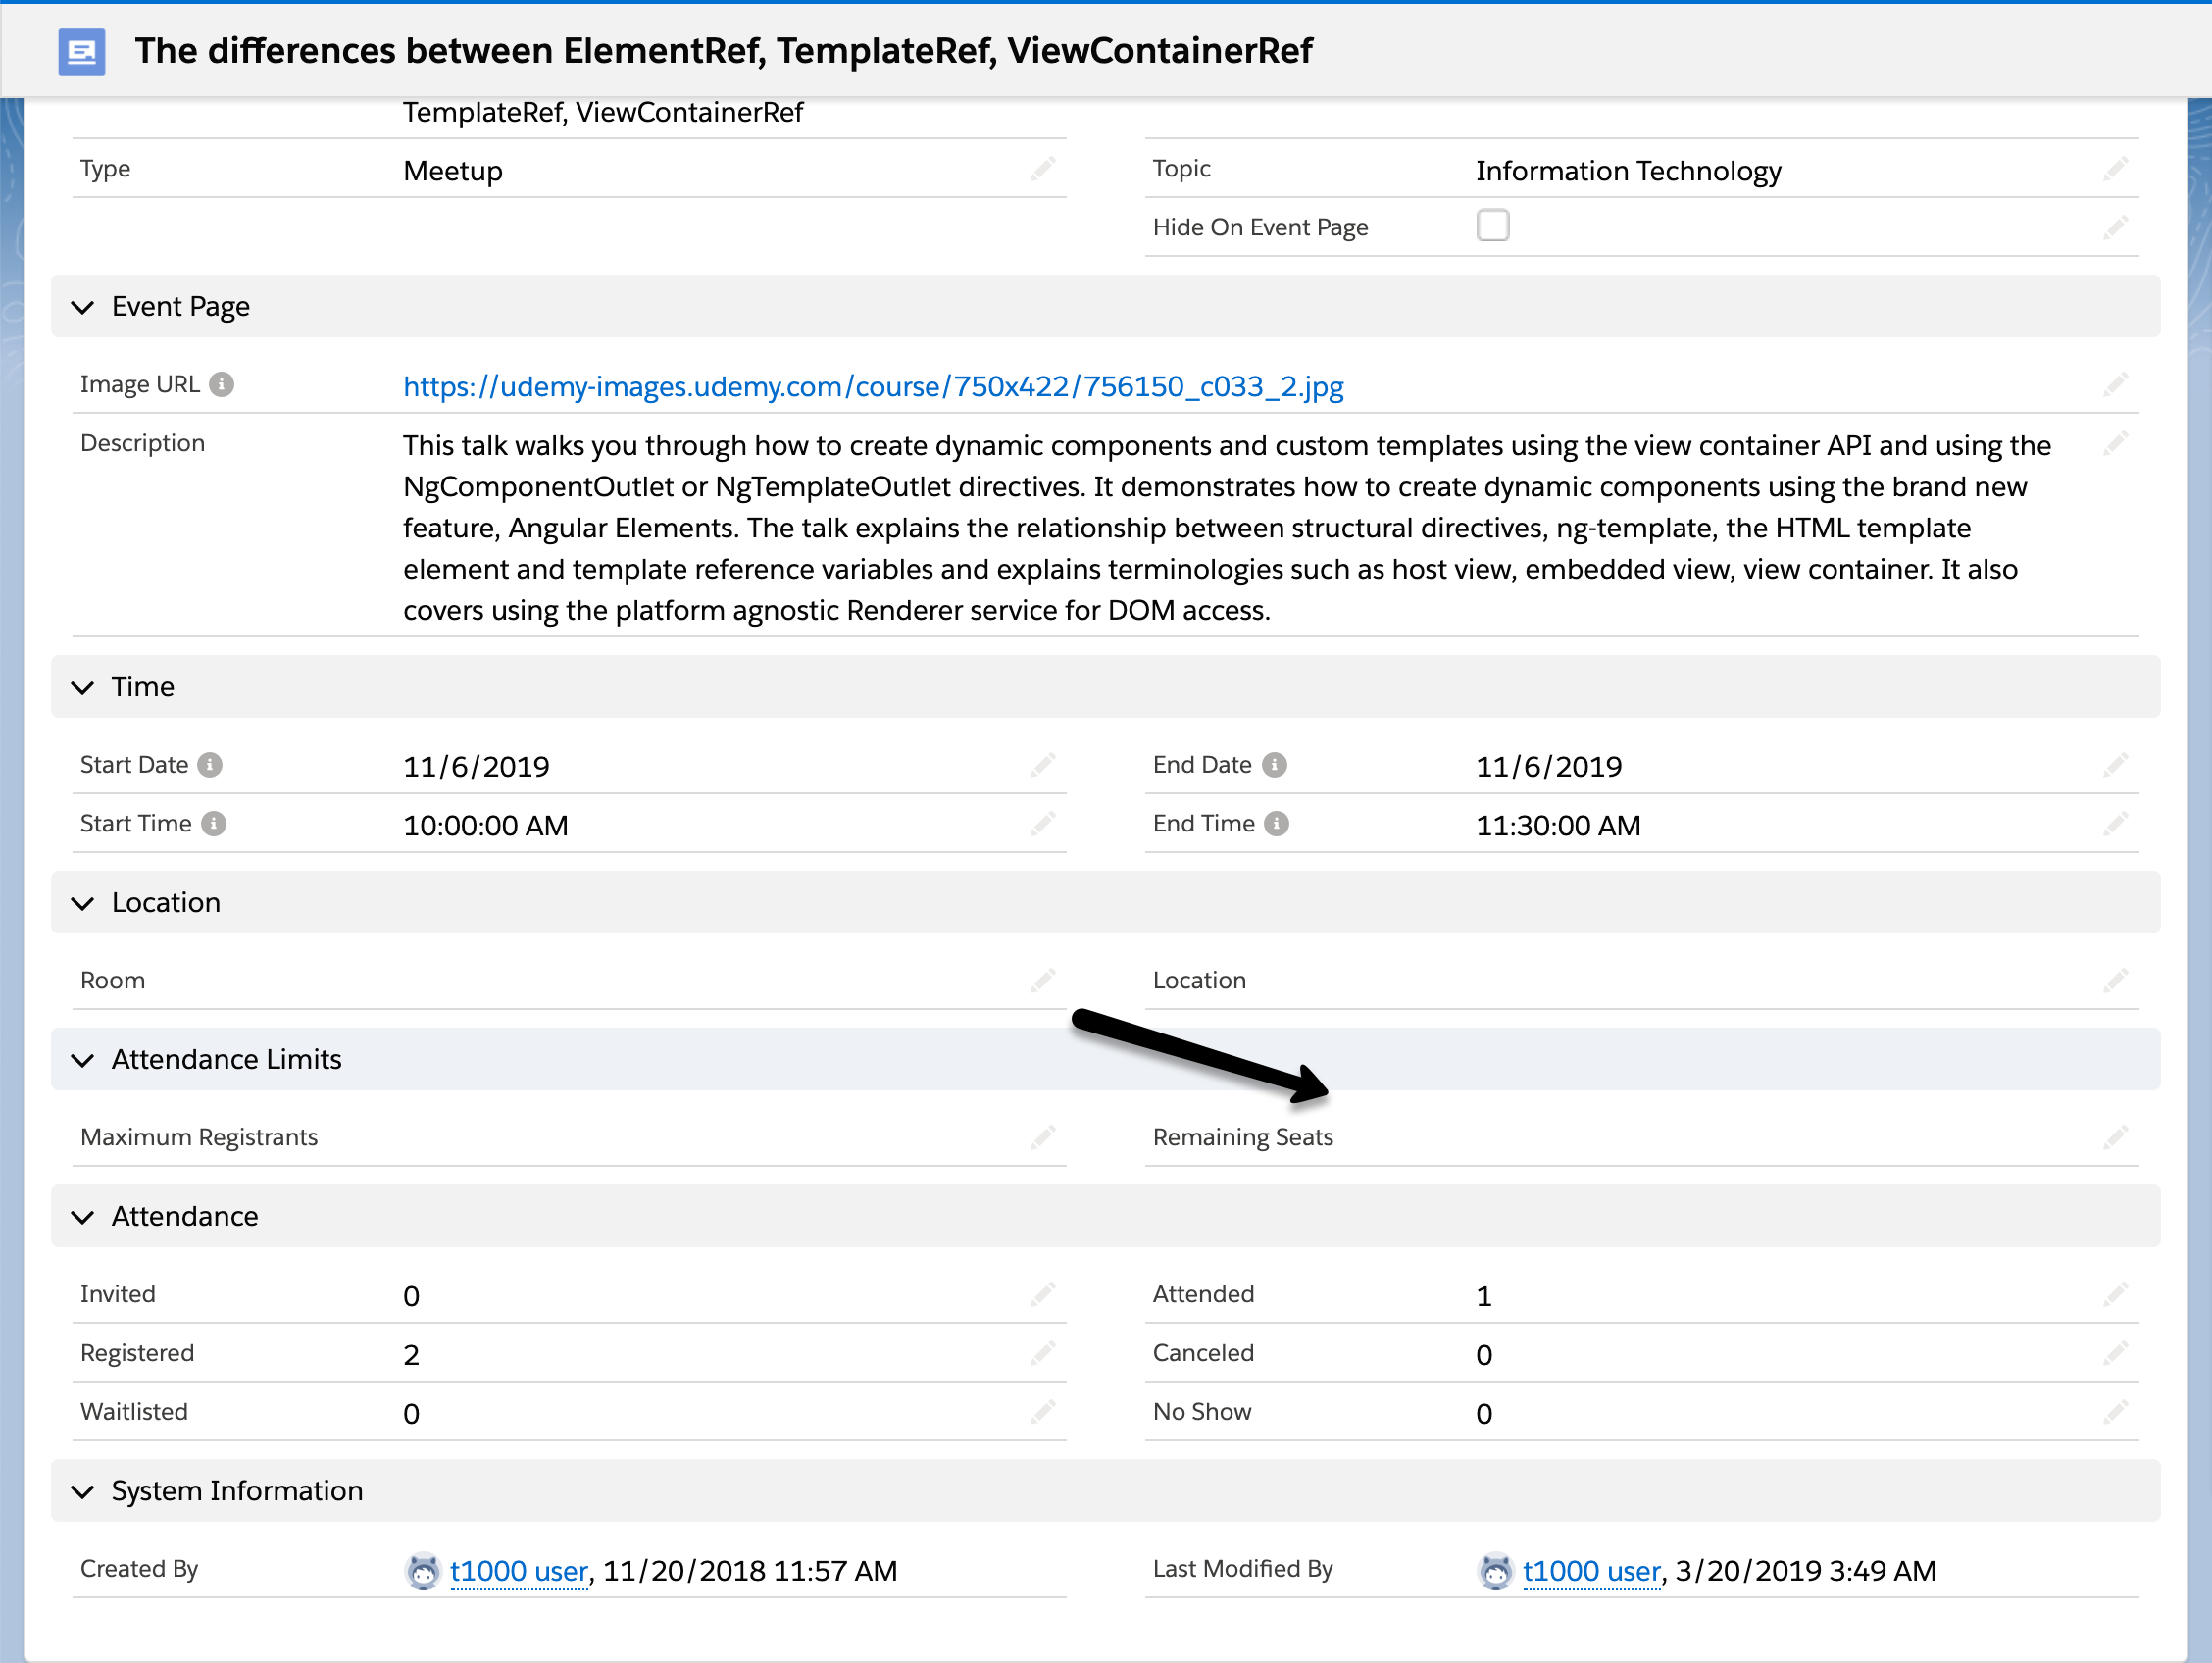
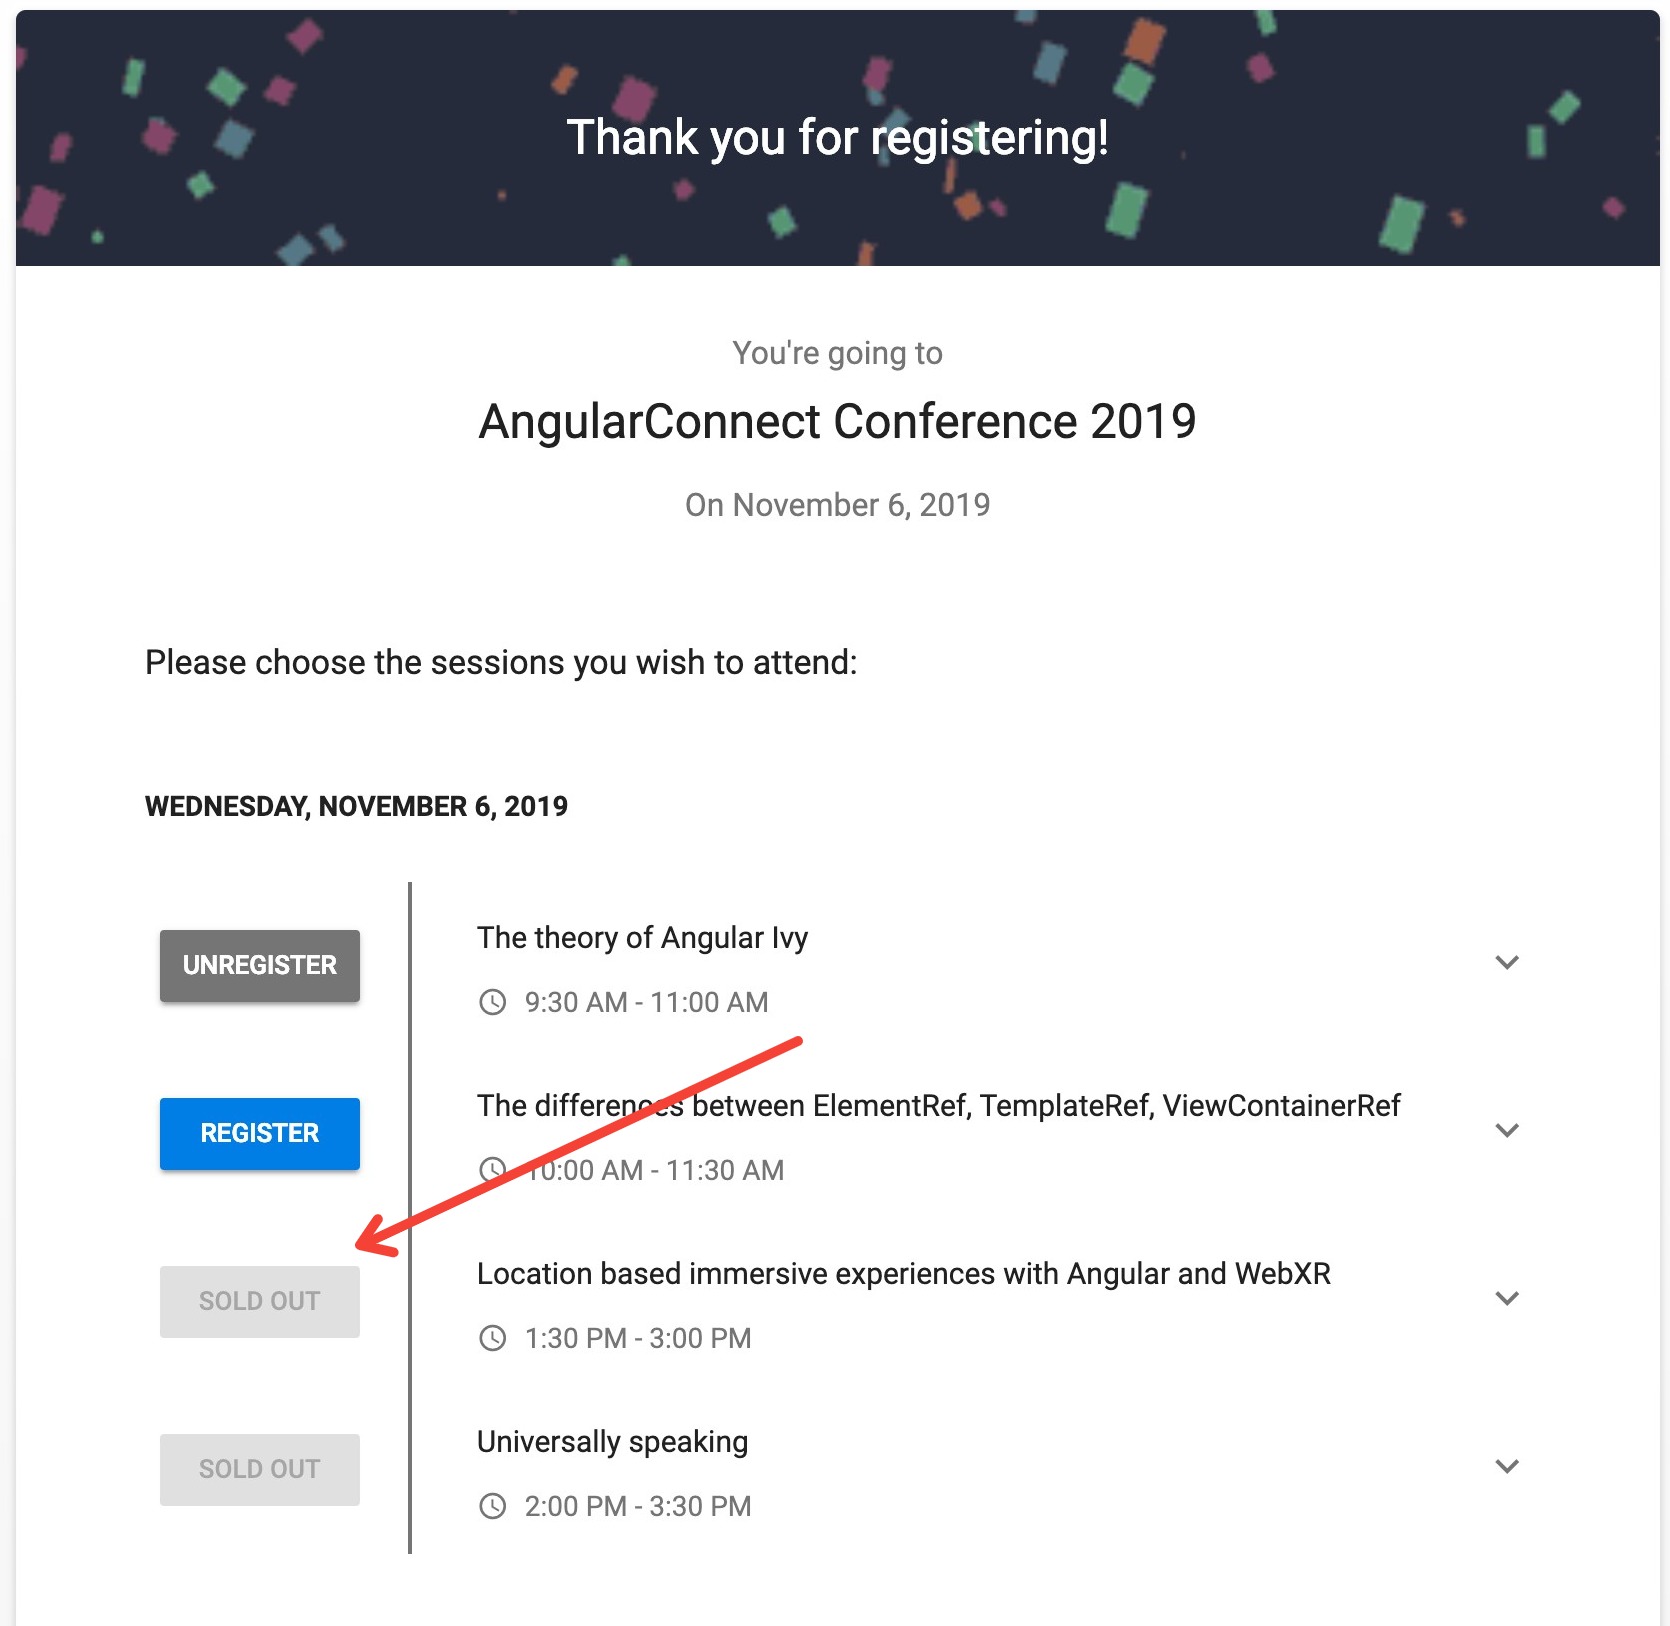
If a Session has zero Quantity Remaining, the Session will be considered "Sold Out," and no additional participants can be registered for the Session.
FAQ
Q: Why don’t I see my Sessions during checkout?
A: If you’ve added Sessions to your Event and they don’t appear during checkout, go to the related Event Settings record. In the Visibility section, set Sessions = “Always”.