What is Plaid?
Plaid makes it faster and easier to set up bank payments through a flow designed with the user's experience and security in mind. Users enter their online credentials and Plaid instantly authenticates their account. Plaid works with Stripe as an ACH processor to simplify bank-to-bank payments. Read more about Plaid here.
Make sure to upgrade to the latest version of PayLink before trying to process a Plaid transaction.
Plaid Setup Prerequisites
Please have the following before you start the setup process.
- A Plaid account
- An activated Stripe account
- For Test Payments - A Payment Gateway record with Test Mode = "True" that is connected to the activated Stripe account
- For Live Payments - A Payment Gateway record with Test Mode = "False" that is connected to the activated Stripe account
Integrating with Plaid
Make sure your Stripe account is activated prior to Plaid integration. If you attempt to connect to Stripe through the Plaid dashboard with a test only Stripe account you will not be able to move forward until you activate the Stripe account.
- Sign up for a Plaid account, if you haven't already done so.
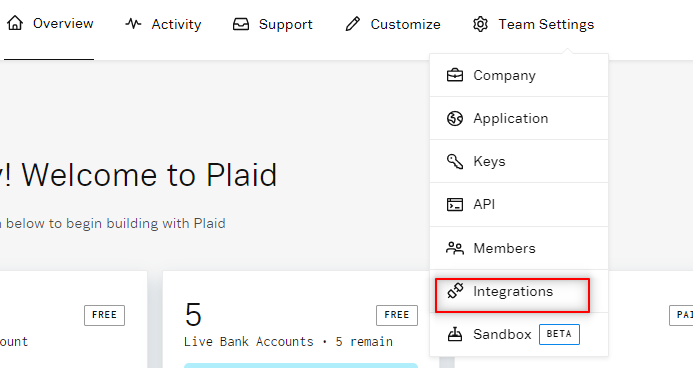
- Navigate to the "Team Settings" menu in the upper navigation bar.
- Click Integrations.
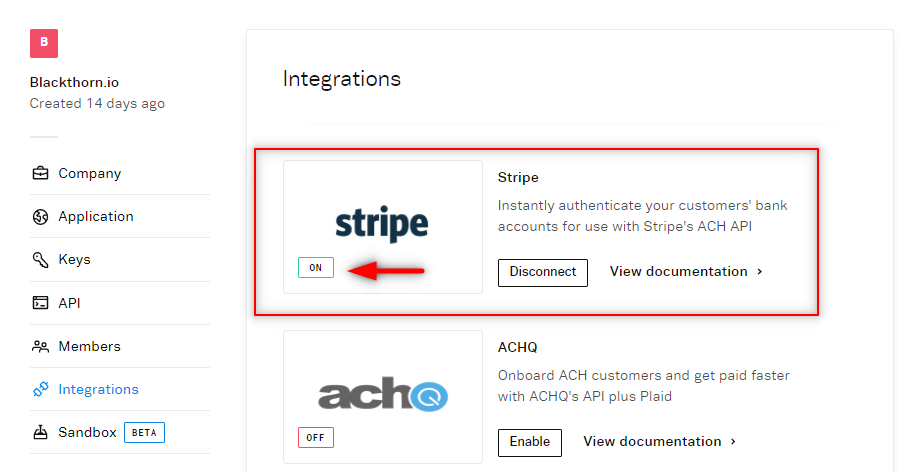
- Select your integration provider (i.e. Stripe).
- Click Enable next to your provider.
- Follow the steps for enabling the provider.
- Once integrated you will see the label "ON" in the lower left-hand corner if the provider's icon.
- Copy the keys listed in the "Keys" menu in your Plaid dashboard in a safe place. We will use them when we set up your Payment Gateway in Salesforce.
Add User Permissions
- Create a new Permission Set in Setup. Name it "Access Encrypted Data."
- Navigate to System Permissions.
- Click Edit.
- Set View Encrypted Data = "True" (checked).
- Click Save.
- Navigate to the user record in Setup for the person who authenticated the Paylink app. This is the person who clicked the Authenticate button while running the Paylink setup wizard.
- Add the permission set you just created to their user record.
How to Setup Your Payment Gateway
- For testing using test bank data:
Configure your Test Mode Stripe Payment Gateway with the Sandbox Secret and Client Id. - When ready for go live and customer use:
Make sure your live Stripe Payment Gateway record has the Production Secret and Client Id.
- Navigate to a Payment Gateway with Provider = "Stripe."
- Add your Plaid keys to the Plaid User ID and Plaid Secret fields. See the table below for field matching.
- Note: Once you enable Plaid in Production you will use a different secret key. See the Plaid documentation for Production Setup.
| Plaid Keys | Payment Gateway Fields |
|---|---|
| Client Id | Plaid User ID |
| Sandbox Secret | Plaid Secret |
| Production Secret | Plaid Secret |
- Click Save.
- Click Connect to Gateway to re-establish a connection with your gateway provider.
Create a Transaction
- Navigate to the Transaction object.
- Click New.
- Select Record Type = "Charge."
- Click Next.
- Enter the Amount you would like to process through Plaid. (required)
- Select a Currency ISO. (required)
- Set a Payment Gateway with the Stripe gateway that is connected to Plaid.
- Click Save.
Use PayLink to Process a Plaid Transaction
- Navigate to the PayLink section of the Transaction record you just created.
- Click the PayLink URL field.
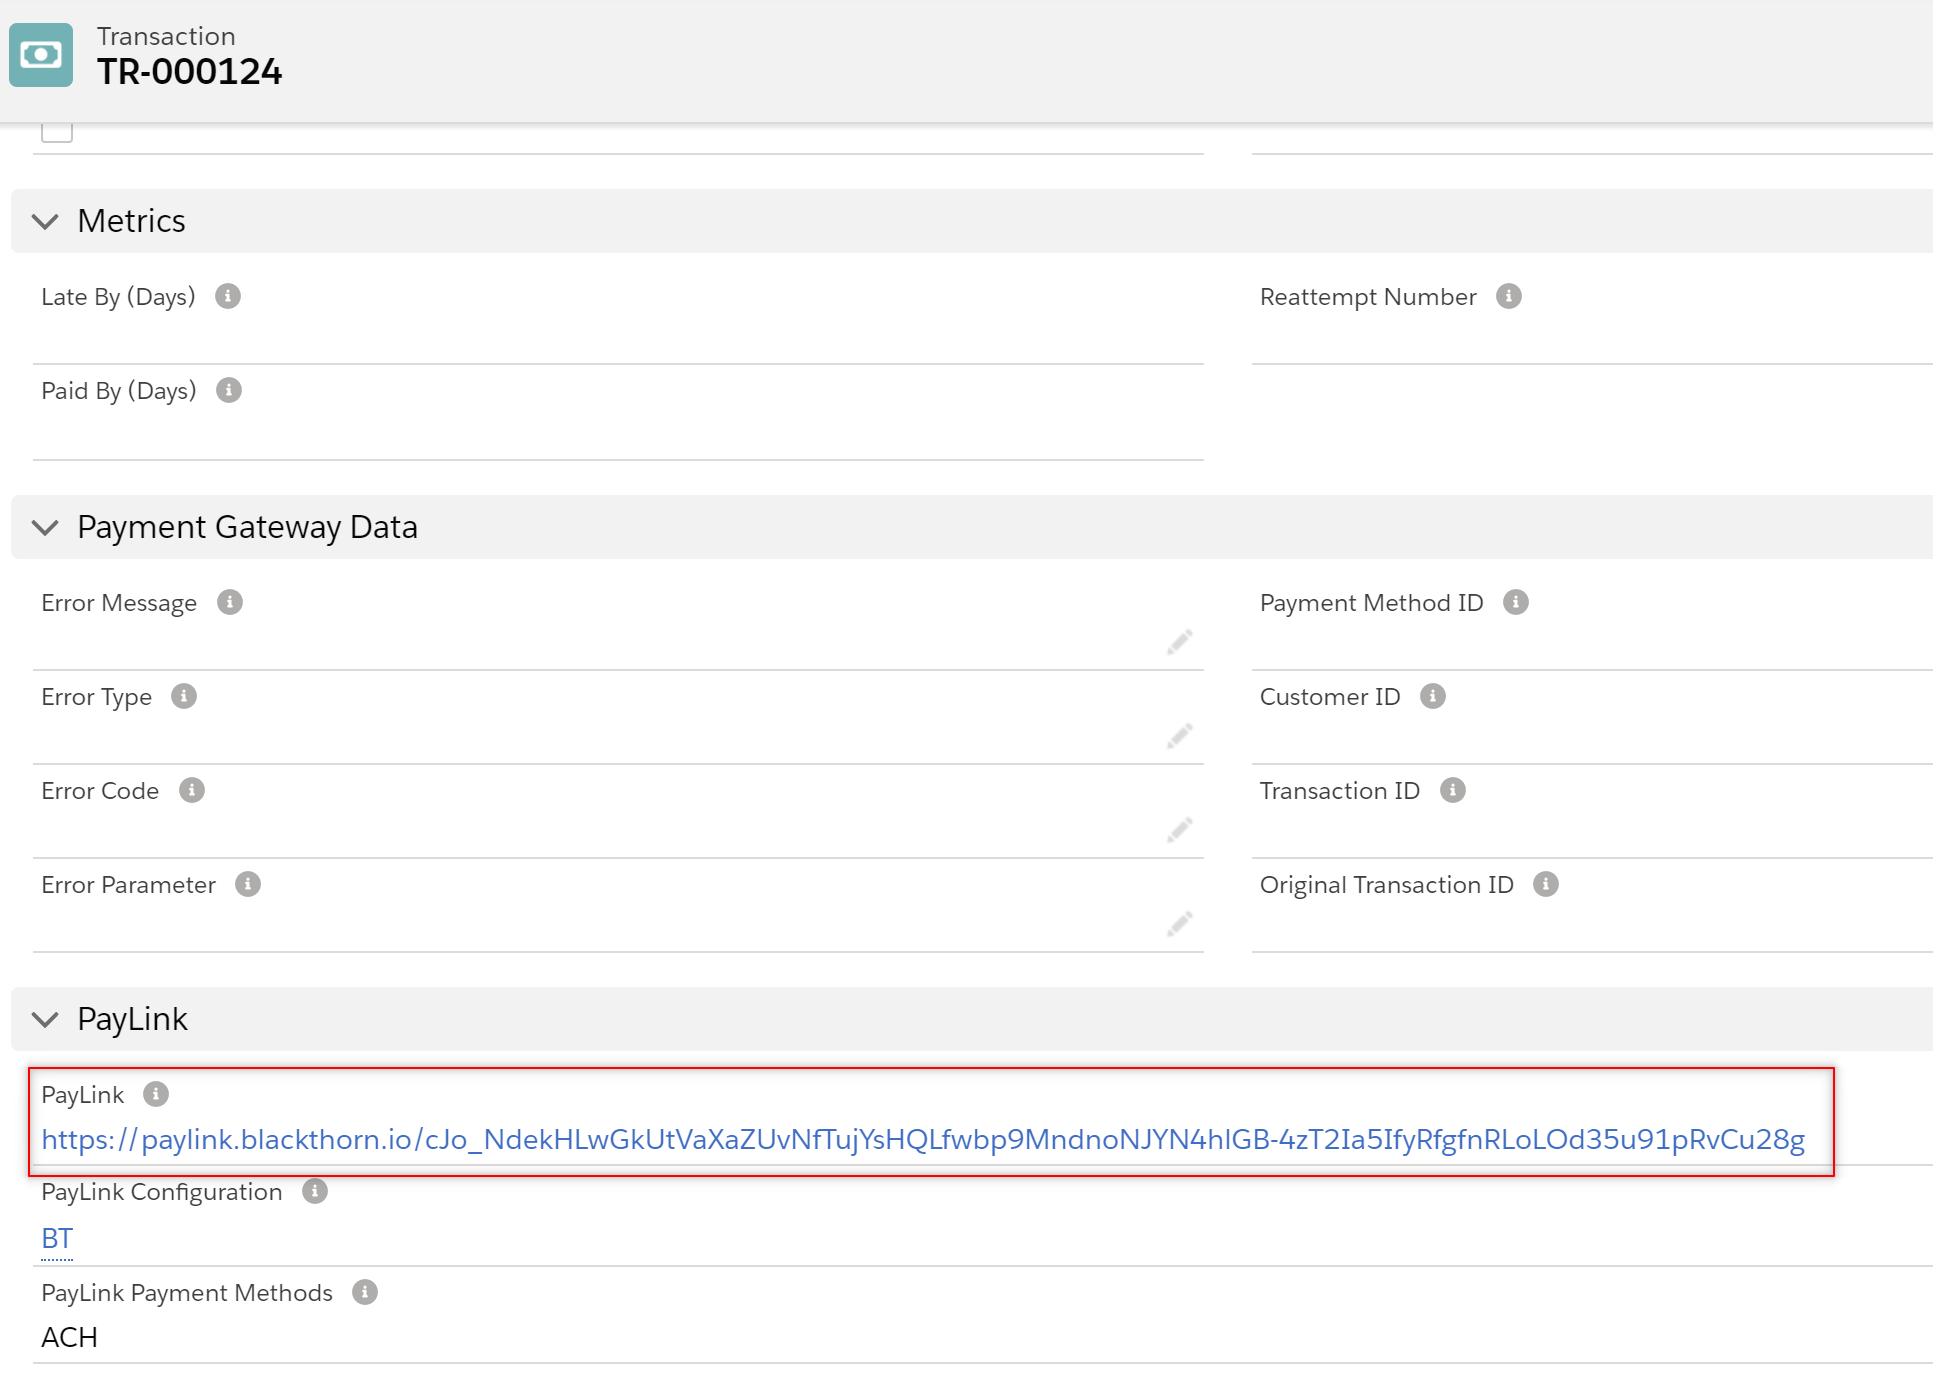
- Observe the PayLink page. Click Pay.
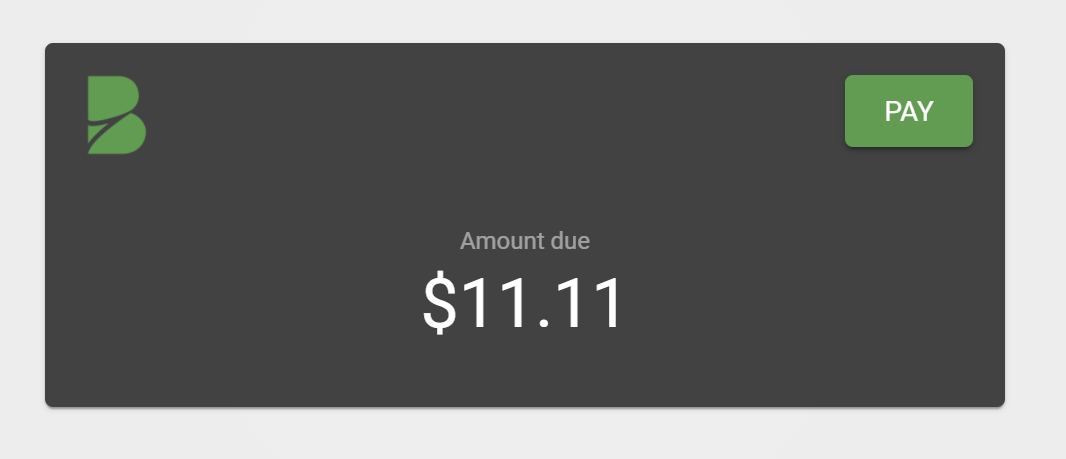
- Click the Bank tab and click Pay $x.xx.
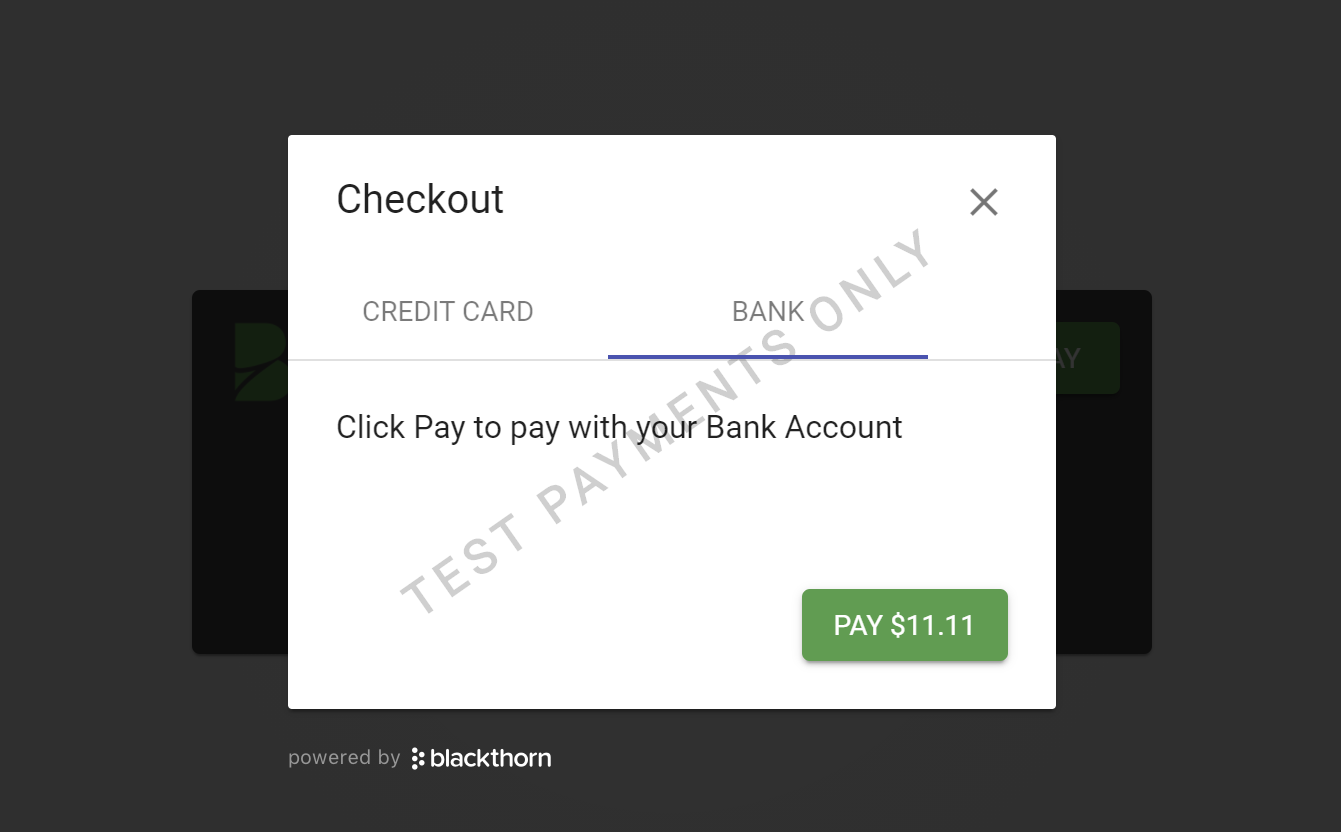
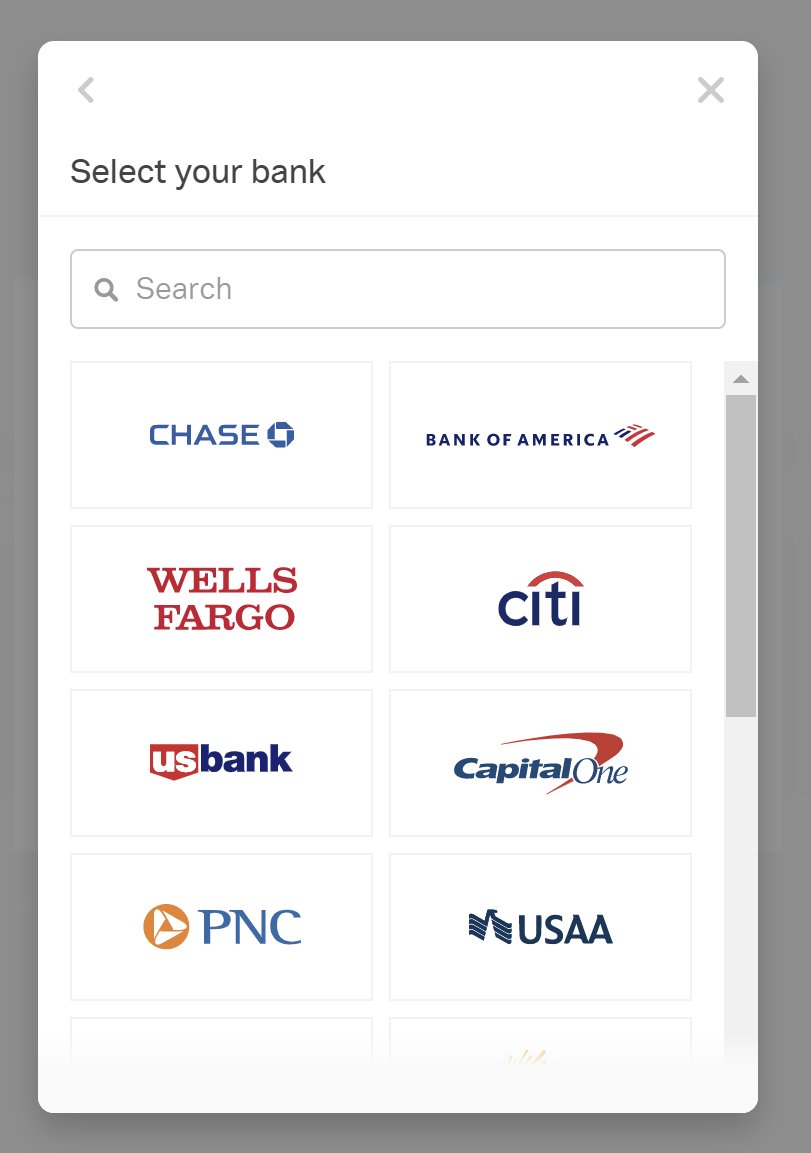
- Choose your bank.
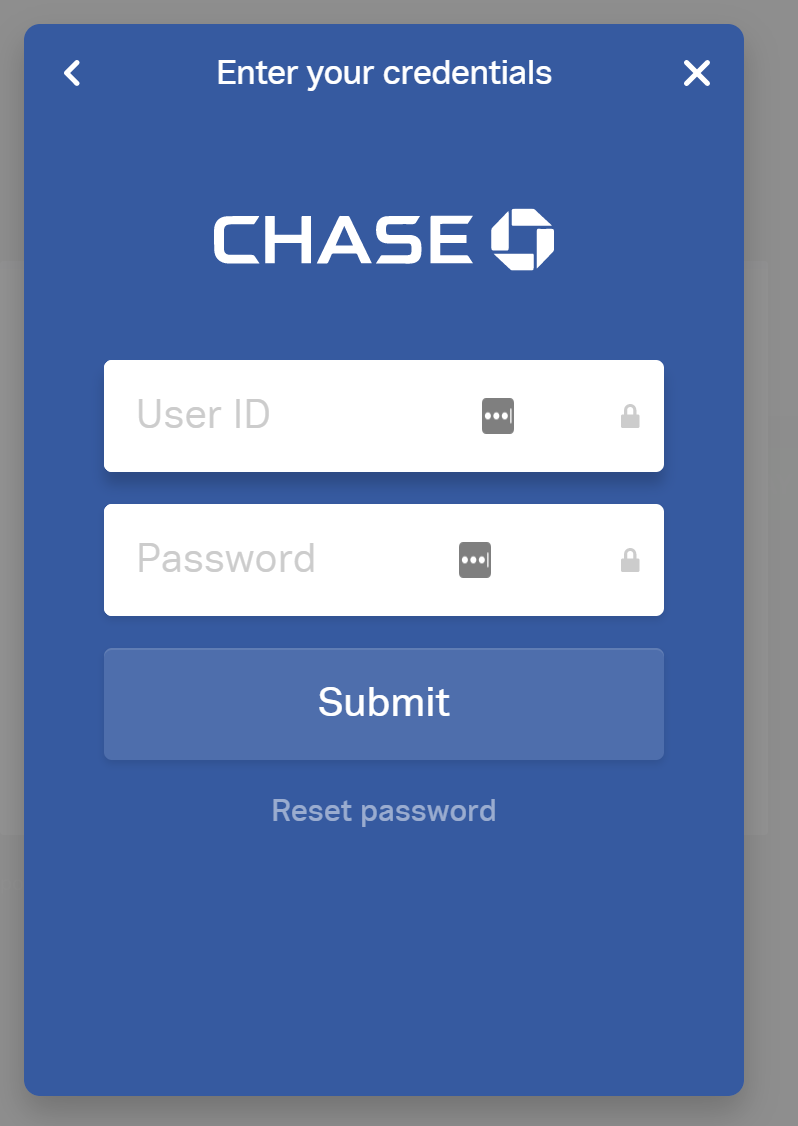
- Enter your bank credentials. For testing, use username: user_good and password: pass_good.
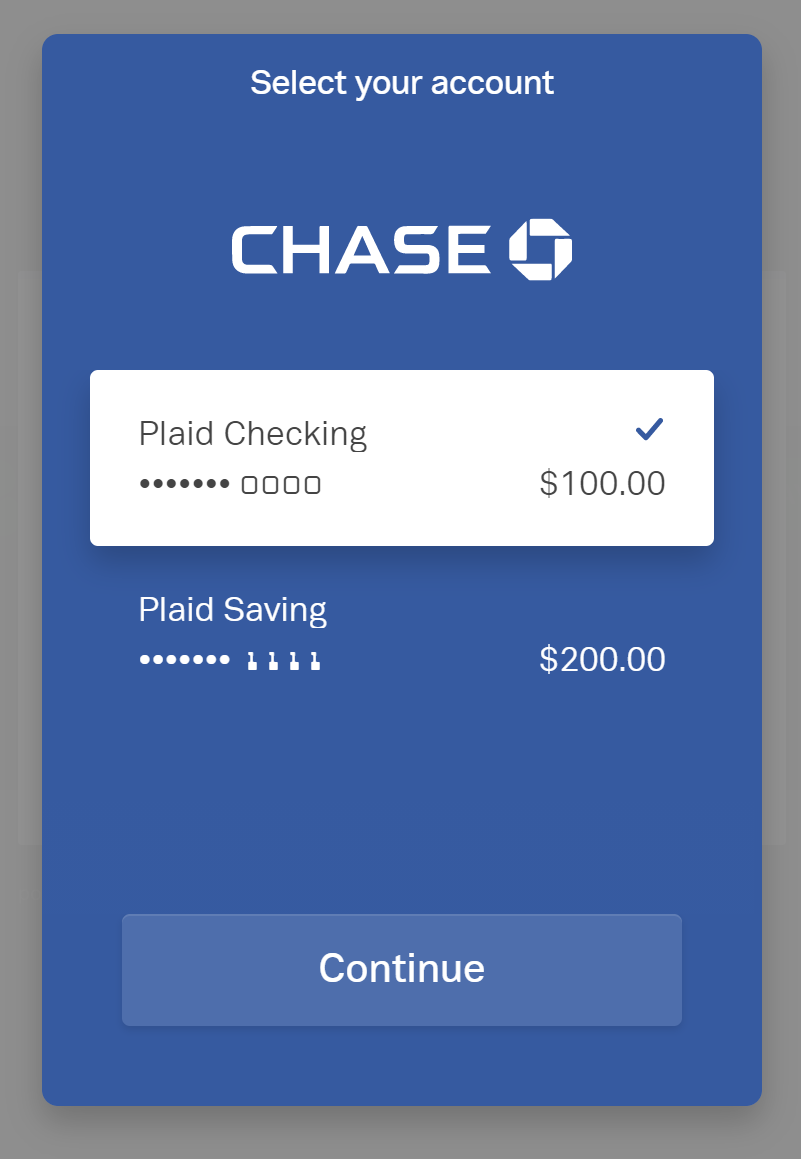
- Select a checking or savings account and click Continue.
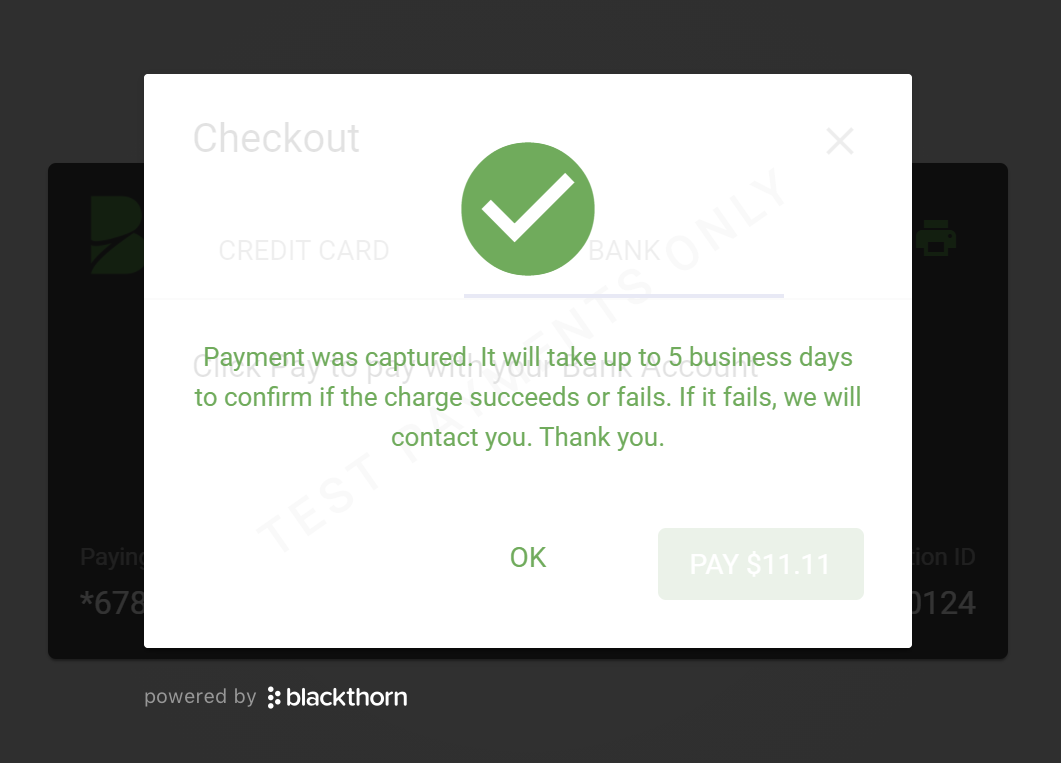
- If the Transaction processes successfully, you will see a success message.
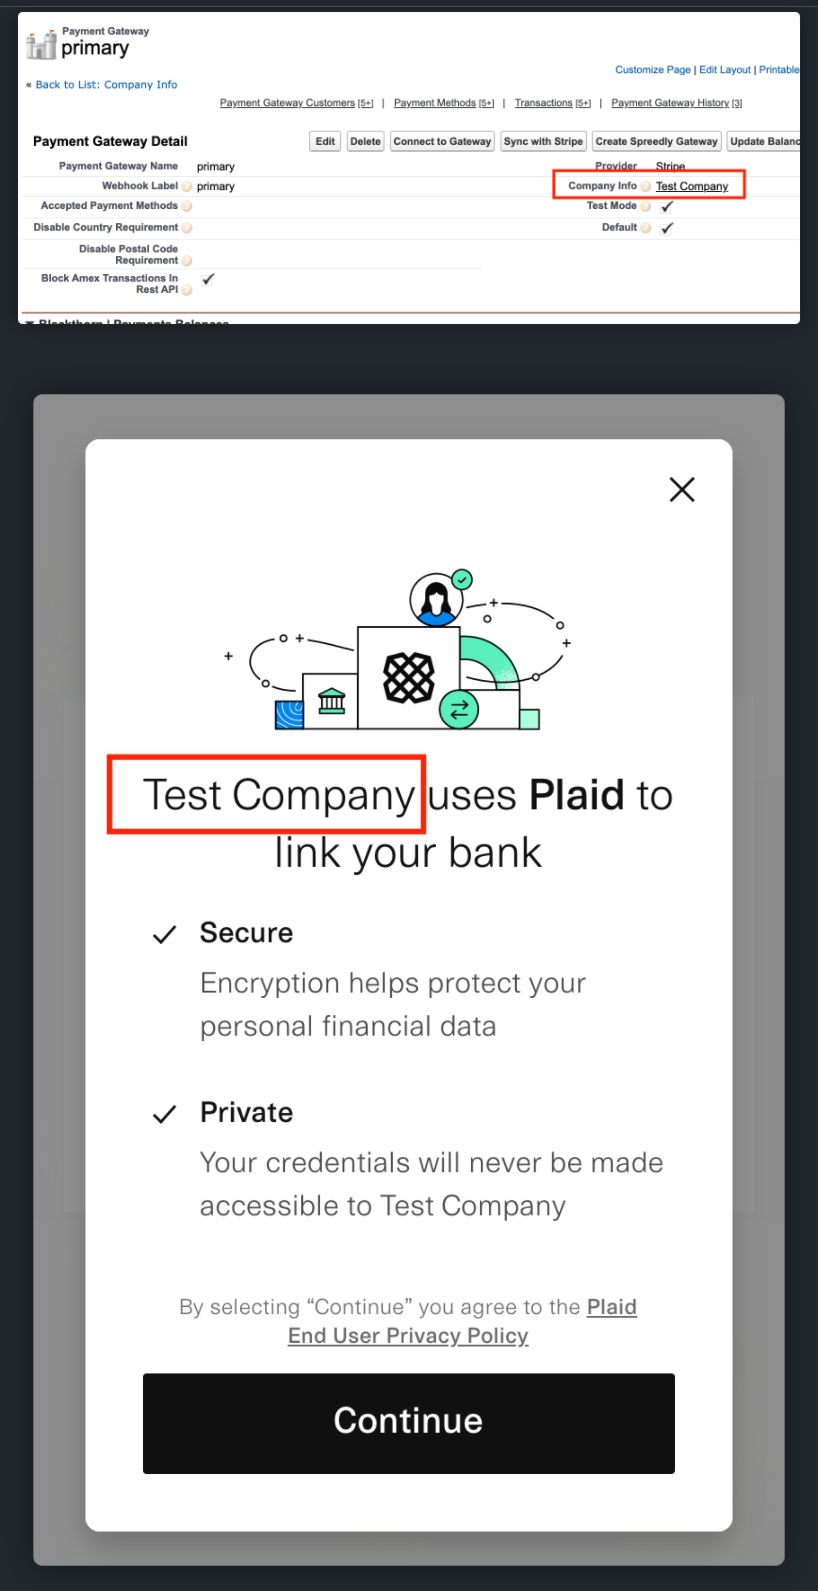
Company Name on the Plaid Consent Screen
Ever wondered where Plaid gets the company name used on the consent screen? You can navigate to your Plaid dashboard and customize screens there, or you can do it in Salesforce.
Make sure you have a Company Info record that stores the Company Info Name you want to see on the Plaid consent screen.
- Navigate to the Payment Gateway record used for Plaid.
- Click the Pencil next to the Company Info field.
- Select a Company Info record.
- Click Save.
NOTE: You may need to add the Company Info field to your Payment Gateway page layout.
Why Plaid vs ACH
- You can use Plaid payment methods for future Transactions.
- You can eliminate the micro deposit verification step.
- Plaid offers a direct link to your bank account without having to type in a routing number or account number.