To use the following instructions, you must have Salesforce administrator access to Salesforce and Authorize.net.
Once you have connected to Authorize.net, it's time to configure webhooks. Webhooks automatically send specified data from Authorize.net to Salesforce.
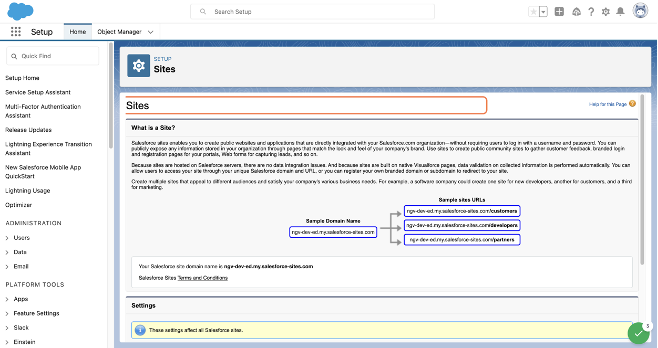
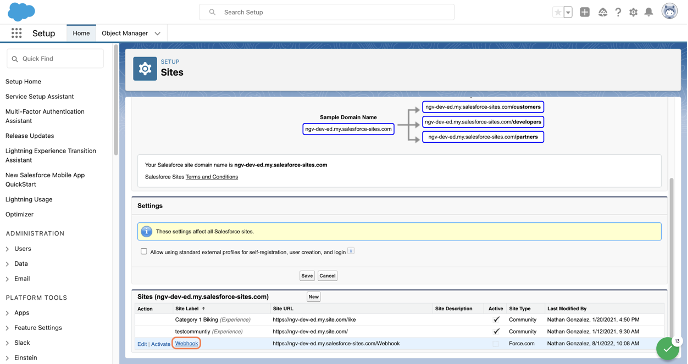
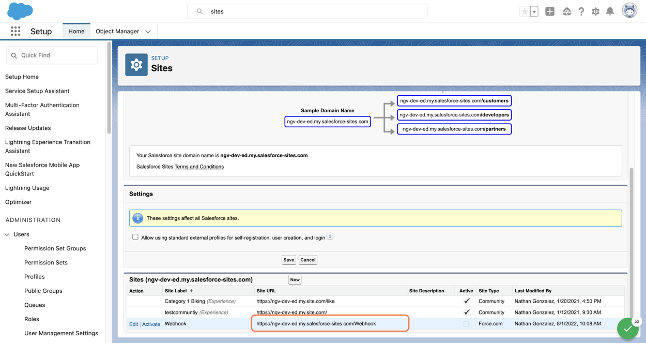
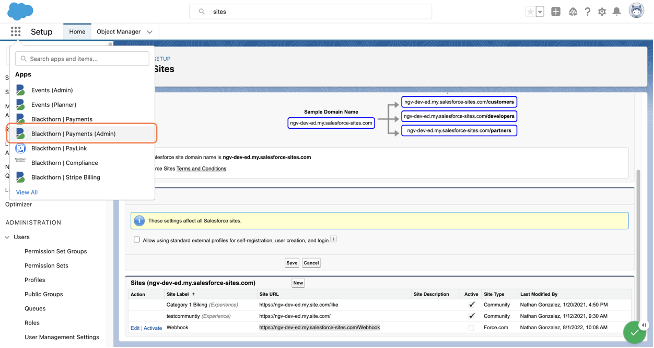
- Go to Setup.
- Type “Sites” in the Quick Find box.
- Click Sites.
- If a Force.com domain has not been set up, follow the instructions to create one. If have have a Force.com domain, go to the next step.
Configure your Site
-
Enter a value for your Force.com domain.
-
Click Check Availability.
-
Review and accept the Site terms of use.
-
Click Register My Force.com Domain.
-
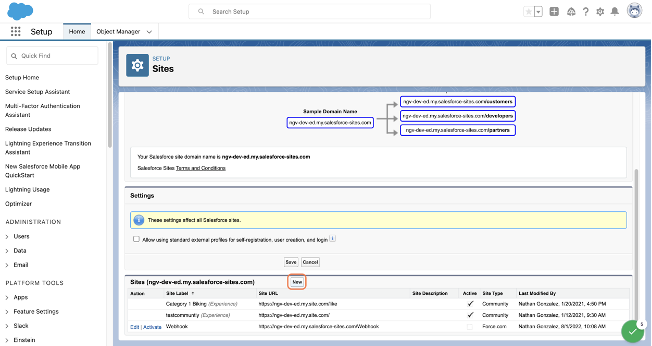
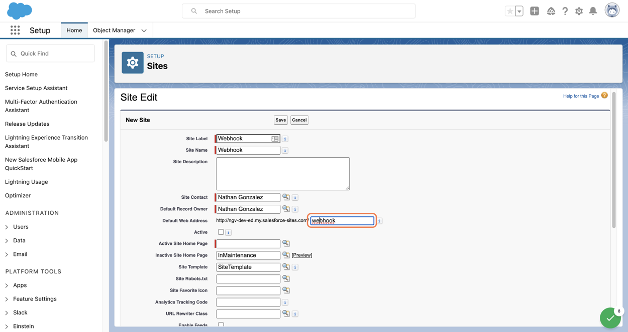
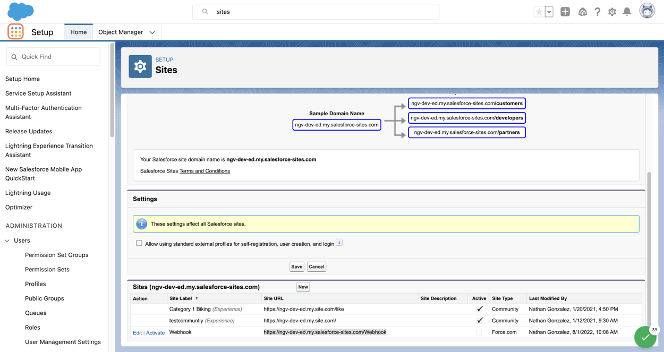
Click New next to Sites.
-
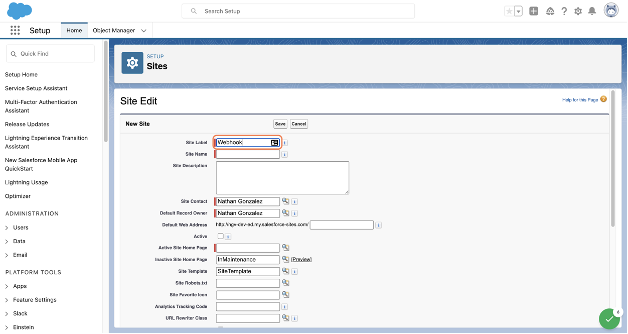
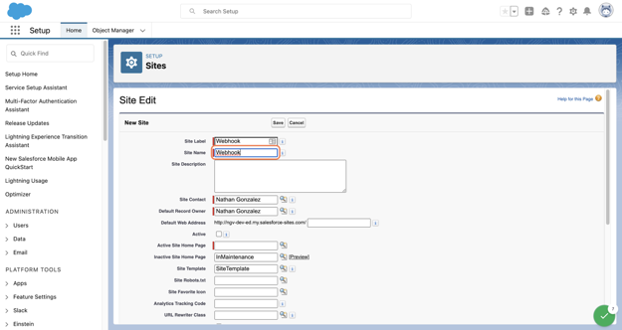
Set Site Label = "Webhook".
-
The Site Name field will auto populate.
-
In Default Web Address, type in the same name you used for the Site Label.
-
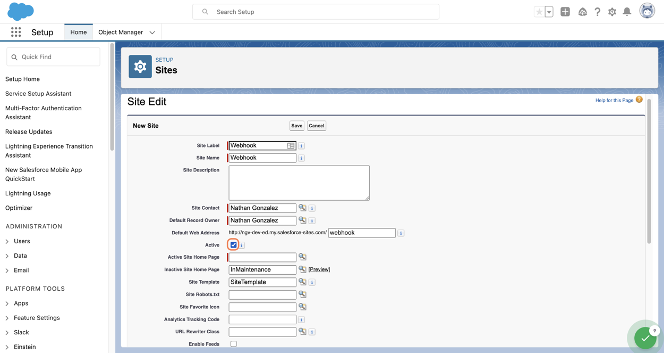
Set Active = “True”.
-
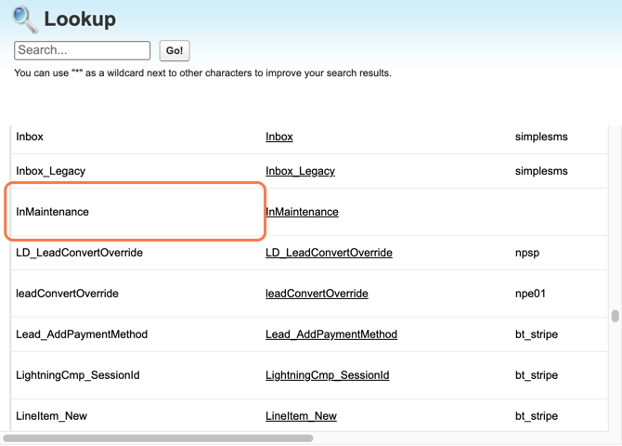
Click the Active Site Home Page lookup. This will open a new window.
-
Click InMaintenance.
-
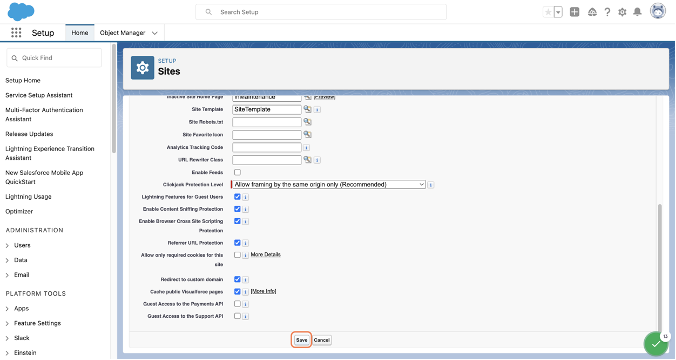
Click Save.
-
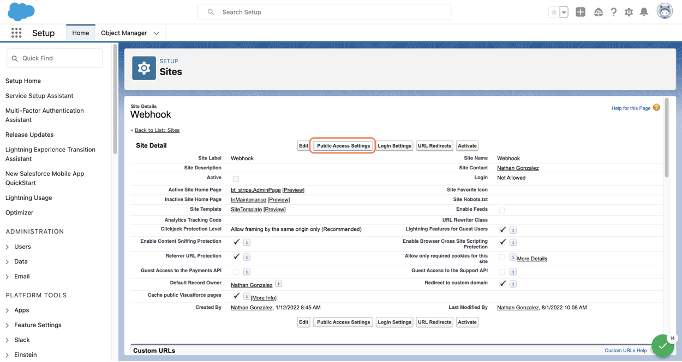
Click the newly created Site Label.
-
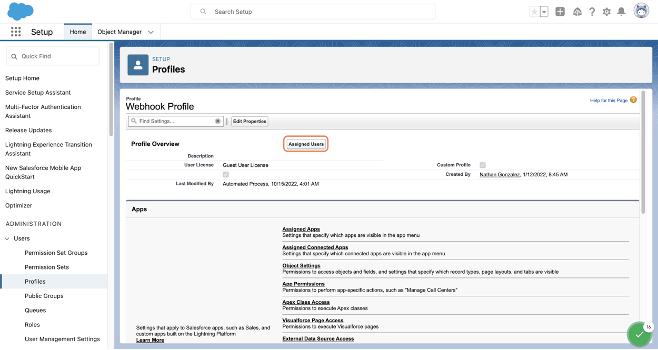
Click Public Access Settings.
-
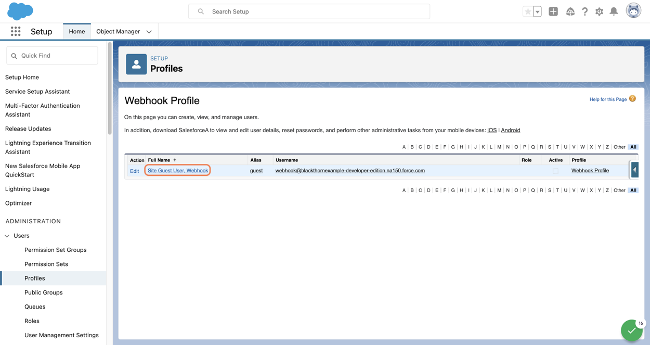
Click Assigned Users.
-
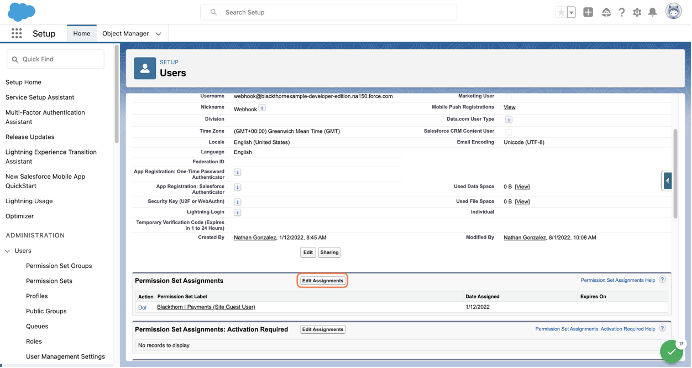
Click Site Guest User, Webhook.
-
Add the Blackthorn | Payments (Site Guest User) permission set to this user's record.
- For users who want to set up webhooks with a Payments package older than v5.6, you will need to add the Blackthorn | Payments (Webhooks) permission set. You will also need to add a Sharing Rule to allow the Site Guest User to access the Payment Gateway object.
- For packages v5.6 and later, the Blackthorn | Payments (Site Guest User) permission set is now a dual-purpose permission set. This permission set will be used for webhook setup and REST API setup.
Go to Authorize.net
-
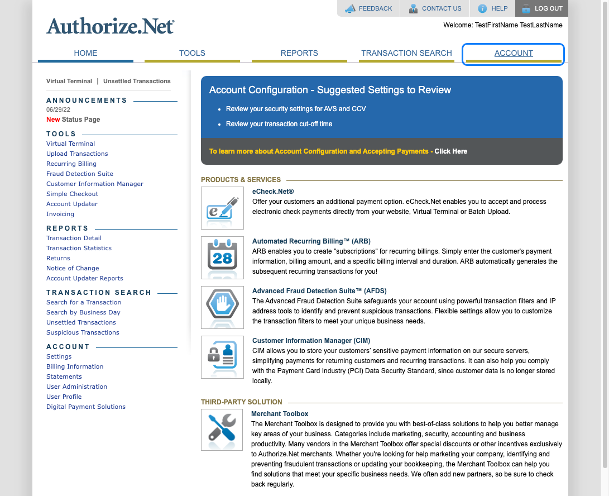
Log into your test or production account.
-
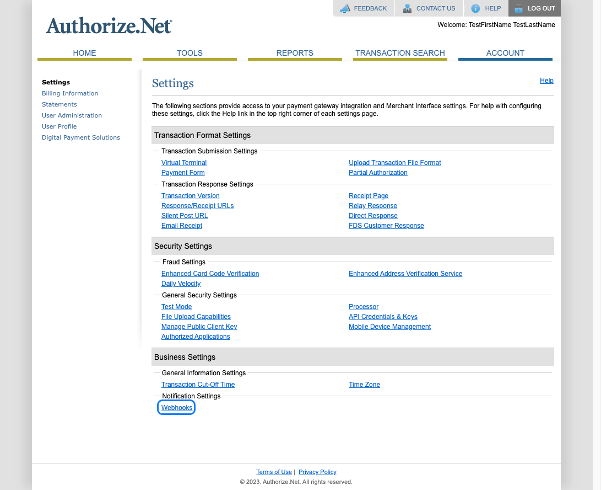
Click ACCOUNT.
-
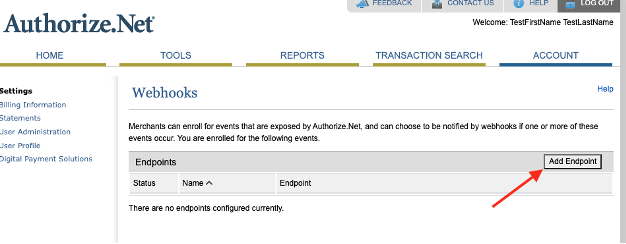
Click Webhooks.
-
Click Add Endpoint.
-
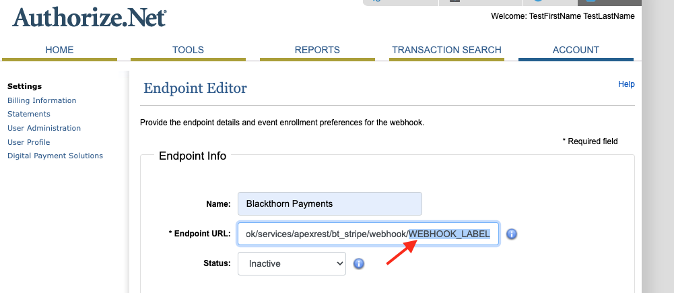
Define a Name for the endpoint.
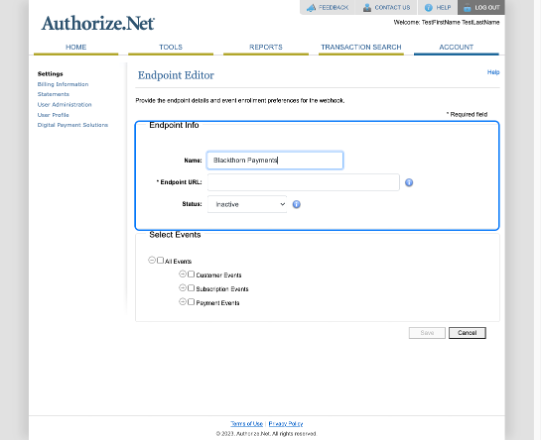
-
Copy and paste the URL below into the Endpoint URL field.
"https://SITE_DOMAIN_NAME/SITE_PATH/services/apexrest/bt_stripe/webhook/WEBHOOK_LABEL"
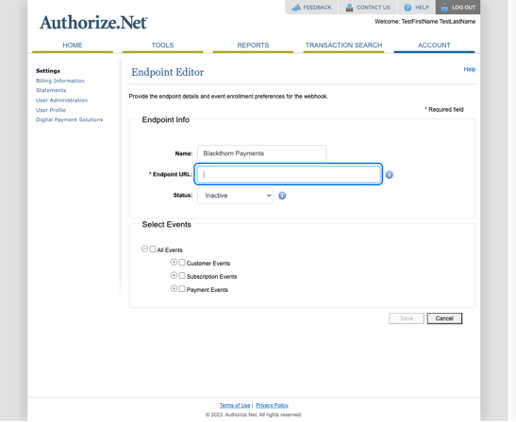
-
Without closing Authorize.net, go back to Salesforce and copy the Site URL for the Site you created.
-
Replace “https://SITE_DOMAIN_NAME/SITE_PATH” with your Site URL.

-
Without closing Authorize.net, go back to Salesforce and click the App Launcher.
-
Select Blackthorn | Payments (Admin).
-
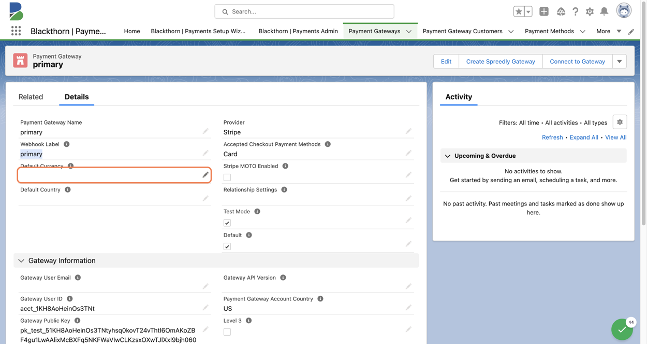
Click the Payment Gateways tab.

-
Go to the Payment Gateway record you want to connect to webhooks and copy the value you placed in the Webhook Label field.
-
Replace “WEBHOOK_LABEL” with the value from your Payment Gateway.
-
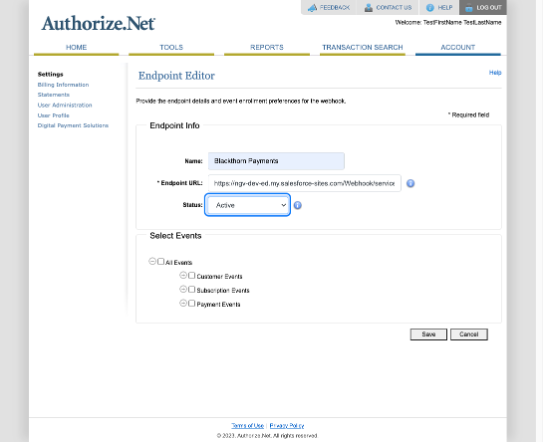
Set Status = “Active”.
-
Check All Events.
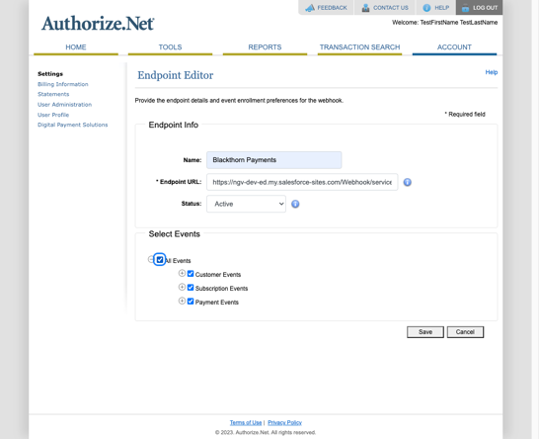
-
Click Save.
You have successfully setup your Authorize.net webhook!