Follow the steps below to configure PayLink.
- Navigate to the Blackthorn PayLink app.
- Click the PayLink Configuration tab.
- Click New.
- Enter the Name (required).
- Add information to additional fields, as needed.
- Add the Acceptance Language, if using.
- Add the Terms and Conditions URL, if using.
- Click Save.
Acceptance Language and Terms & Conditions Functionality
Pre-requisite
The Acceptance Language field must be filled.
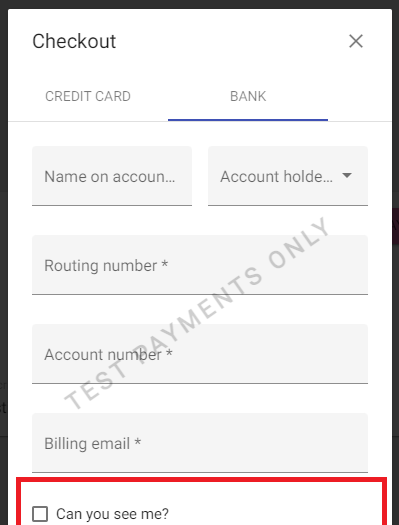
If the Acceptance Language field has a value, the following will occur.
- A checkbox will appear on the PayLink checkout.
- The text entered in the Acceptance Language field will be the checkbox label.
If the Acceptance Language field has a value AND the Terms and Conditions field contains a URL, then the checkbox label will be hyperlinked with the URL.
BUT if the Acceptance Language field is empty, the checkbox and the accompanying hyperlinked text WILL NOT be visible.
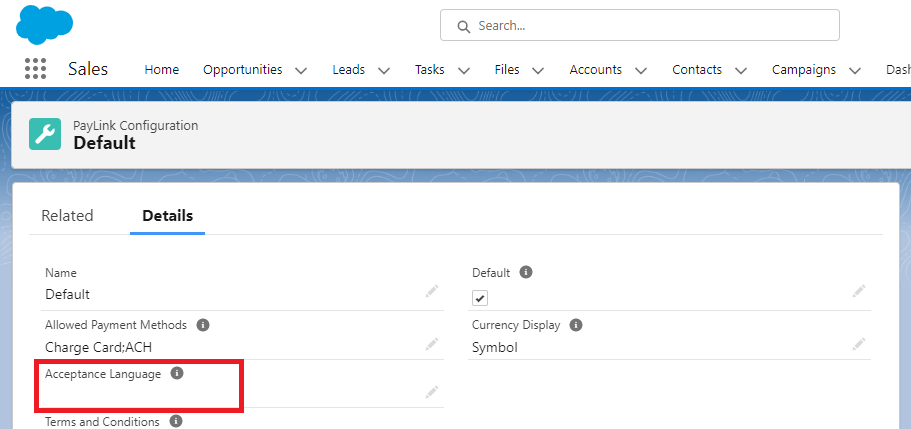
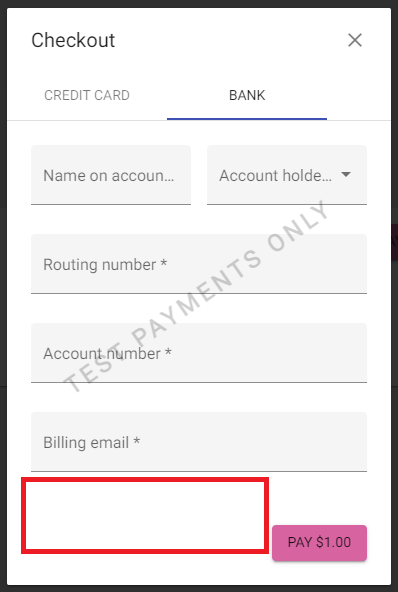
Image Size Considerations
When using the Background Image (URL) field to add a background image to PayLink, consider the following.
- We recommend using an image file no larger than 1MB.
- The image you use will cover the whole page.
- All images have a certain ratio (height and width). You may need to adjust your image outside of Salesforce based on the viewport of the devices being used.
- If your image includes text, make sure it won’t be cropped on different devices (desktop, tablet, or mobile). You may need to edit your image outside of Salesforce to reorient the text.
Additional Configuration
We've added a few fields that allow users to further customize their PayLink. The following fields can be added to the PayLink Configuration object's page layout.
- Due Date Label : This overrides the Transaction Due Date field.
- Amount Due Label: This overrides the Transaction Amount field.
- Requested By Label: This overrides the Requested By label when a value is added to the Transaction Account field.