If you have created a Paid Event, the following steps will walk you through what an Attendee sees, and how it looks in your Salesforce org.
Create a Unique Checkout Experience
Keep in mind, that all colors, images, and text you see are 100% customizable to your specific use case!
An Attendee views your Event listing. They can click the Share button to generate a URL to share the Event on LinkedIn, X/Twitter, or Facebook, or they can click Get Tickets to start the process.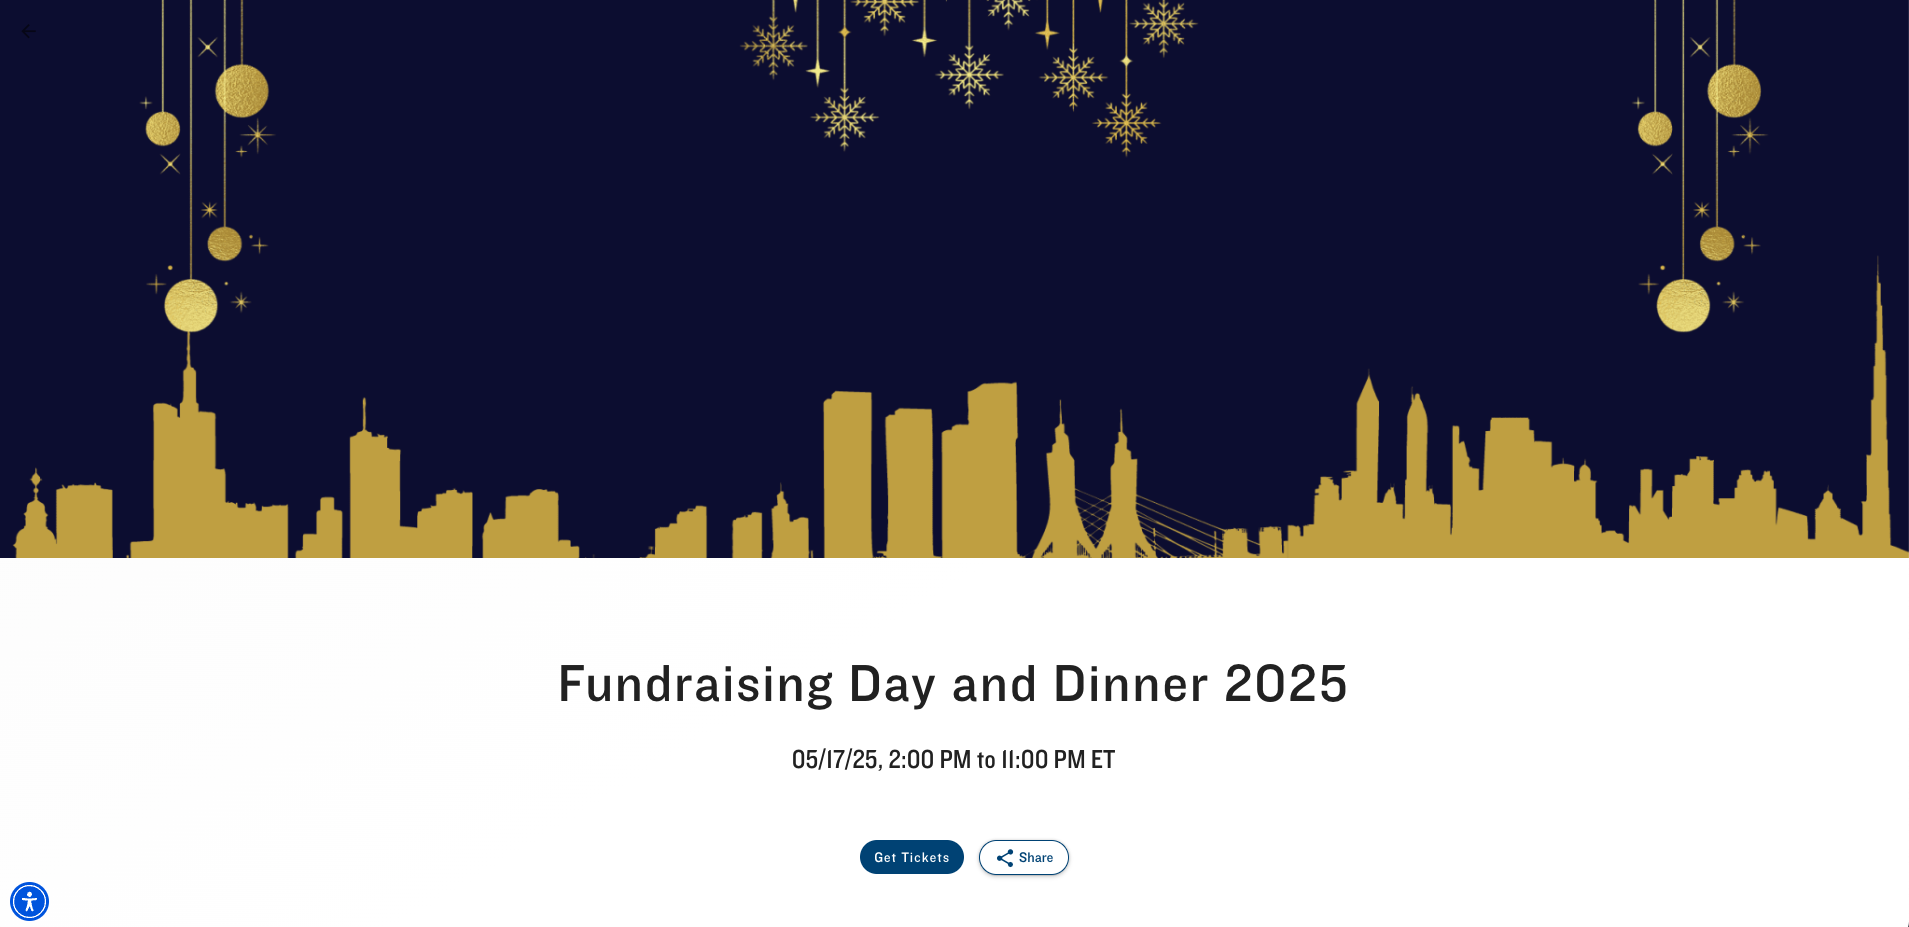
The Attendee selects which Tickets (Event Items) and how many they want to purchase and clicks Continue. Or, if a value is in the Event Item’s Default Quantity Selection field and the Event Item isn’t sold out or isn’t a Donation, the default quantity of Tickets is automatically added to the cart the first time an Attendee reaches the Event Item selection screen.
Attendees can change the number of Tickets in their cart and move around the Event’s webpage without changes being made to their cart based on the default quantity.
If the number of remaining tickets is greater than 0 but less than the Default Quantity Selection, all remaining tickets will be added to the cart. For example, if the number of remaining tickets is 3, but the Default Quantity Selection is “5,” then 3 tickets will be added to the cart.
NOTE: When an Attendee purchases Tickets from their AttendeeLink, the default quantity will not be added to the cart. (The original behavior is unchanged.)
If an Event has paid and free Tickets, the Attendee will see the Get Tickets button. If the Attendee only selects the free Event Item, they will see the Register button. If they choose a combination of free and paid Event Items, they will see the Checkout button.
Attendees will not see the Event Item Description during checkout if your Event only has one free Event Item. To add a description of the Event Item, include the information in the Event ’s Description field. 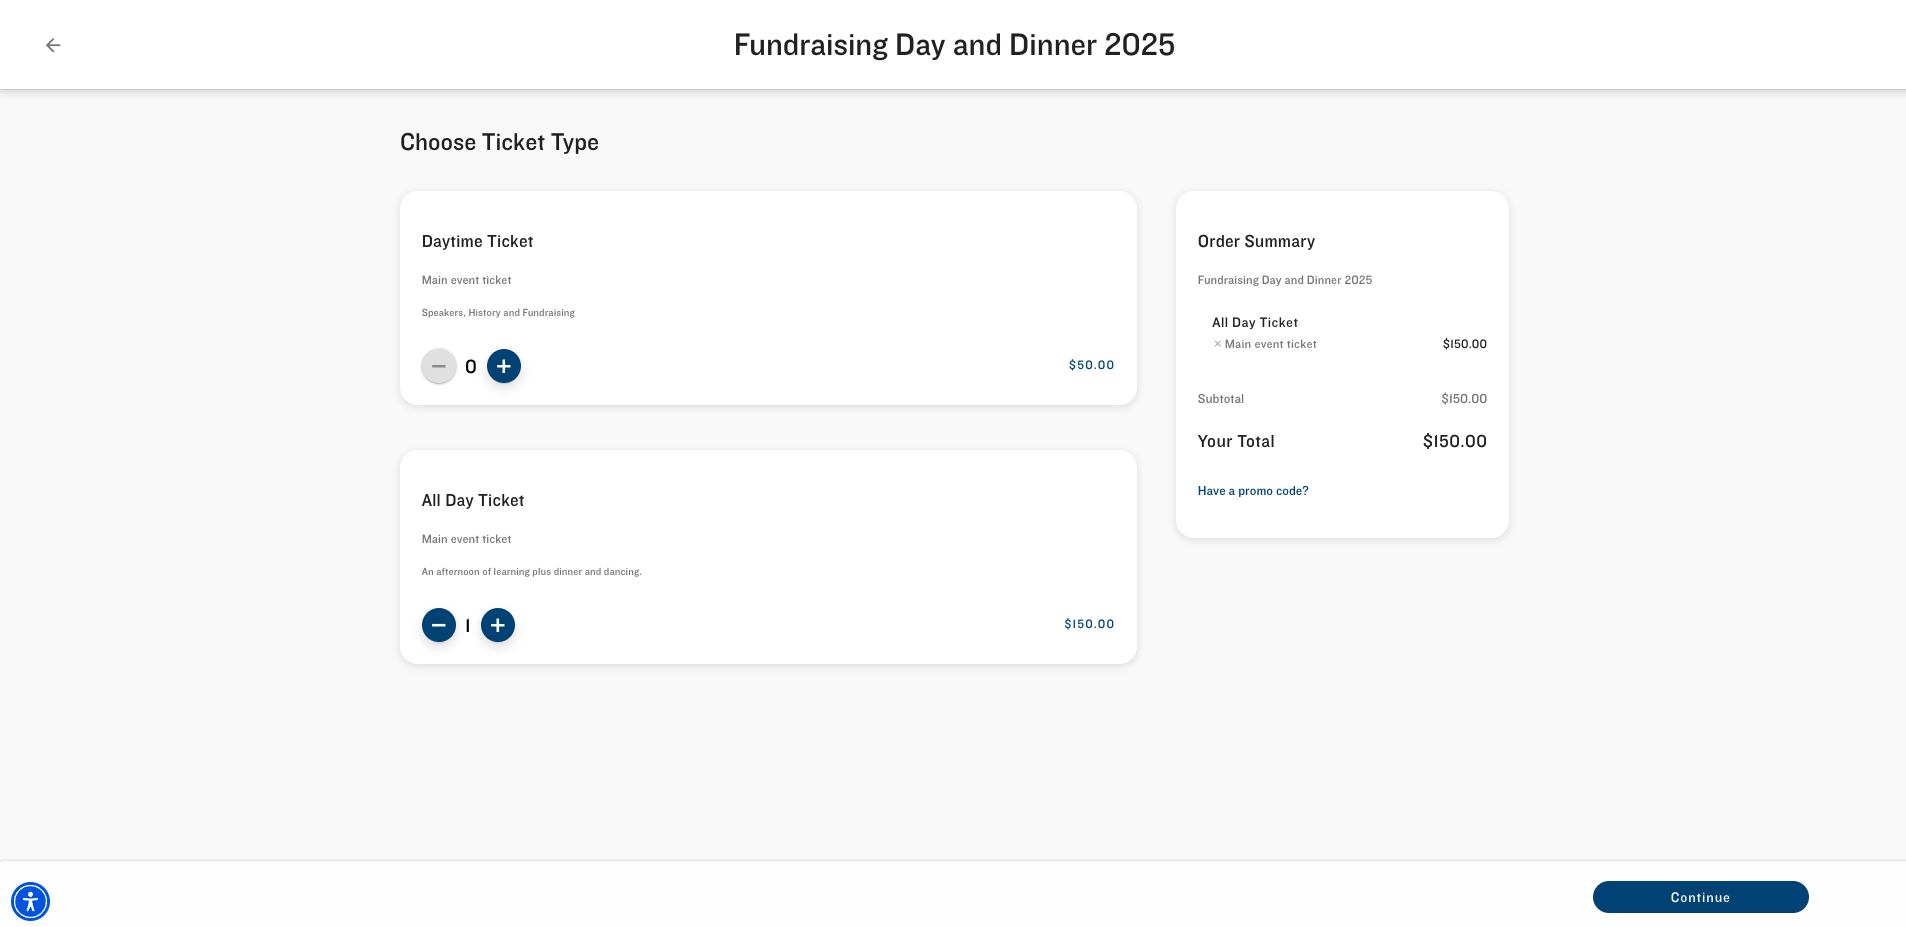
The Attendee enters in their information: Last Name, First Name, Email etc. and clicks Continue.
Everything you see here can be changed as well for a fully customizable checkout, including the language options in the Data Dictionary.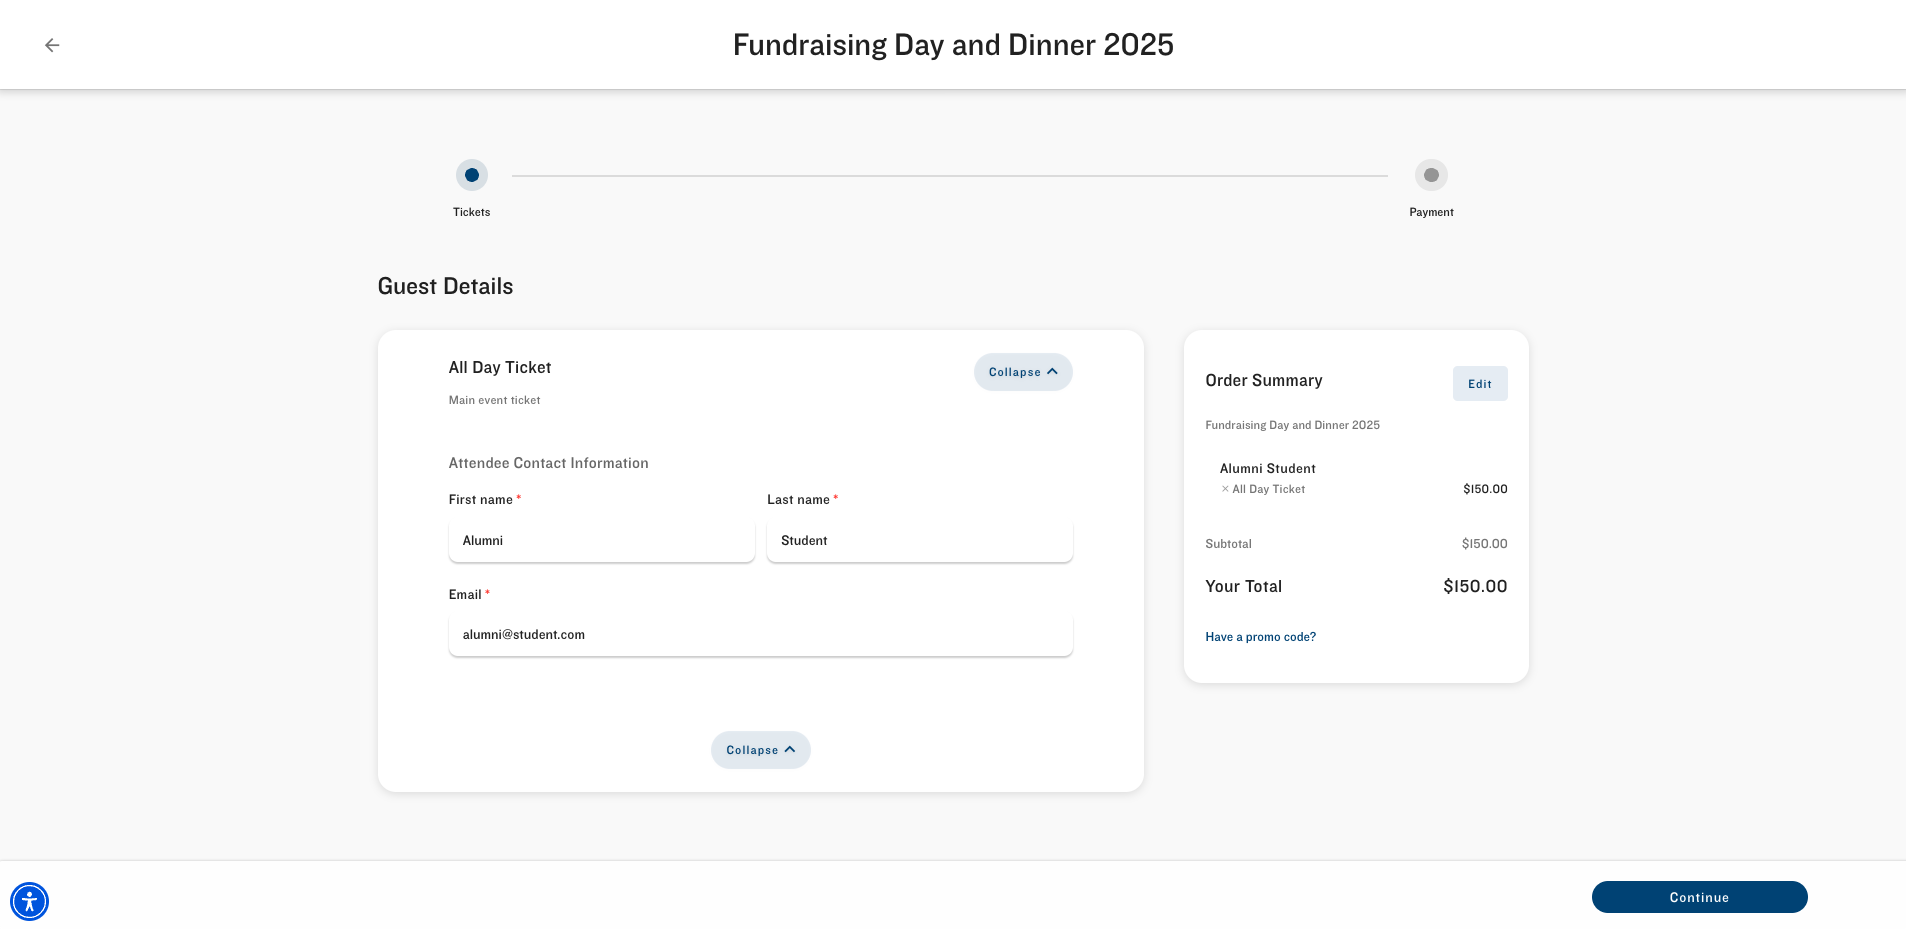
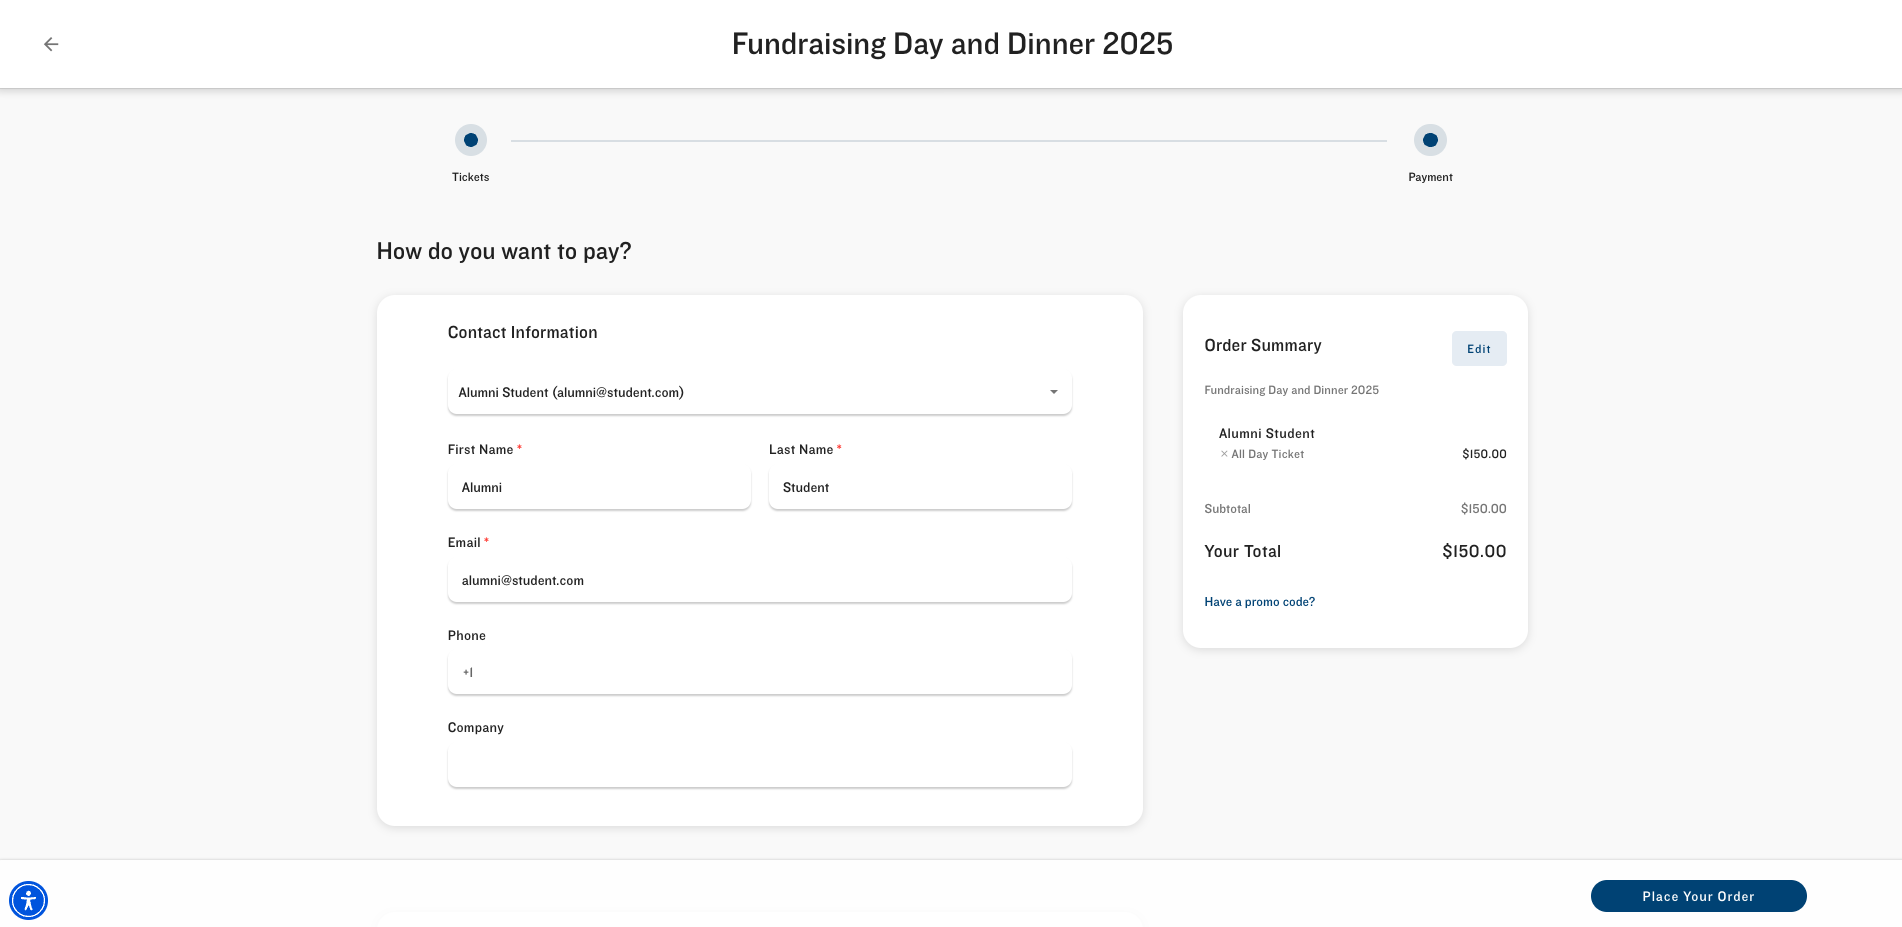
The Attendee enters any additional contact information and their card details and clicks Place Your Order.
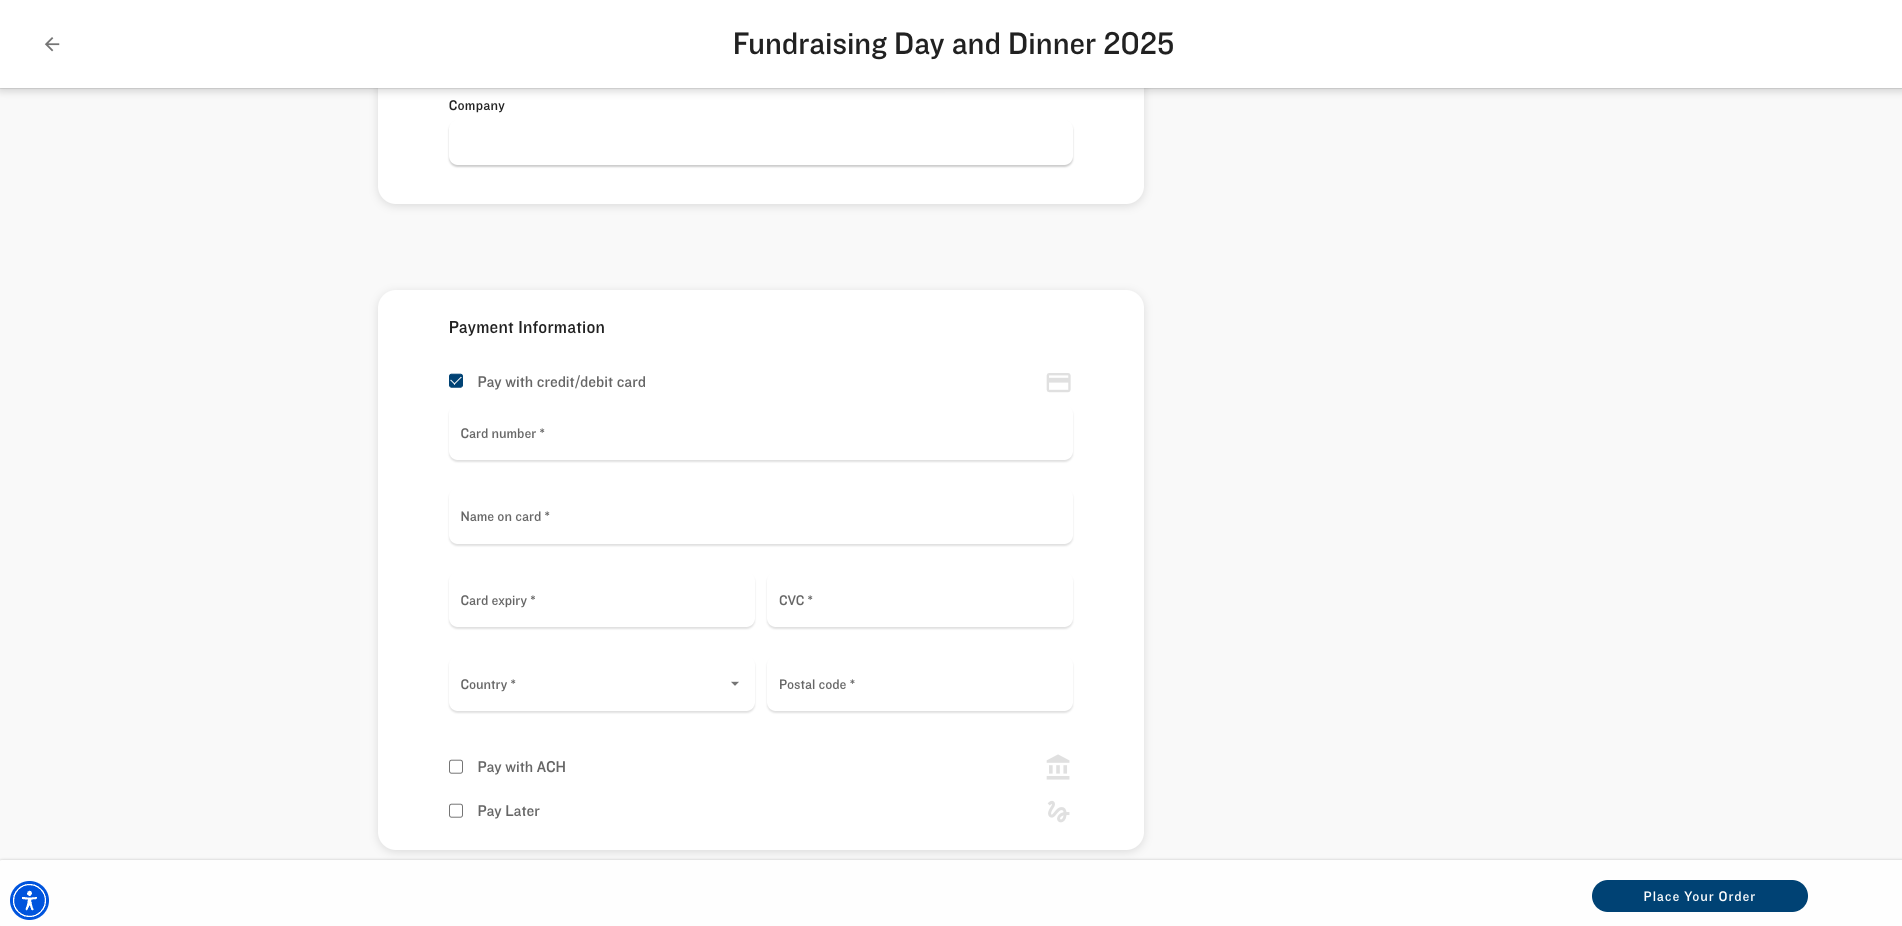
The Attendee receives the Registration Success Message. A thank you message and all the information needed to attend the Event will be sent to the Email that the Attendee entered.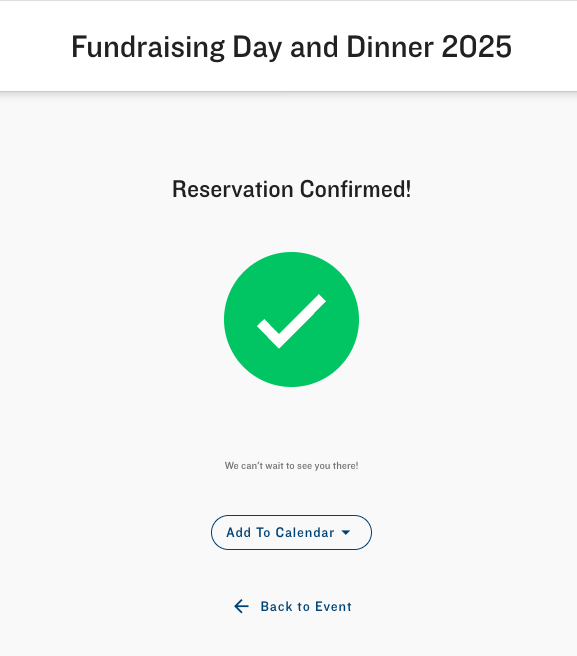
If your Event includes Sessions, the following will occur when adding Sessions during the checkout process.
If there are no Track values available, the Track filter will not be visible.
If there are no Topic values, the Topic filter will not be visible.
The Search Bar will be visible only if there are 20 or more Sessions to choose from.
The "Clear Filter" option will only be available when a value is selected for that filter.
Payment Security
Payments and card data are securely processed and are PCI compliant.
Salesforce users can view the related Attendee information.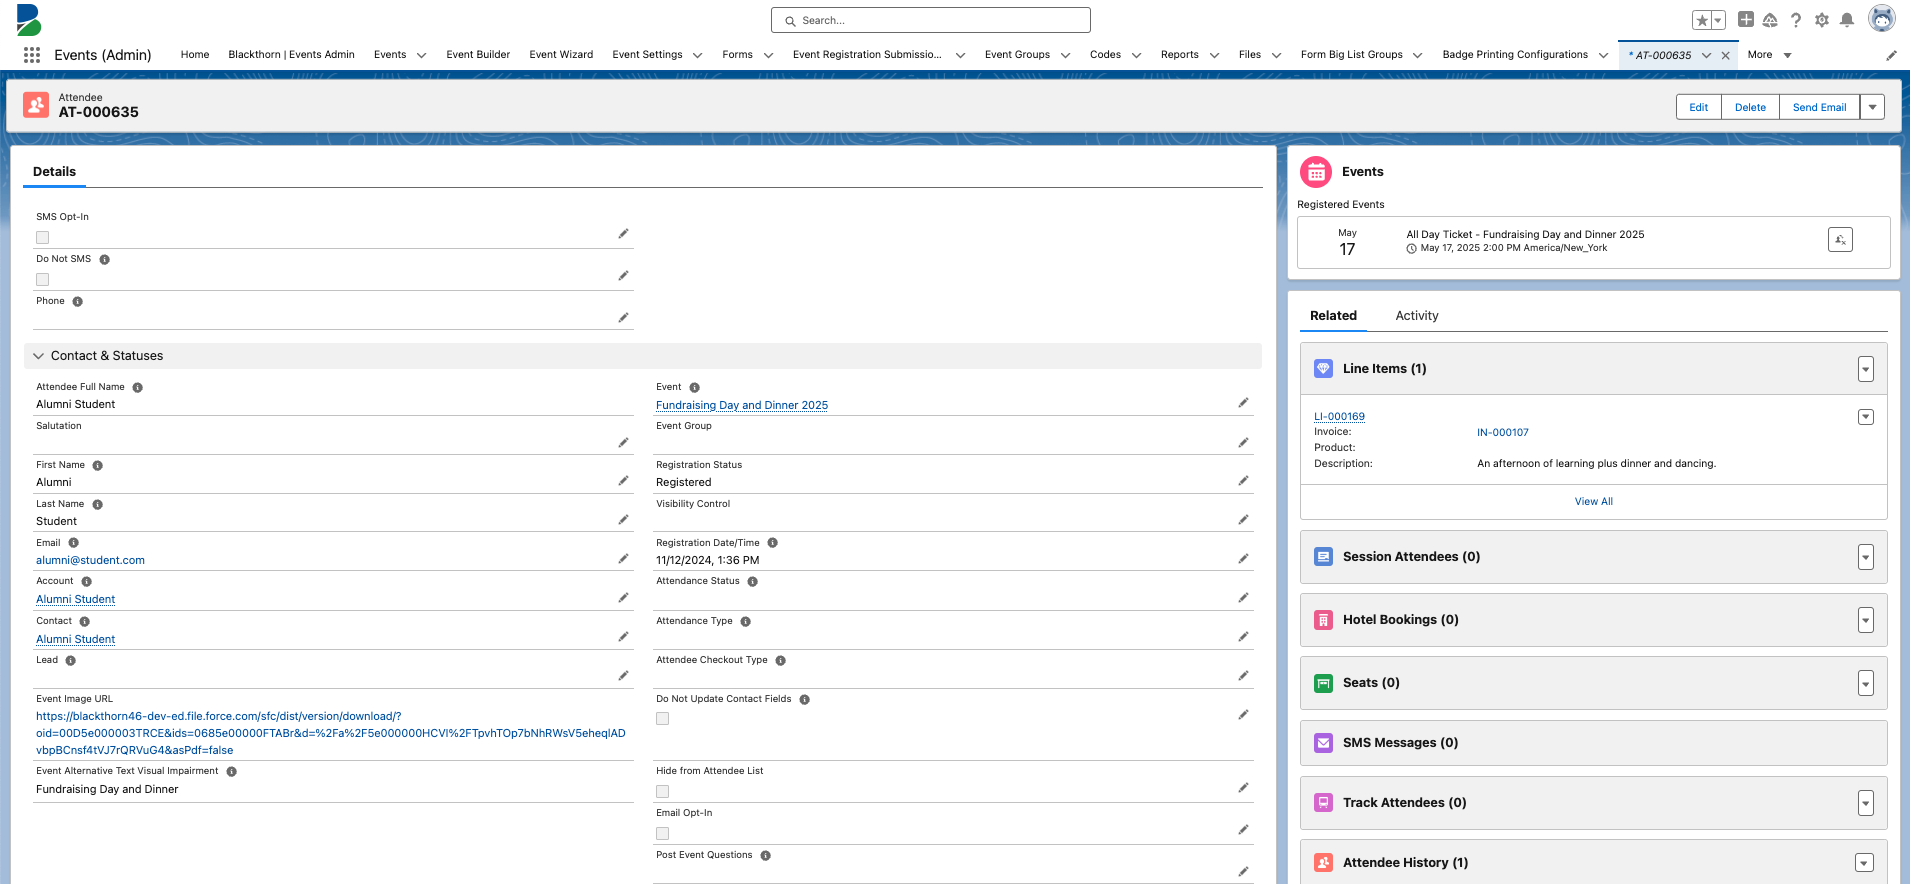
Financial summaries and totals are immediately updated with related payments or as we call them, Invoices.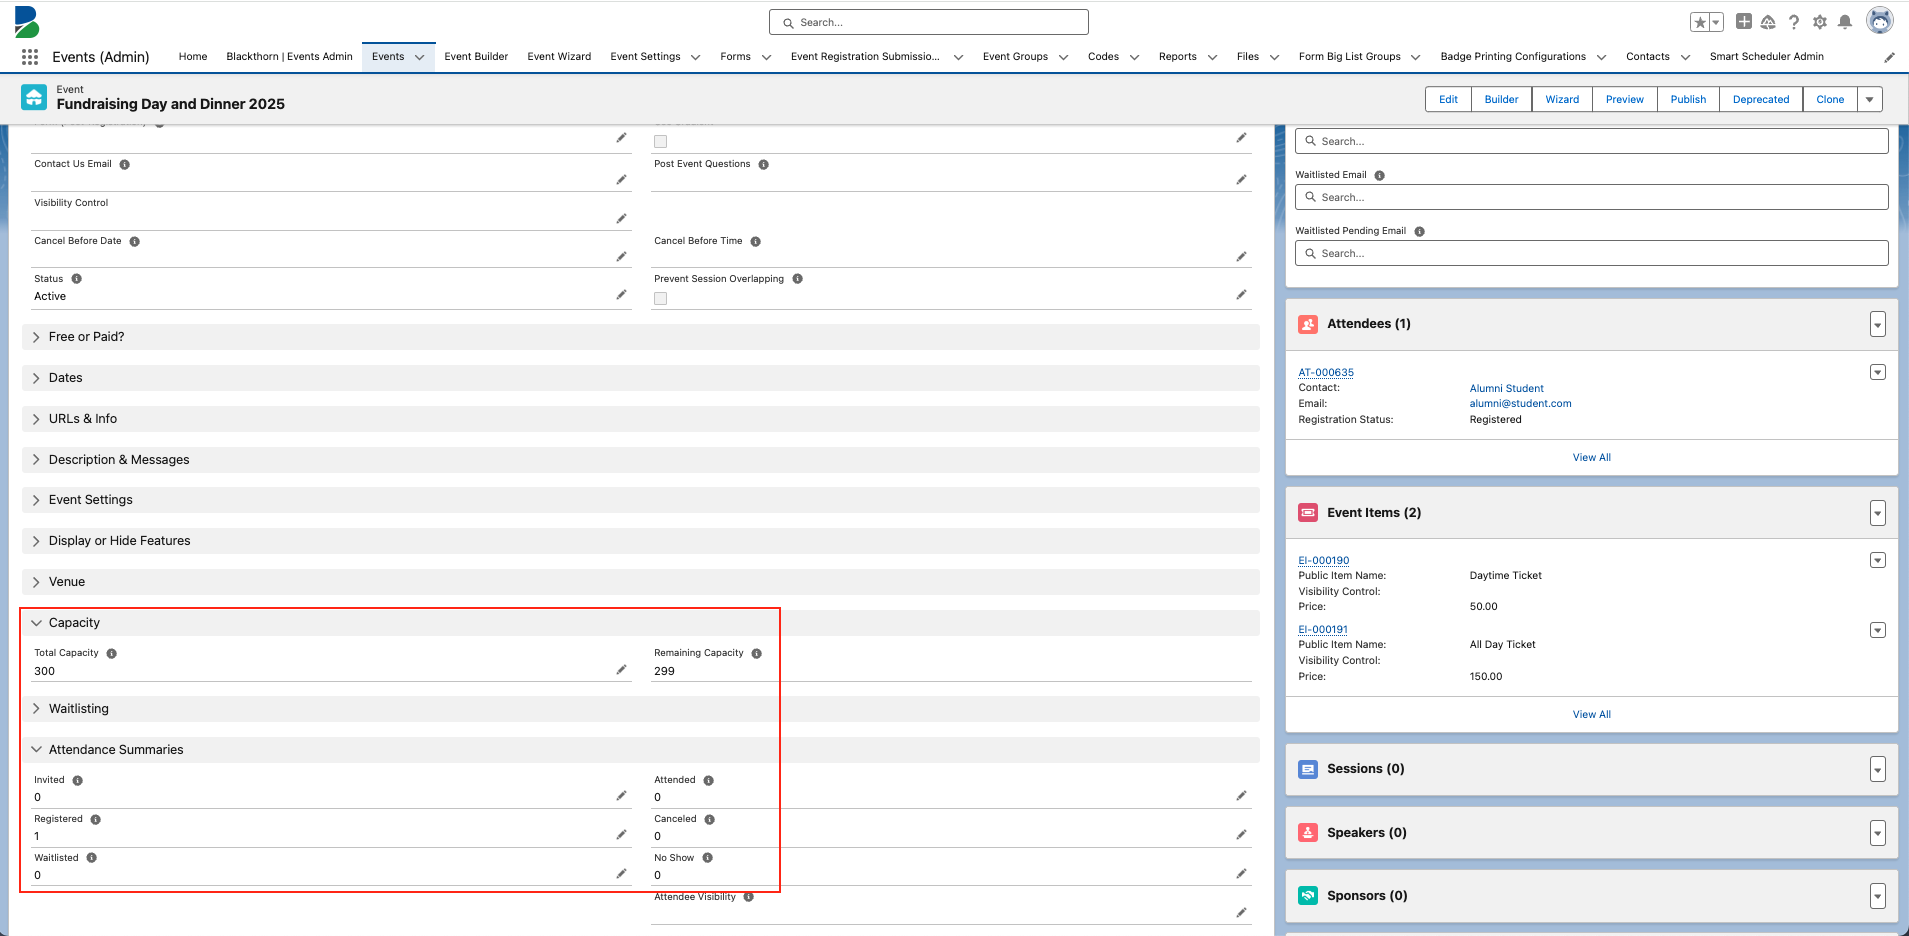
Check out the out-of-the-box Event financial report for quick summaries on your completed Event!