The first step in the embedding process is to allowlist any domains you plan on using.
Allowlisting Domains
The domain page must be HTTPS and set up with an SSL certificate. If you want this domain allowlisted for multiple organizations, you must manually add the domain to each organization.
In the App Launcher, enter and click “Blackthorn | Events (Admin).”
Click the Blackthorn | Events Admin tab.
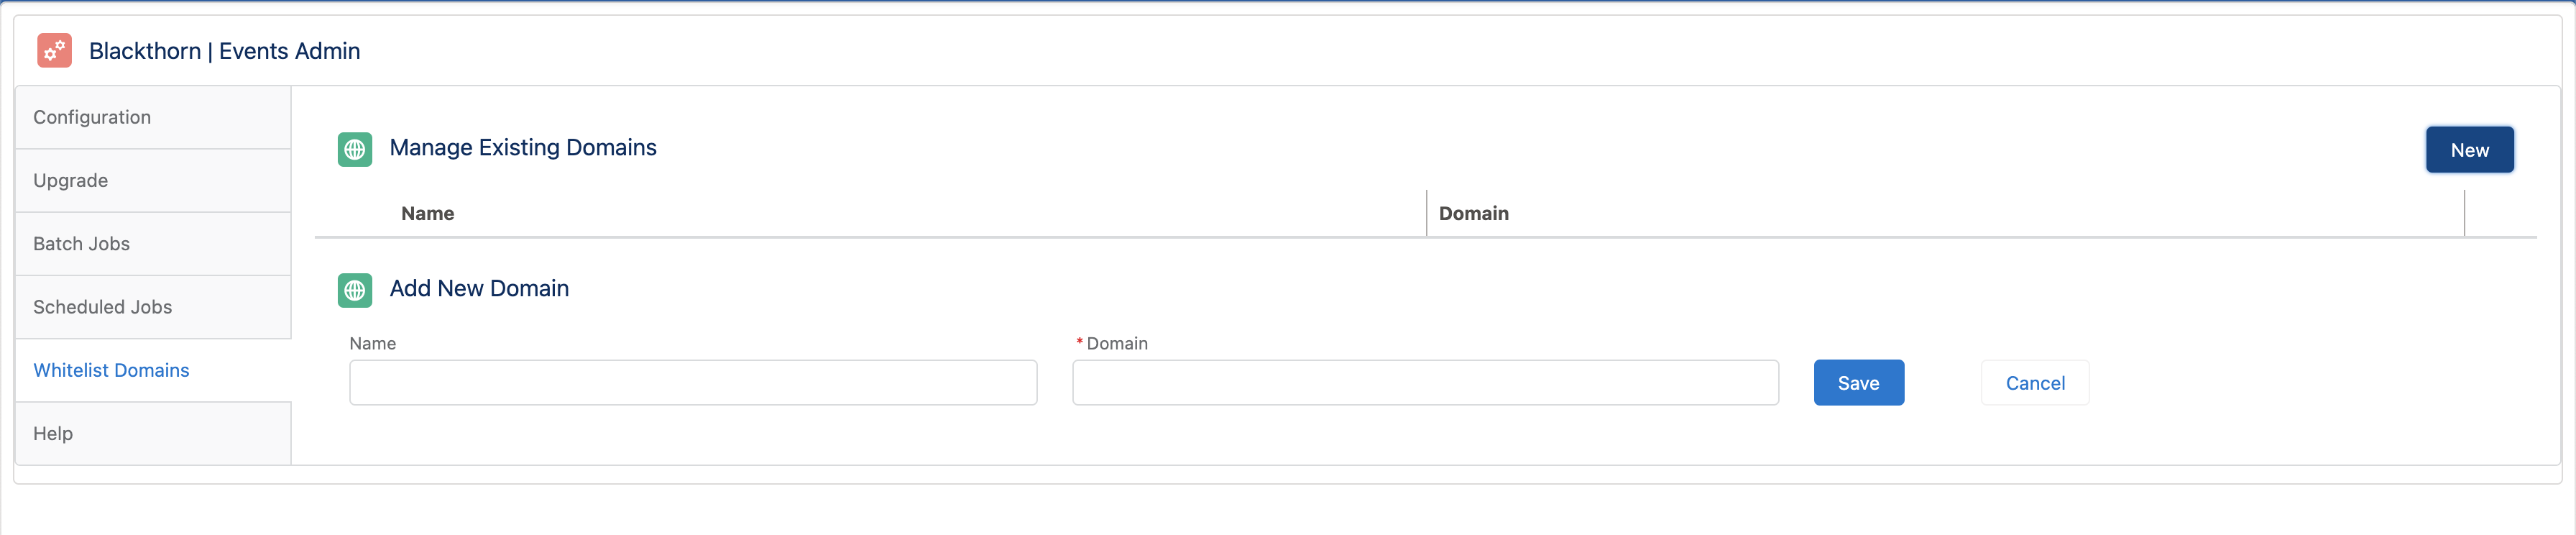
Click the Allowlist Domains tab.
Click New.
Enter a Name.
Set Domain = the domain you want to allowlist. (required) The "www" is not required.
Click Save.
 NOTE: Users no longer need to contact Blackthorn Support to share their domain when allowlisting a domain. However, if you have trouble setting up your vanity domain using these steps, please contact Blackthorn Support.
Add a Demo Domain
Complete the following steps to add the demo domain.
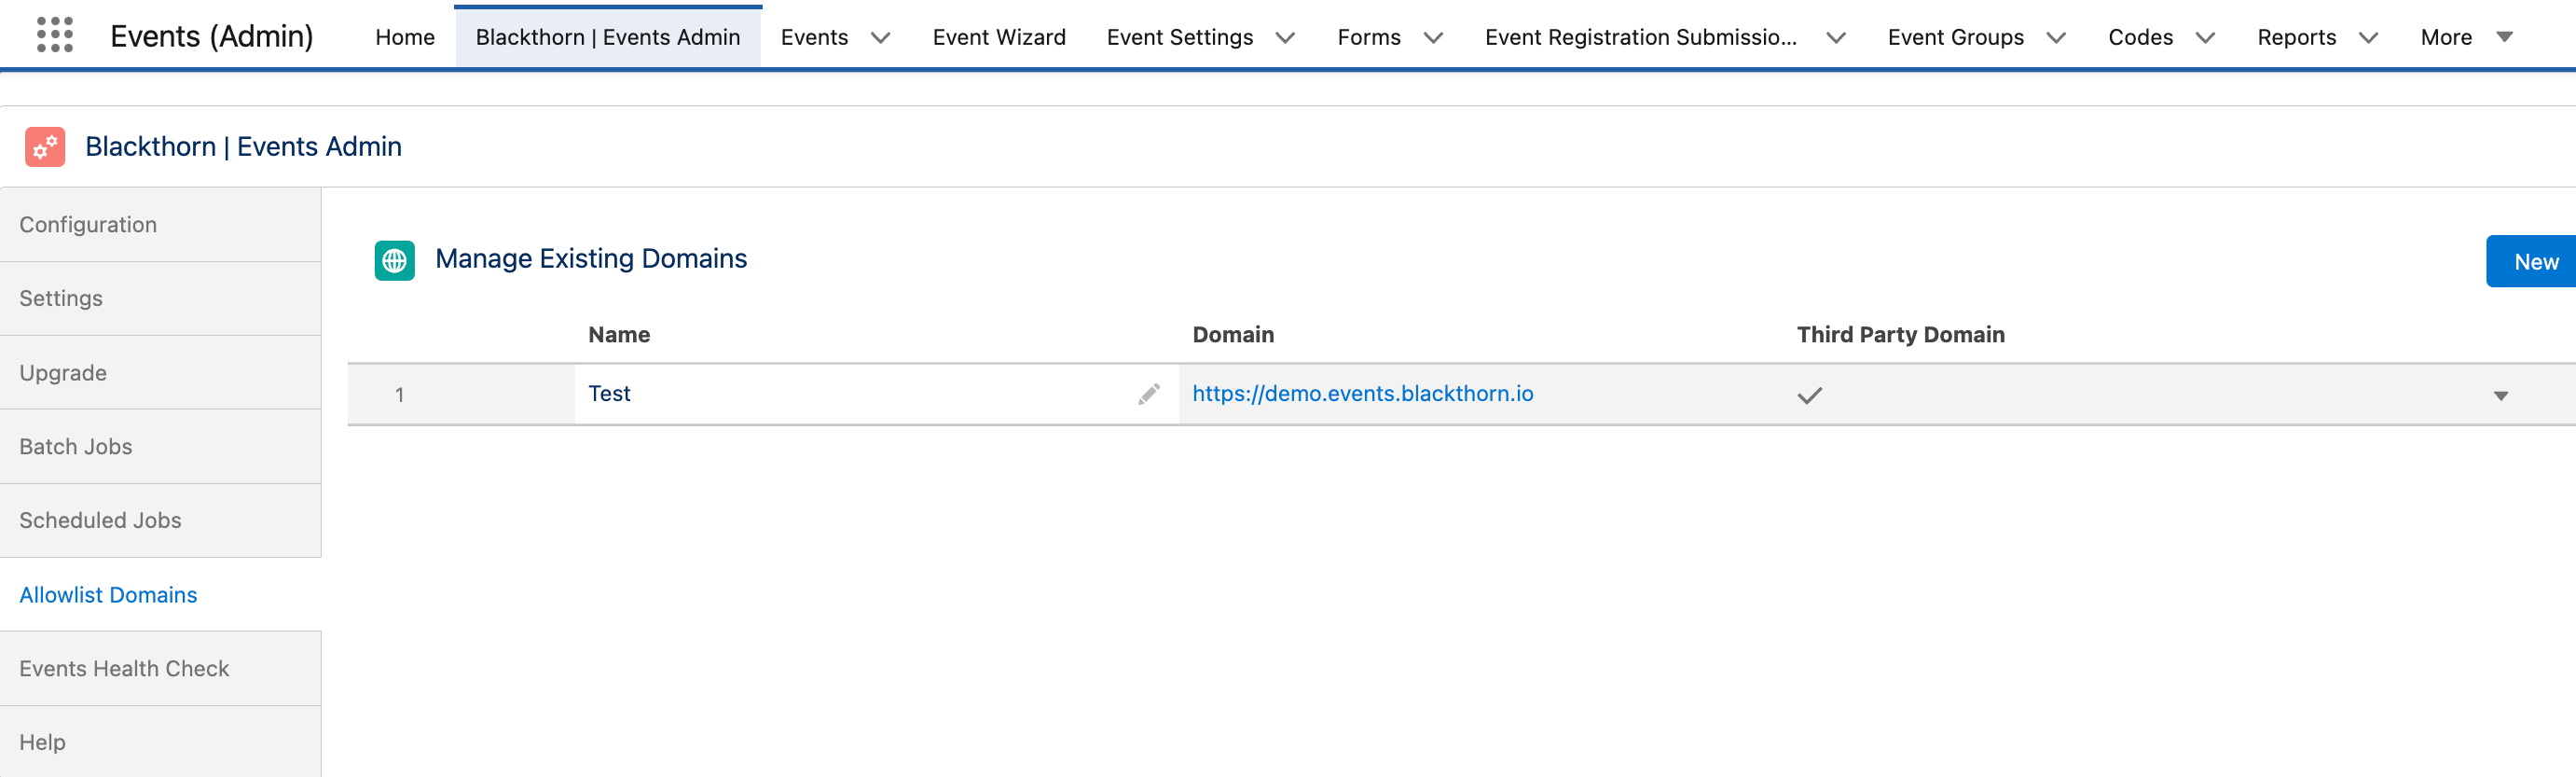
- In the App Launcher, enter and click “Events (Admin).”
- Click the Blackthorn | Events Admin tab.
- Click the Allowlist Domains tab.
- Click New.
- Enter a Name.
- Set Domain = “https://demo.events.blackthorn .io”. (required)
- Check the Third Party Domain checkbox.
- Click Save.
Set Up a Simple Embedded Site
Different Functionality
Before creating an embedded site, please be aware that Attendees cannot change the Event website's language using the Language Selector in the top right corner. This feature is in not supported in iframes.
Create the Code
To use the simple embedding option, you can try the steps below or use the Simple Events Embedding tool for a seamless integration.
The Simple Embedding integration consists of two parameters: src and data-path.
For this example, the Event’s Event Page URL is “https://events.blackthorn.io/en/3itLbC6/g/ZZ8AC6qtdC”.
The first parameter is the src. In this case, it is “https://events.blackthorn.io”
After locating the src, you must indicate the embedding method you want to use. Since you are using simple embedding, you will use the /loader parameter.
The src is now “https://events.blackthorn.io/loader”
Lastly, you need to provide the data-path that will be embedded.
The data-path includes everything after the Blackthorn domain. In this case, the data-path is “en/3itLbC6/g/ZZ8AC6qtdC”
When combined, the code will look like this.
<script
src="https://events.blackthorn.io/loader" data-path="/en/3itLbC6/g/ZZ8AC6qtdC">
</script>
Optional Add-Ons
Add any of the following options to the script above.
data-sso = "XXXXXXXXXXXXXXXX": If the customer is using authentication, they can add the SSO Token here.
auto-resize = "true": If the customer would like the iFrame to expand to the number of events shown.
_amd: (Add Myself Disabled) Only works in communities.
_er: (Used as a boolean for express registration enabled or disabled) Only works in communities.
vh = "XXX": Visual Height for iFrame window.
vw = "XXX": Visual Width for iFrame window.
Additionally, we can pass an Event Group and Category parameter, but we do not currently support the option to customze Show My Events via script.
If you haven’t allowlisted your website domain, follow the steps in the “Allowlisting Domains” section to complete the process first.
Now, it’s time to embed the Event on the website. Copy and paste the script into your site.
Testing
The Simple Embedding tool can perform the same task as above or confirm whether the code you created in the previous step is correct.
Using the Event Page URL from above, “https://events.blackthorn.io/en/3itLbC6/g/ZZ8AC6qtdC”, enter everything after the “.io” in the URL.
In this example, it’s “/en/3itLbC6/g/ZZ8AC6qtdC”.
Click Apply Changes.
Scroll down to the bottom of the page to see the changes. Then copy and paste the <script> tag into your site.

You can also mix and match the scripts below. For example, you can set a specific calendar view or a height limit for the component.
Scripts
Event Group List View
The script below includes code that will show the Event Group List view. The “/g/” in the data-path tells the iframe to show the Event Group List view.
To locate the data-path, make sure the Event Group’s UI Experience is set to "List," open the Event Group URL, and copy the text after the “.io”.
<html>
 <body>
  <script
  src="https://events.blackthorn.io/loader"
  data-path="/3itLbC6/g/GqSRtvJ4Nk">
  </script>
 </body>
</html>
Calendar View
The script below includes code that will show the Calendar view. The “/d/” in the data-path tells the iframe to switch to the Calendar view.
To locate the data-path, make sure the Event Group’s UI Experience is set to “Calendar,” open the Event Group URL, and copy the text after the “.io”.
Note: the date query string (“?date=2020-11-20”) in the code below is optional and can be used to define the default view for the calendar.
<html>
 <body>
  <script
  src="https://events.blackthorn.io/loader"
  data-path="/3itLbC6/d/GqSRtvJ4Nk?date=2020-11-20">
  </script>
 </body>
</html>
Sessions
This script displays an Event’s related Sessions for an AttendeeLink. The “/a/” in the data-path tells the iframe to display the Sessions.
<html>
 <body>
    <script
   src="https://events.blackthorn.io/loader"
   data-path="/en/4Px8G46/a/M_Rs9GQZ4IxU9JDGXO1pvA7-0X3nh9sduYnp4MS5TOOVv7r14QXQOCszMQwmxO0E/salesforce-basecamp-dusseldorf-5a0v4P8Nke8/confirmation/sessions">
   </script>
 </body>
</html>
An Event Overview
This script below includes code that will display a specific Event on your webpage. This Event isn’t part of an Event Group as the “/g/” isn’t part of the data-path.
<html>
 <body>
  <script
  src="https://events.blackthorn.io/loader"
  data-path="/3itLbC6/4a0w3i5TFK">
  </script>
 </body>
</html>
Event Items
This script displays an Event’s Event Item options that an Attendee can add to their cart. To capture the data-path, click Get Tickets from the Event Page URL, and copy the text after the “.io”.
<html>
 <body>
  <script
  src="https://events.blackthorn.io/loader"
  data-path="3h2AhtF7/HNex28aSVs/free-event-
  5a123h1ZwSX/cart">
  </script>
 </body>
</html>
Change Iframe Height
To change the height of the iframe, use the following code. If the height is not changed manually, it will automatically size itself.
<html>
 <body>
  <script
     src="https://events.blackthorn.io/loader"
     data-path="/3itLbC6" maxheight="800">
  </script>
 </body>
</html>
Change Iframe Width
To change the width of the iframe, use the following code. If the width is not changed manually, it will automatically size itself.
<html>
 <body>
    <script
        src="https://events.blackthorn.io/loader"
        data-path="event_uri_goes_here" height="400px" width="800px">
  </script>
 </body>
</html>
Unexpected Scrolling Behavior
Sometimes, when users go to an Event from an Event Group in an iframe, the Event’s webpage does not scroll back to the top as expected. To prevent this behavior when navigating an Event Group or Event in an iframe, you need to specify a fixed height/width or disable auto-resizing.
To correct the issue, we recommend specifying a fixed width and height and setting autoresize to "False." The following HTML sample shows how the code can be applied.
<div class="iFrameContainer">
  <script
    src="https://events.blackthorn.io/loader"
    data-path="[...]" <!-- your data path goes here -->
    autoresize="false"
    width="800px"
    height="90vh"
  ></script>
</div>