Checking in Attendees is quick and easy with our Mobile Check-in app.
When Attendees have registered for your Event, they can use their AttendeeLink for Event check-in with a unique QR code.
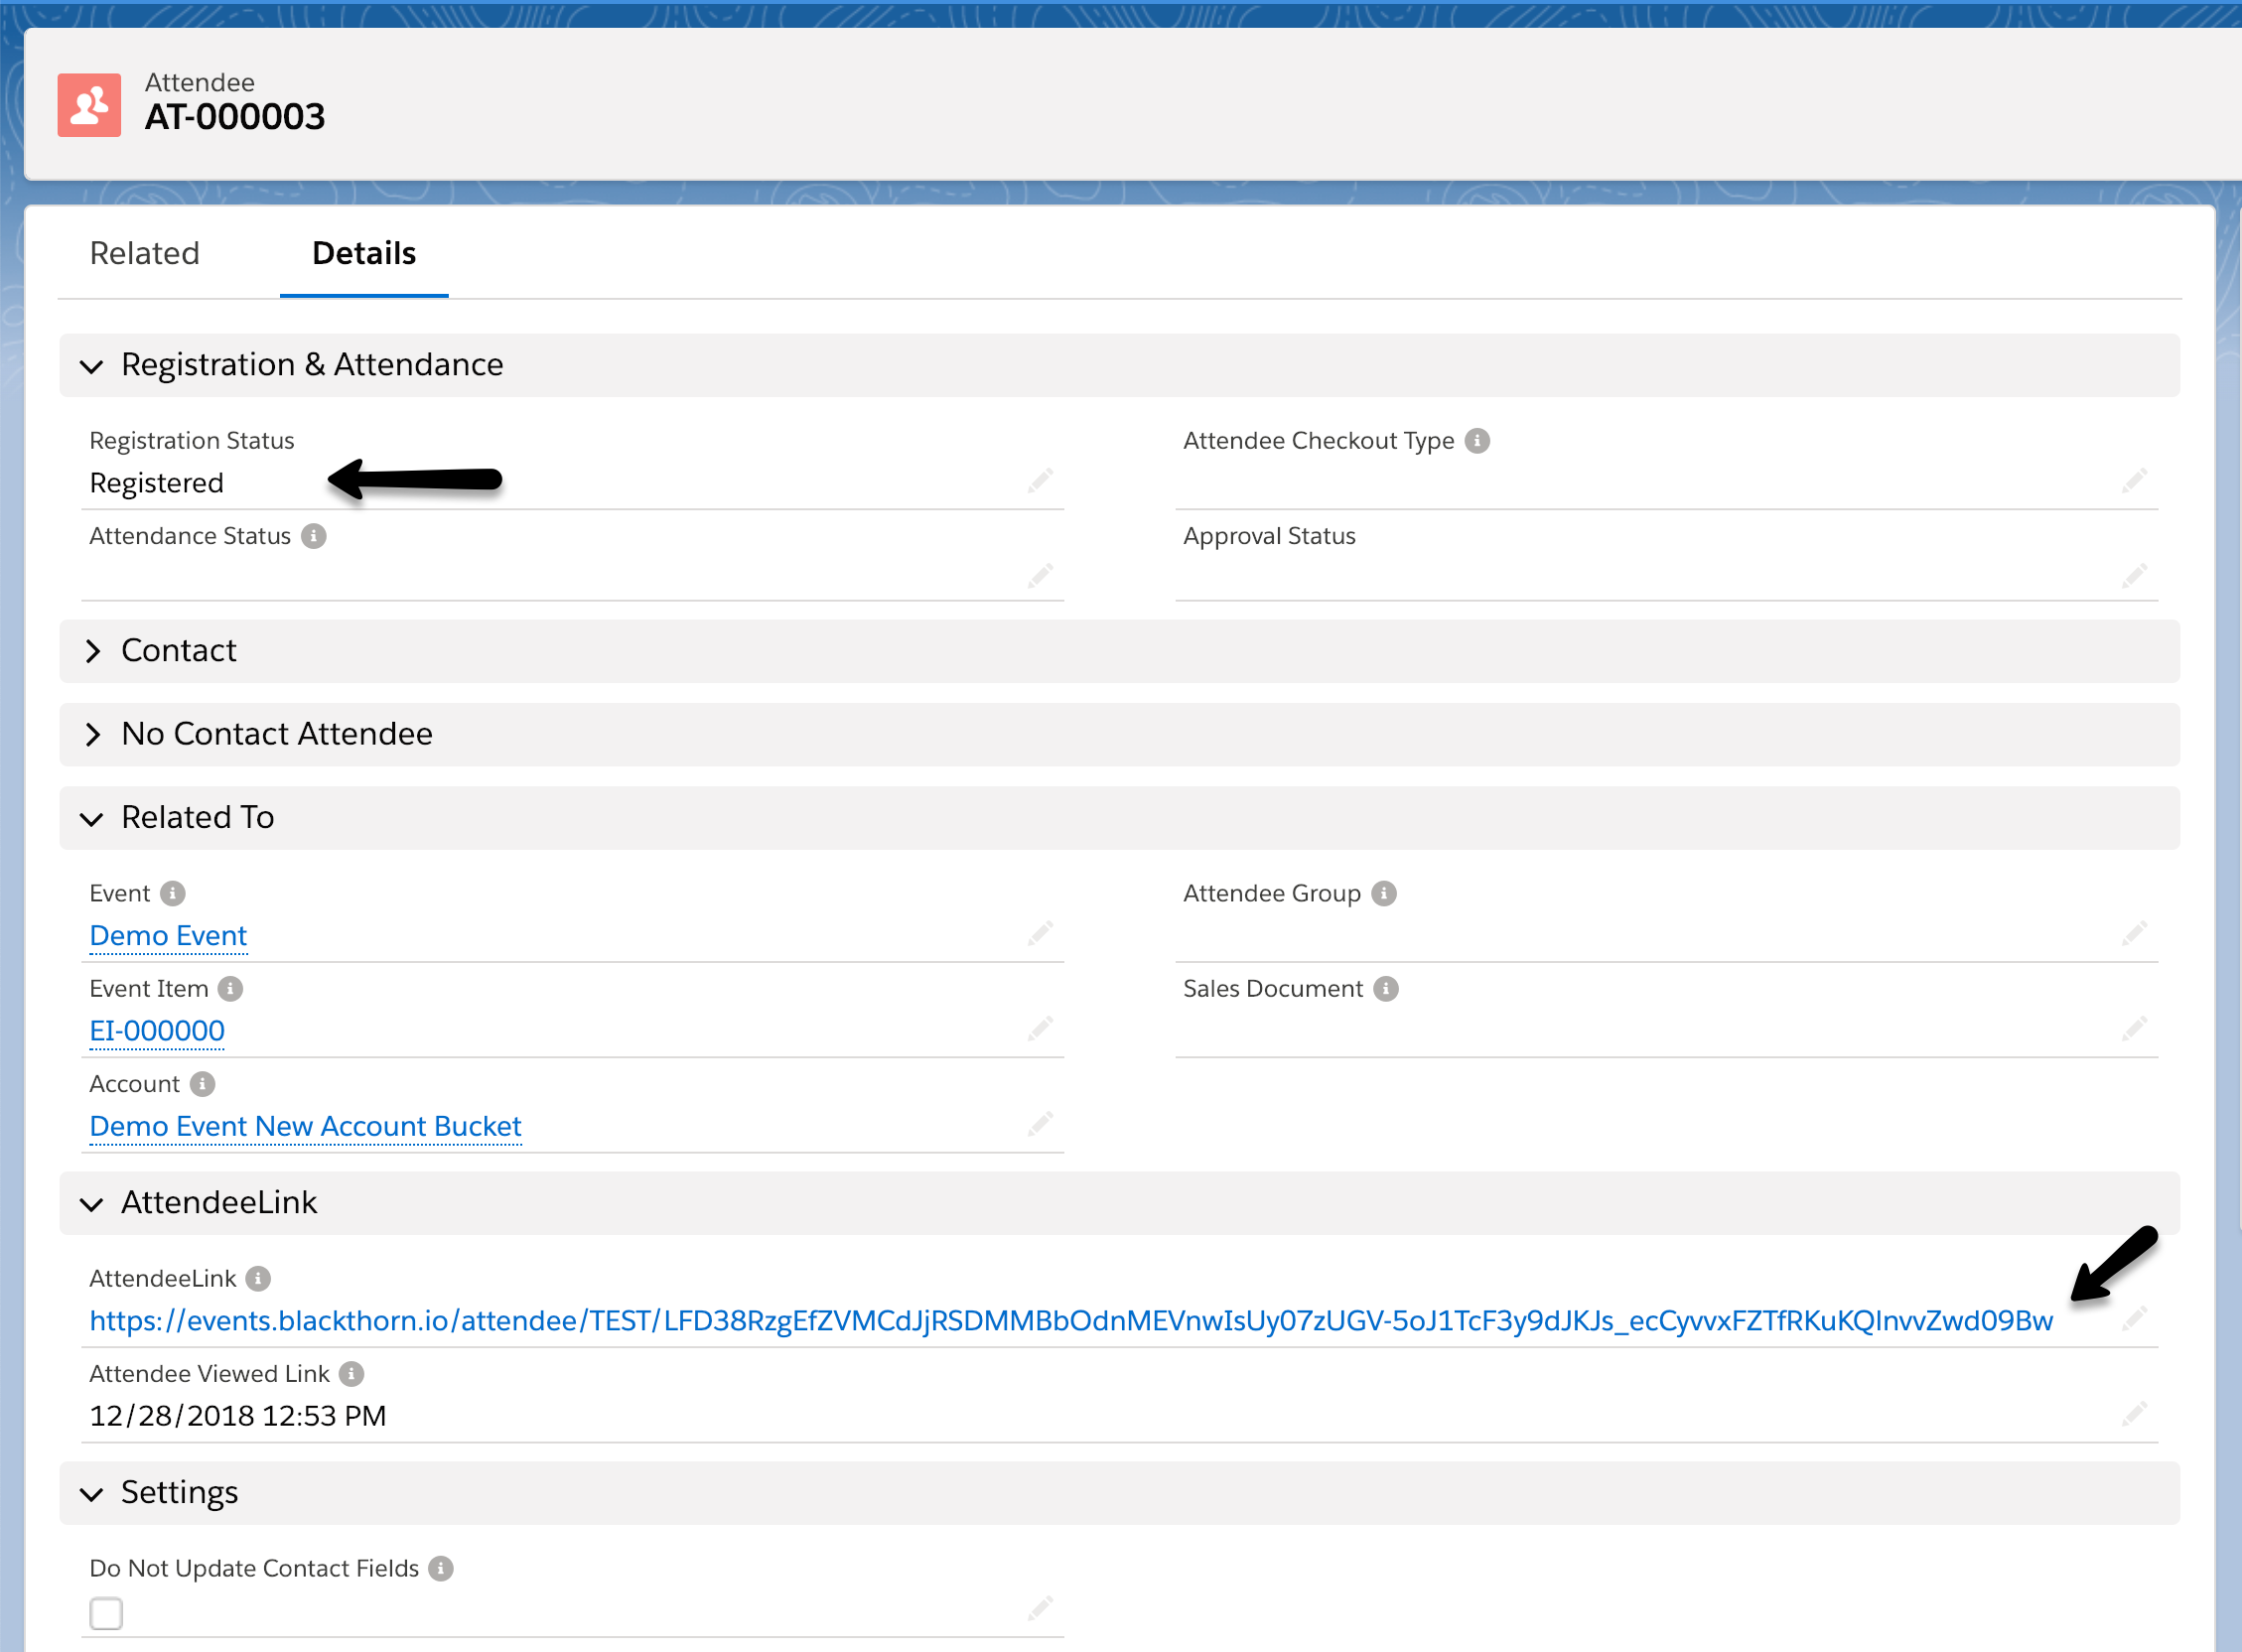
A unique QR code is shown when the Attendee's Registration Status = "Registered".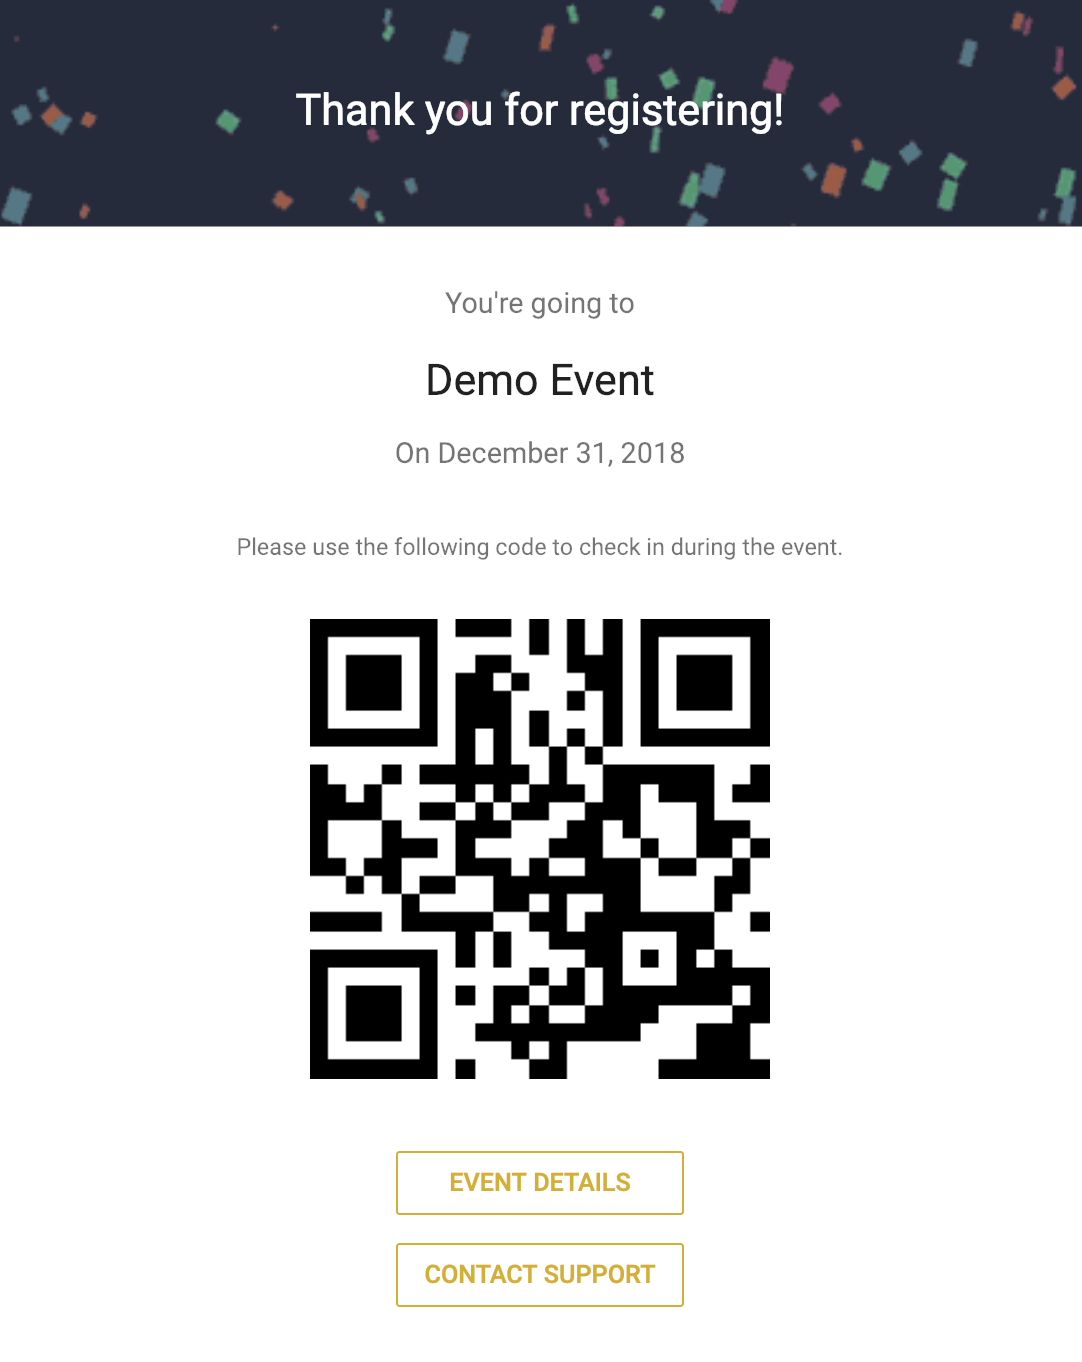
We provide a confirmation email template which can be sent to each Attendee when their Registration Status = "Registered".
Out of the box, the QR code is not included but can be added by updating the confirmation email template with the following code.
Below are the instructions for cloning the confirmation email and including the AttendeeLink so that you can check your Attendees in with a QR code through the Mobile Check-in app.
Confirmation Email With QR Code
Navigate to Setup.
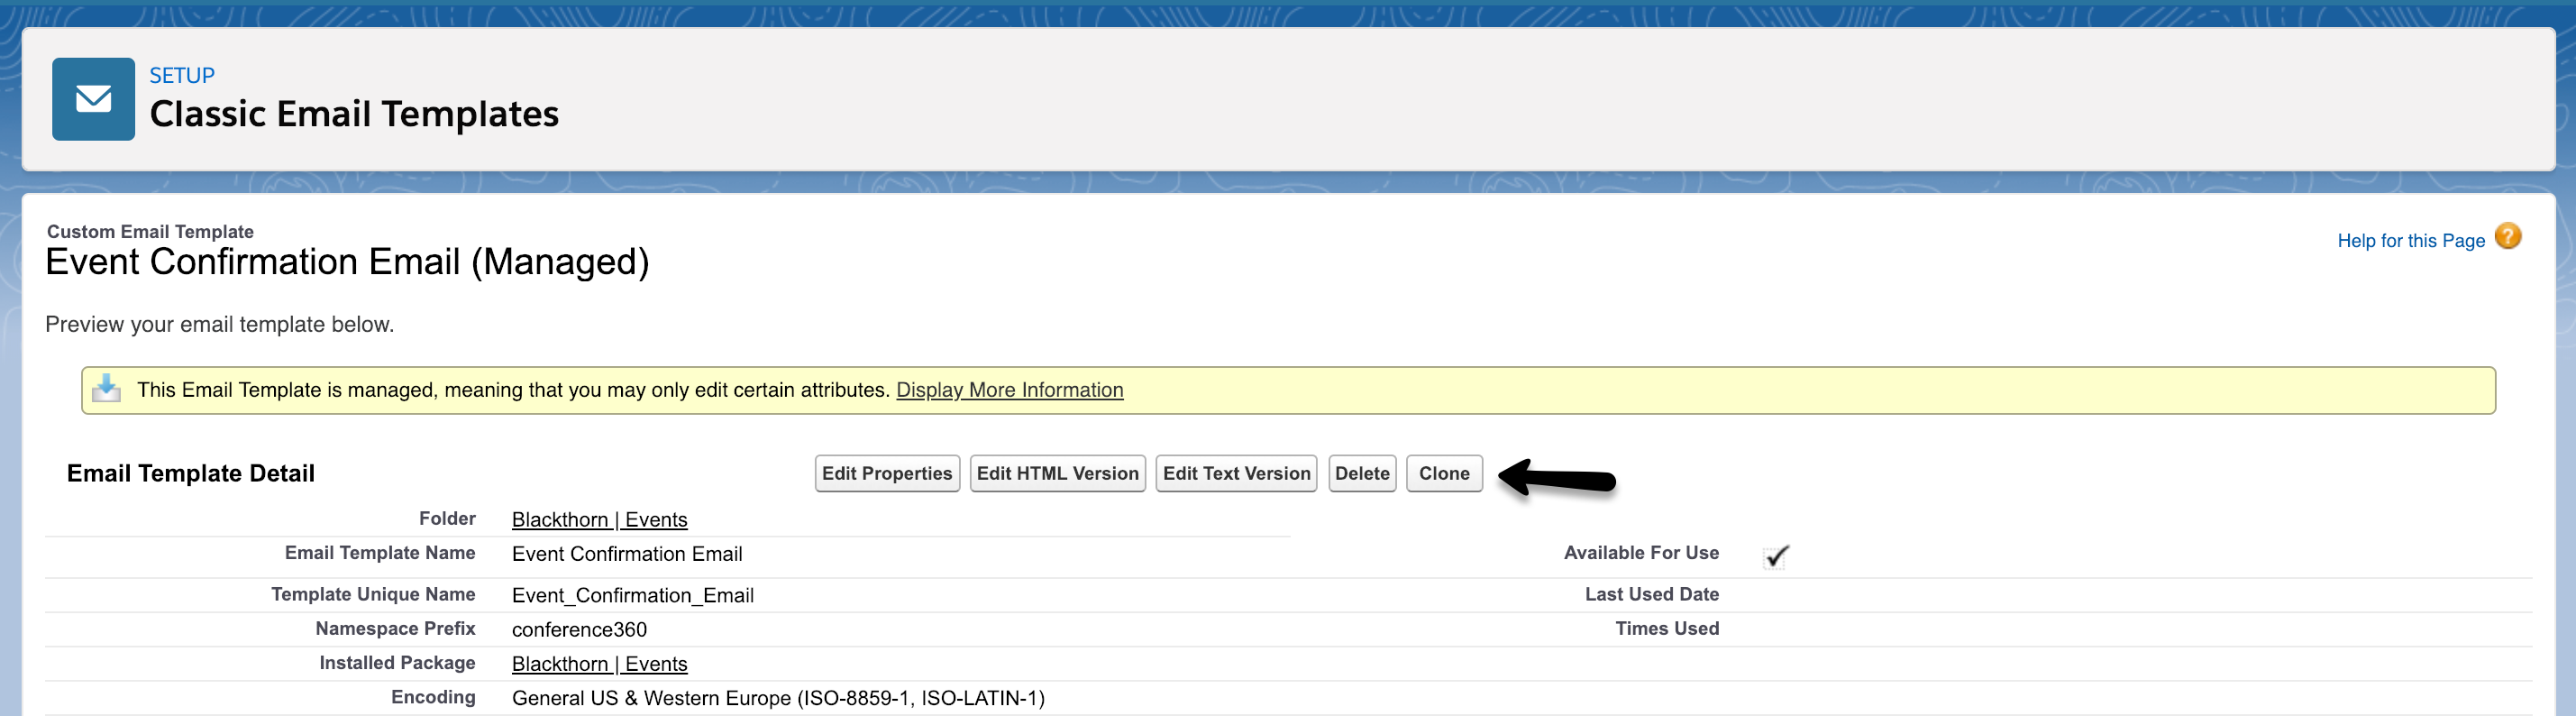
In the quick find/search box, type in and select "Classic Email Templates".
Click on the confirmation email and select Clone.
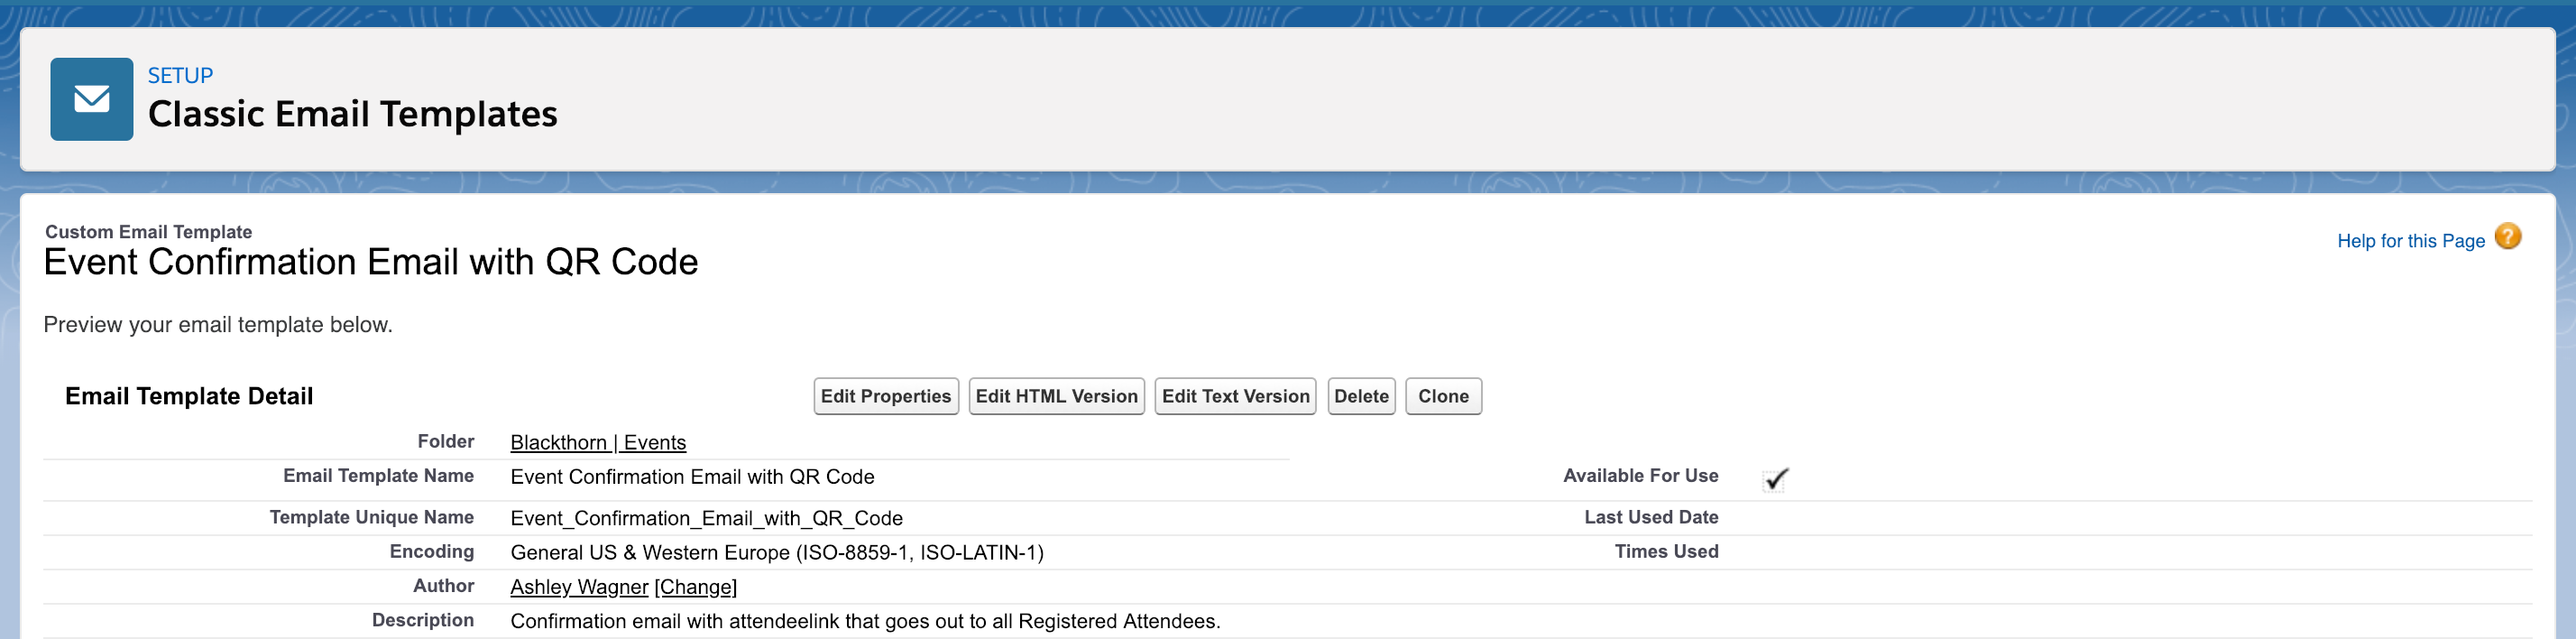
Rename the new email template to "Event Confirmation Email with QR Code".
Edit the HTML version and update the following:
- Update the subject line to:
Confirmation and Check-In for {!conference360__Attendee__c.conference360__Event_Name__c}
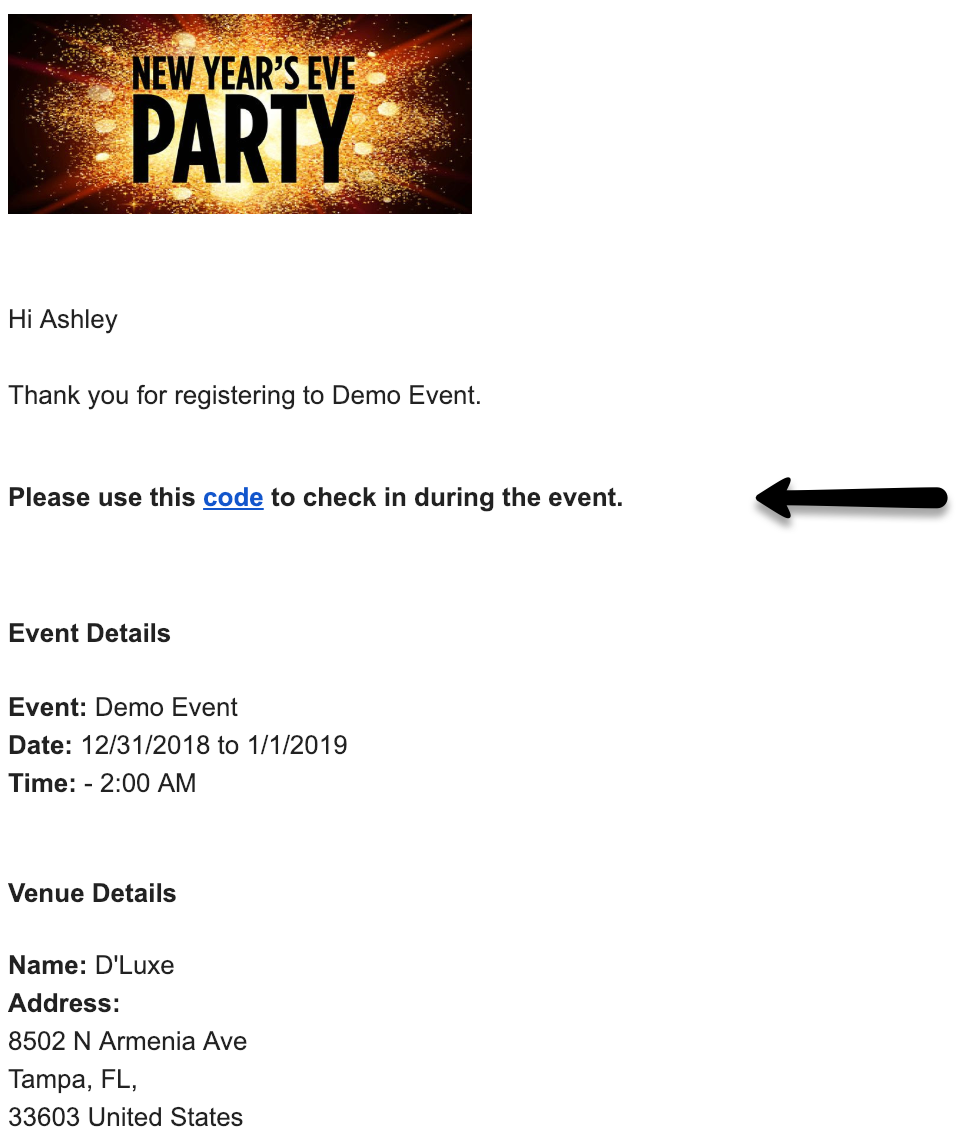
- Paste the following code between "Thanks for registering" and "Event Details" in the description:
<p><b>Please use this <a href="{!conference360__Attendee__c.conference360__AttendeeLink__c}">code</a> to check in during the event.</b></p><br>
Update Confirmation Email Workflow
If you want the confirmation email with QR code to be sent when any Attendee registers for any Event, update the "Send Blackthorn | Event confirmation email".
Navigate to Setup
Type in and select "Workflow Rules".
Click on the "Send Blackthorn | Event confirmation email" workflow rule.
Click Edit next to the workflow action.
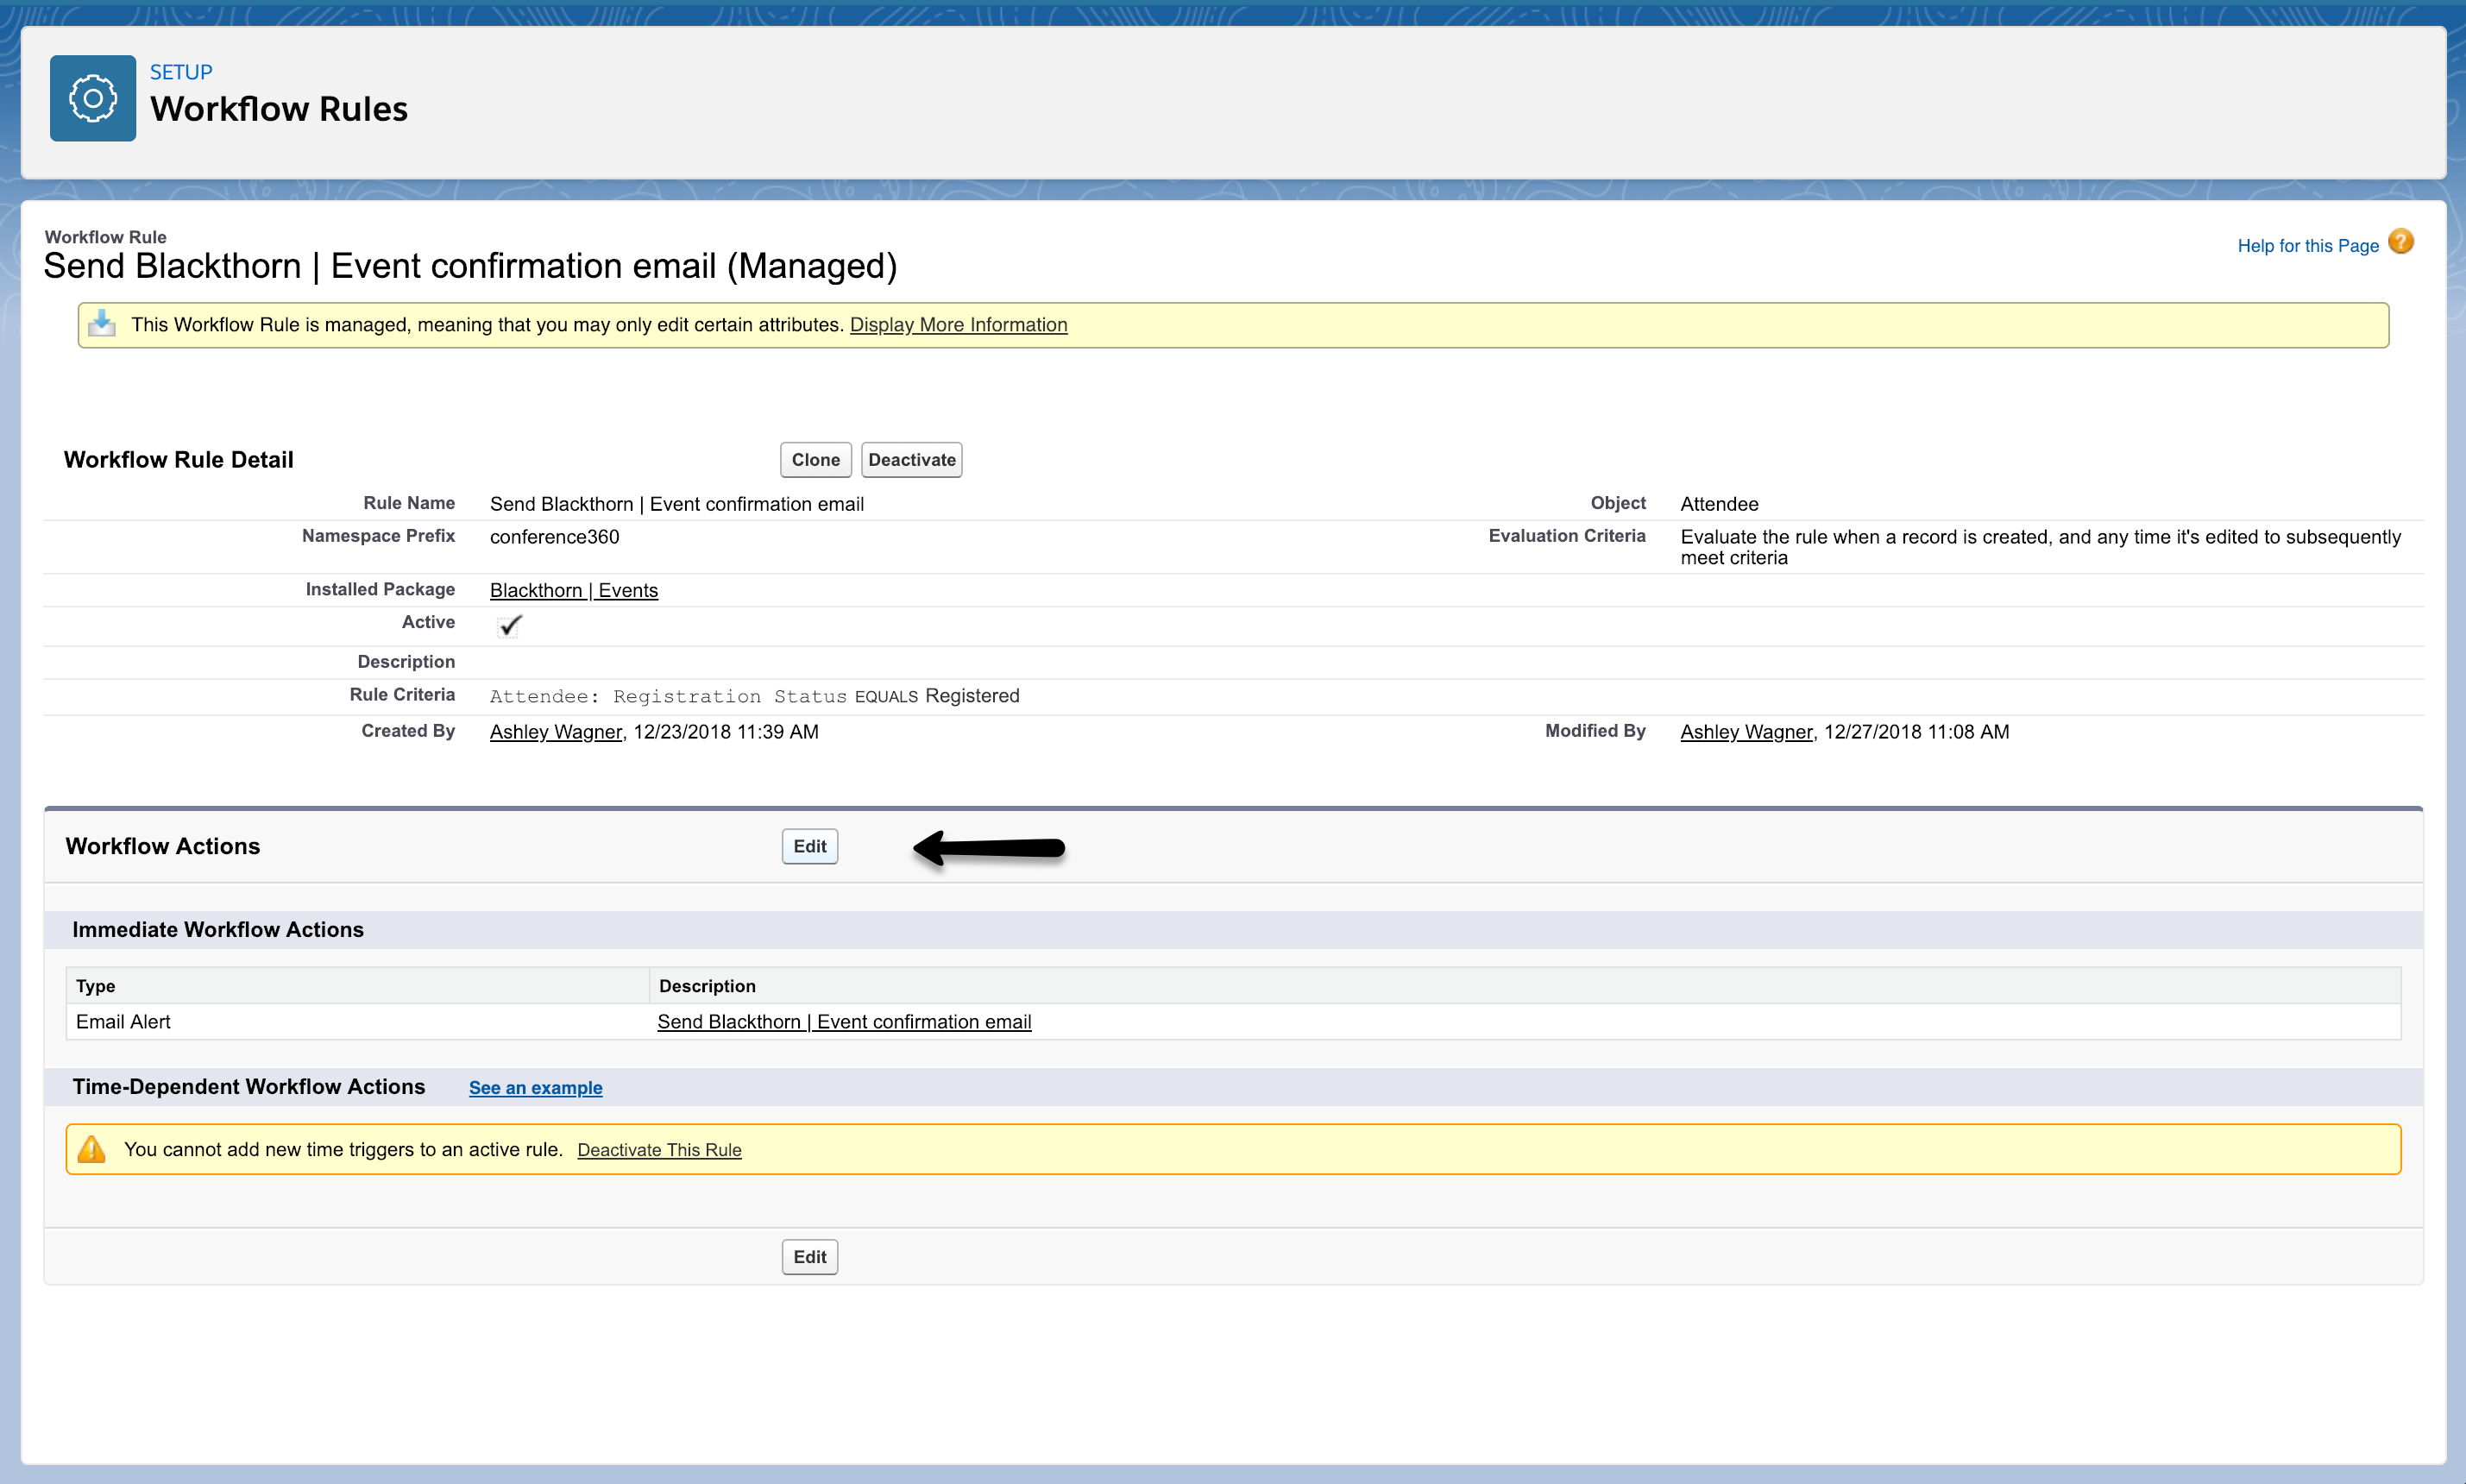
Edit the action and change the email template to the "Event Confirmation Email with QR Code" and click Save.
Hide the QR Code from the AttendeeLink
If the Hide QR from AttendeeLink field is not on the Event Settings page layout, the first step is to add it.
- Click the Gear icon in the upper right-hand corner.
- Click Setup.
- Click Object Manager.
- Search for and click on “Event Settings”.
- Click Page Layouts.
- Click Event Settings Layout.
- Locate the Hide QR from AttendeeLink field and drag and drop it where you would like it to be located.
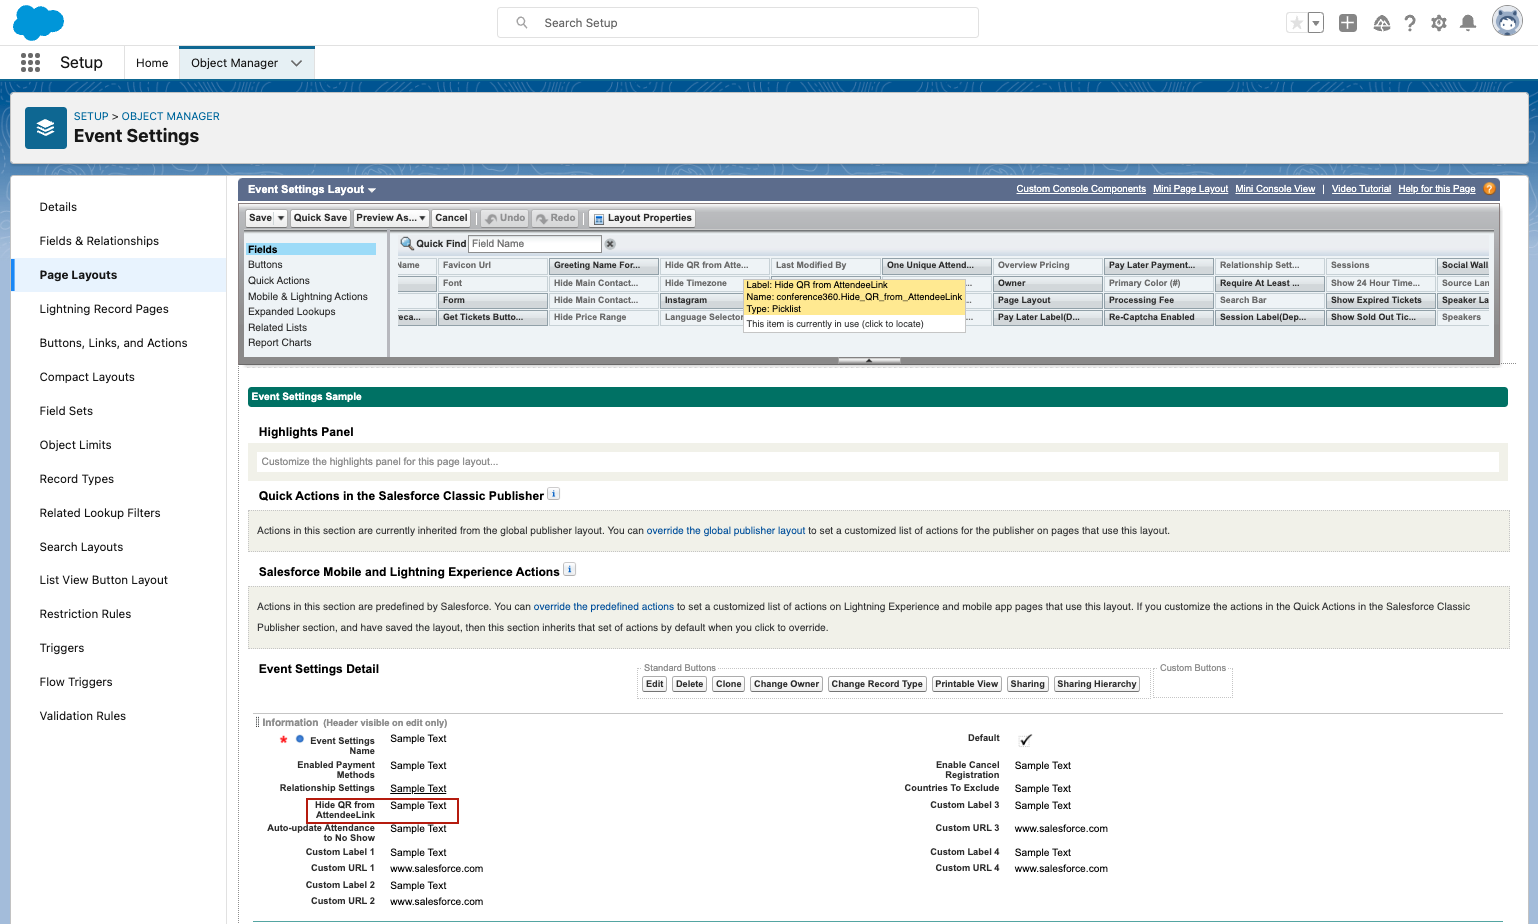
- Click Save.
Now that the Hide QR from AttendeeLink field is on the Event Settings page layout, complete the following steps to hide the field from the AttendeeLink.
- Navigate to Event Settings.
- Open the Event Settings that relates to the Event(s) you want to hide the QR code from.
- Set Hide QR from AttendeeLink to "Yes".
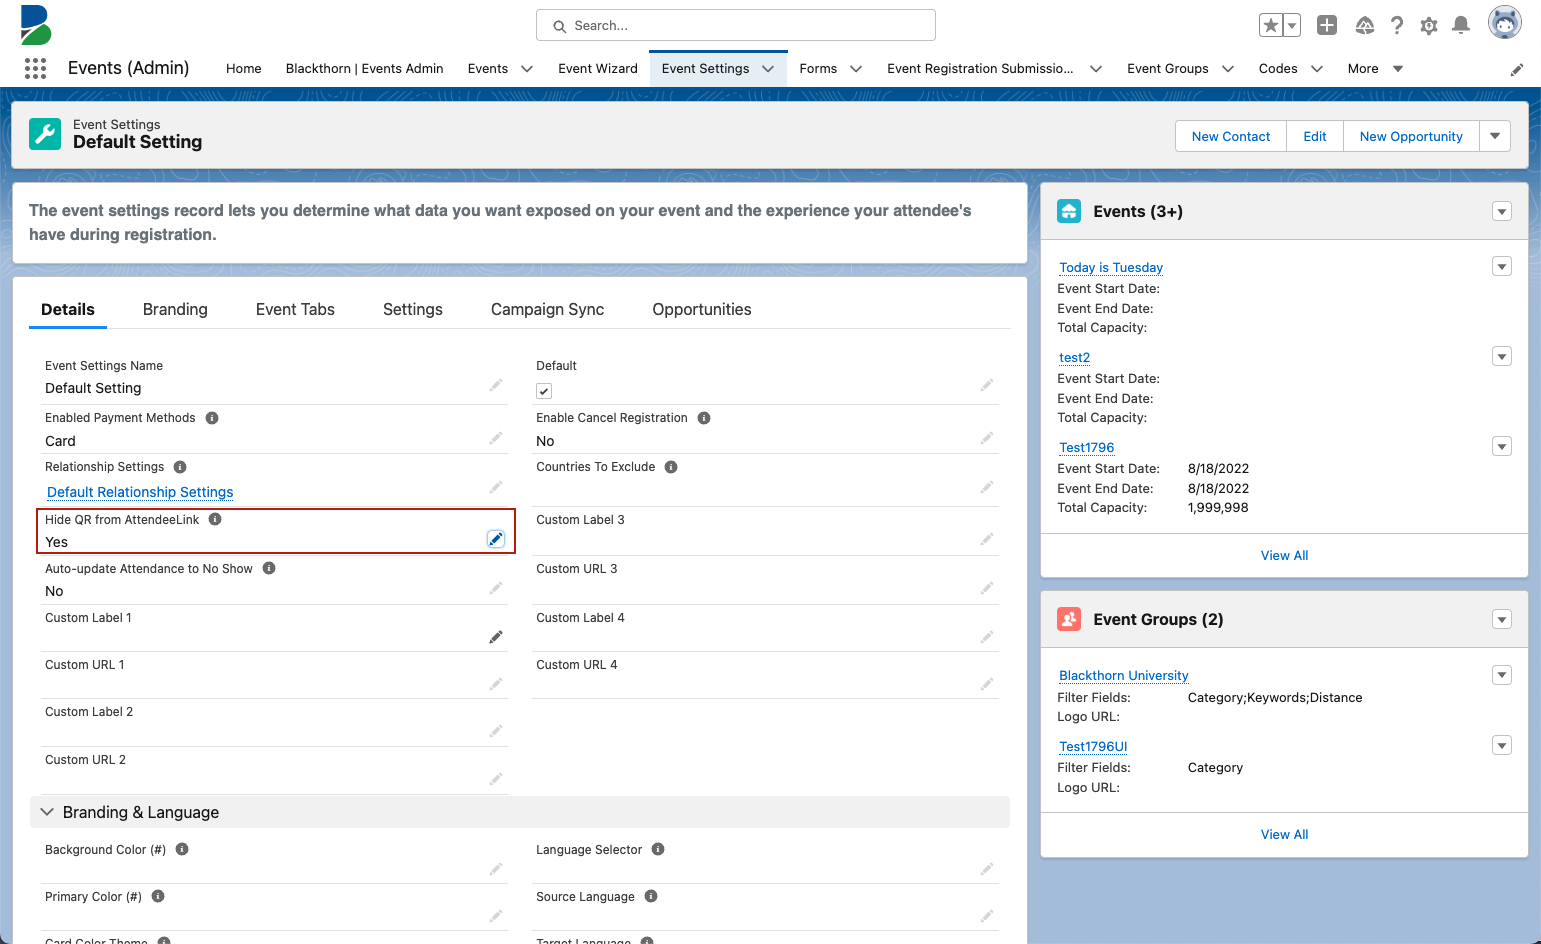
Done! Your QR code will now be hidden from the AttendeeLink.