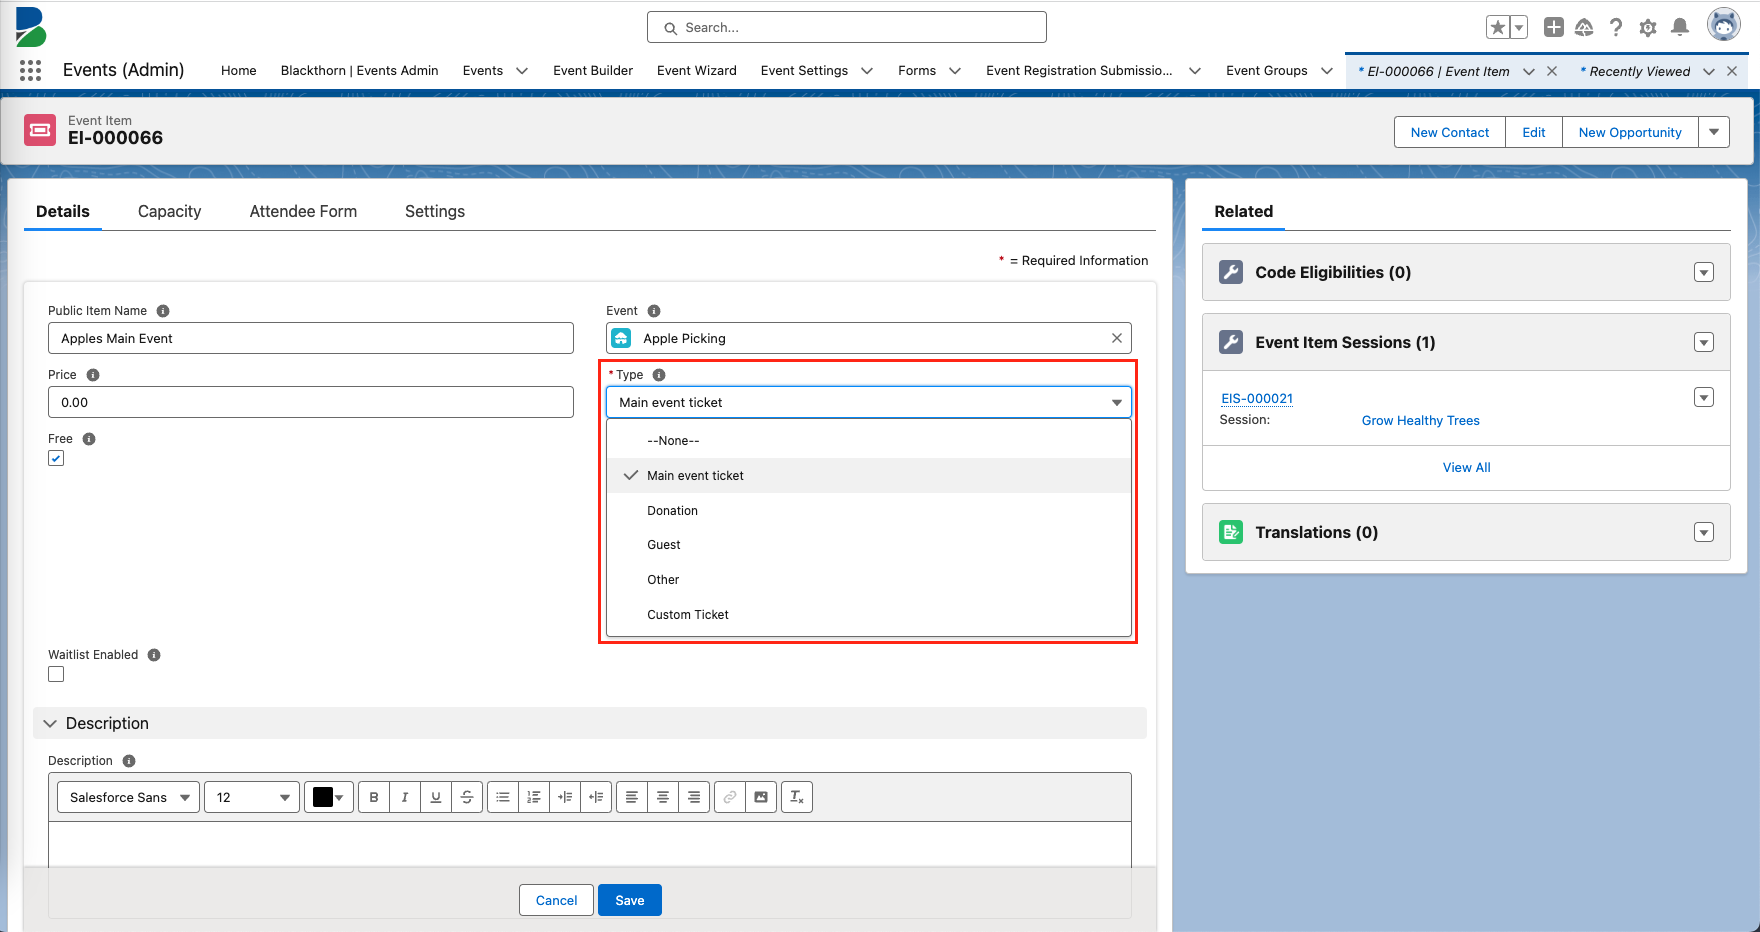
Please read before adding custom Event Items.
To use a custom Event Item, users need to create a new, unique custom picklist value in the Type field on the Event Item. A custom Event Item behaves like an Event Item with Type = "Main event ticket". This will resolve the “ticket type is not supported for registration” error.
The Event Item Type = "Other" should only be used for Products.
Event Item Types
There are three primary types of Event Items that can be added to an Event:
Includes free and paid Main event tickets and Guest tickets.
Event Item = “Main event item” or Event Item Type = “Guest”
An Event Item with Type = "Main event ticket" must be included to publish an Event with a "Guest" Event Item.
Gives Attendees an easy way to make a donation.
Event Item Type = “Donation”
An Event Item with Type = "Main event ticket" must be included to publish an Event with a "Donation" Event Item.
Used to offer a product to Attendees.
Event Item Type = “Other”
An Event Item with Type = "Main event ticket" must be included to publish an Event with a "Product" Event Item.

Sort Event Items
Complete the following steps to change the sort order of your Event Items.
- Add the Sort Order field to the Event Item page layout. If the Sort Order field is already on the page layout, go to #2.
- Click the Gear icon.
- Click Setup.
- Click the Object Manager tab.
- In the Quick Find box, enter and click “Event Item.”
- Click Page Layouts.
- Click Event Item Layout.
- Locate the Sort Order field.
- Drag and drop it on the page layout.
- Click Save.
- Go to the Event Item record.
- Click the Pencil icon for the Sort Order field.
- Enter the correct number.
- Click Save.
- Click the related Event record.
- Click Update.