The process below describes what you, an internal Salesforce Events user, will see when someone completes the checkout process.
Salesforce Event Registration Process
Start
- Step 1: An Attendee completes the Checkout process from the Event.
Additional Process for Paid Events
- Step 2: A Payment Method record is added to Salesforce with the Card ID (i.e the token).
- Step 3: A Transaction is created and authorized (processed/charged).
A Transaction's Description will not be created after the checkout process is complete.
Immediate Action for Free and Paid Events
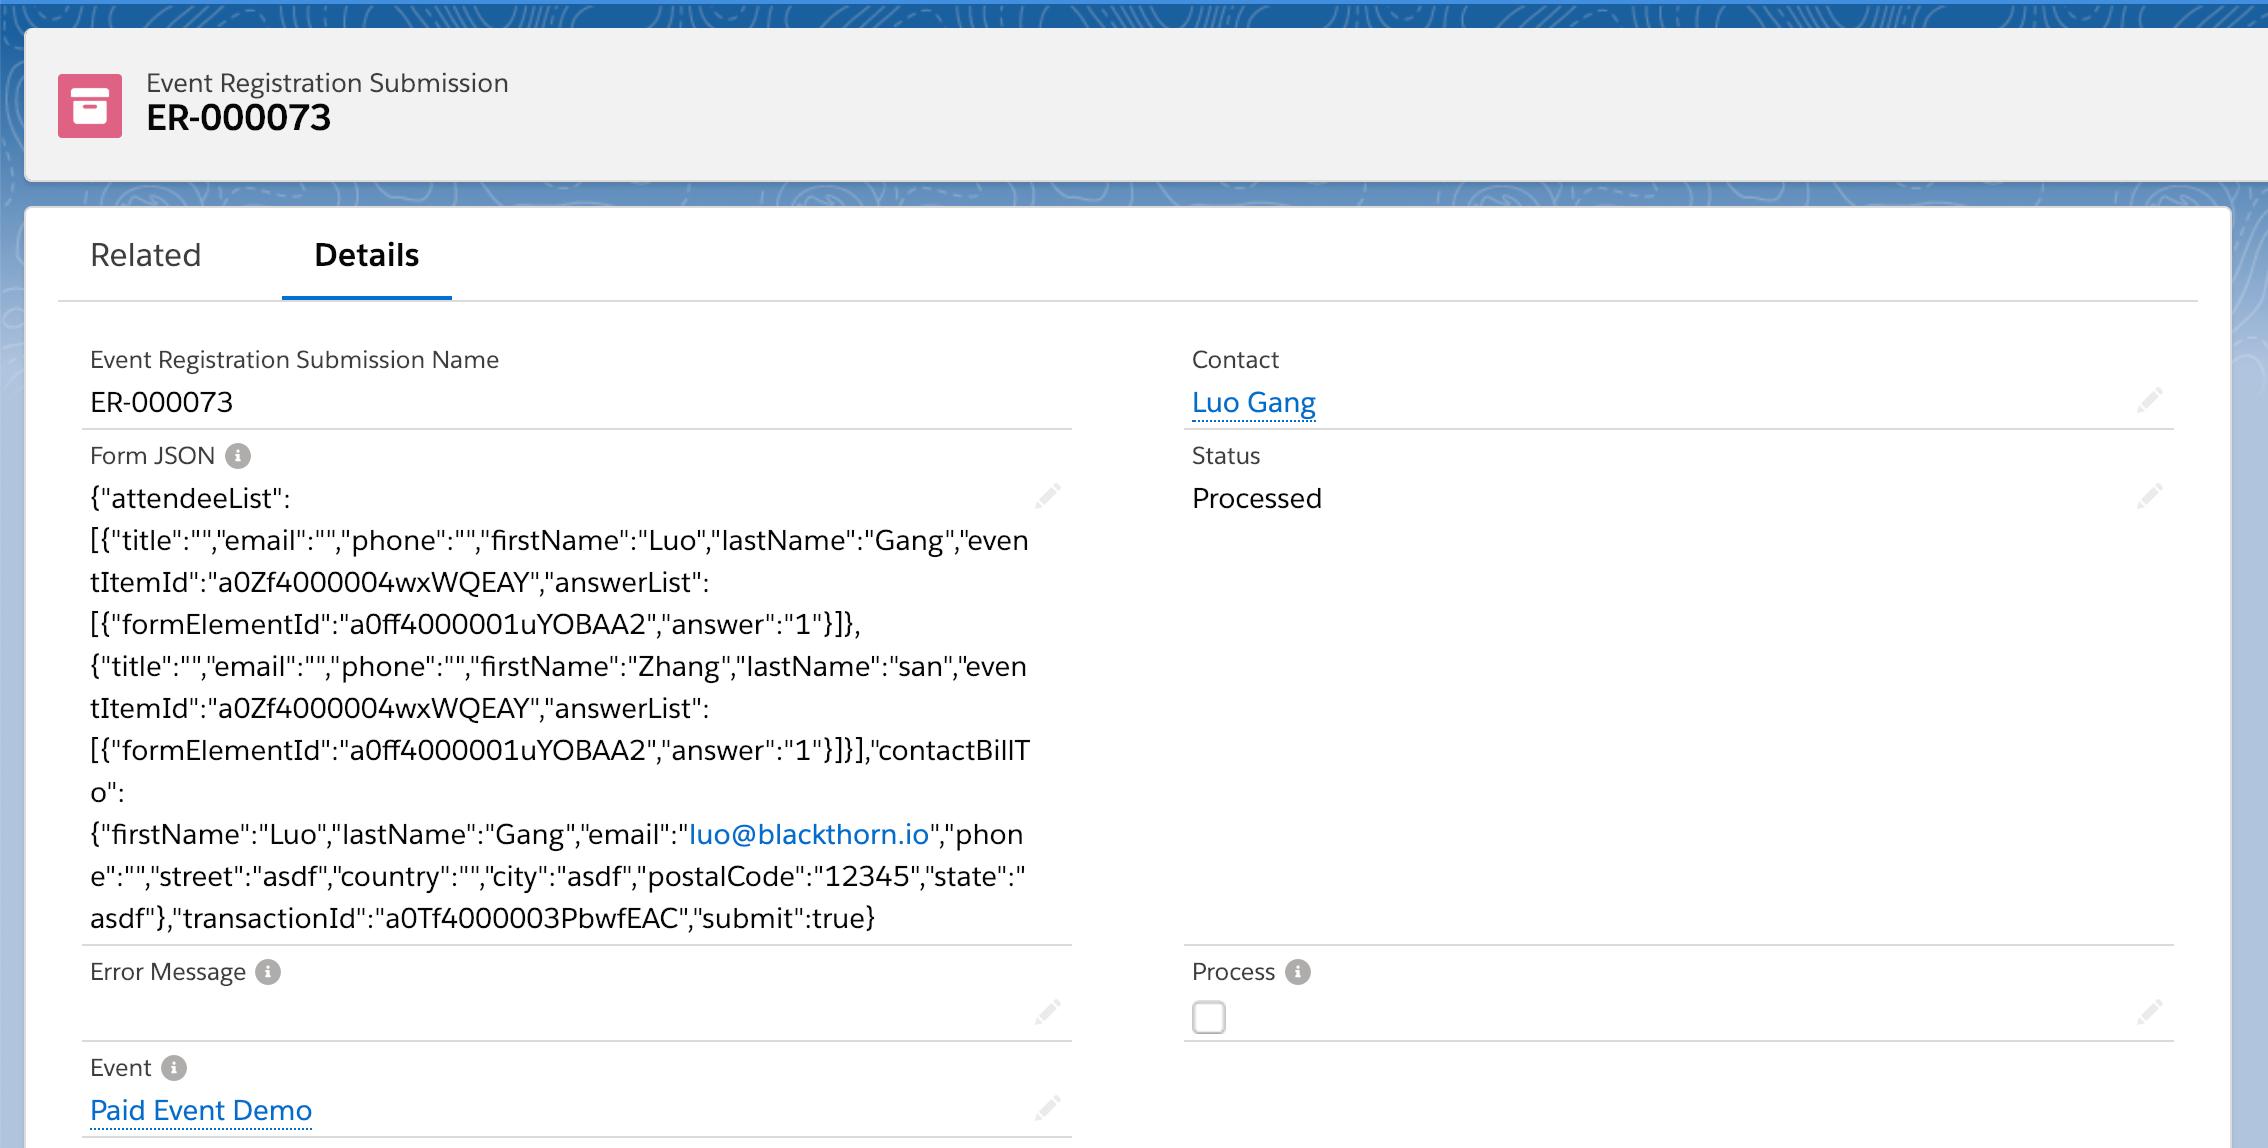
- Step 4: A Event Registration Submission (ERS) record is created as a JSON file captures all related data.
Event Attendees
- Step 5: An Attendee record is created and related to the Event record.
- Step 6: Attendee's Registration Status is updated to "Registered" or "Waitlist Pending". When an Attendee's Registration Status is updated to "Registered", the Registration Date/Time is set.
Scheduled Processes
- Step 7: The ERS record is processed.
- Step 8: Authorized Transactions are captured.
- Step 9: A Transaction receipt is sent to the donor if that's enabled as a Workflow Rule.
- Step 10: The Contact/Lead is attempted to be matched on configured Salesforce matching and duplicate logic. If a match, the rest of the logic follows under that Contact/Lead. If there's no match, a new Contact/Lead is created. Default matching logic: First Name, Last Name, and Email.
Additional Processes for Paid Events
- Step 11: The Payment Method and Transaction from Steps 2 and 3 are updated to this new Contact (if the Contact has been created).
- Step 12: An Invoice is created and all Attendees and the Contact (Bill To) or Lead (Bill To) fields are related.
Attendee Checkout Experiences
Free Event Checkout Process
Follow the steps here to see what your Attendees will experience when viewing and registering for your free Event.
Paid Event Checkout Process
Click here to see the steps your Attendees will follow when viewing and registering for your paid Event.
Checkout from an AttendeeLink
If an Attendee starts the checkout process via an AttendeeLink, but the Event Item field on the Attendee record is left blank, the following checkout process will now occur.
- An Attendee clicks their AttendeeLink to start the checkout process.
- The Attendee does not see the Capacity Selector for the Event Item. They only see the Redeem Item button next to the Event Item.
- Once the Attendee clicks the Redeem Item button, the selected Event Item will be added to the cart, and the Capacity Selector will be visible.
- The Attendee will now be able to complete the checkout process.
Failed Event Registrations
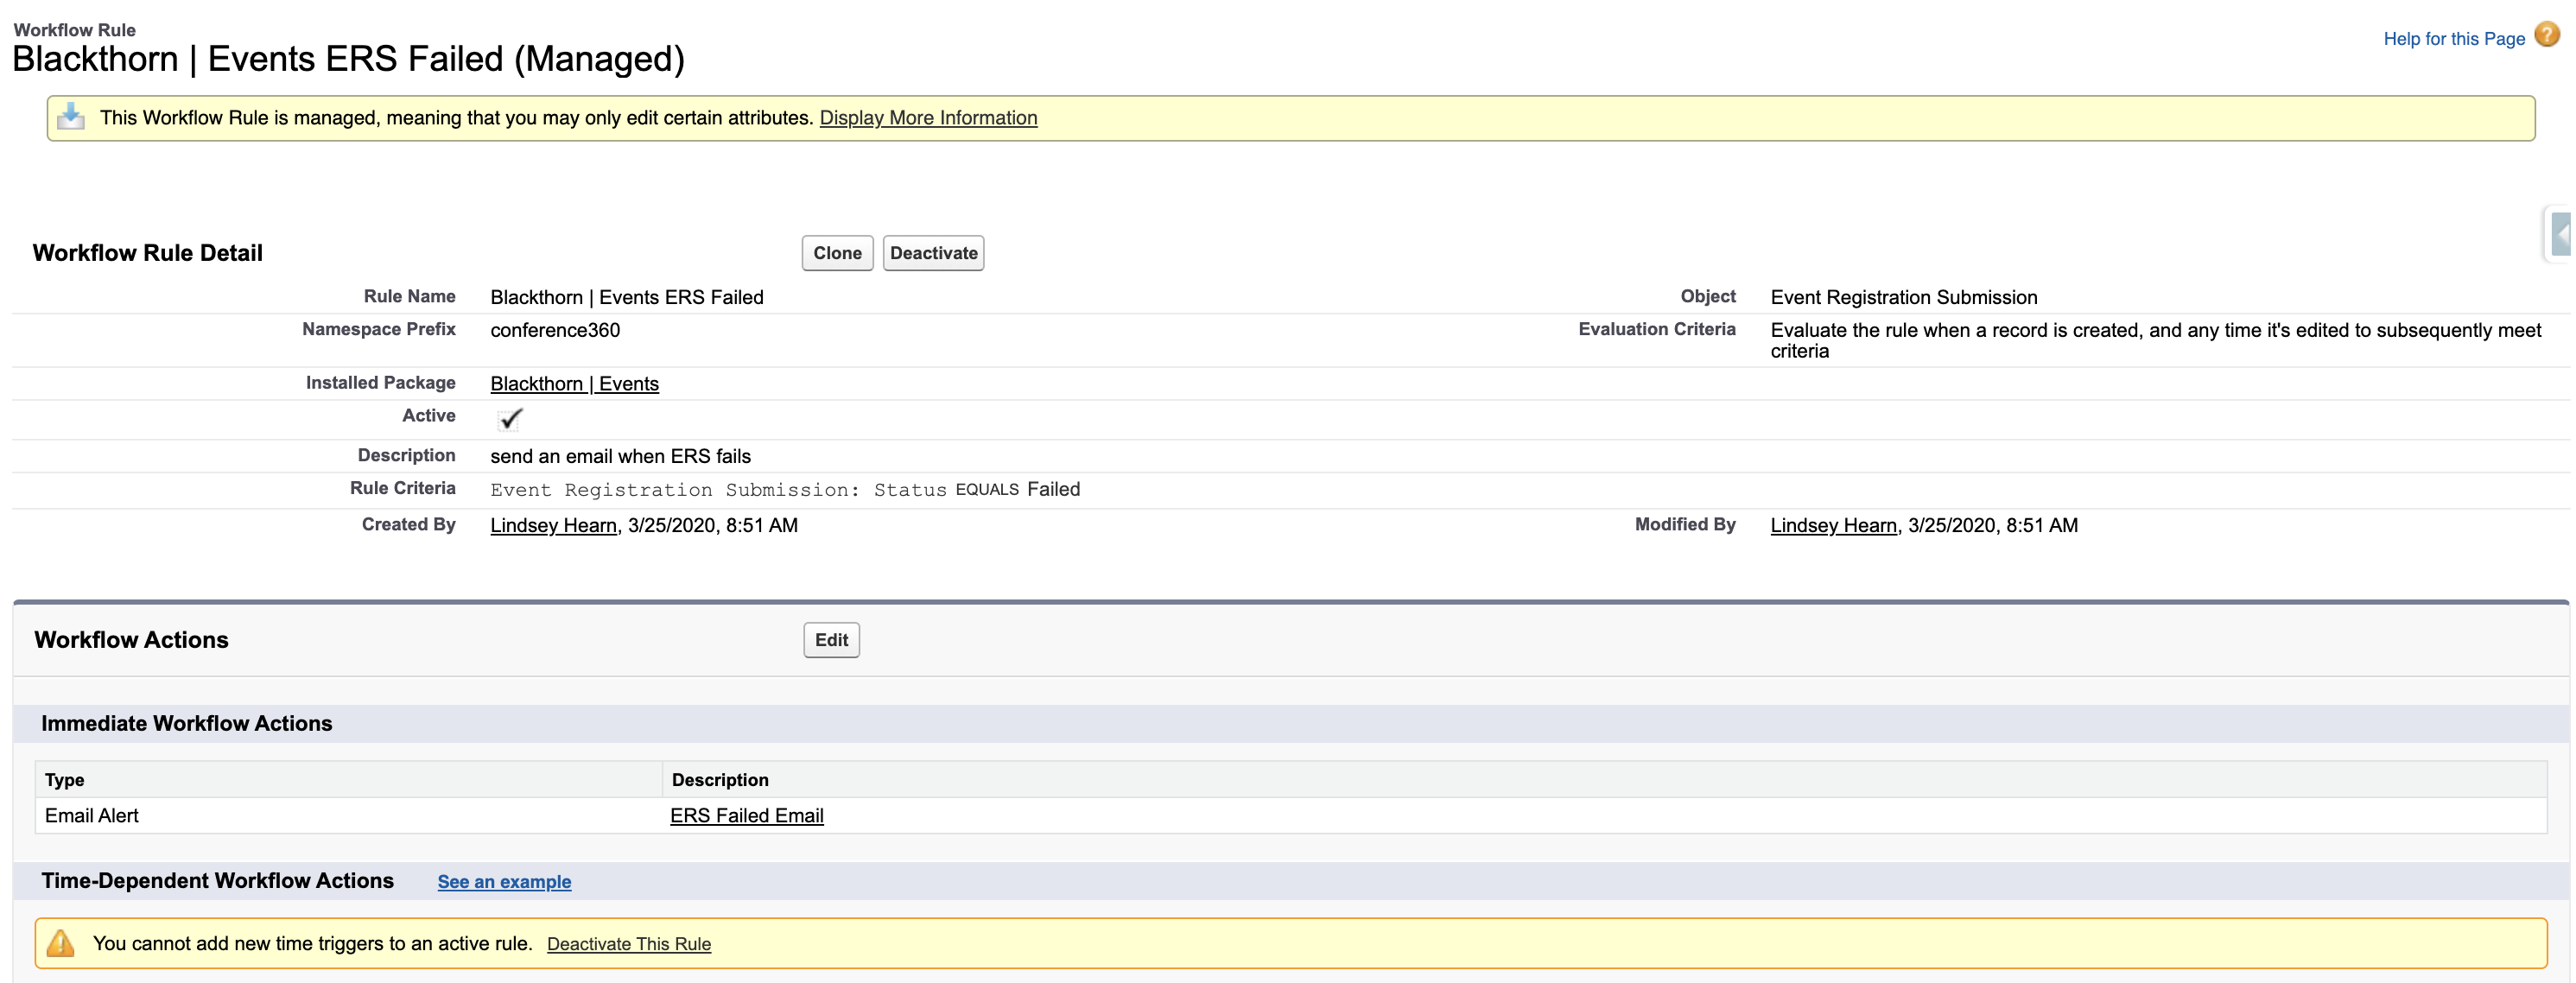
An email alert will notify the authorized user when any registrations fail, so they can quickly manage the issue. The workflow rule is called "Blackthorn | Events ERS Failed", which is enabled by default and uses the email template "Blackthorn | Events ERS Failed".
Guidelines for Adding Logic Post Attendee Creation
Add an after insert/update trigger since the Contact/Lead are mapped on Attendee by Blackthorn using before insert/update logic.
Encapsulate your logic in a try-catch block. If anything fails in your trigger, it will cause the whole ERS process to fail.