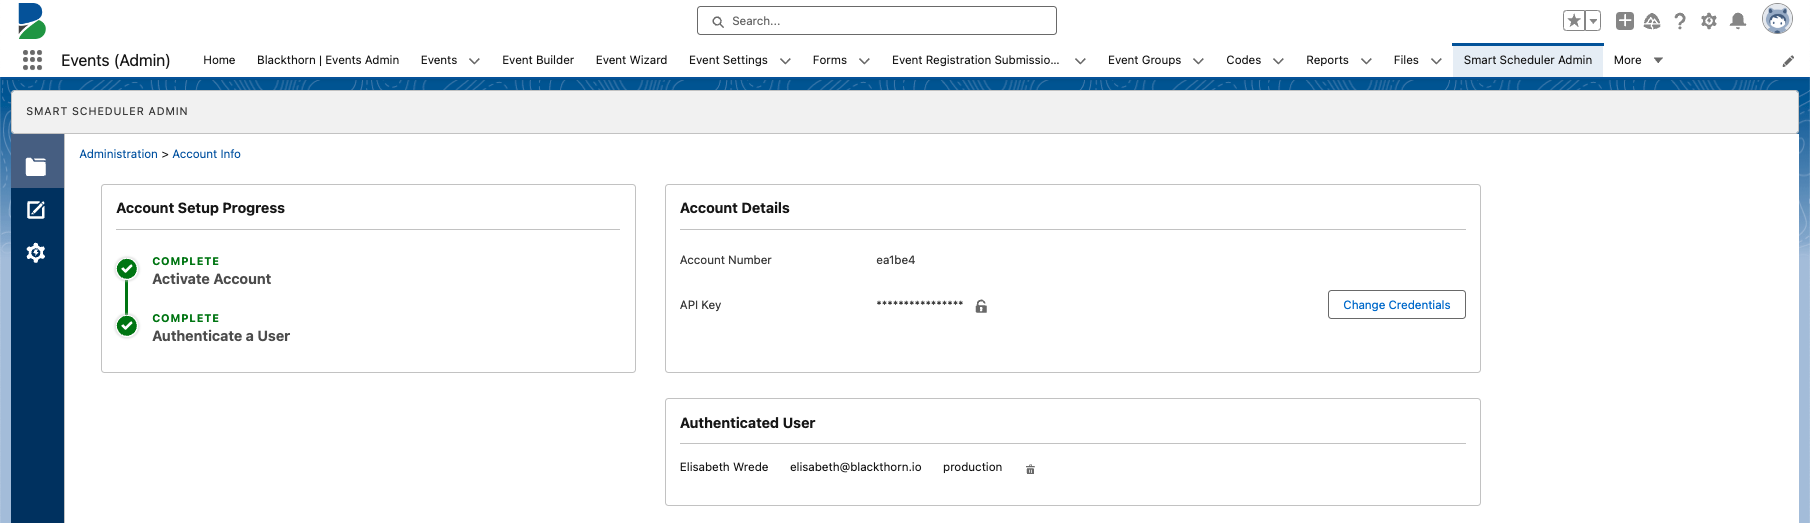
Add the Smart Scheduler Admin Tab
Once the Smart Scheduler component is installed, add the Smart Scheduler Admin tab to the Events navigation bar using one of the following methods.
- Go to the Events app.
- Click the App Launcher.
- Enter and click "Smart Scheduler Admin".
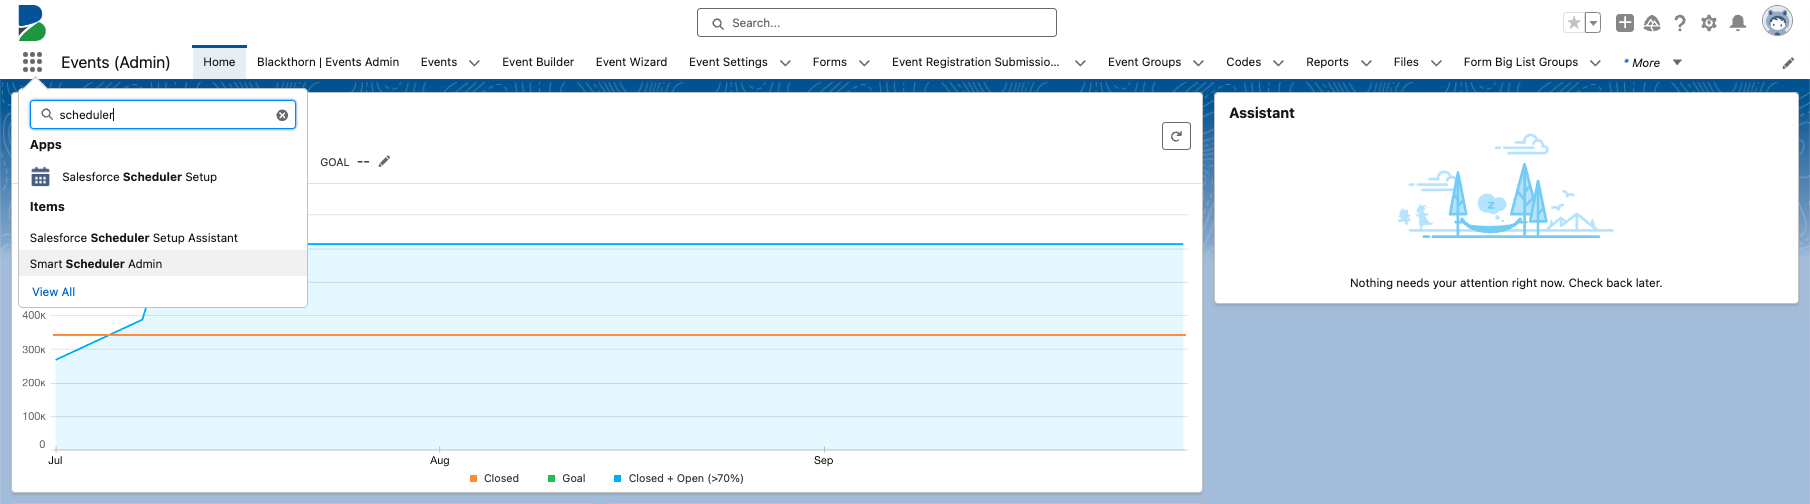
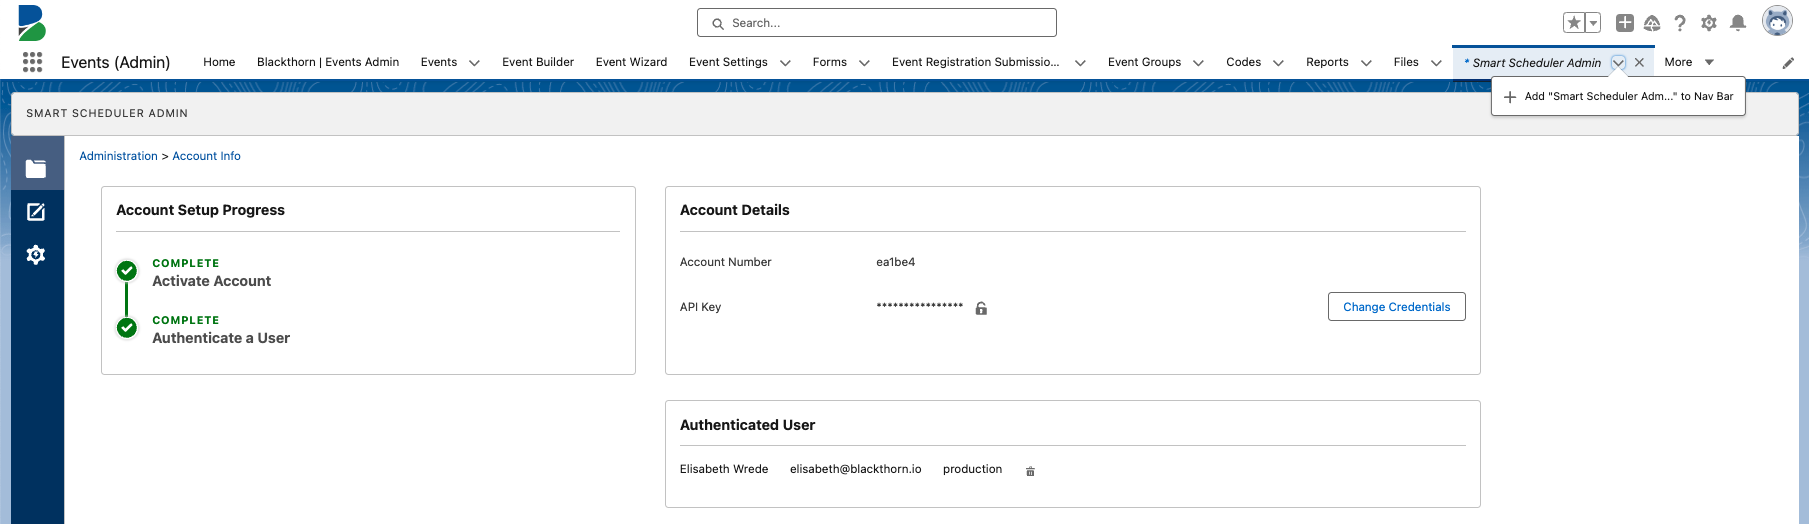
- Click the Down icon on the Smart Scheduler Admin tab.
- Click + "Add Smart Scheduler Adm"... to Nav Bar".
OR
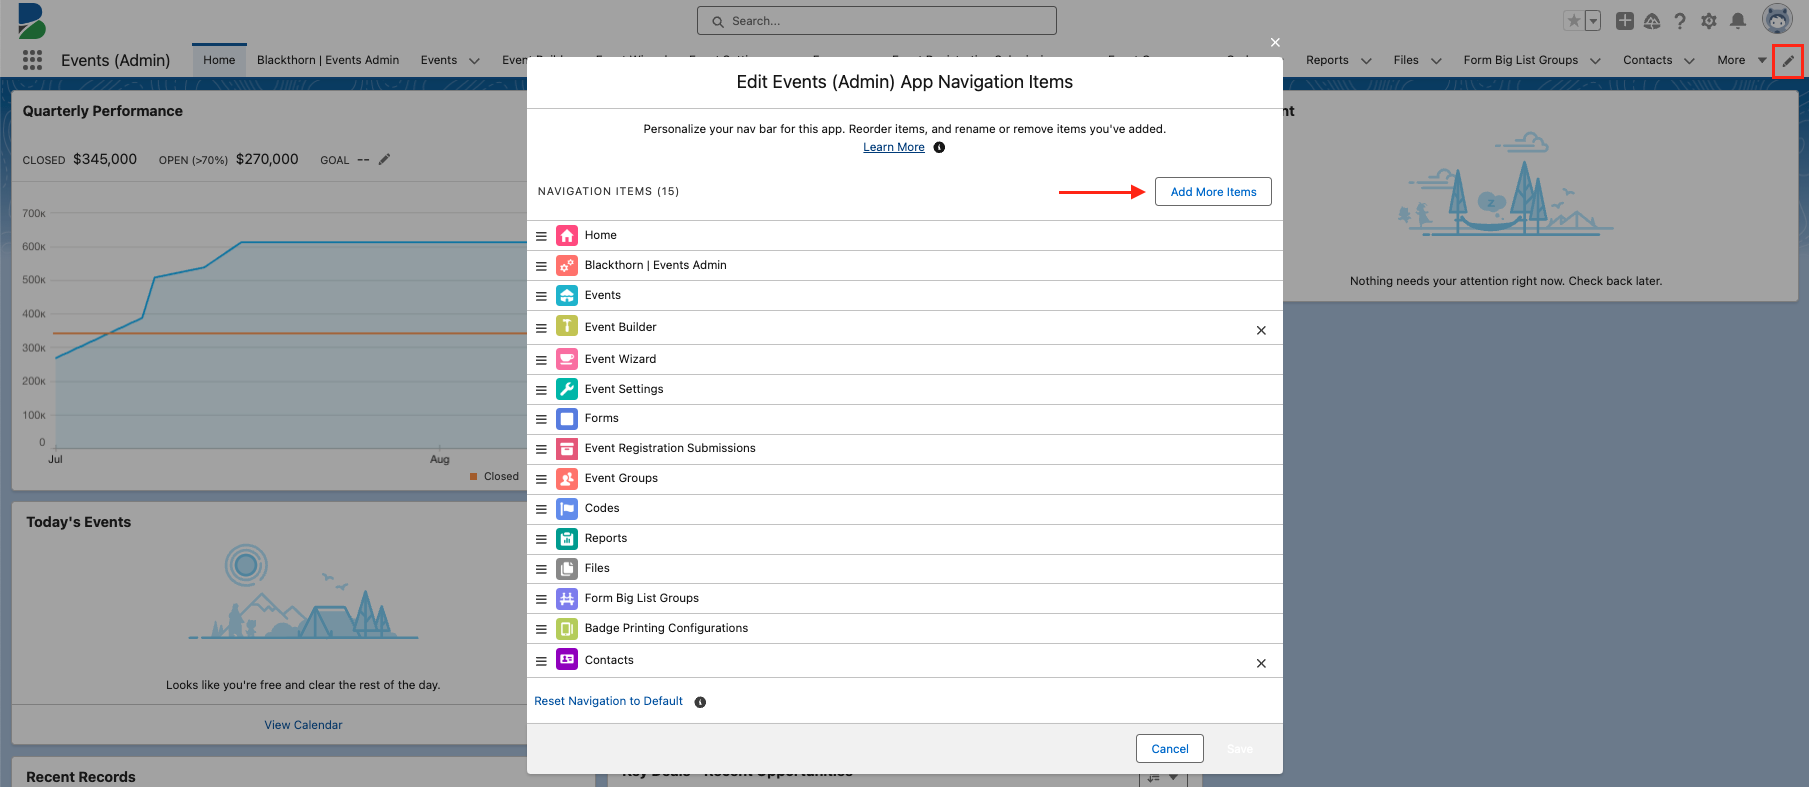
- Go to the Events app.
- Click the Pencil icon in the navigation bar.
- Click Add More Items.
- Click the All tab.
- Search for "Smart Scheduler Admin".
- Check the box next to "Smart Scheduler Admin".
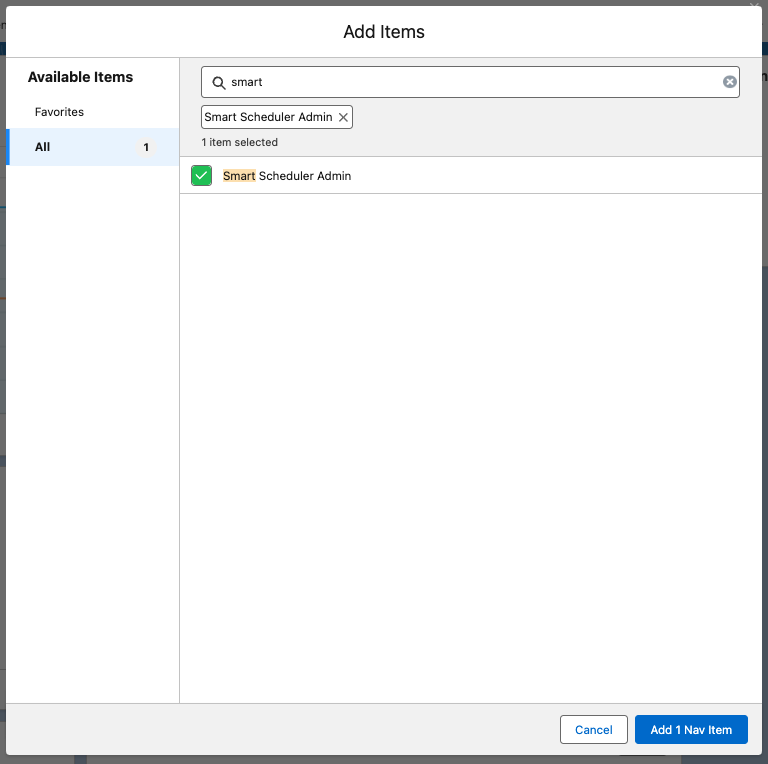
- Click Add 1 Nav Item.
- Click Save.