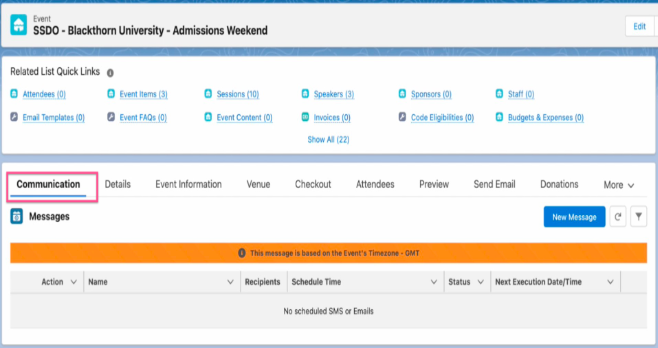
Complete the steps below to add Messaging’s Communication tab to your Event object.
- Open an Event record.
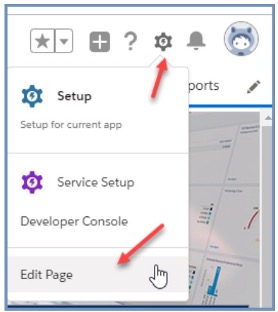
- Click the Gear icon.
- Click Edit Page.
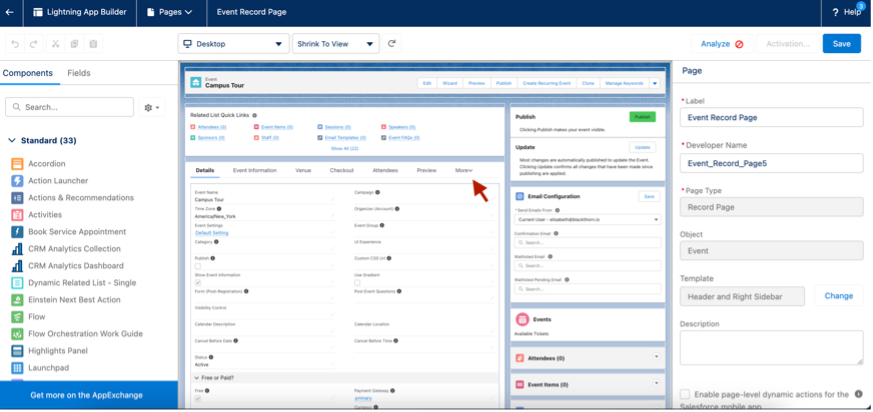
- Click the “More” tab in the Event page layout.
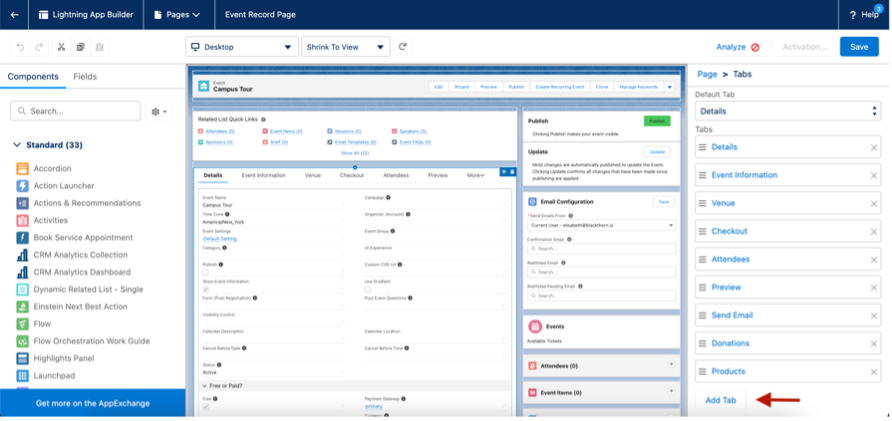
- Click Add Tab.
- Click the new tab and select Tab Label = “Custom”.
- Enter Custom Label = “Communication”.
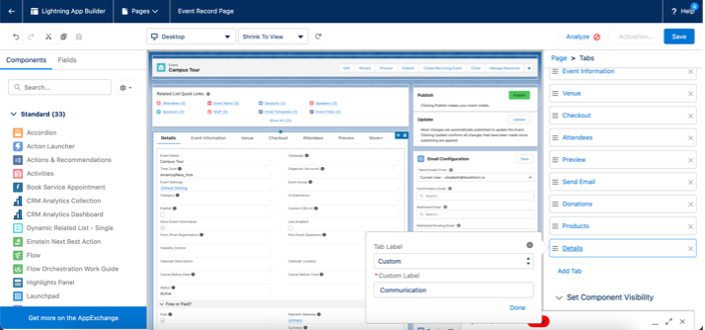
- Click Done.
- Move the Communication tab to the top of the Tabs list so First Tab = “Communications”.
- Set Default Tab = “First Tab.”
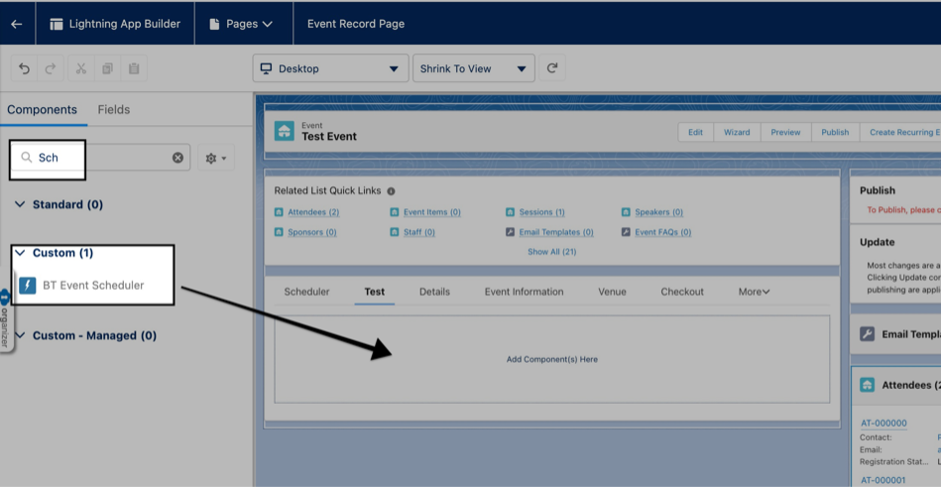
- In the left navigation pane under Components, search for “BT Event Scheduler.”
- Click and drag the BT Event Scheduler component to the Communication tab.
- Click Save.
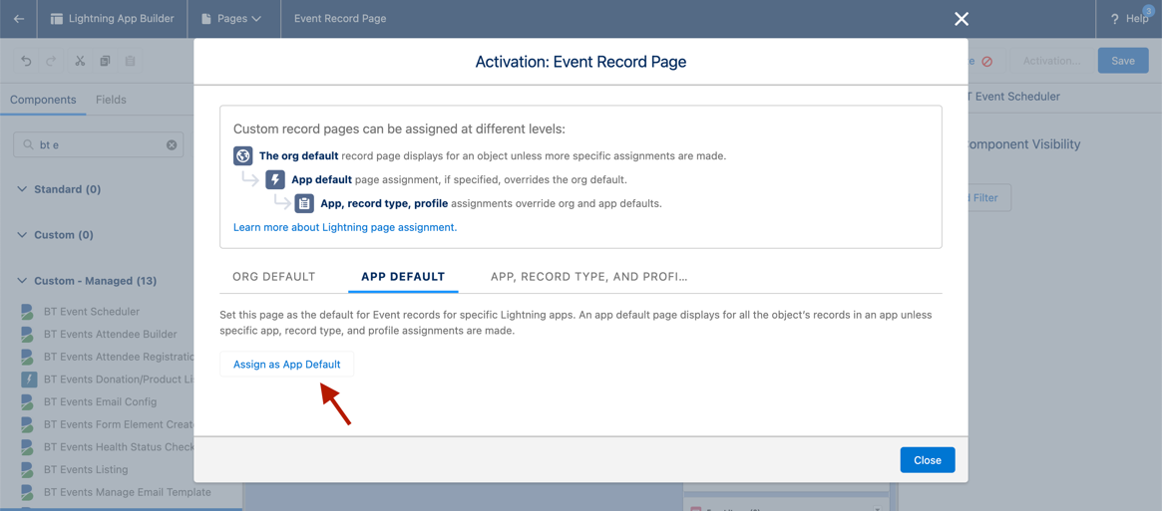
- Click Activate.
- Click the App Default tab.
- Click Assign as App Default.
- Select “Events (Admin)” and “Events (Planner)”.
- Click Next.
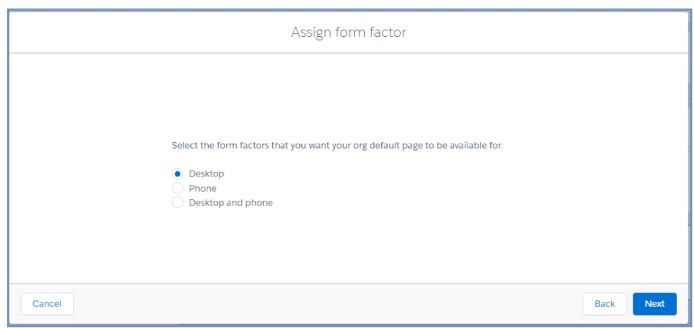
- On the Assign Form Factor screen, choose your preferred platform, and click Next.
- If everything looks okay on the Review Assignments screen, click Save.
- Click Save.
- Return to the Event record page.
To watch a video of the process, click here.