Known Issue
Users working in a scratch org with enhanced domains may experience issues with the Event’s banner/image displaying incorrectly when uploading it in the Event Wizard.
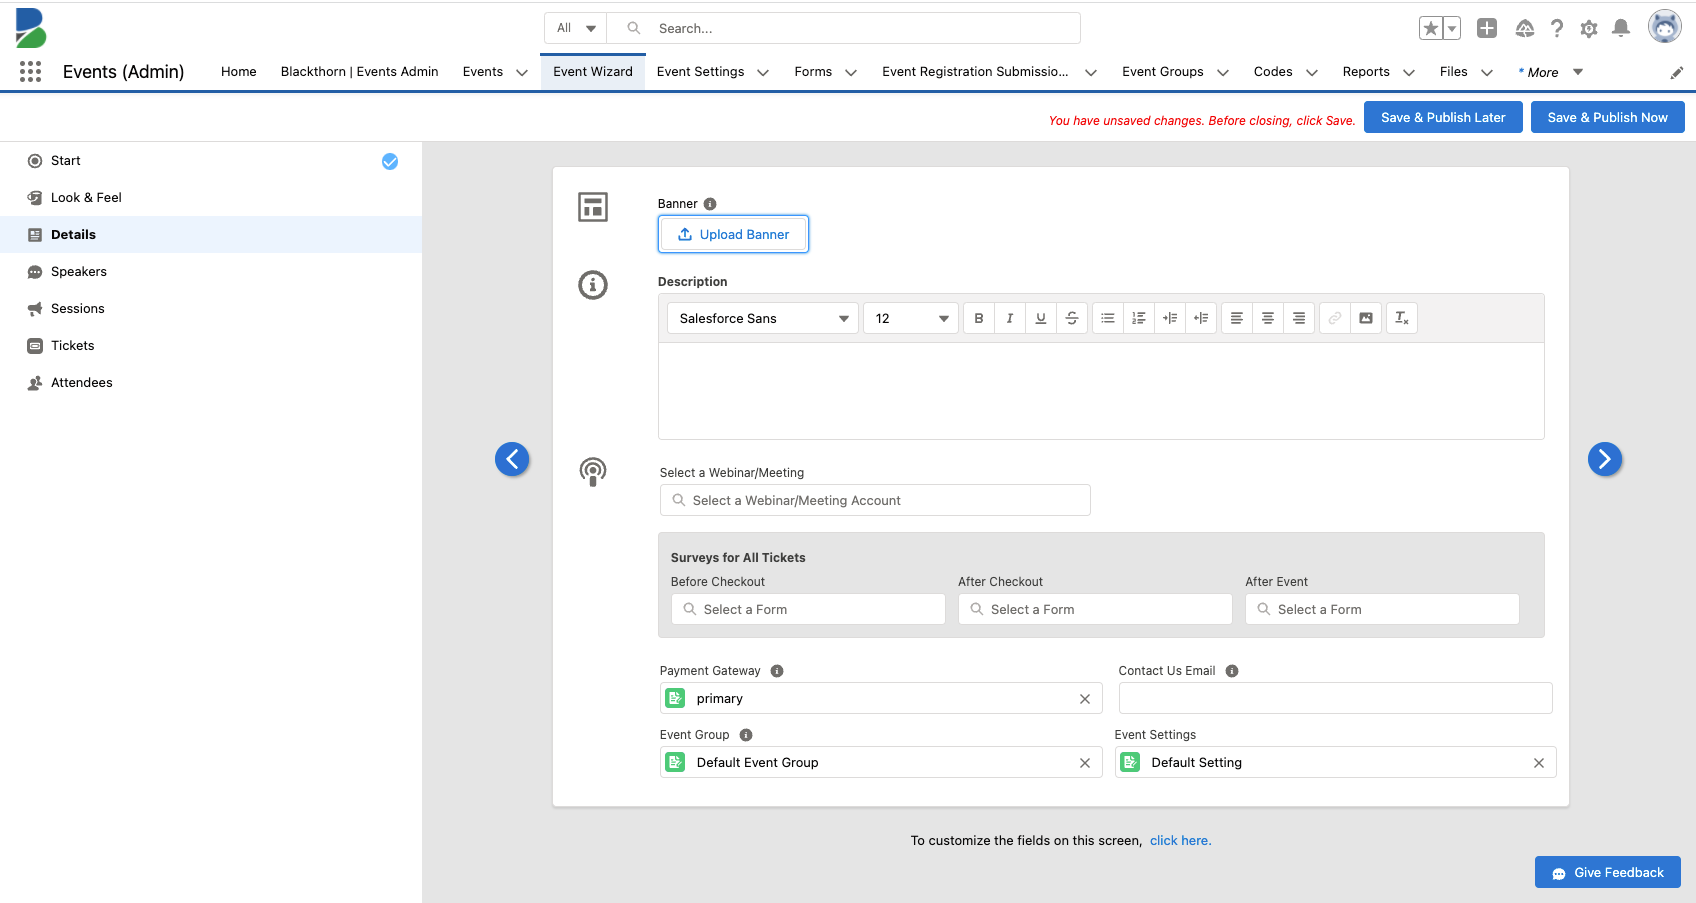
The details page defines the core information for your Event.
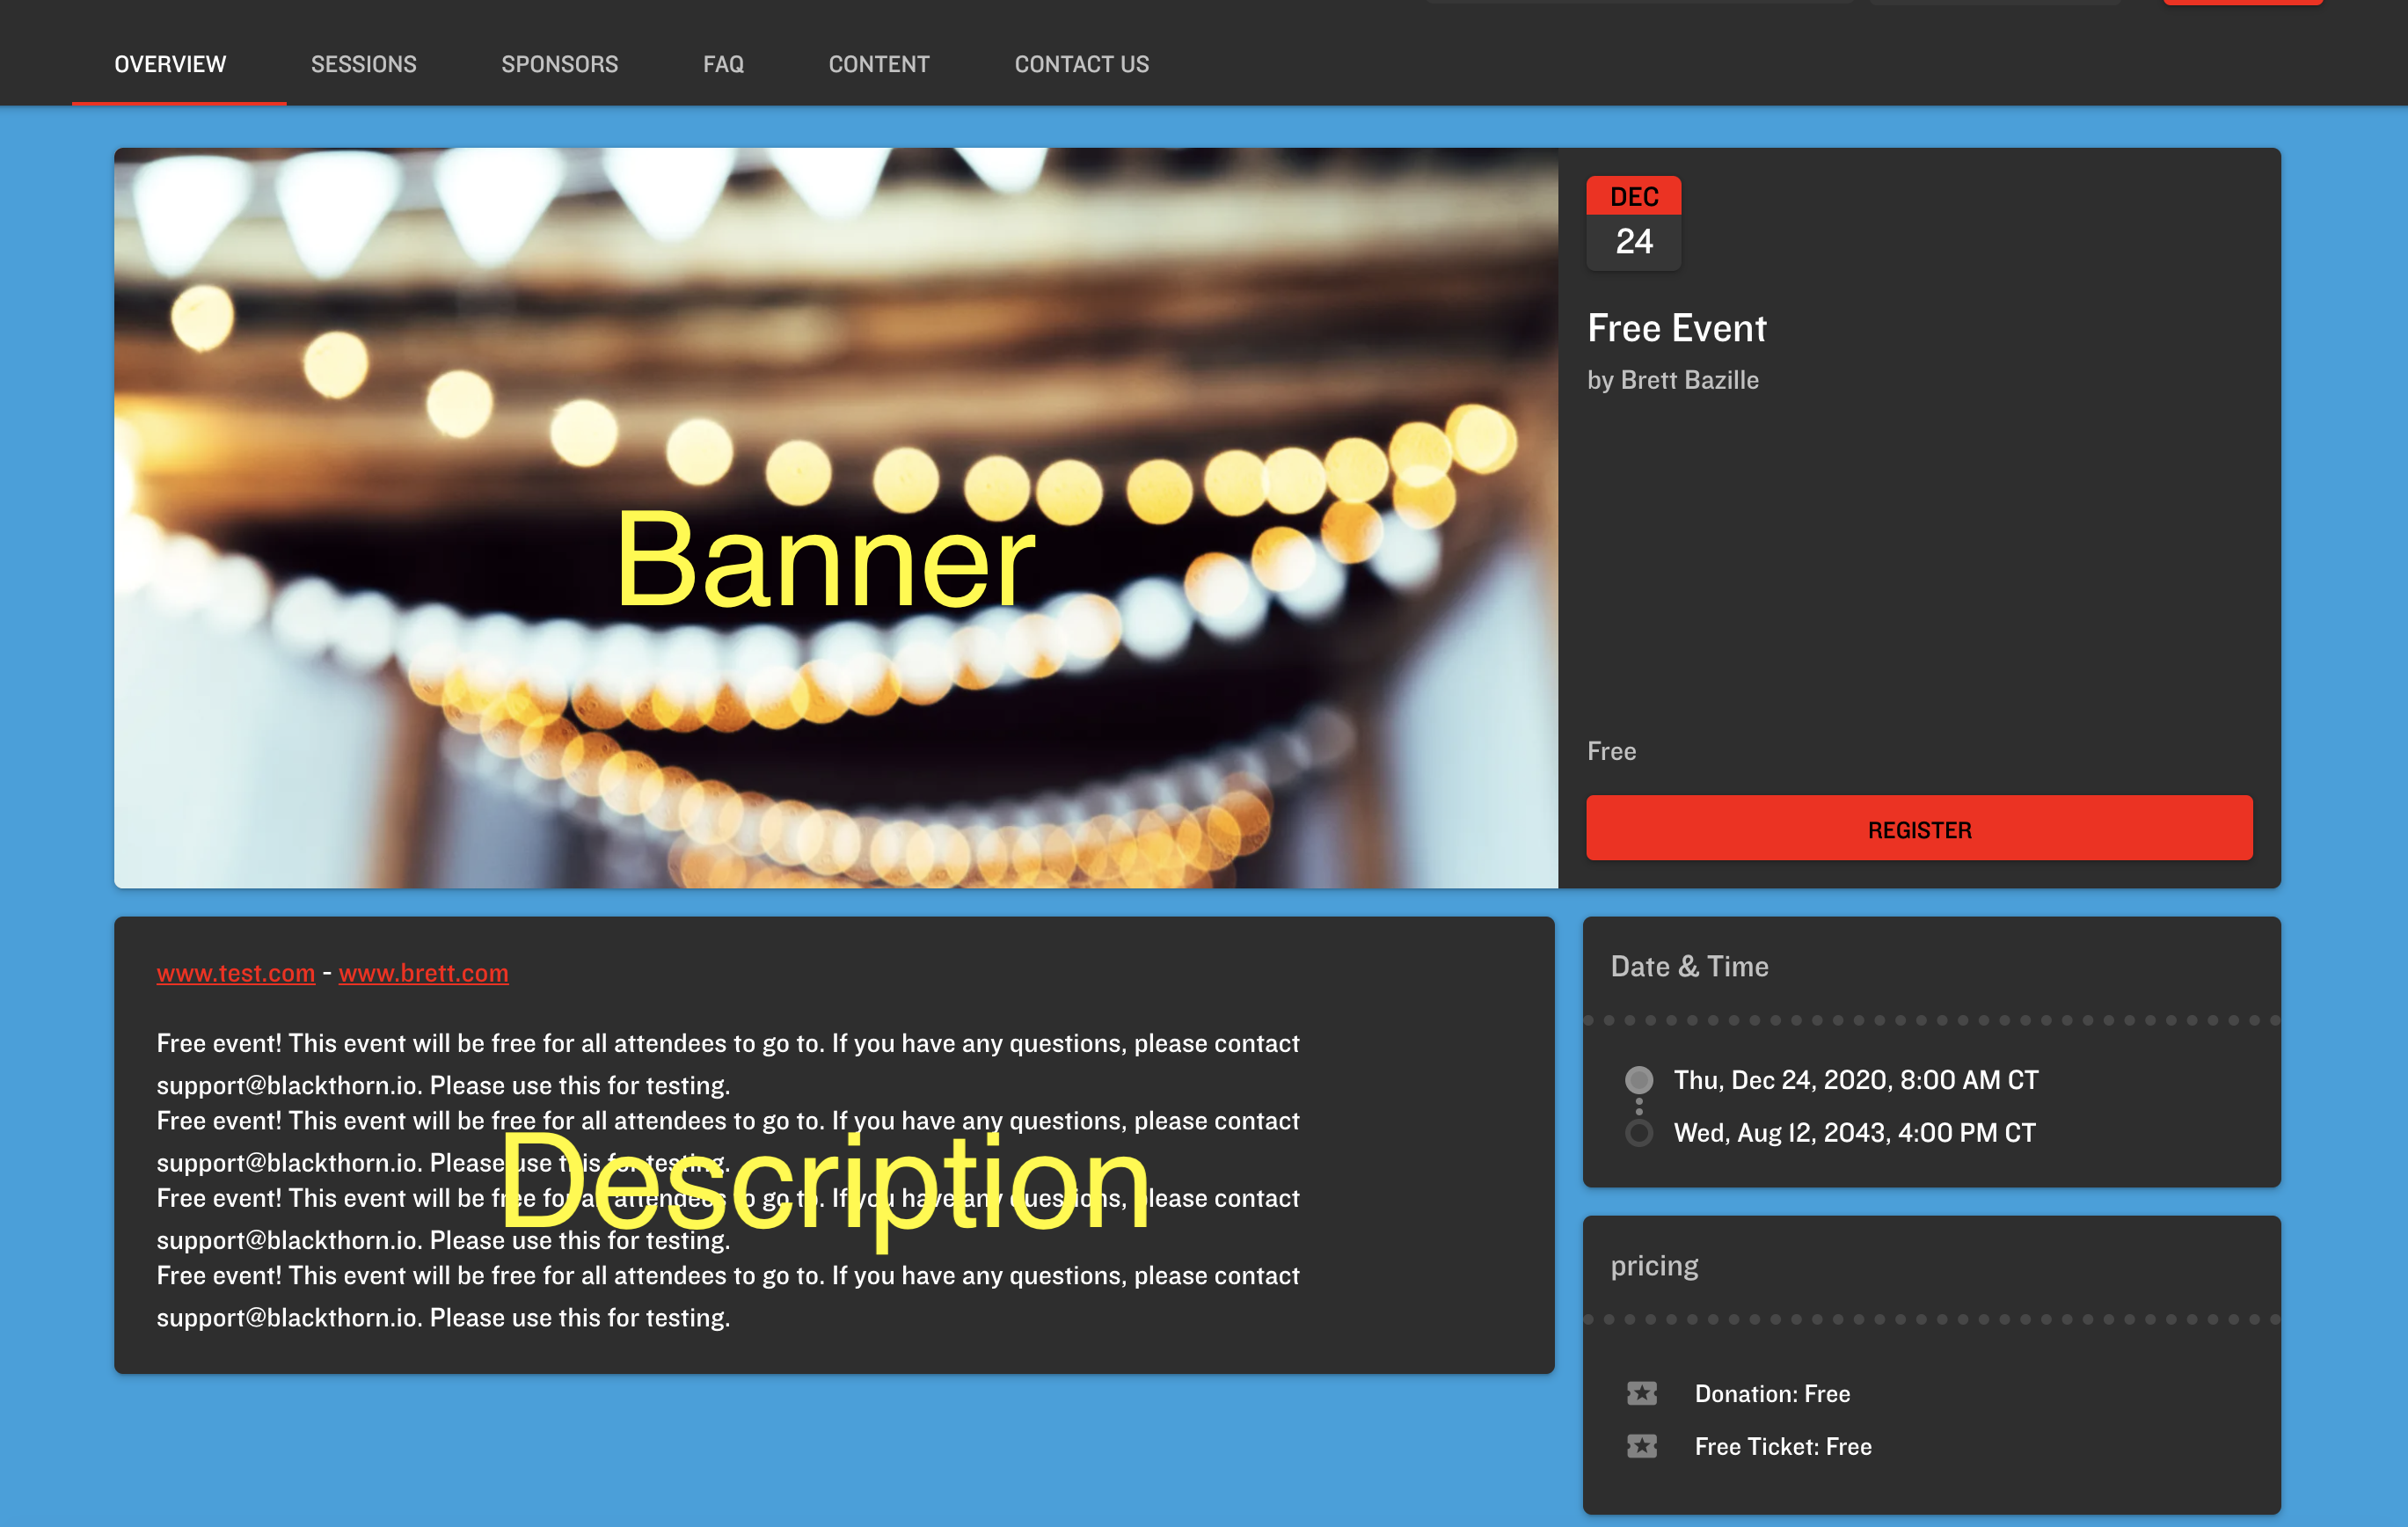
The Banner is the image that will be displayed on your Event page. (Image Recommendations: 820 x 410 pixels; 2:1 ratio; png or jpg)
The Description will appear below the banner on your Event page.
The Webinar/Meeting URL will determine if your Event is virtual or not. .
Note: When populating this field with a Zoom/Webex/GoToWebinar account, the Webinar/Meeting URL will automatically populate and a meeting/webinar will be created in your associated service.
The Payment Gateway field is used if your Event is paid, otherwise, this field can be left blank. This will be the Payment Gateway the Attendee will pay through.
The Before Checkout field will define the Forms / Custom Questions the Attendee will answer while registering for the Event.
The After Checkout field will define the Forms / Custom Questions the Attendee will answer after they finish registering for the Event, and will receive these questions via an AttendeeLink.
The After Event field will define the Forms / Custom Questions the Attendee will answer once the Event has completed, and will receive these questions via AttendeeLink.
Please note you can also add your own custom fields to the Details page layout by following the steps below:
Navigate to Salesforce Setup > Object Manager.
Search for and click into the Event object.
Click Field Sets.
Click "Event Fields" on the Event Wizard.
Drag and drop the custom field into list. To make the field required, hover over the field listed "In the Field Set" and click the wrench.
Click Save.