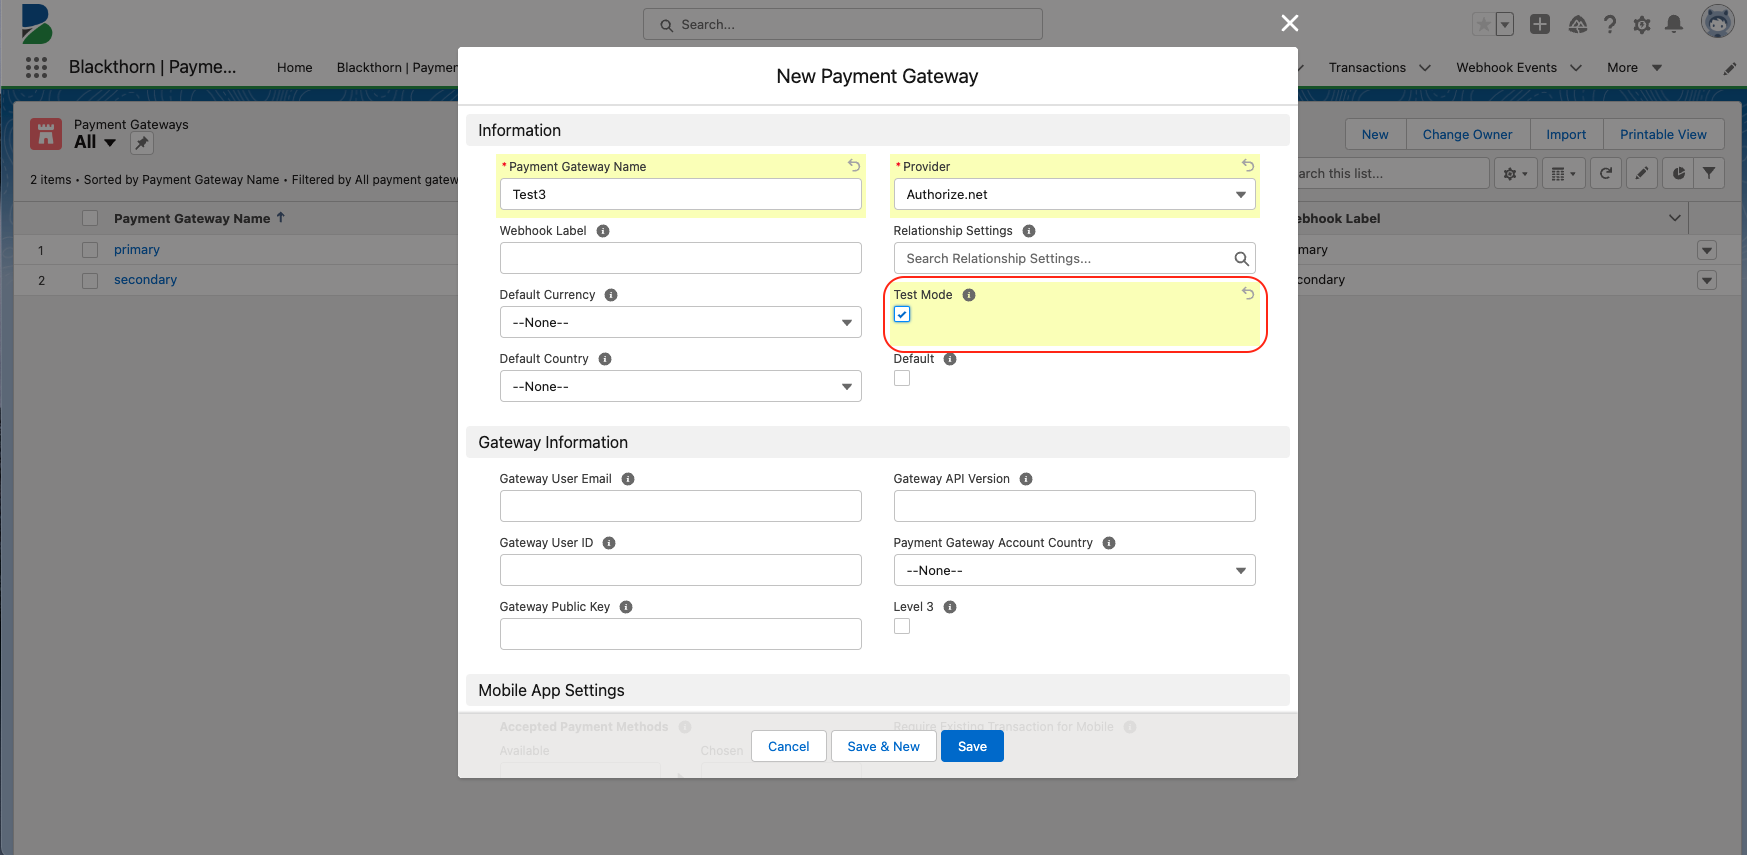
When setting up Blackthorn Payments, we suggest you connect your Payment Gateway in test mode so that you can create test Transactions, Payment Methods, and Customers.
If you need to support multiple currencies through your Authorize.net gateway you must create a unique gateway for each currency. This is an Authorize.net limitation. To ensure your Transaction record currency matches your Payment Gateway currency, learn more about Transaction validation rules.
-
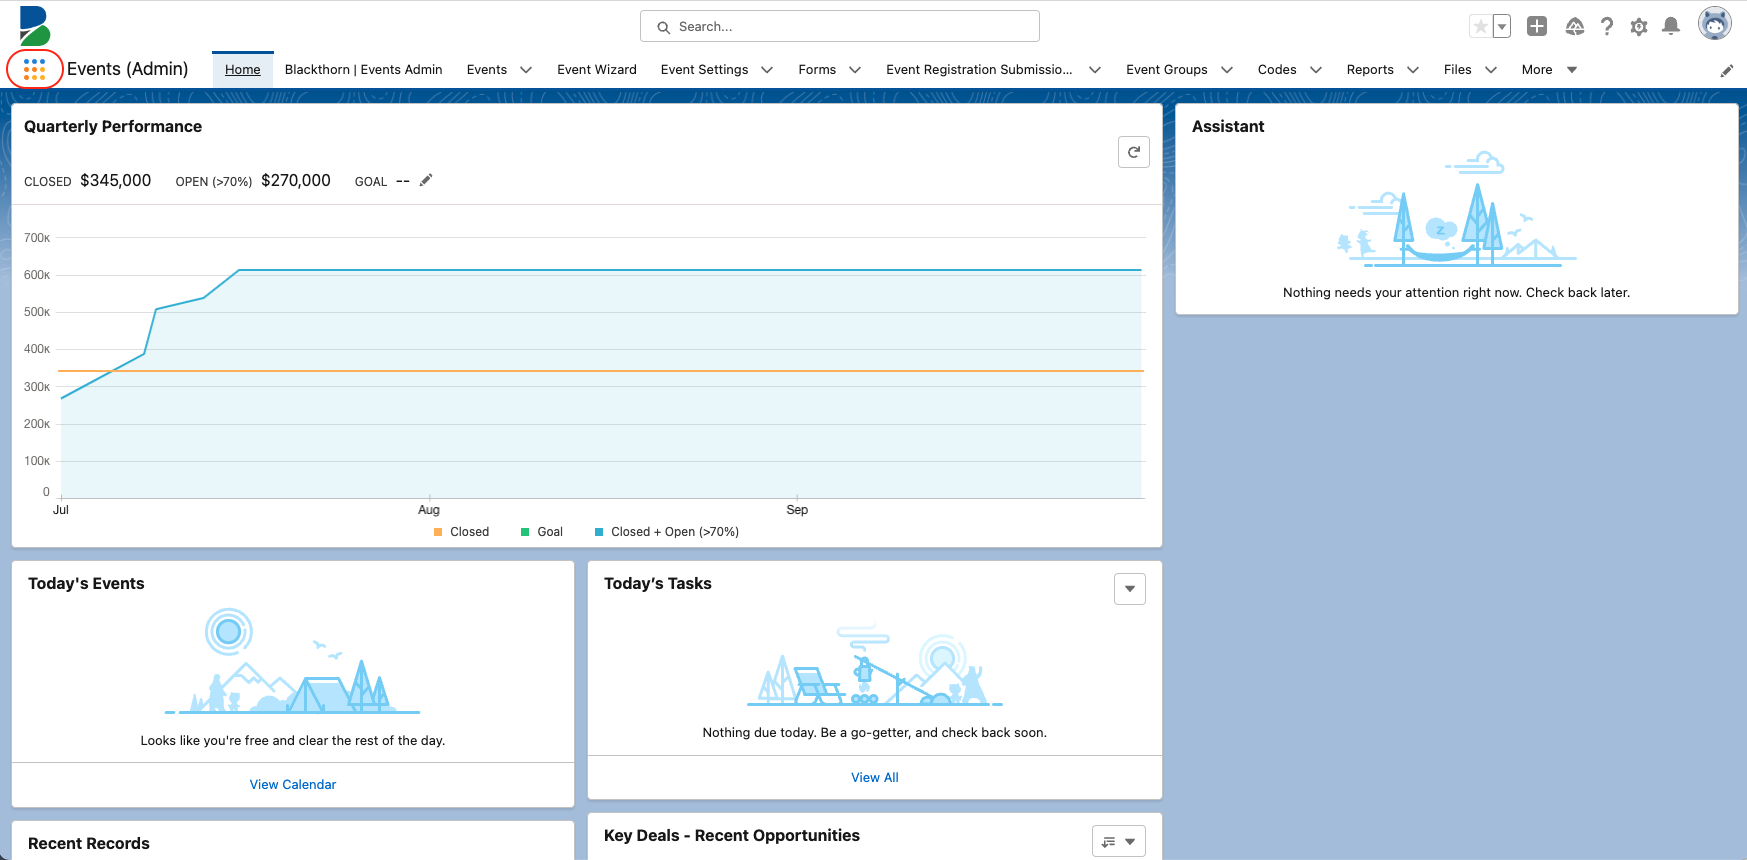
Click the App Launcher.
-
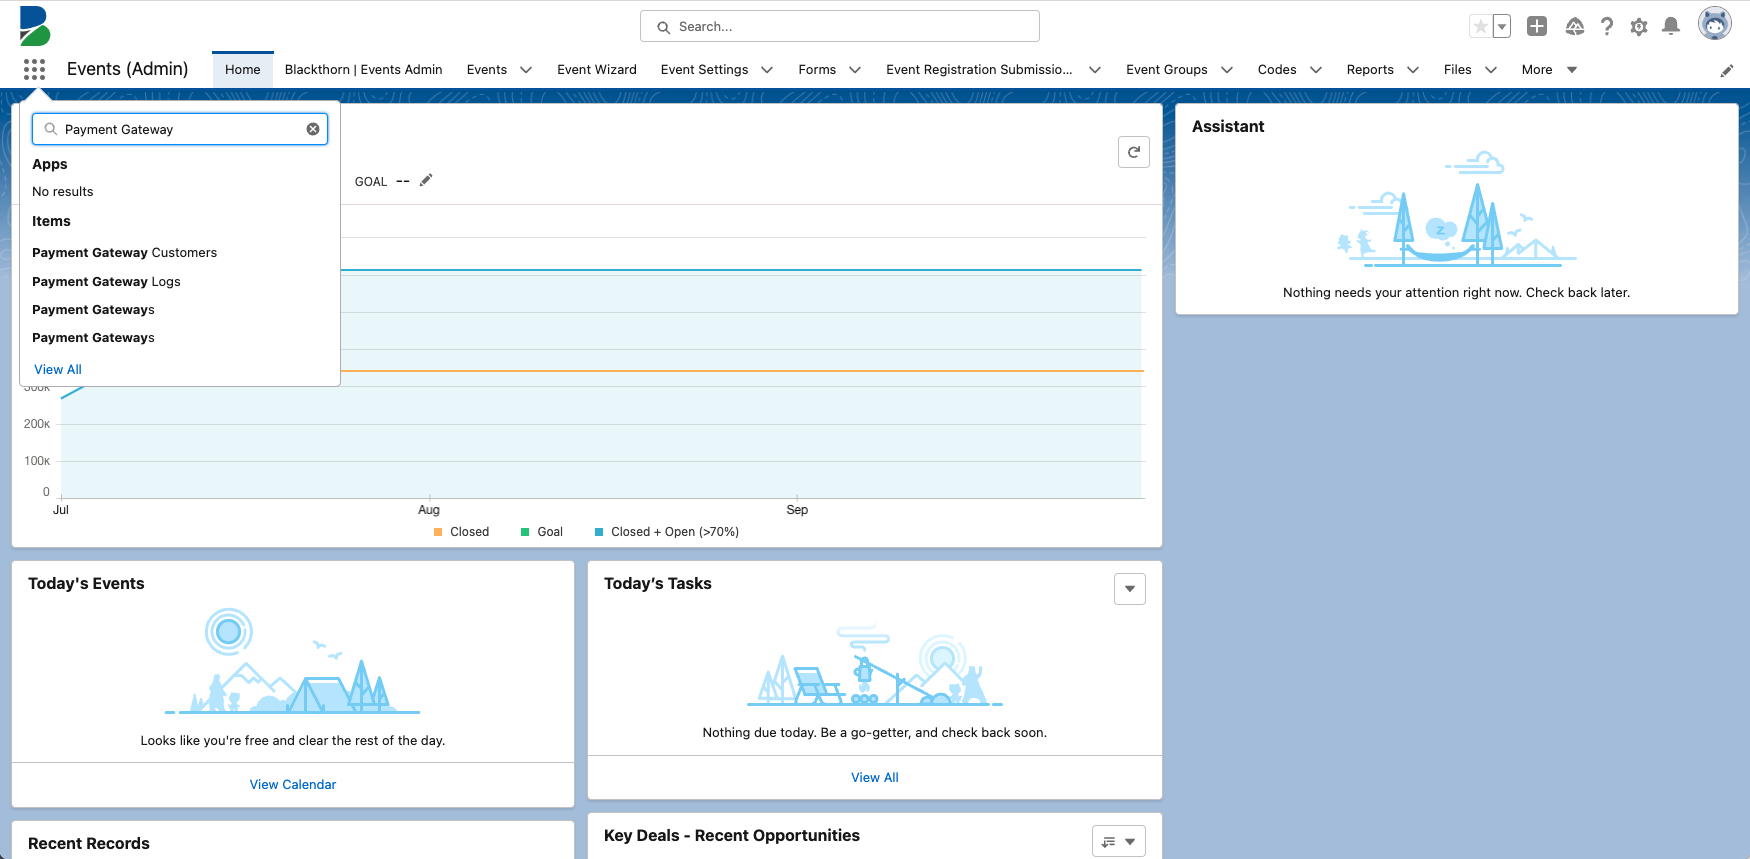
Type “Payment Gateway” and click Payment Gateways (Blackthorn Object).
-
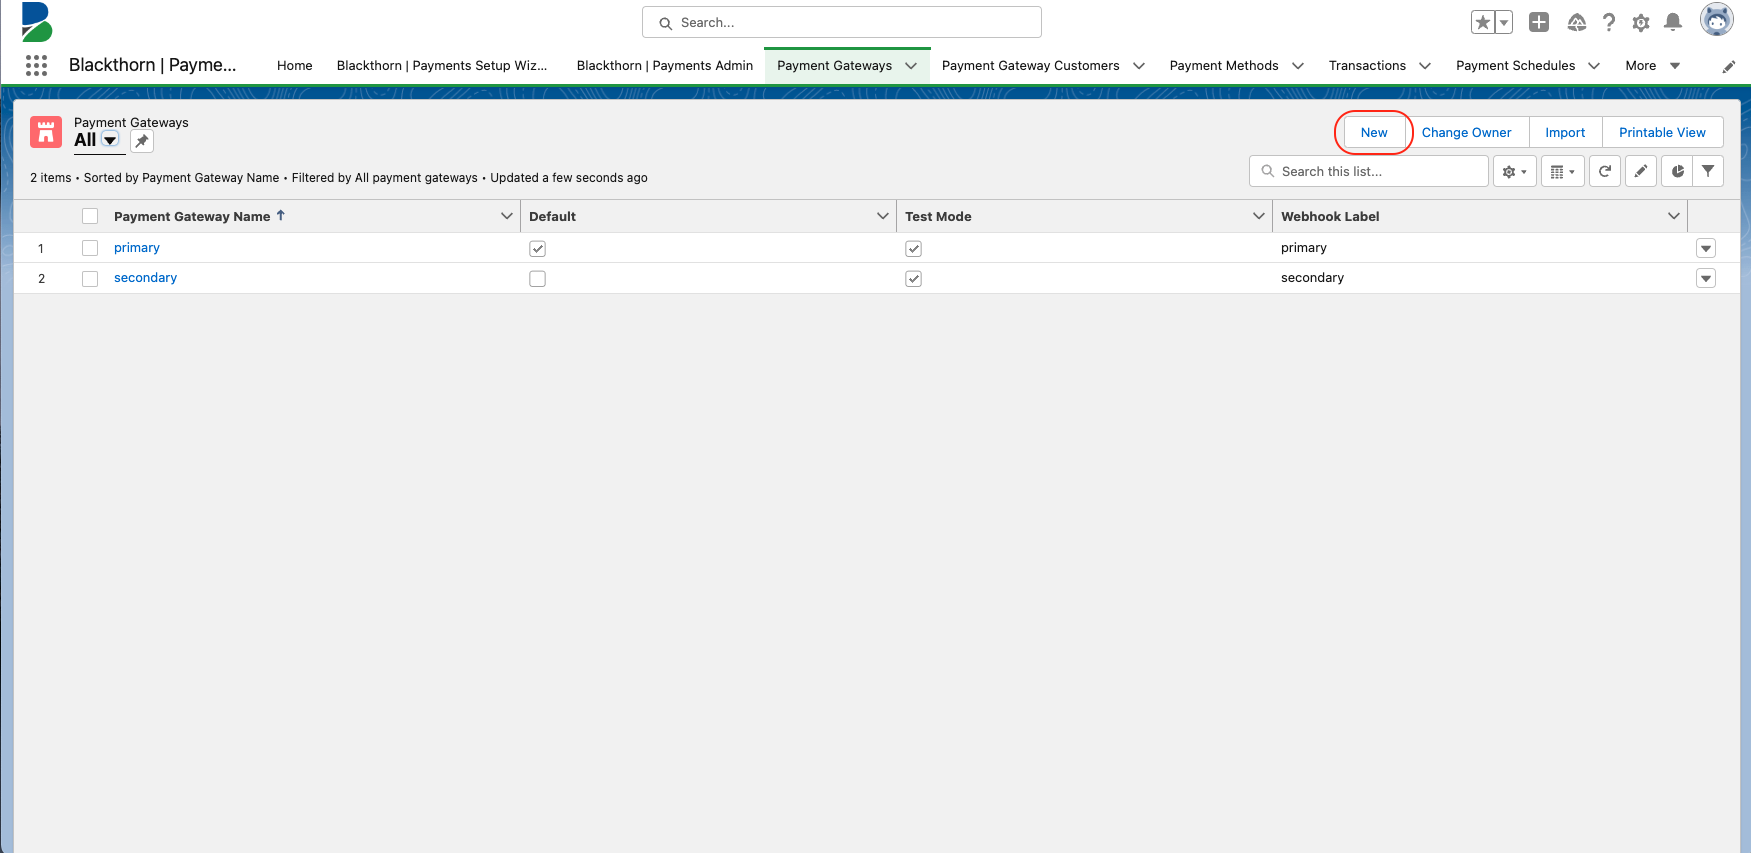
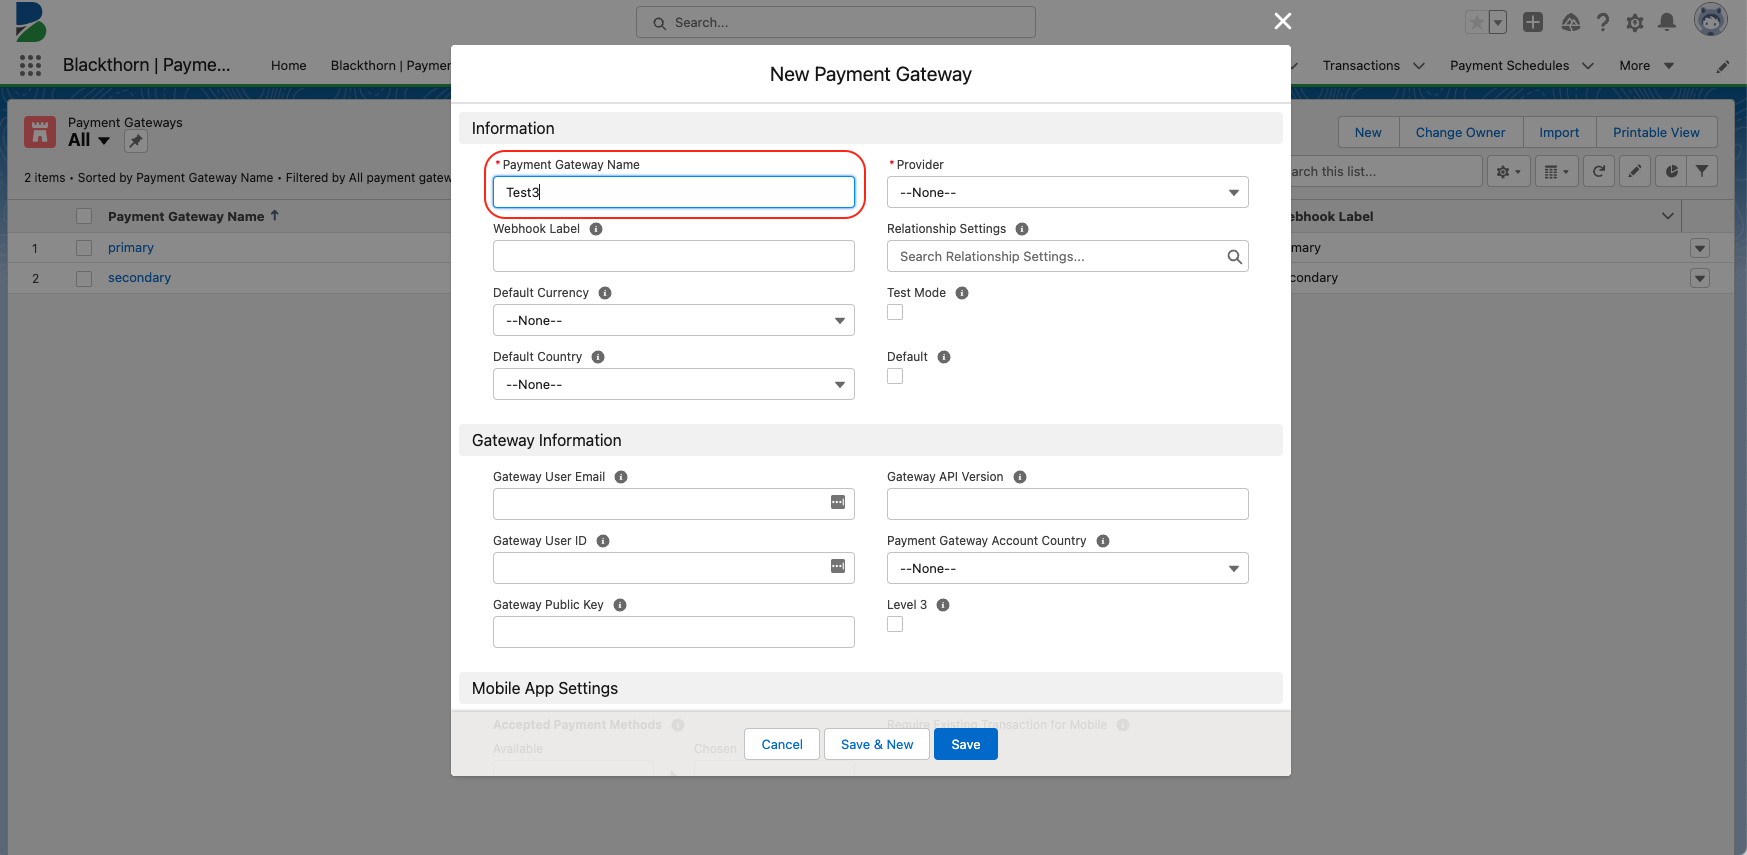
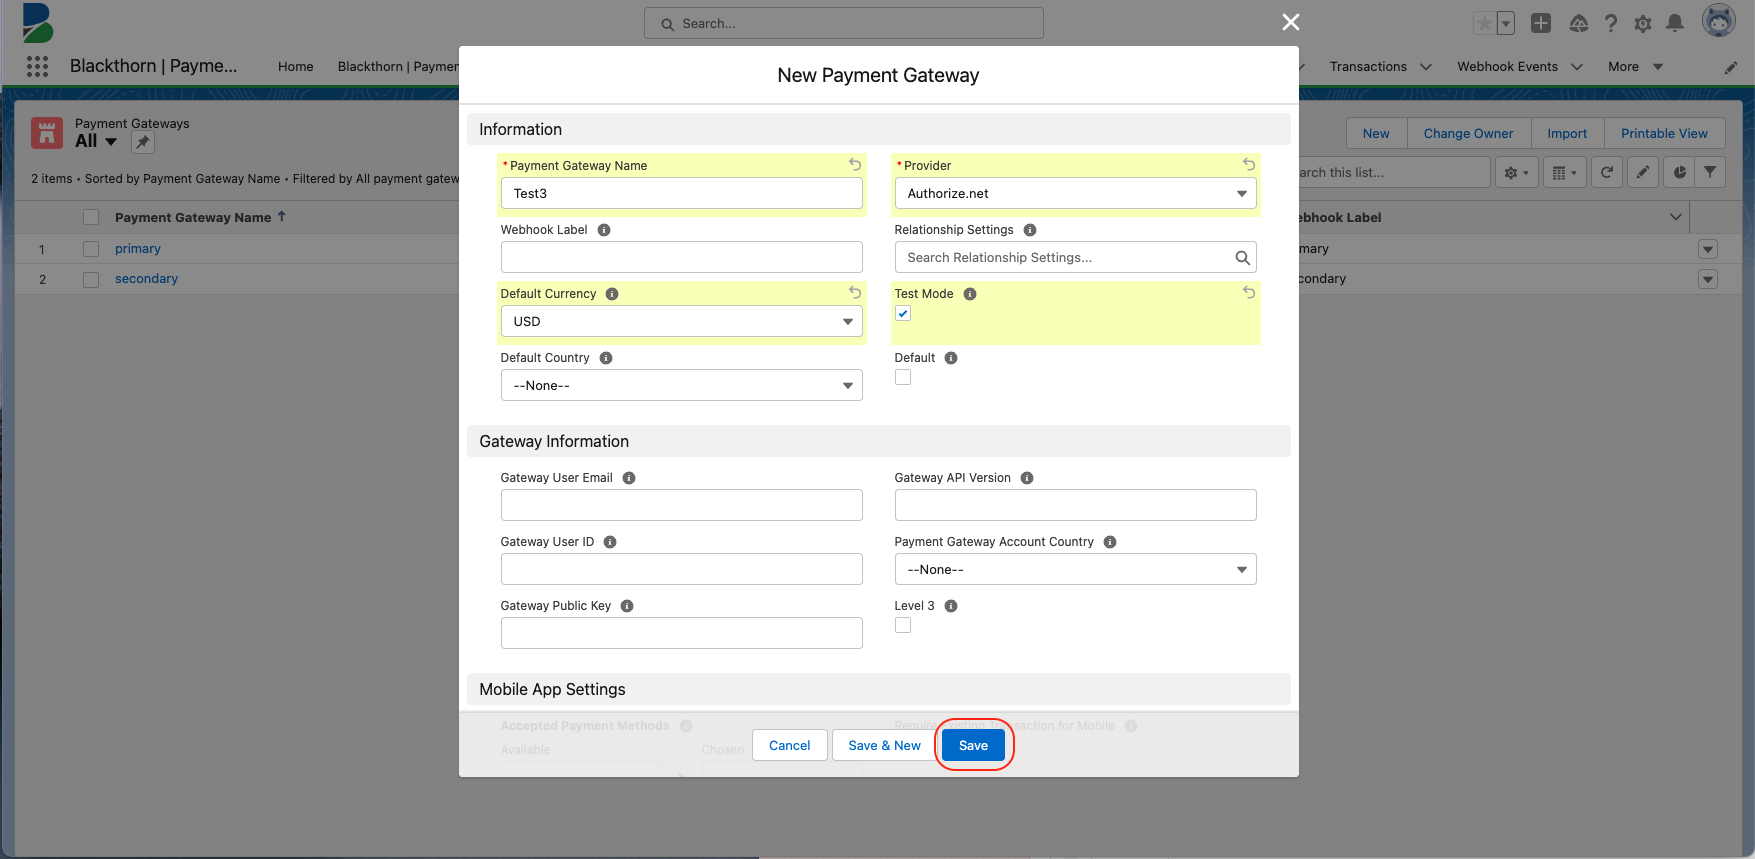
Click New.
-
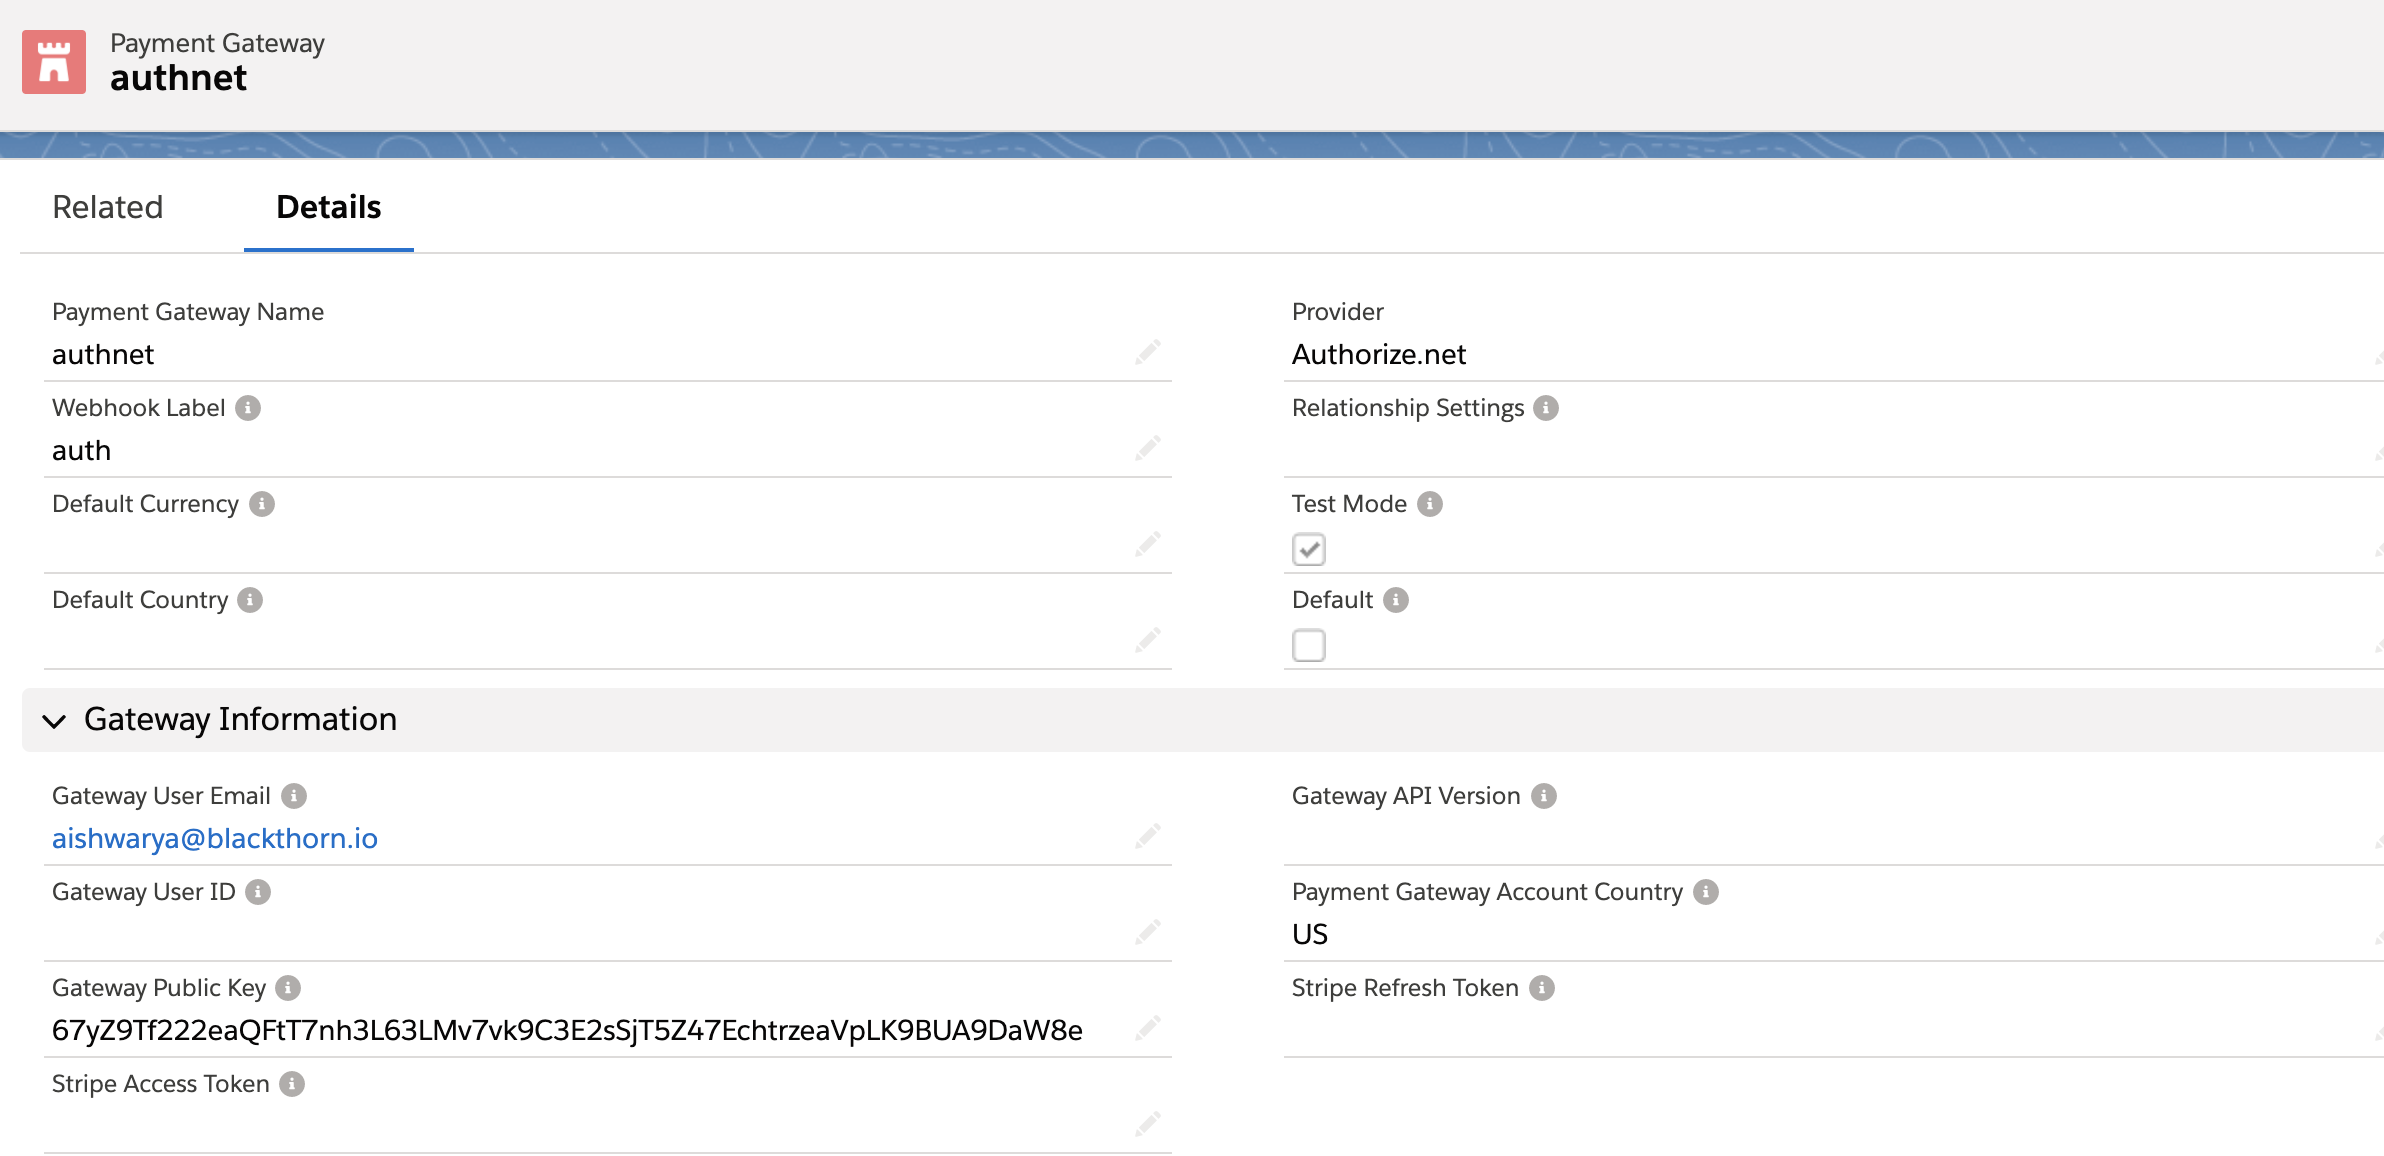
Enter a Payment Gateway Name.
-
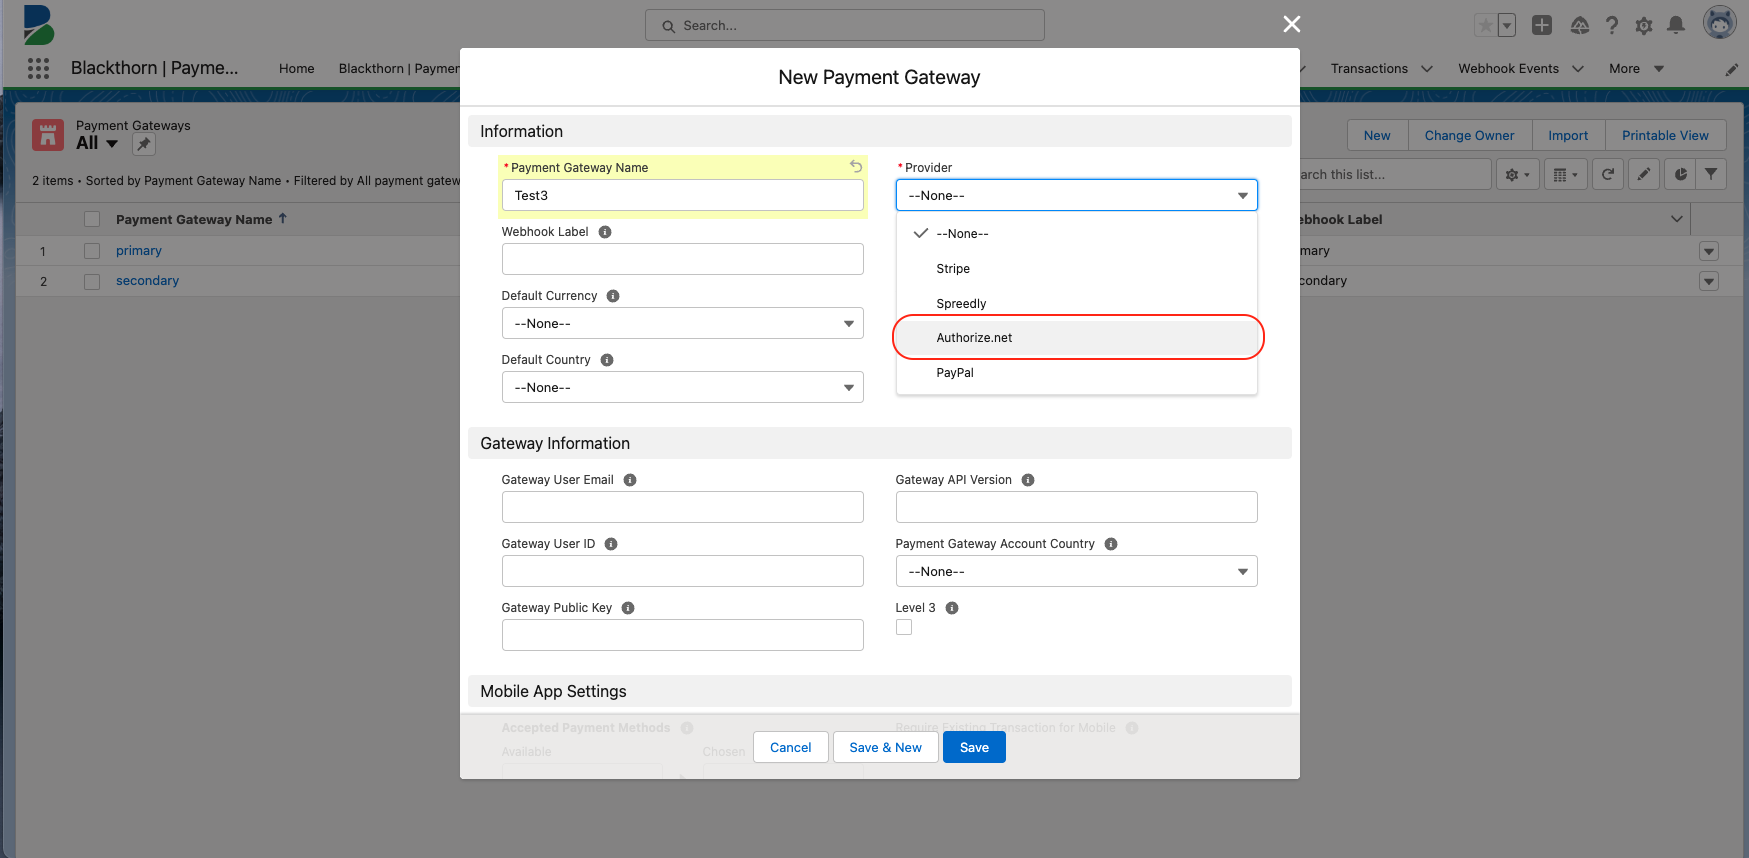
Set Provider = “Authorize.net”.
-
Set Test Mode = “True” to select test mode.
-
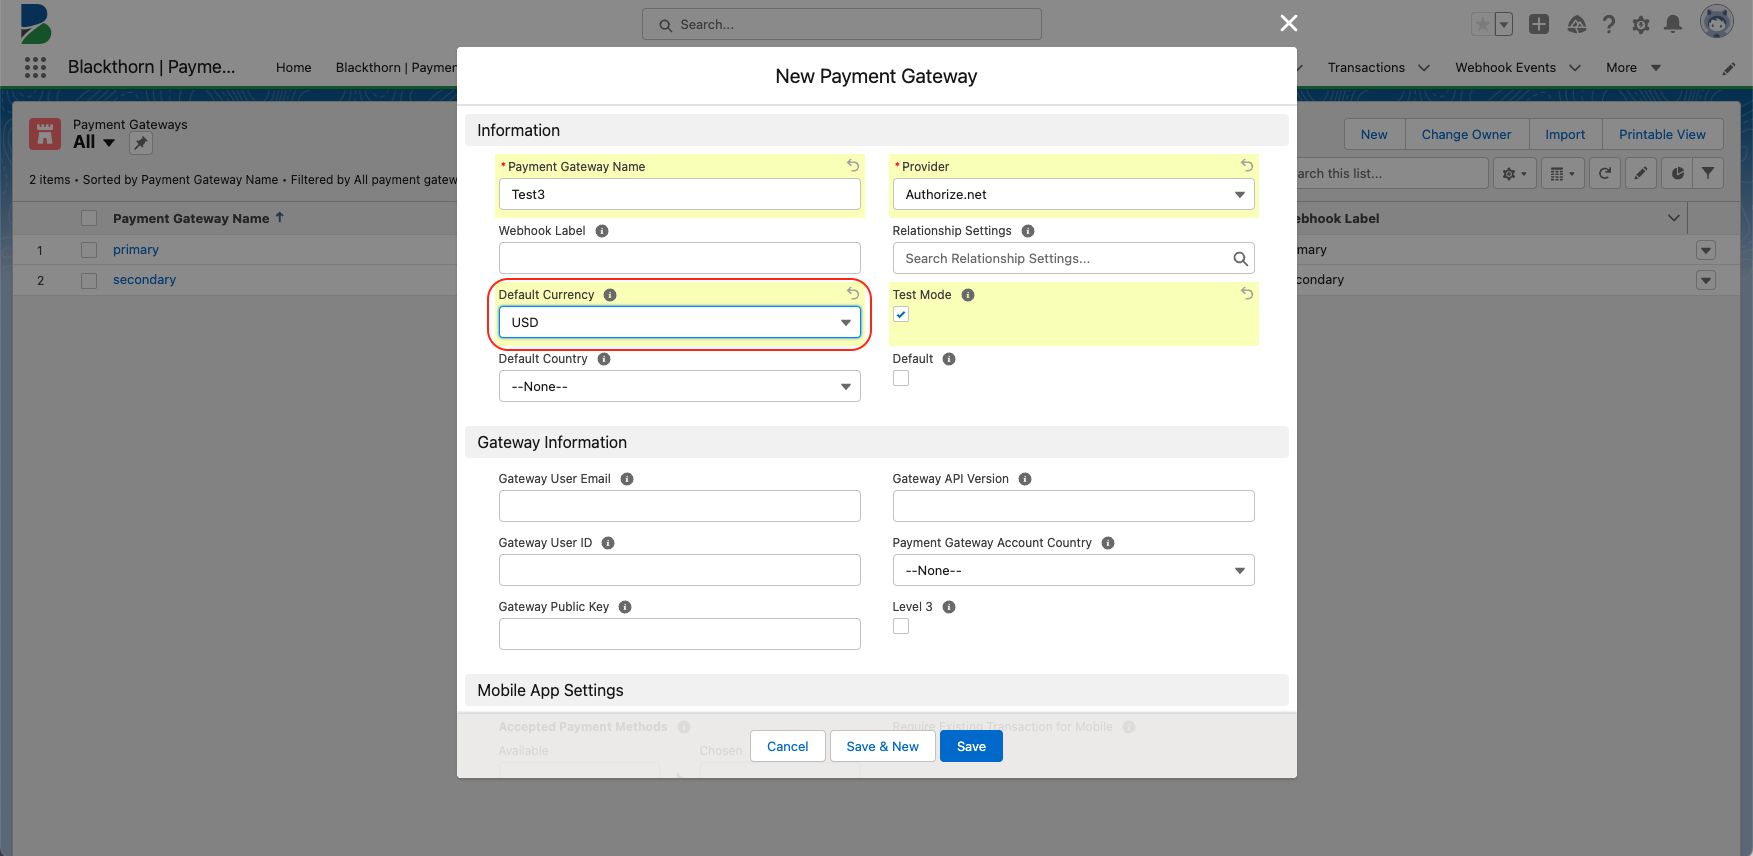
Set a Default Currency. If the field is left blank, the default currency will be USD.
-
Click Save.
-
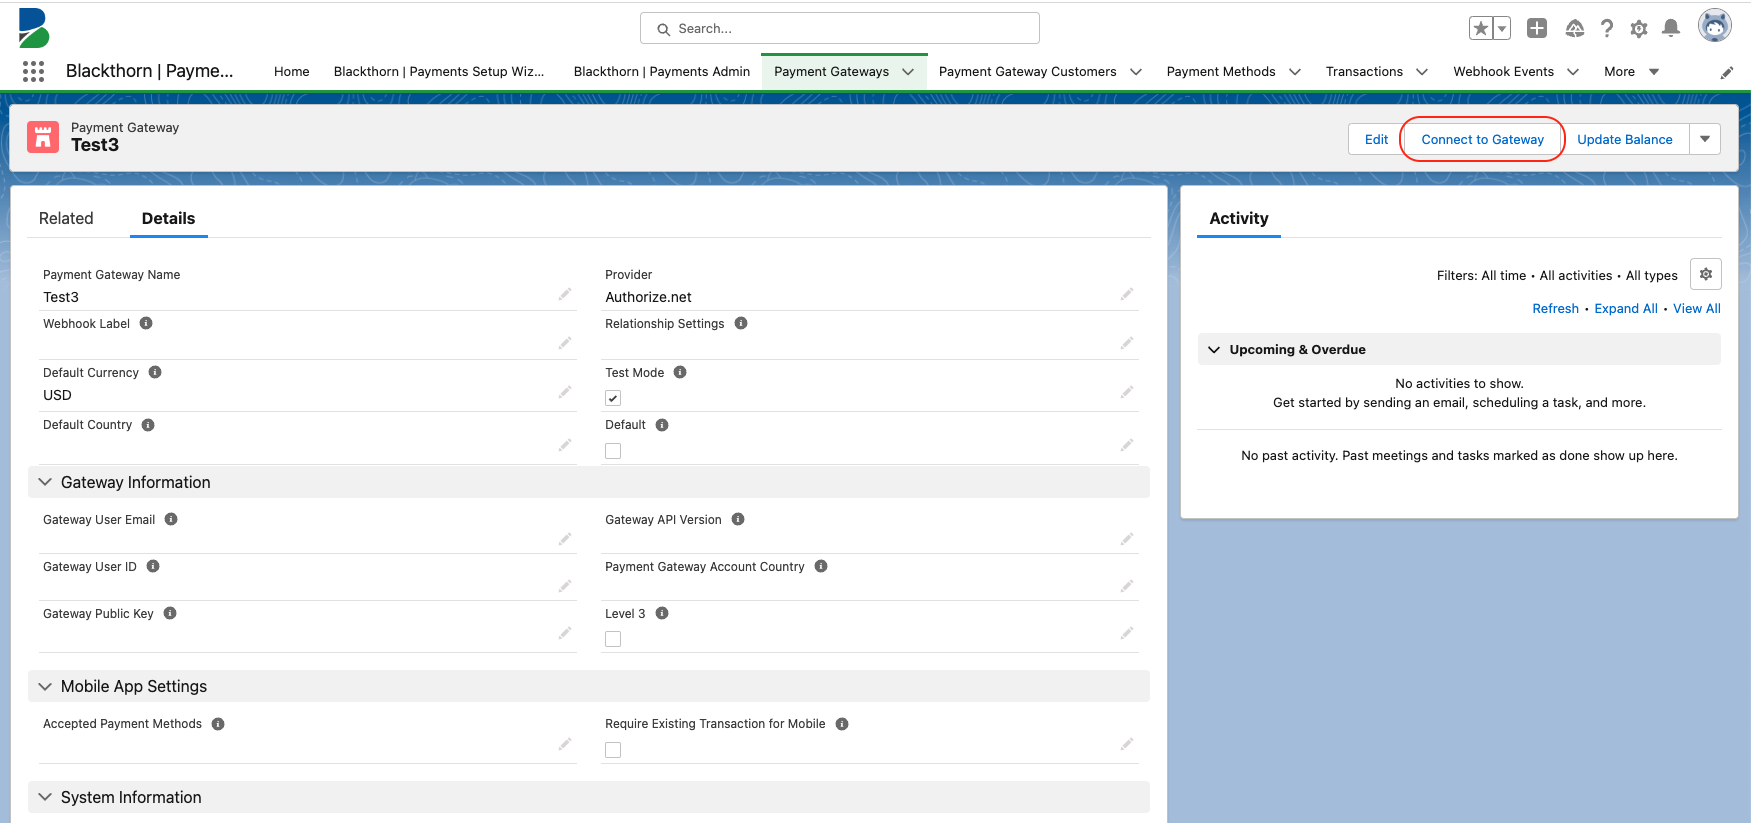
Click Connect to Gateway.
-
Authorize.net’s login page will launch in a new tab. Enter your username and password and click LOG IN.
-
Click Allow.
You will be redirected back to your Salesforce org where the Gateway User Email, Gateway Public Key, and Payment Gateway Account Country fields will be populated.