How do I update the output file name?
Log in to your org.
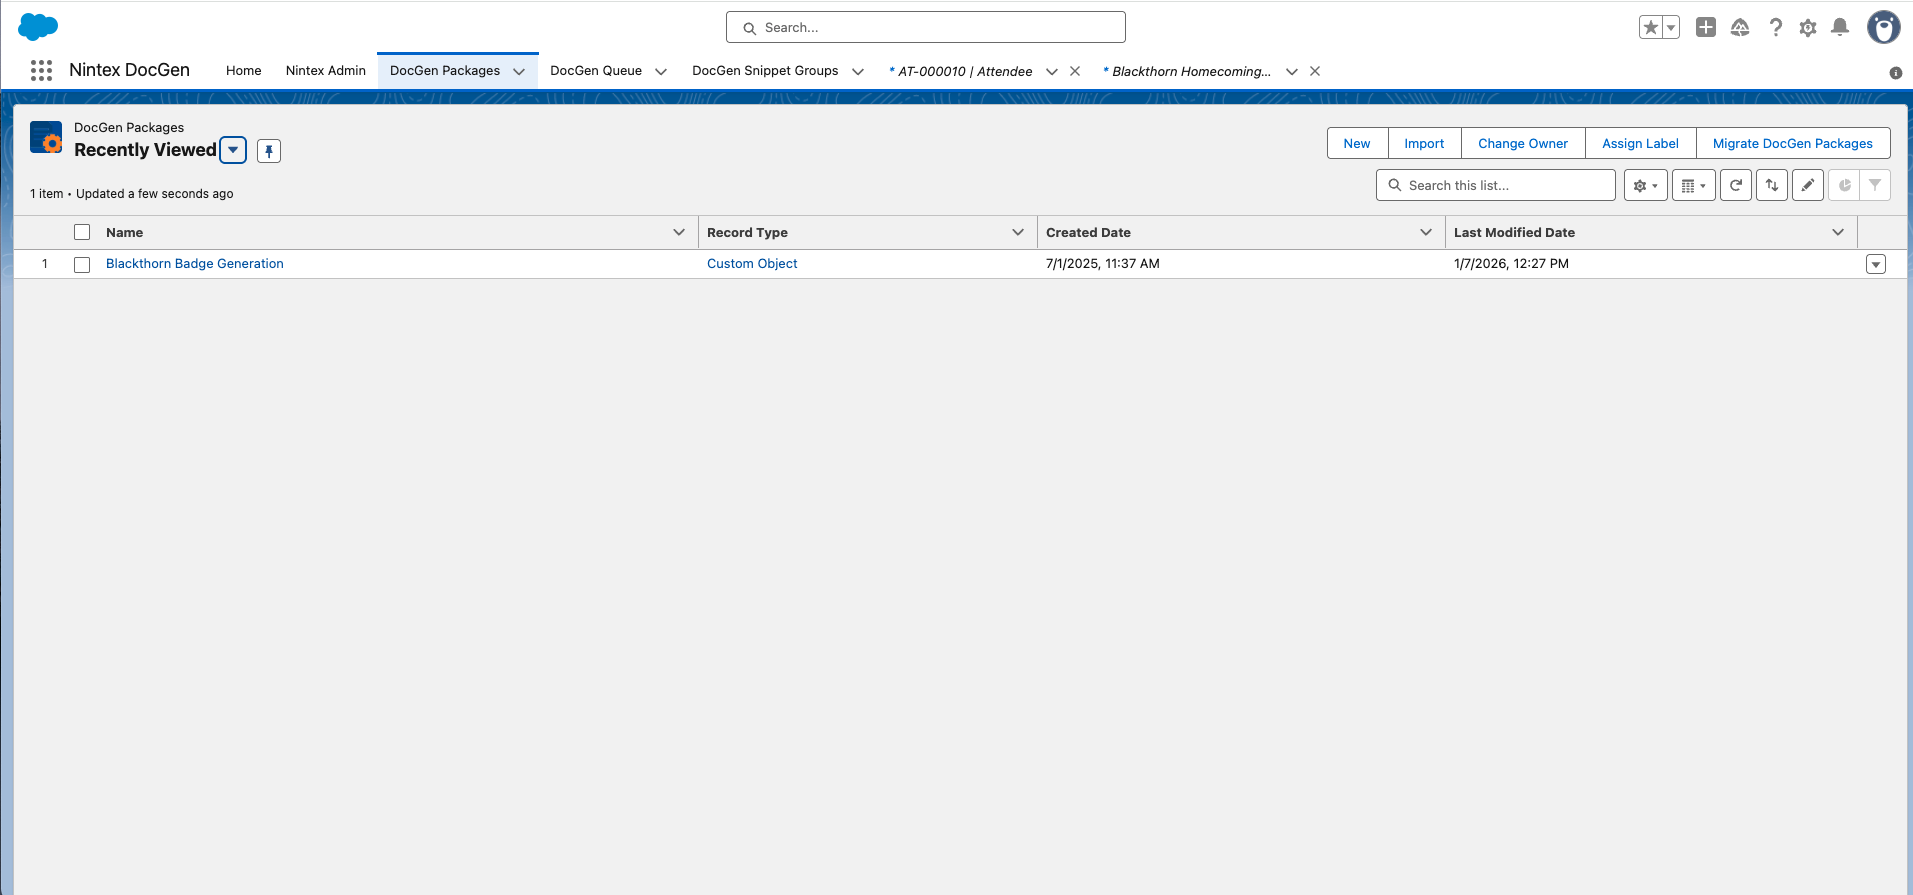
Go to the Blackthorn Badge Generation app.
Click the DocGen Package tab.
Click the name of the DocGen Package record you want to update.
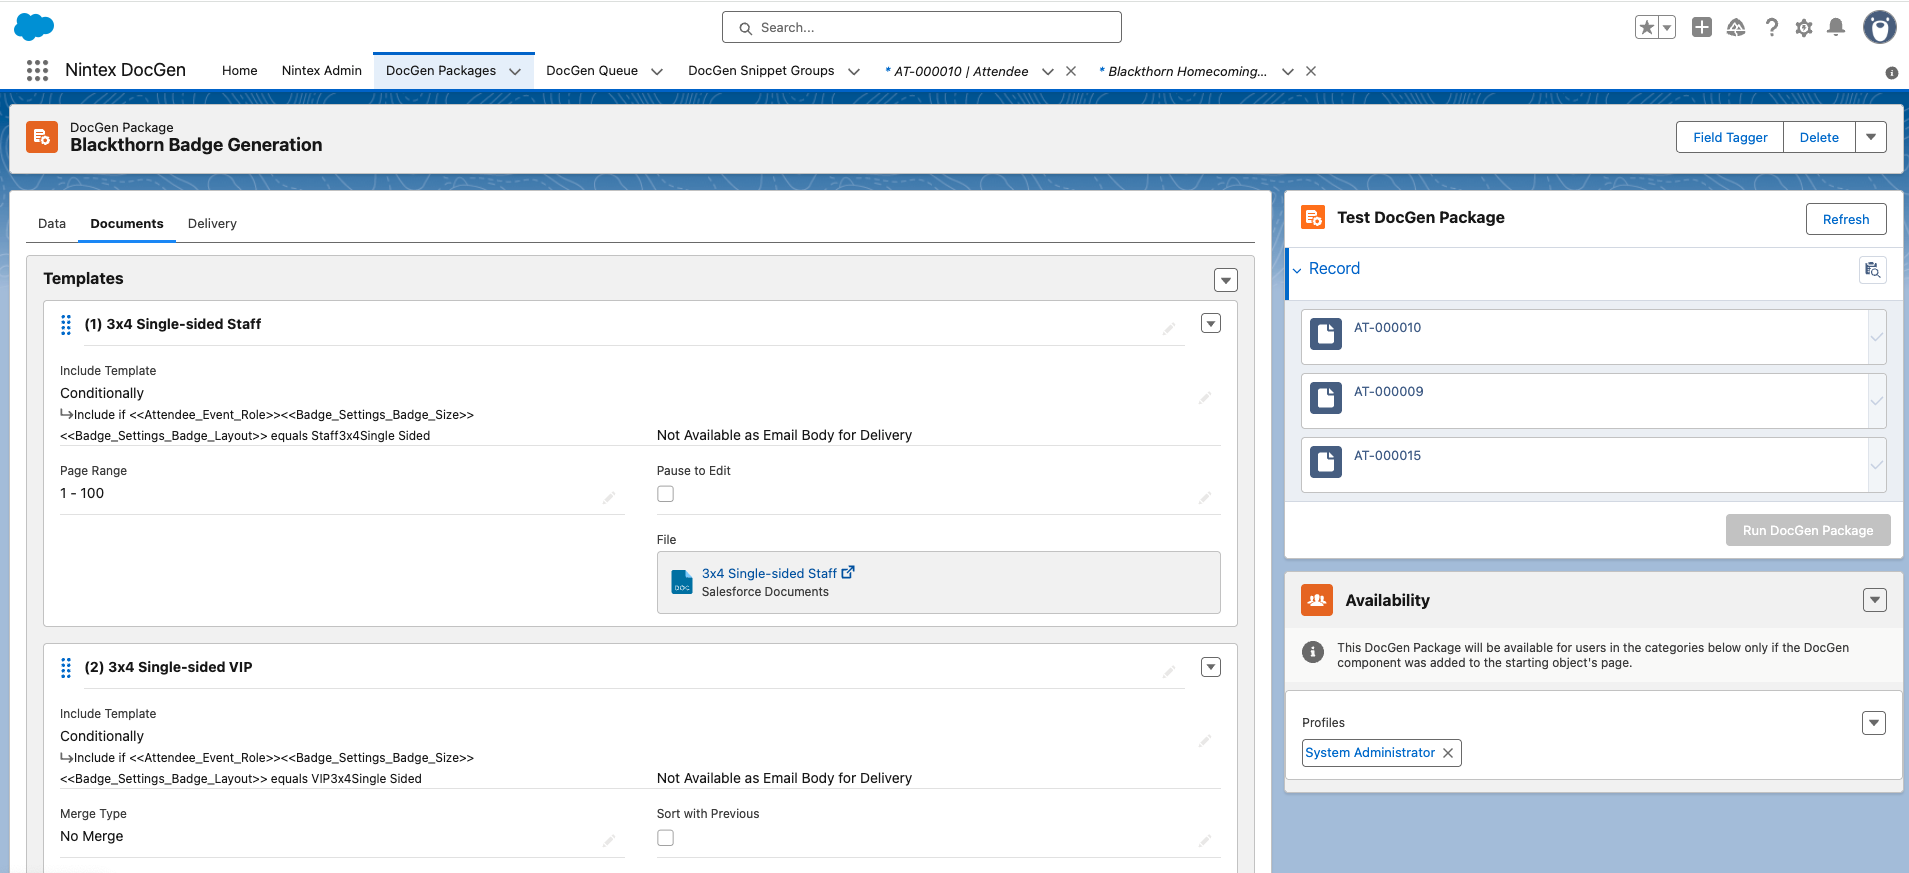
Click the Delivery tab.
You will see the Output Filename field under “Output Details.” It includes a combination of static and dynamic information. The prepopulated value is "<<Attendee_Registration_DateTime>> registration: Badge for <<Attendee_First_Name2>> <<Attendee_Last_Name2>>”
Click Field Tagger.
Under the Relationships heading are the “Attendee,” “Badge_Settings (Event Settings),” and “Event from Attendee” sections.
In this example, we will add a new registration date/time format. Click “Attendee” to locate a field on the Attendee object.
Scroll down to the Registration Date/Time field and select a formatting option.
Click the Copy icon to copy the selected format style.
Click in the Output Filename field.
Select “<<Attendee_Registration_DateTime>>” and paste the copied value. The new value, “<<Attendee_Registration_DateTime>> registration: Badge for <<Attendee_First_Name2>> <<Attendee_Last_Name2>>” now includes the updated date/time format.
Click Save.
Who should I contact for help with templates if the data isn't displaying as expected?
Please contact Nintex as you usually would to request help.
What are some Nintex resources that I might need?
Image Replacement: https://help.nintex.com/en-US/docgensf/DocGenPackage/Templates/DynamicImagesInTemplates.htm
Make Changes to a Template:
https://help.nintex.com/en-US/docgensf/DocGenPackage/Templates/FieldTagger/TagWordDocument.htm
When should I generate individual badges instead of a single file containing all the badges?
You should generate individual badges if you need to print a badge for a single Attendee or a small group.
How do I make my own template?
If you need to create a new template, clone an existing template, make changes to the file, and save the file. Then, follow the steps to generate and print the badges.
How do I edit a template?
Click here for instructions on editing the information in a template.
How do I add a new Event Role?
If your organization uses different roles or specific language for picklist values, you can add new picklist values to the Attendee’s Event Role field.
Important Information About Editing an Existing Picklist Value
If you need to update an existing picklist value, you should change both the Label and the API Name to the same value.
This is because DocGen conditional logic references the API Name, but users select the picklist Label on the Attendee record, which then selects a template.
Add a New Picklist Value
Go to Setup.
Click the Object Manager tab.
In the Quick Find box, search for “Attendee.”
Click Attendee (conference360__Attendee__c).
Click the Fields & Relationships tab.
Click the Event Role field (Event_Role__c).
In the Values section, click New.
Enter a value. The value will populate both the picklist Label and the API Name.
Click Save.
Clone and Edit a Template
Go to the App Launcher.
In the Quick Find box, enter and click “Nintex DocGen.”
Click the DocGen Packages tab.
Click the record used to generate badges.
Click the Documents tab.
Locate the template you want to use.
Download the template.
Use the information here to edit the template.
Save the template with a new name.
Upload the New Template
Go back to the Documents tab.
Scroll to the bottom of the page and click Add Template.
Click Upload Files.
Select the updated template.
Once the file is uploaded, click Done.
Select “Salesforce Document.”
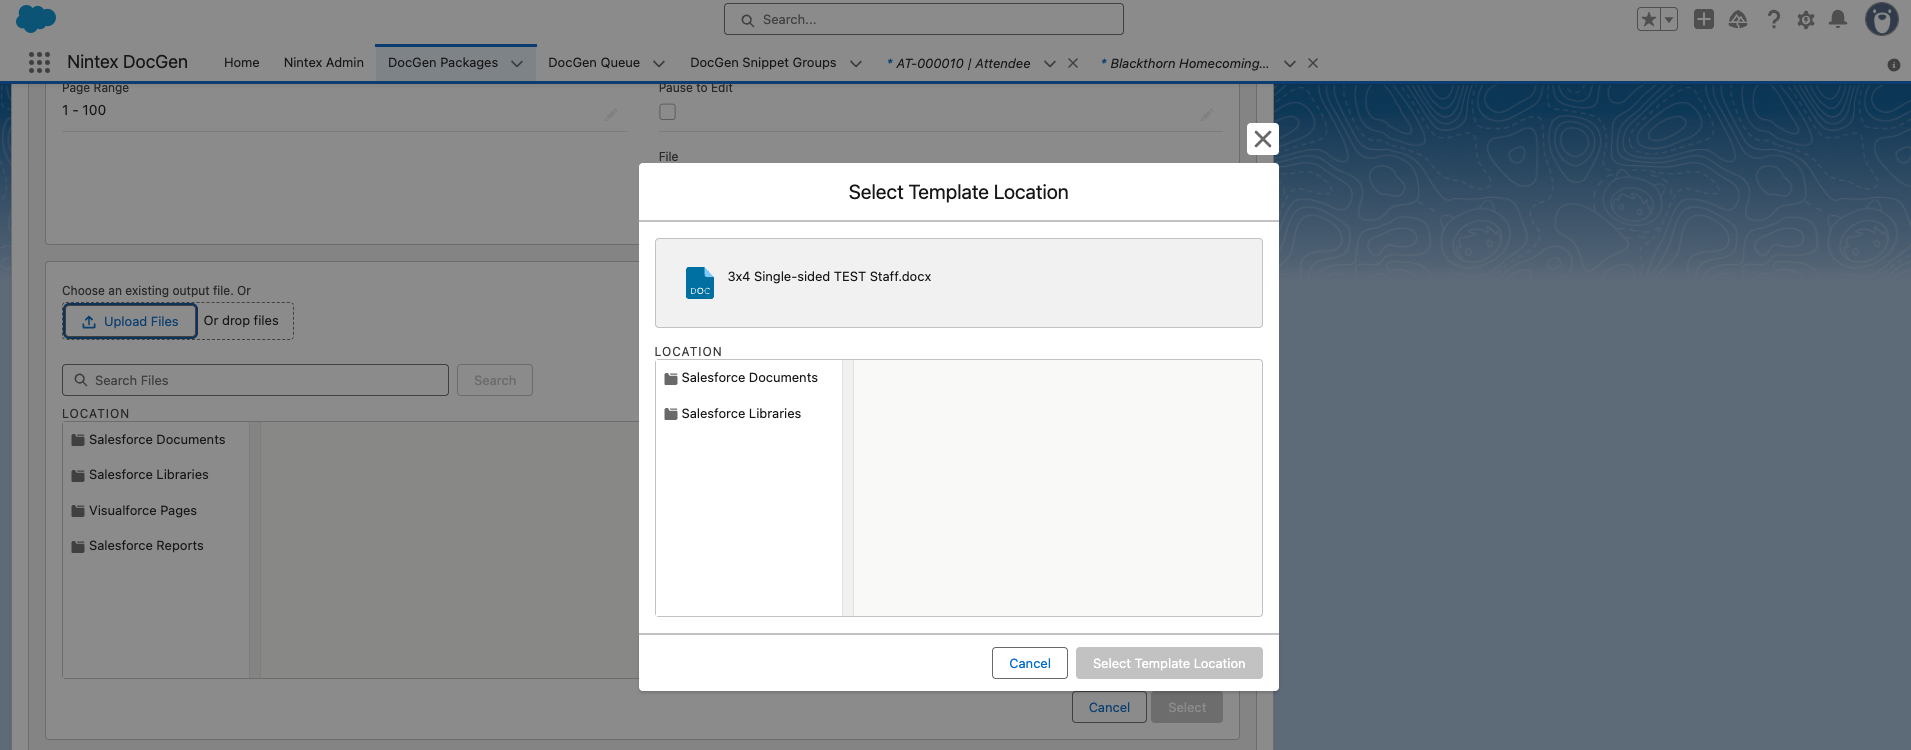
Select “DocGen Files.”
Click Select Template Location.
Click Edit on the template you have just uploaded.
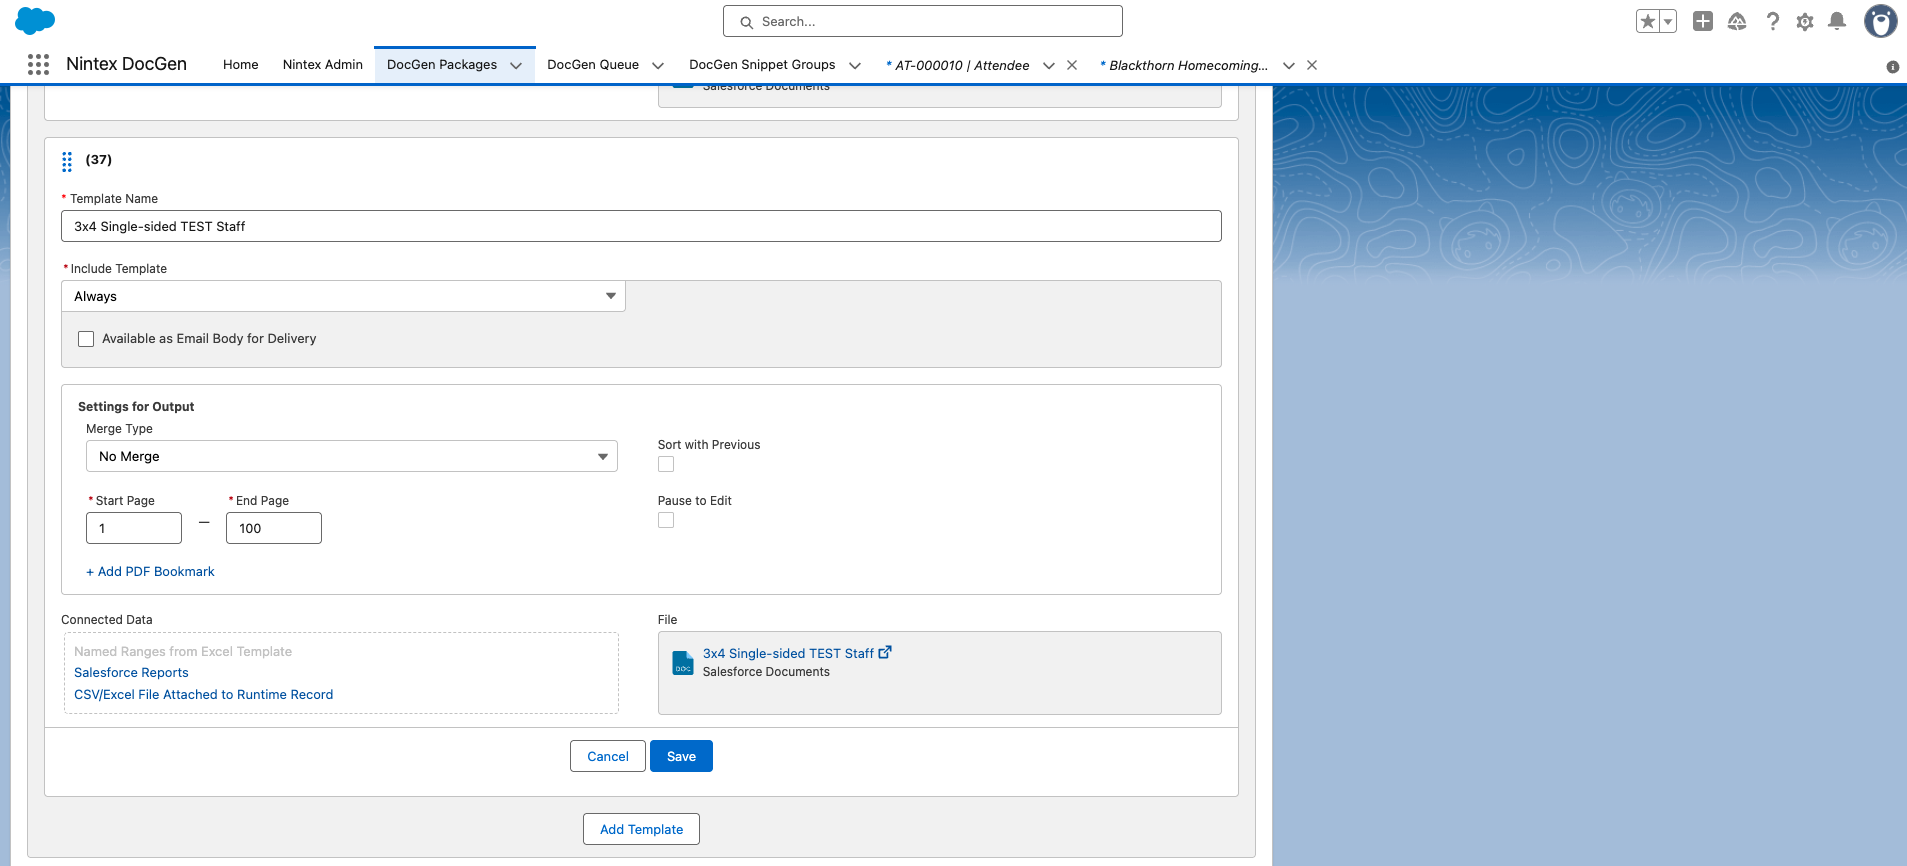
Set Include Template to “Conditionally.”
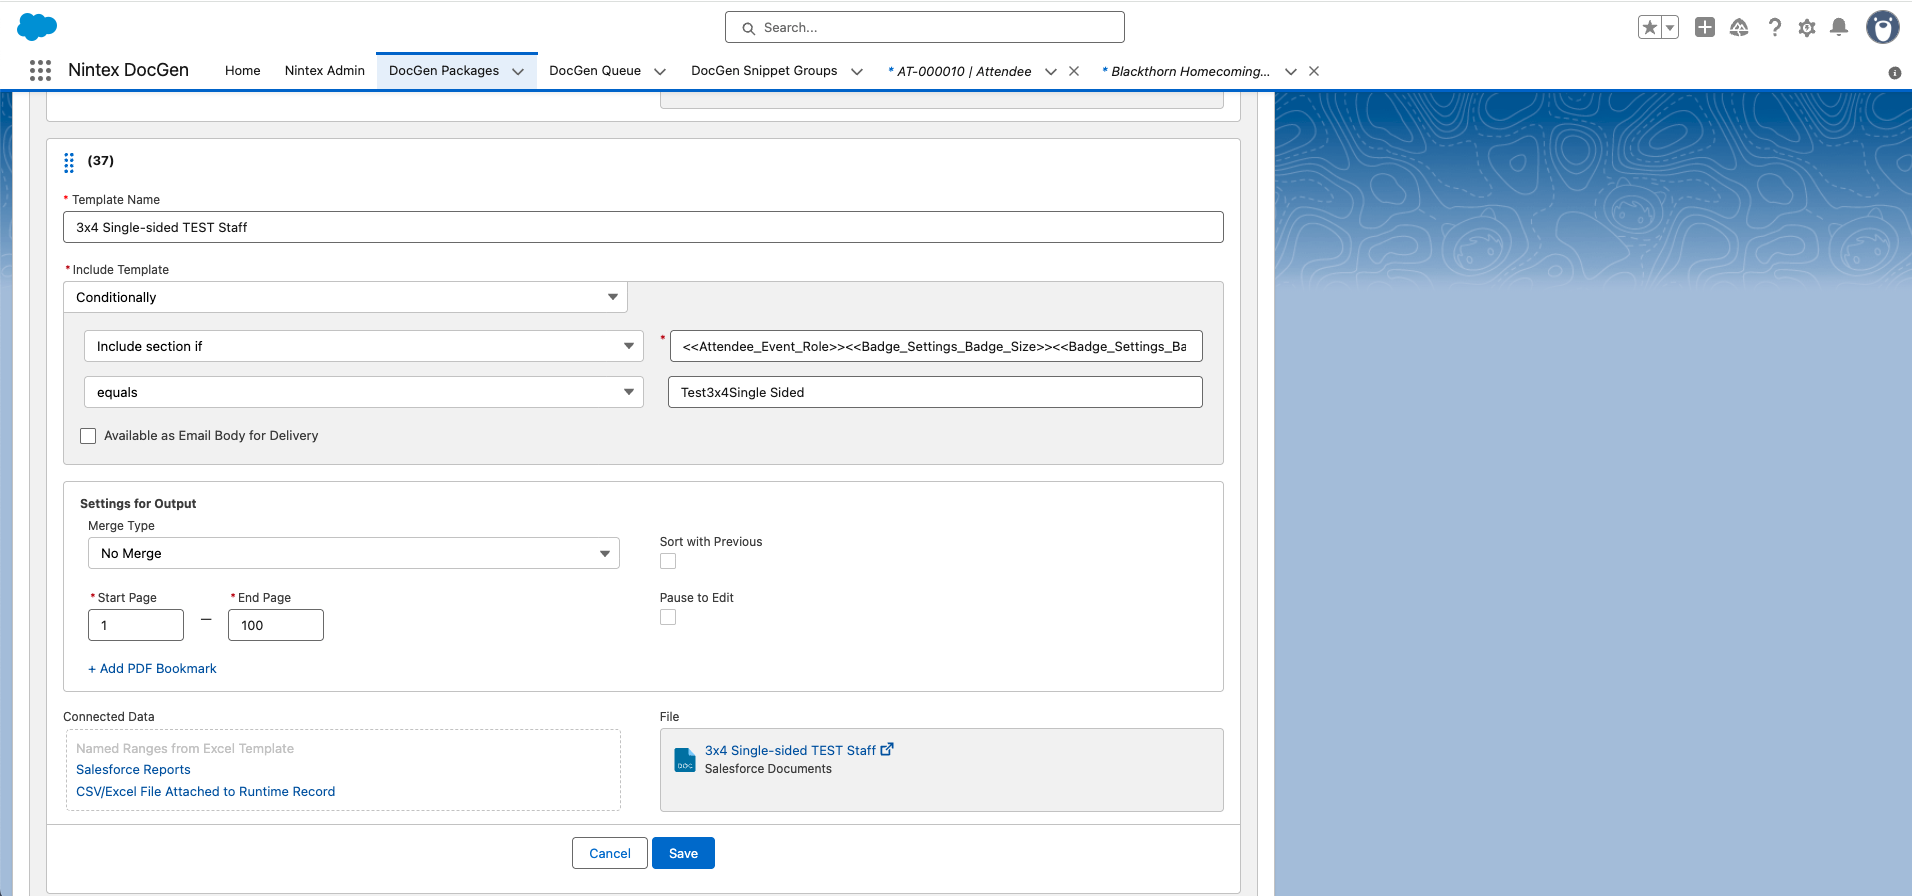
Enter the same settings used for the original template. In this example, the original template had the following settings.
Include section if = “<<Attendee_Event_Role>><<Badge_Settings_Badge_Size>><<Badge_Settings_Badge_Layout>>”
Equals = “Test4x3Single Sided” [NOTE: replace the original picklist value (Attendee) with the new one (Test).]
Merge Type = “No Merge”
Start Page = “1”
End Page = “100”
Click Save.