Help your Attendees remember everything they need to know about their upcoming Event with the AttendeeLinks Add to Calendar feature. It’s as simple as clicking the Add to Calendar button and selecting a calendar platform.
Change the Calendar Invite Message
To customize the invite message and location that your Attendees see in their calendar app, complete the following steps.
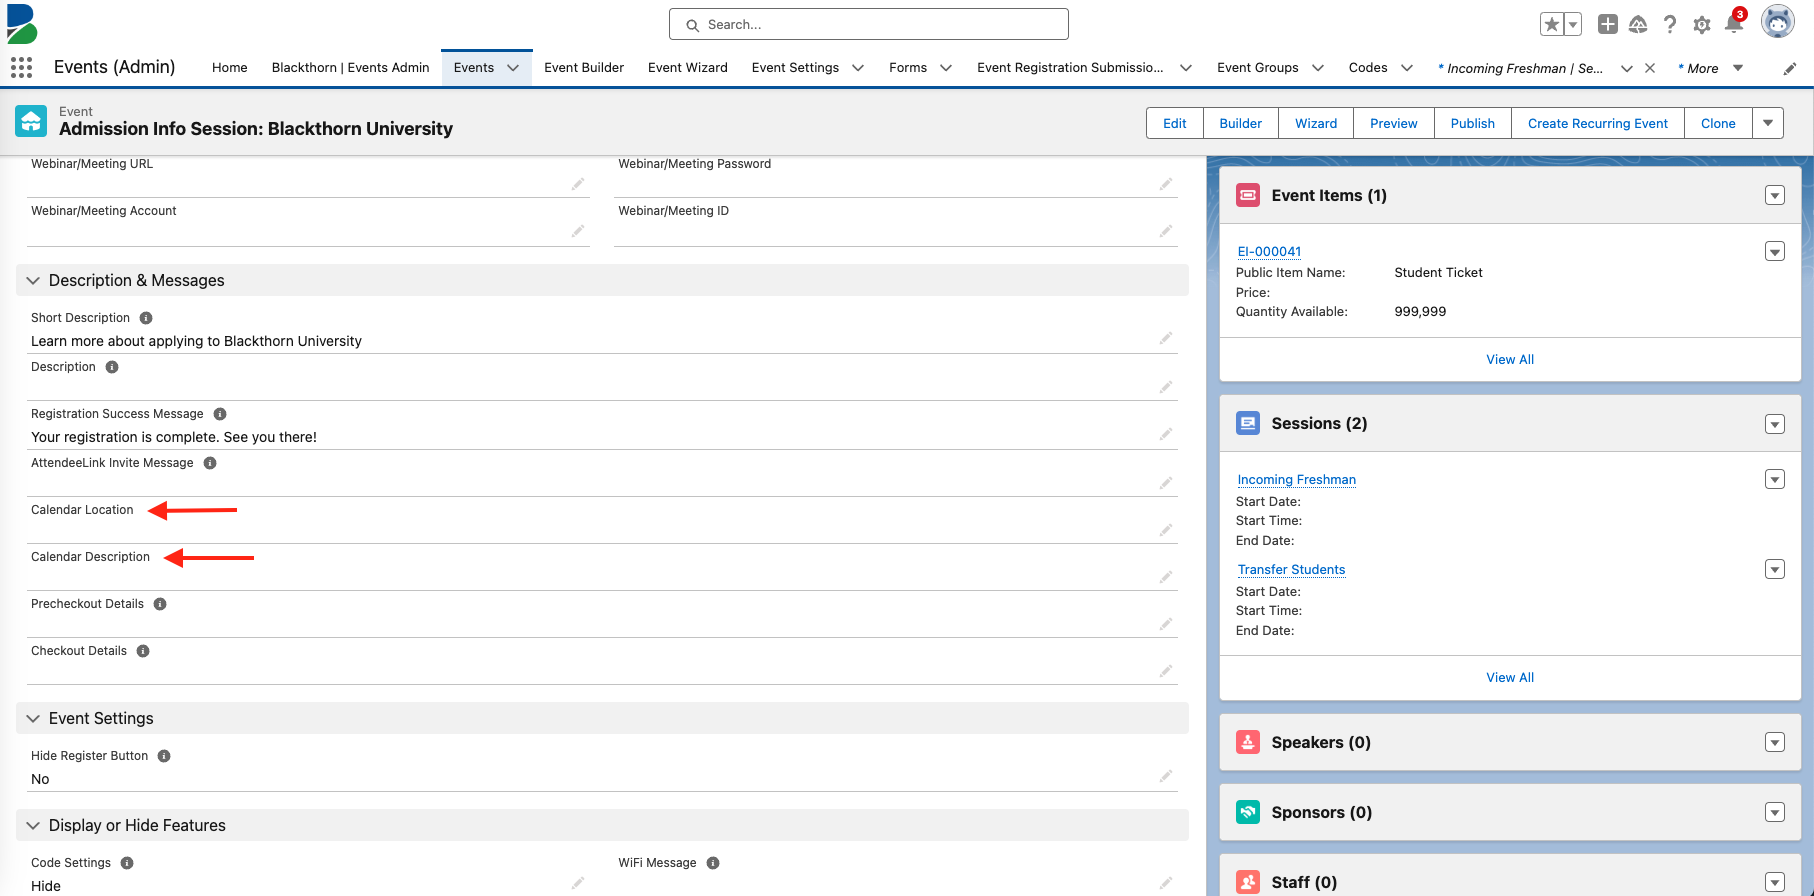
- Confirm that the Calendar Location and Calendar Description fields are on your Event record page layout.
- If the fields are already on the Event record page layout, go to Step 9.
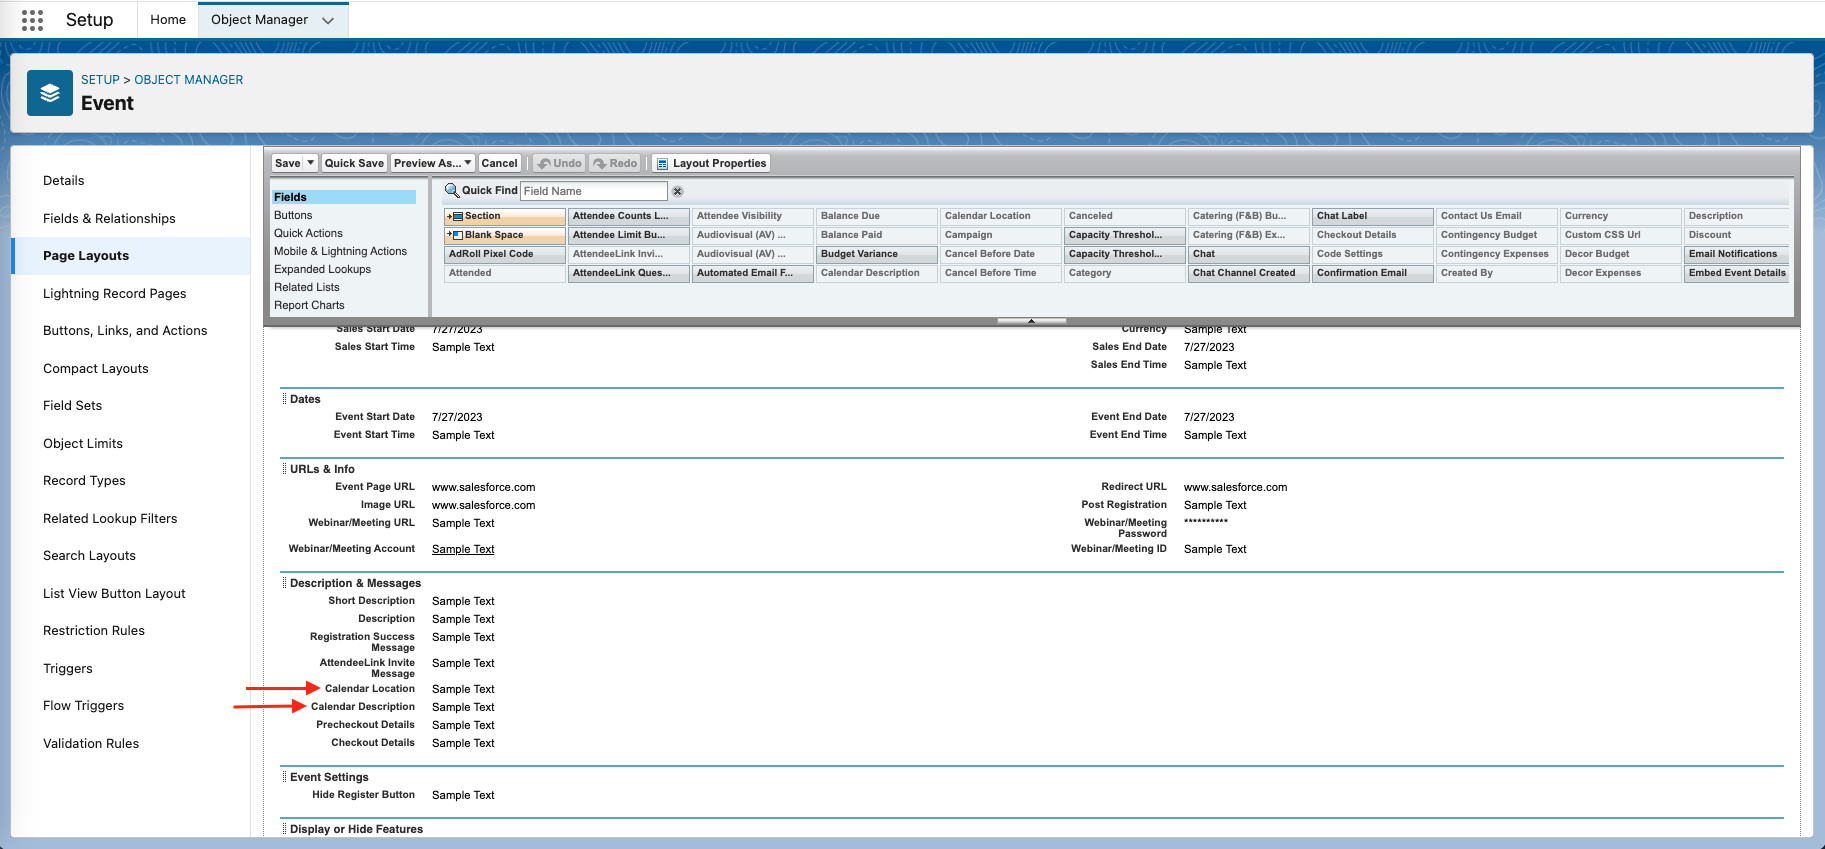
- If they aren’t, click the Gear icon in the top right corner.
- Click Edit Object.
- Search for and click the Event object.
- Click Page Layout.
- Add the Calendar Location and Calendar Description fields to the page layout.
- Click Save. Go to your event’s Event record and confirm the fields are visible.
- Enter a new Calendar Location and Calendar Description.
- Check the Include Zoom URL In Calendar Description checkbox if you want Attendees to see Zoom URLs in the invite’s Calendar Description field after they click the Add to Calendar button.
- Click Save.

- Click Update to update the Event.
The Attendee Experience
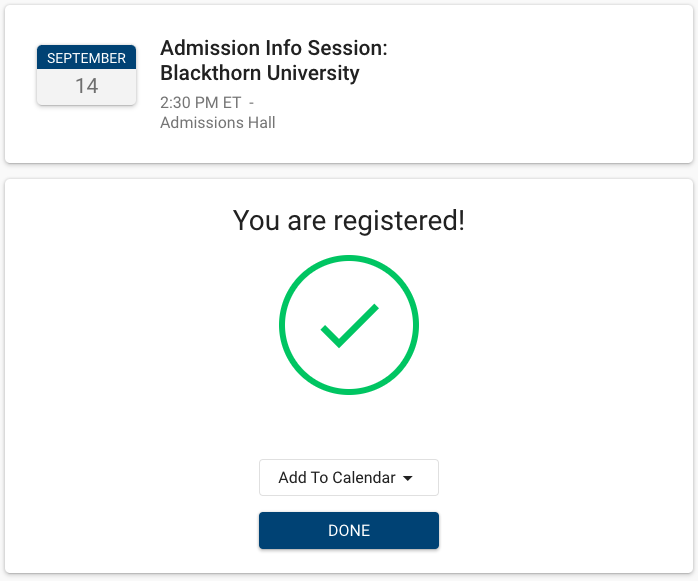
After completing the registration process, Attendees will receive a success message with the Add to Calendar button.
Clicking the Add to Calendar button will open a picklist where the Attendees can choose their preferred calendar platform.

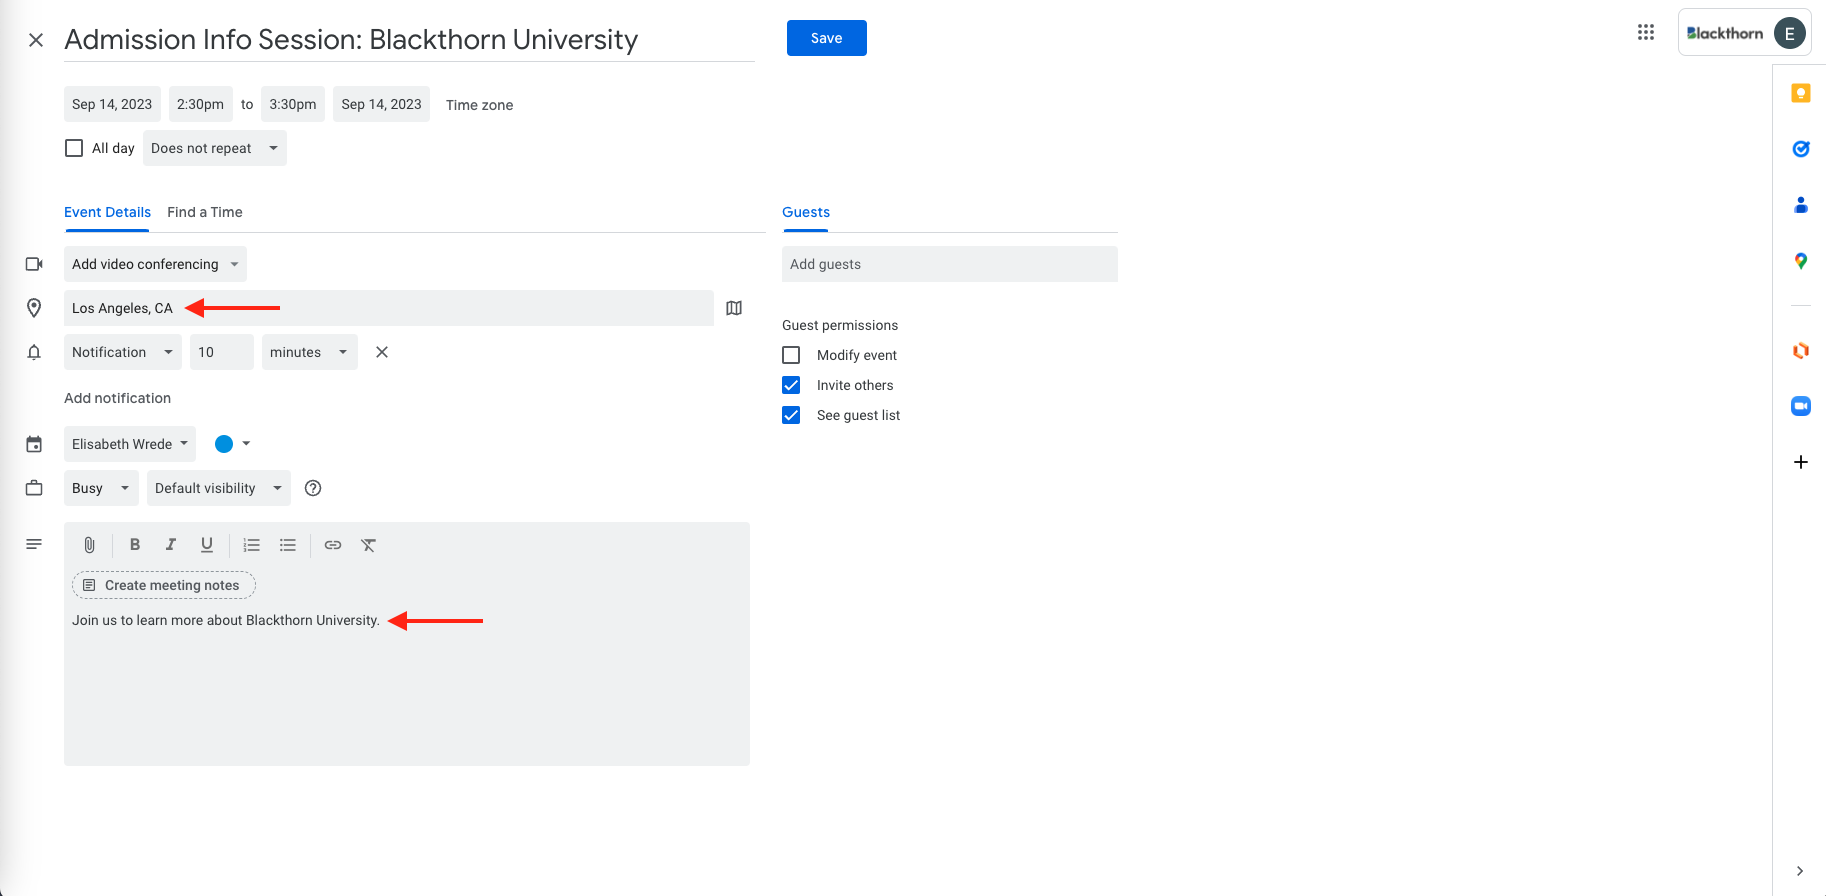
The newly created calendar invite will include all of the relevant Event information EXCEPT the venue information and description. Instead, the information in the Calendar Location and Calendar Description fields will be shown.