Group registration allows the user to register more than one person at a time with or without a single Transaction. Each person is considered their own registered Attendee.
Set Up
For this example, we will use a paid Event. Make sure the related Event Settings Allow Form Responses for Attendee Group field is set to “Yes.”
Attendee Experience
An Attendee views your Event's webpage and wants to register themselves and a friend for the event and a special dinner.
From the homepage, they can explore the different parts of the Event such as the Sessions, FAQs, and Venue, click the Share button to generate a URL to share the Event on LinkedIn, X/Twitter, or Facebook, or they can click Get Tickets.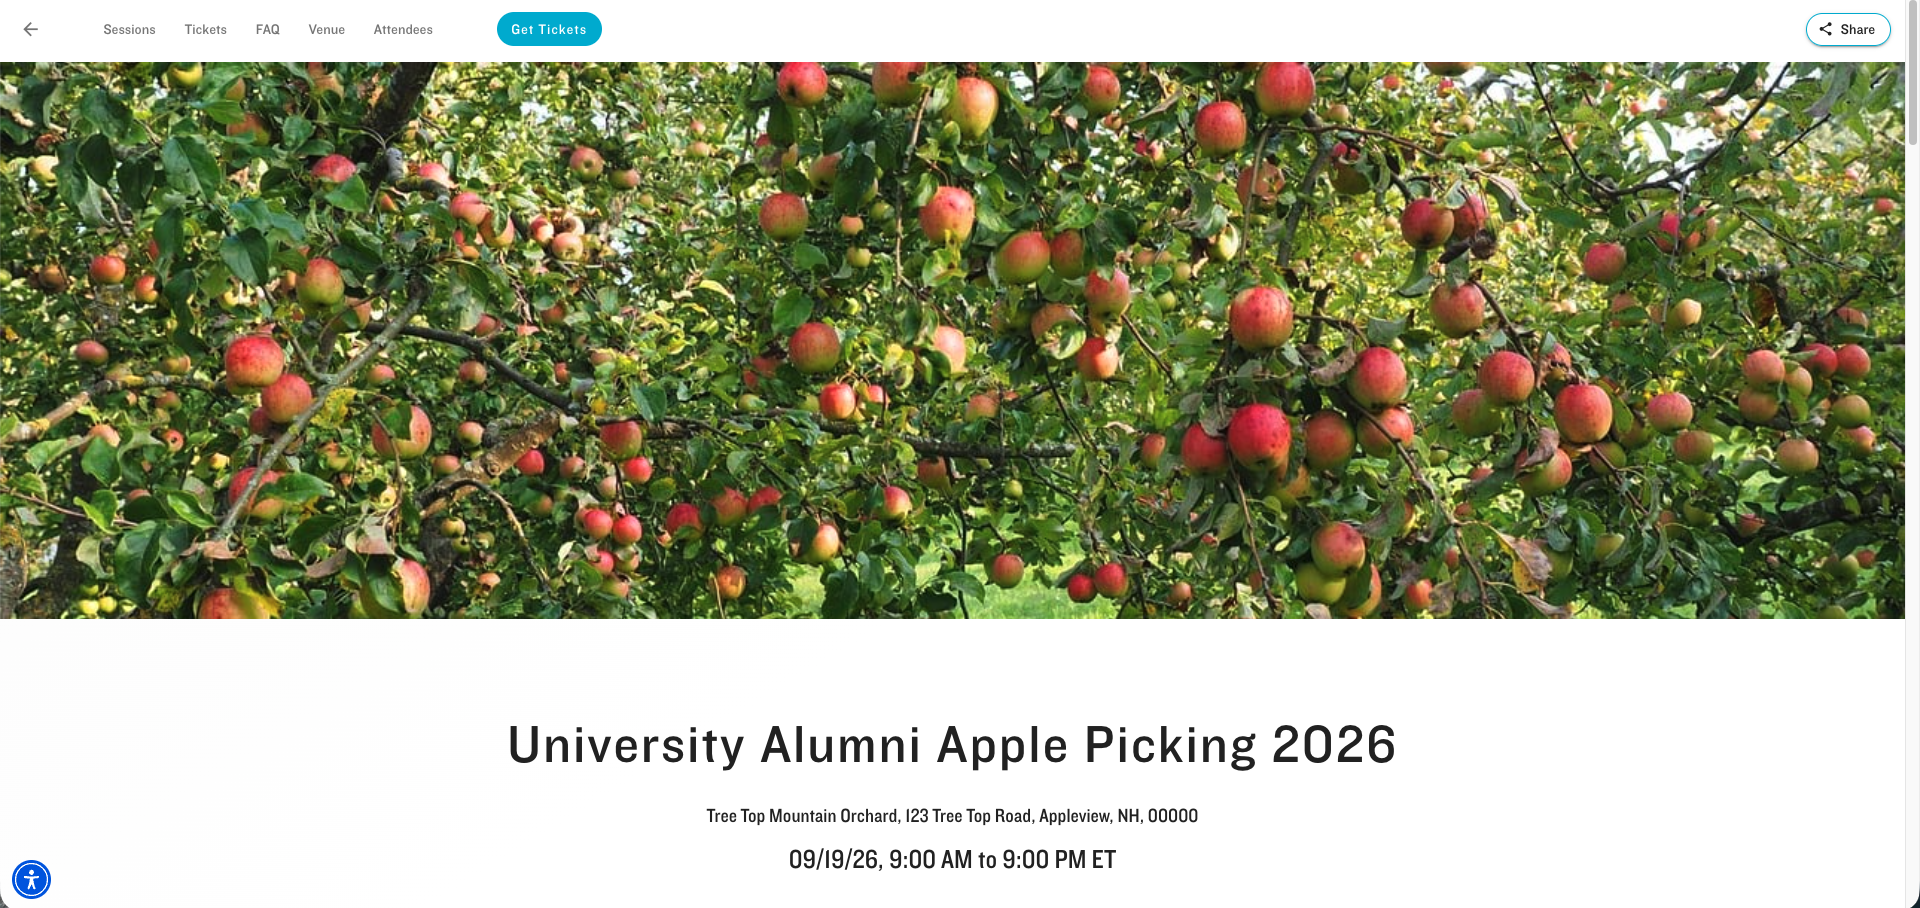
In this example, the Attendee selects two “Apples Main Event” Tickets and two “Support the Farm Dinner” Tickets.
If a value is in the Event Item’s Default Quantity Selection field and the Event Item isn’t sold out or isn’t a Donation, the default quantity of Tickets is automatically added to the cart the first time an Attendee reaches the Event Item selection screen.
If the number of remaining Tickets is greater than 0 but less than the Default Quantity Selection, all remaining Tickets will be added to the cart. For example, if the number of remaining Tickets is 3, but the Default Quantity Selection is “5,” then 3 Tickets will be added to the cart.
NOTE: When an Attendee purchases Tickets from their AttendeeLink, the default quantity will not be added to the cart. (The original behavior is unchanged.)

The Attendee then enters both individual’s information.
If the Event includes a pre-registration question, the Attendee will answer it here. If the answer is the same for all Attendees, the first Attendee can click Copy related Info to all responses to enter the same answer for all Attendees. If the answer is different for each Attendee, the first Attendee must enter each answer separately.
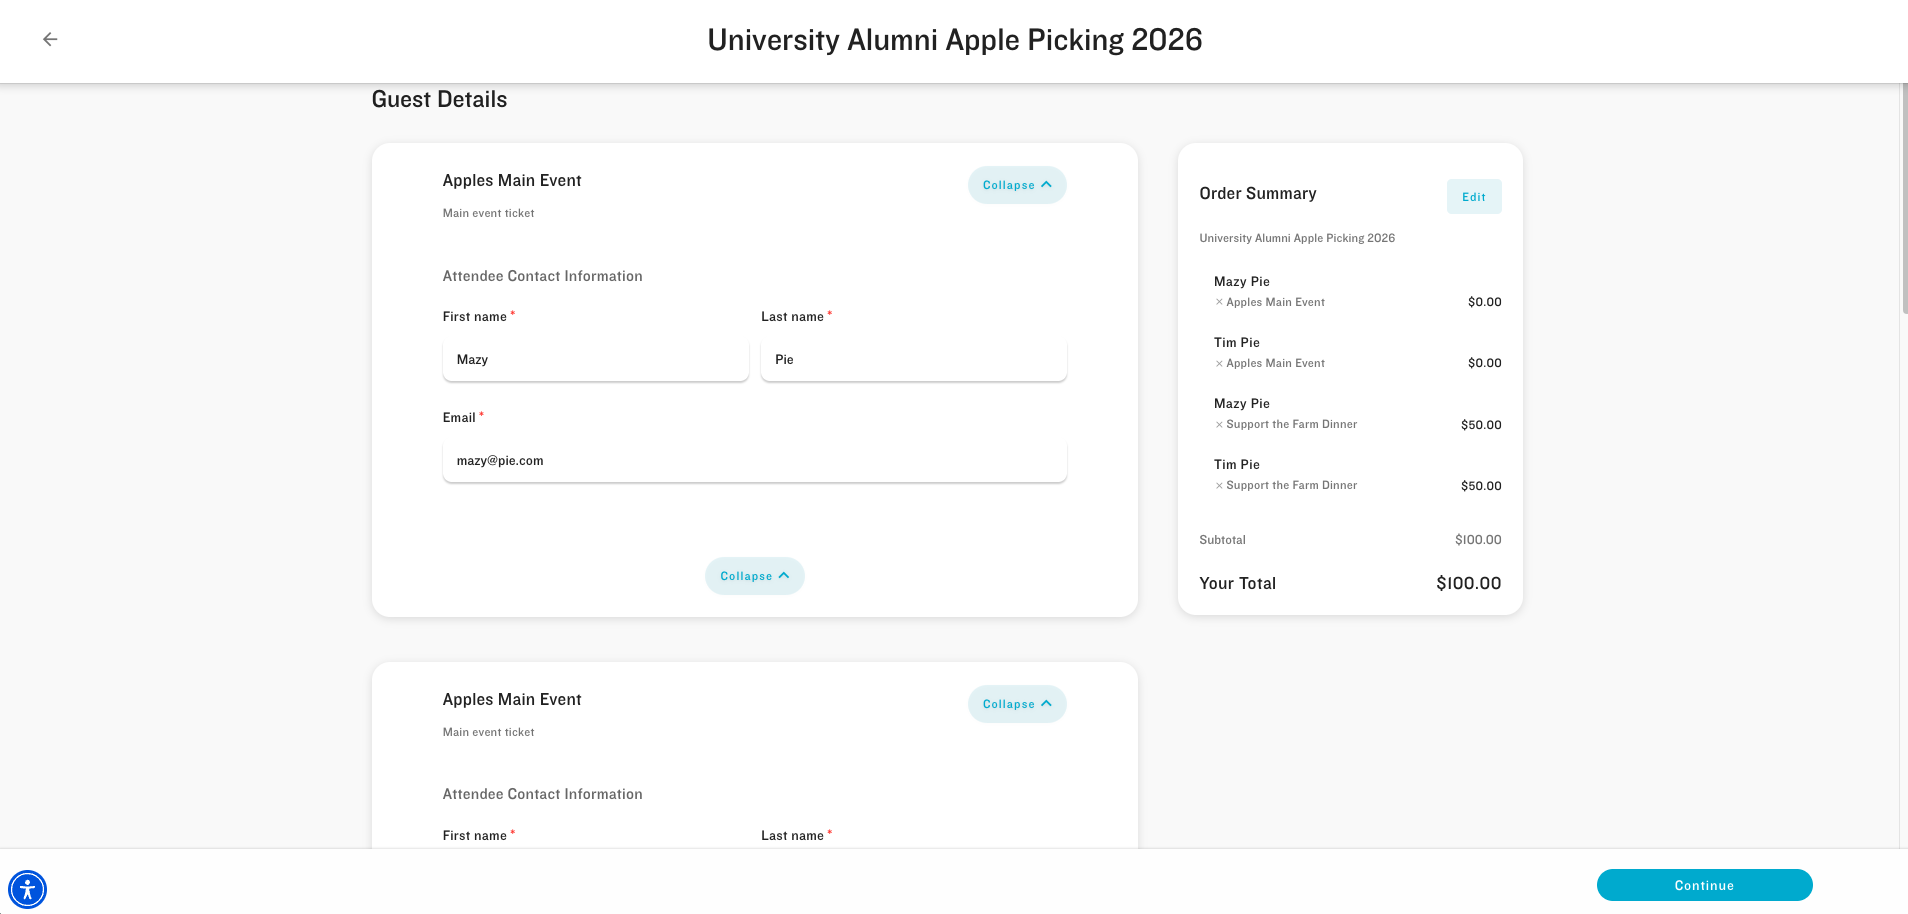
The Attendee selects the Sessions they would like to attend.
If the Event Item has the Require At Least One Session field checked, the Attendee must select one of the Sessions related to the Event Item.
If a Session’s Event Item Session record has the Required field checked, then the Session will automatically be added to the cart when the Attendee adds the Event Item.

If an Attendee wants to quickly add a specific Session to all Attendees who selected the same Ticket, they can click the Copy session selections to all [Ticket name] button.
After the Attendee selects all of the Sessions, they click Continue.
.png)
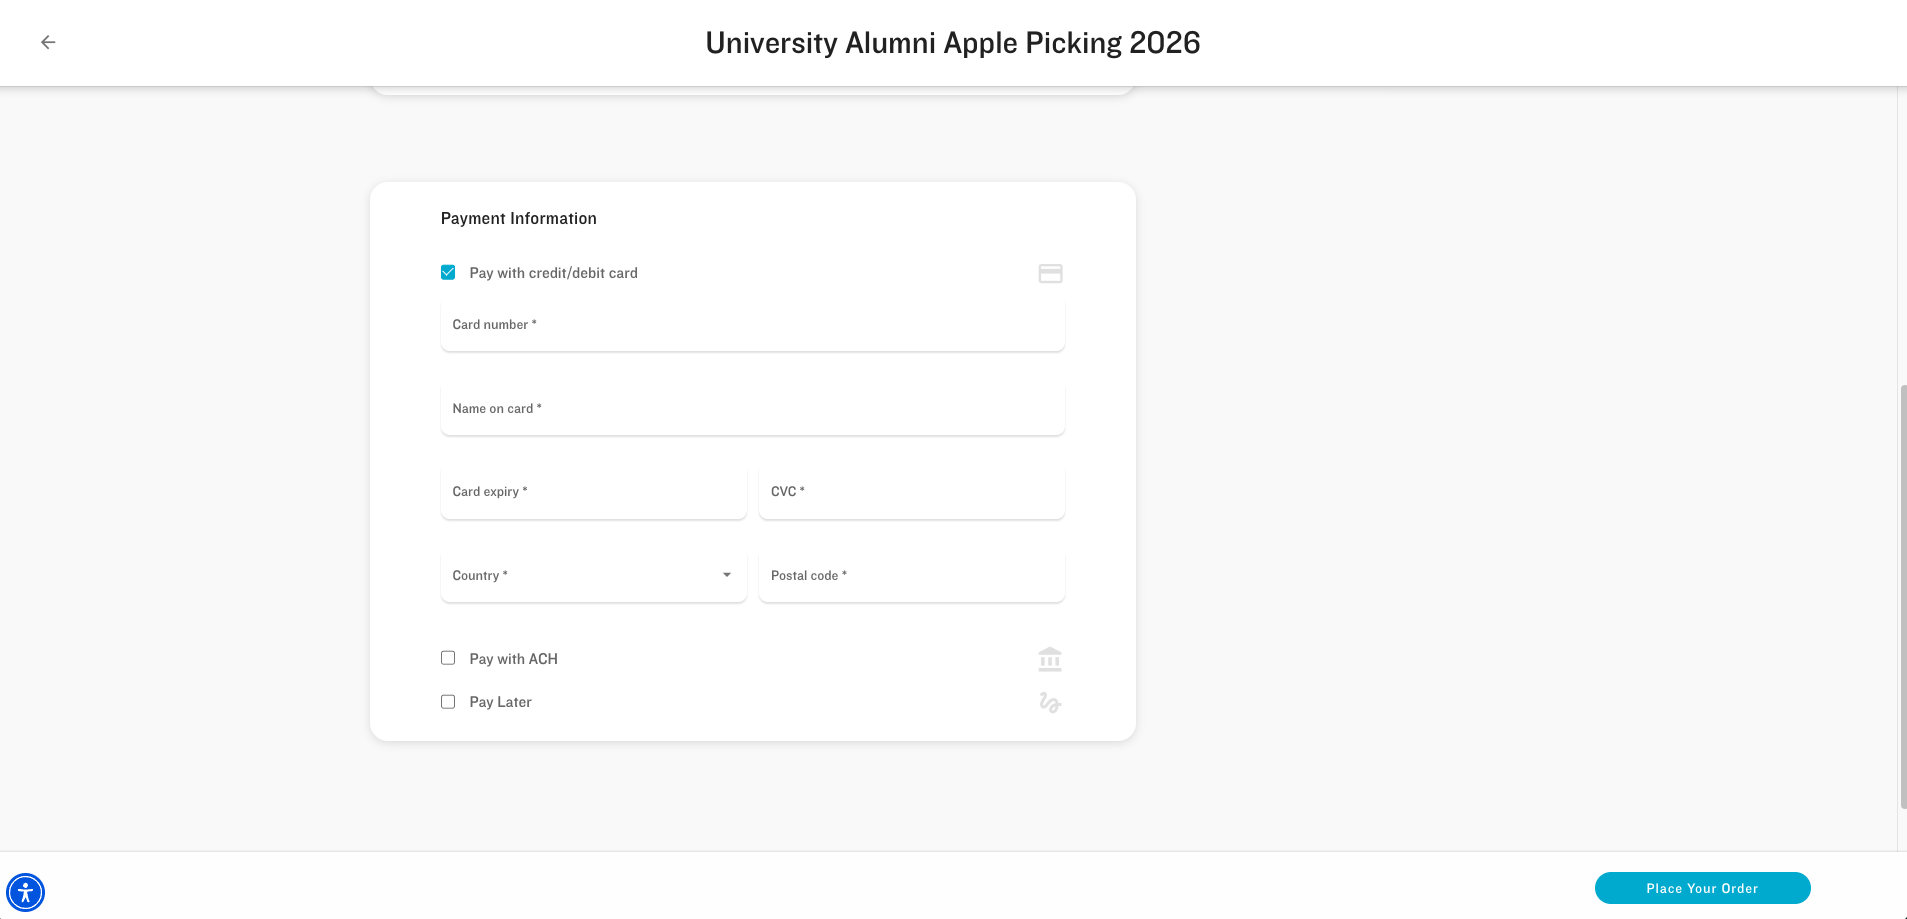
Now they review their contact information, enter a Payment Method, and click Place Your Order.
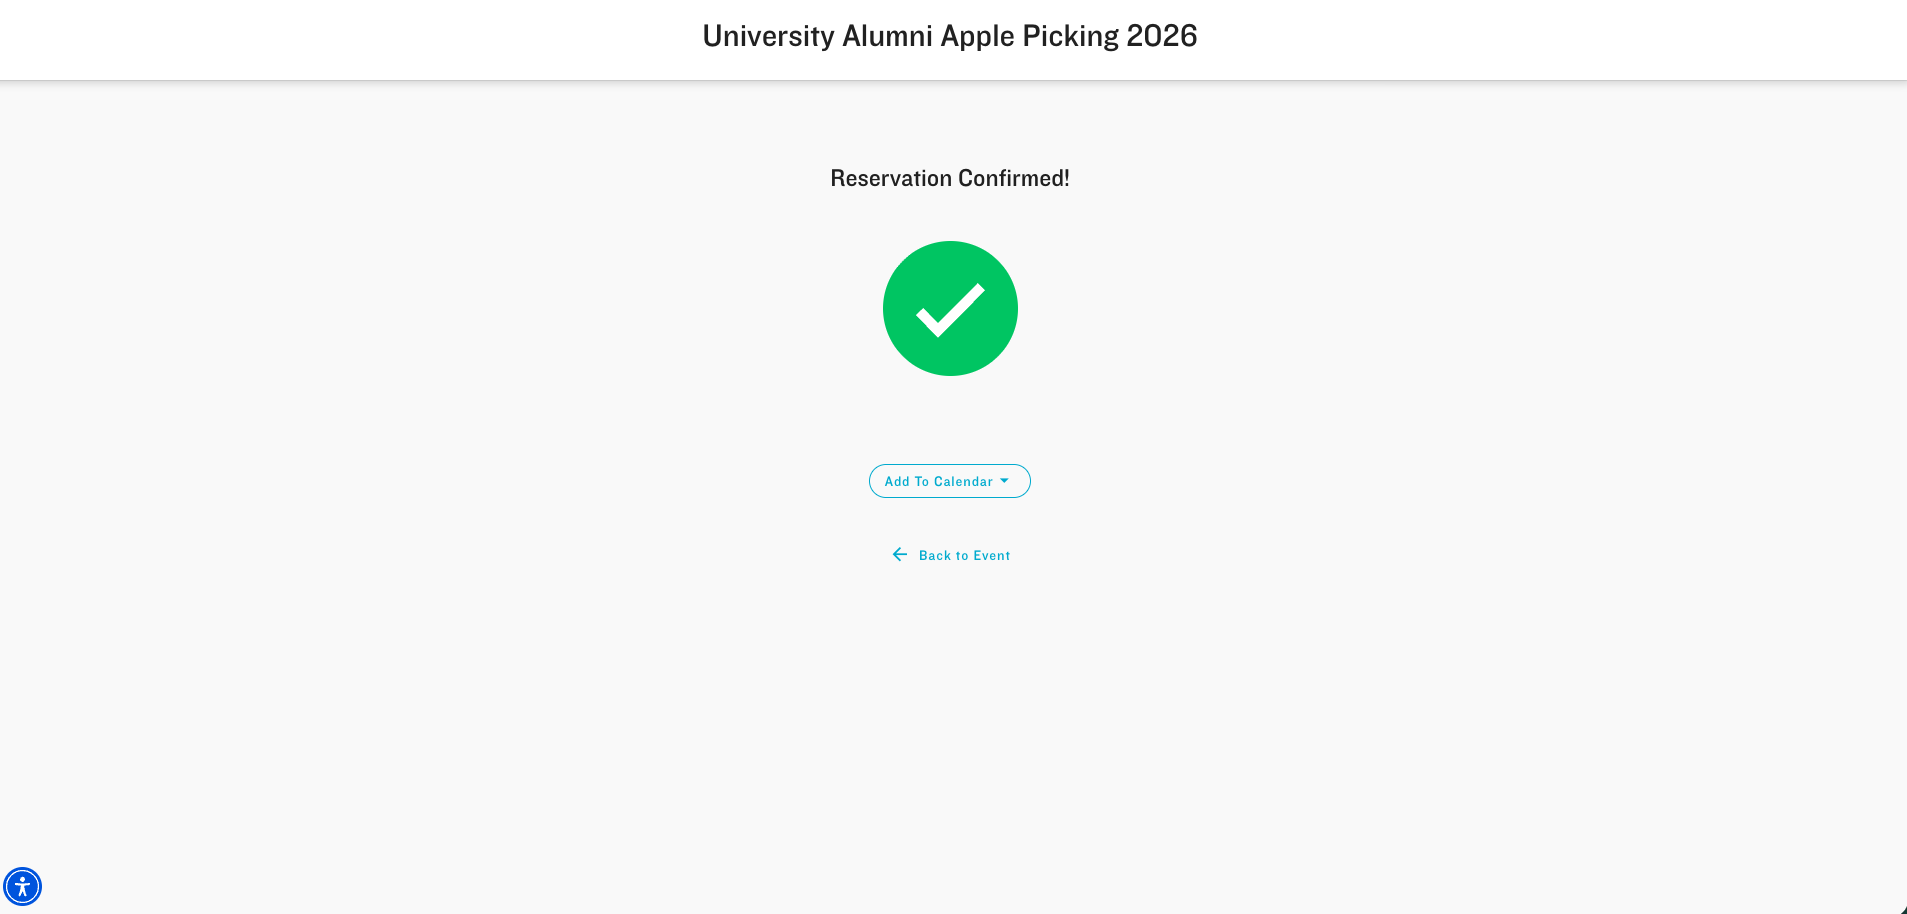
The Attendees are now registered for the Event.
Results
When multiple Attendees are added at one time, an Attendee Group record is automatically created. Attendee Groups can be seen in the Related List of your Event record for easy tracking. This lets you know who will be grouped together.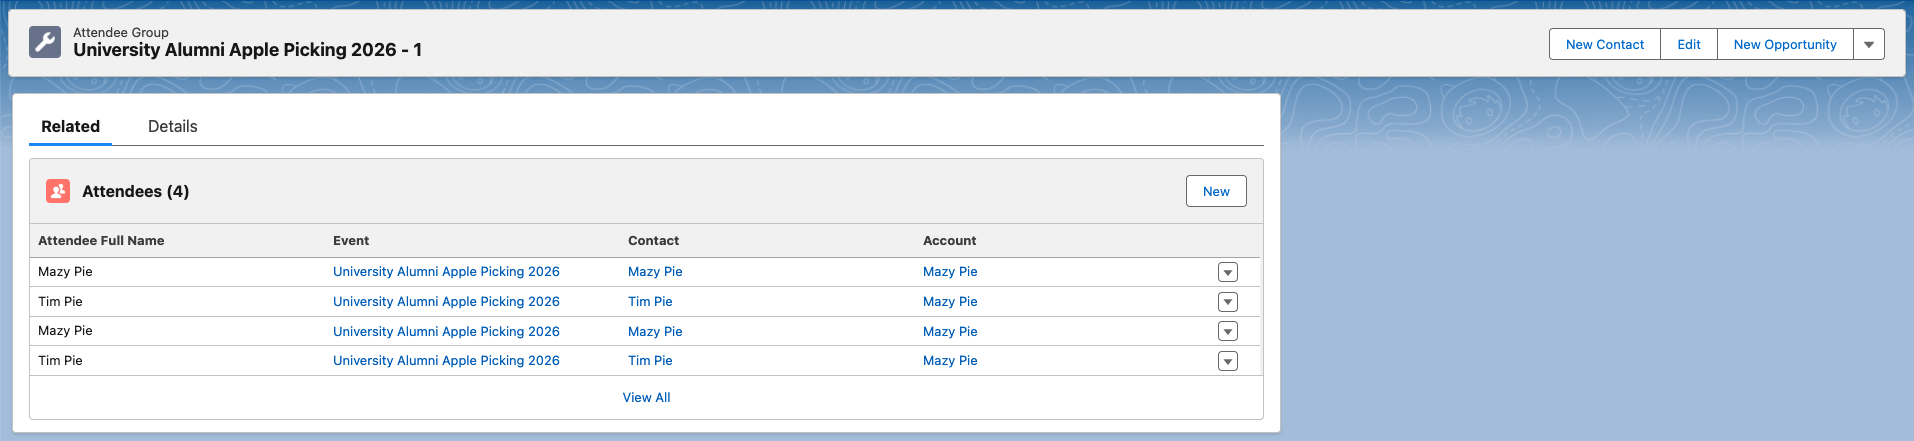
Note: The Attendee Group naming structure is [Event Name - Ordered Number].
Waitlisted Tickets
Attendees in an Attendee Group can register for a mix of available and waitlisted Tickets. As with available Tickets, when an Attendee registers for a waitlisted Ticket, the Primary Email field on their Attendee record will be populated with the Attendee Group’s main Contact’s email address.
Guest Tickets and Waitlists
Event Organizers can leverage group waitlisting by including Guest Tickets in the group’s waitlist, even though some of those Tickets do not require an email address. To do so, they can use the Event Settings’ new Disable Email Check For Waitlisted Guest (conference360__Disable_Email_Check_For_WaitlistedGuest__c) field to allow waitlisted Guest Tickets without an email.
If Disable Email Check For Waitlisted Guest is checked (enabled), an email will be optional for waitlisted Guest Tickets as long as the Guest Event Items Email field is marked as “Optional” or “Hidden.”
If Disable Email Check For Waitlisted Guest is not checked (disabled), an email will be required. (existing functionality)
NOTE: Waitlists for Guest Tickets without emails only work at the Event Item level, not at the Event level.