Pre-requisite
Determine the Amount that you will use for the allocation before you begin the process. You cannot allocate more than the amount that is submitted.
Allocate Funds to Multiple Line Items on One Invoice
- Navigate to the Allocation object.
Lightning: Click the App Launcher > Search for and click Allocations.
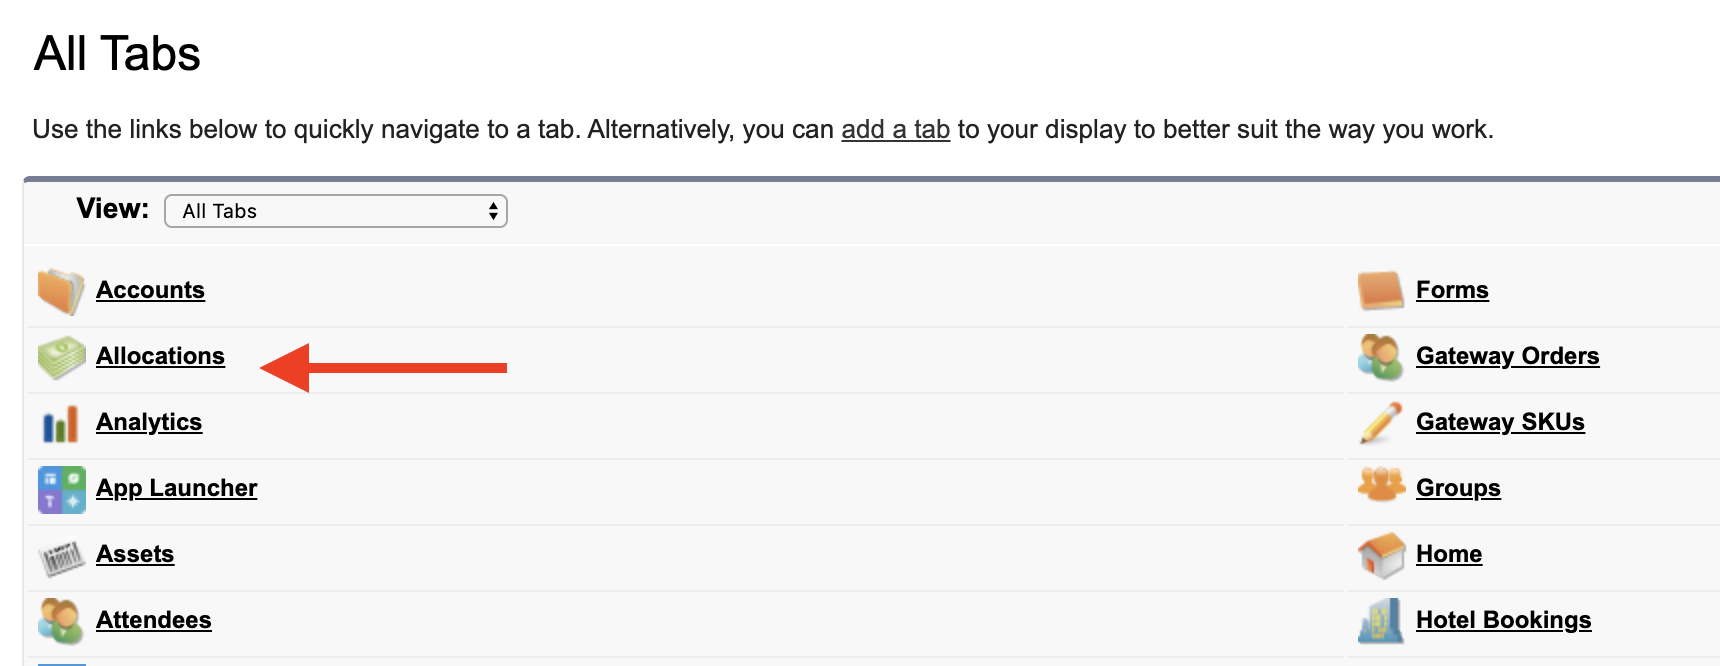
Classic: Click "All Tabs" ("+" icon in the top right) > Click Allocation.
- Click New.
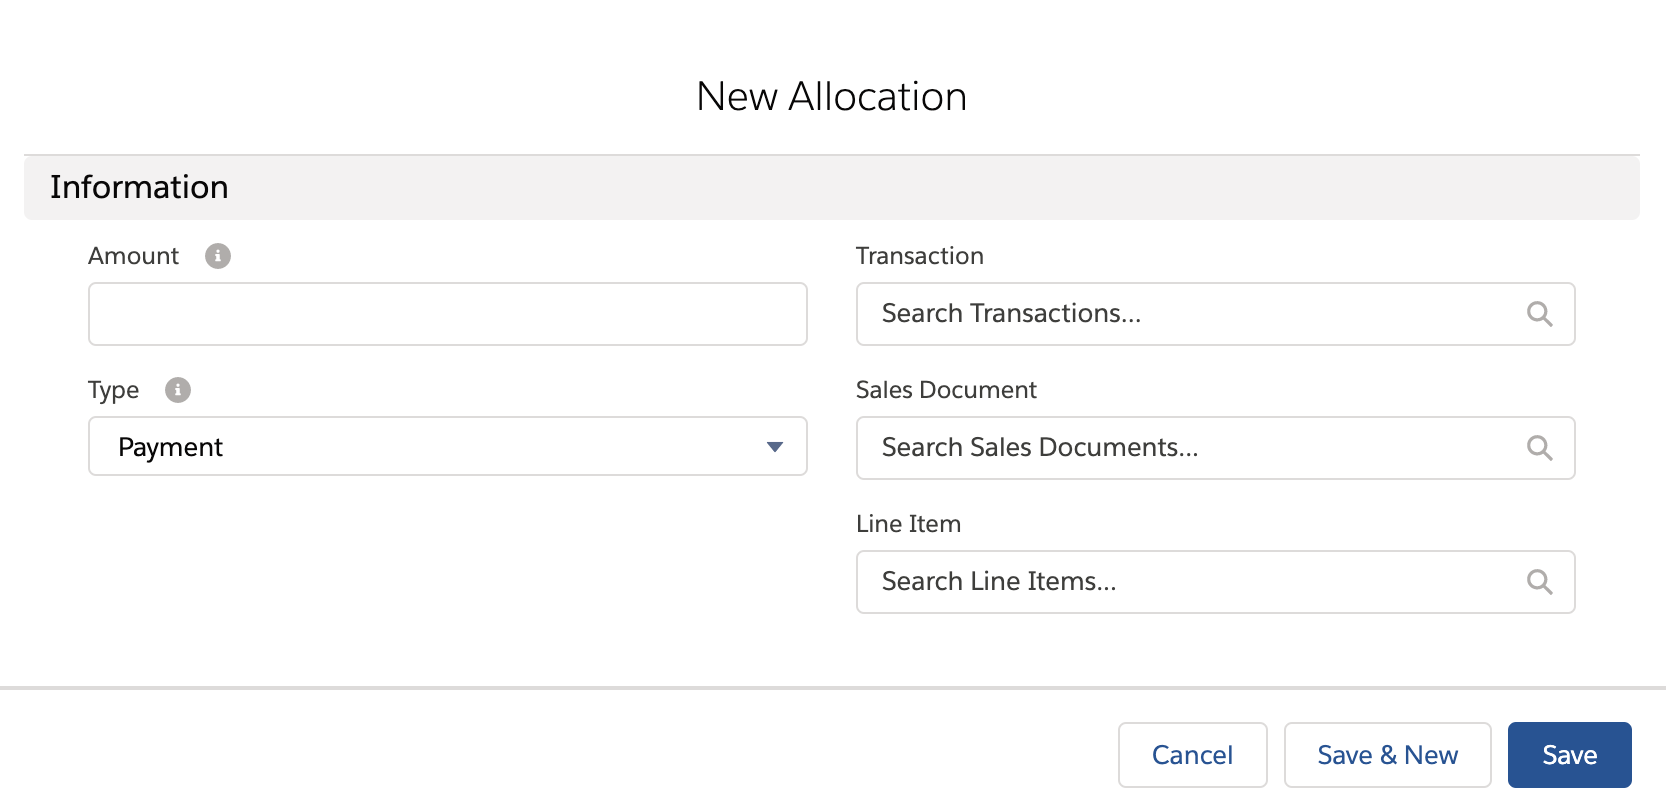
- Enter information in the following fields.
- Amount: The amount to allocate to the related Invoice or Line Item.
- Transaction: The Transaction that paid for the Line Item.
- Line Item: The Line Item the Allocation is associated with.
- Invoice (optional): Automatically populates if the Line Item field is set. Populate this field only if the Allocation is not associated with a Line Item.
- Type: Set this field to either "Payment" or "Refund" depending on the type of Allocation. The default setting is "Payment."
- Click Save.
Allocate Funds to Multiple Invoices
- Navigate to the Allocation object.
Lightning: Click the App Launcher > Search for and click Allocations.
Classic: Click "All Tabs" ("+" icon in the top right) > Click Allocation.
- Click New.
- Enter information in the following fields.
- Amount: The amount to allocate to the related Invoice or Line Item.
- Transaction: The Transaction that paid for the Line Item.
- Invoice: This field determines which Invoice this Allocation is associated with.
- Type: Set this field to either "Payment" or "Refund" depending on the type of Allocation. The default setting is "Payment."
- Click Save.
Use Allocation to show Refunds on Line Item and Invoice
You can use Allocations to handle refunds against the Line Items or the Invoice.
- Create an Allocation record.
- Set Allocation type = "Refund."
- Set the Line Item/Invoice lookup field. Setting a Line Item lookup will auto-populate the Invoice.
- Select the refund Transaction for the Allocation.
- Click Save.